

First steps with Website
This tutorial builds a small site from start to end. You set contact details, edit the Home page and add a page to the header menu. Then you create a category and a tag, write a blog post, publish it and check the public site. Each step links to a deeper page.
In simple words: Fill the footer, shape the pages, post one article, then look at the site as a visitor.
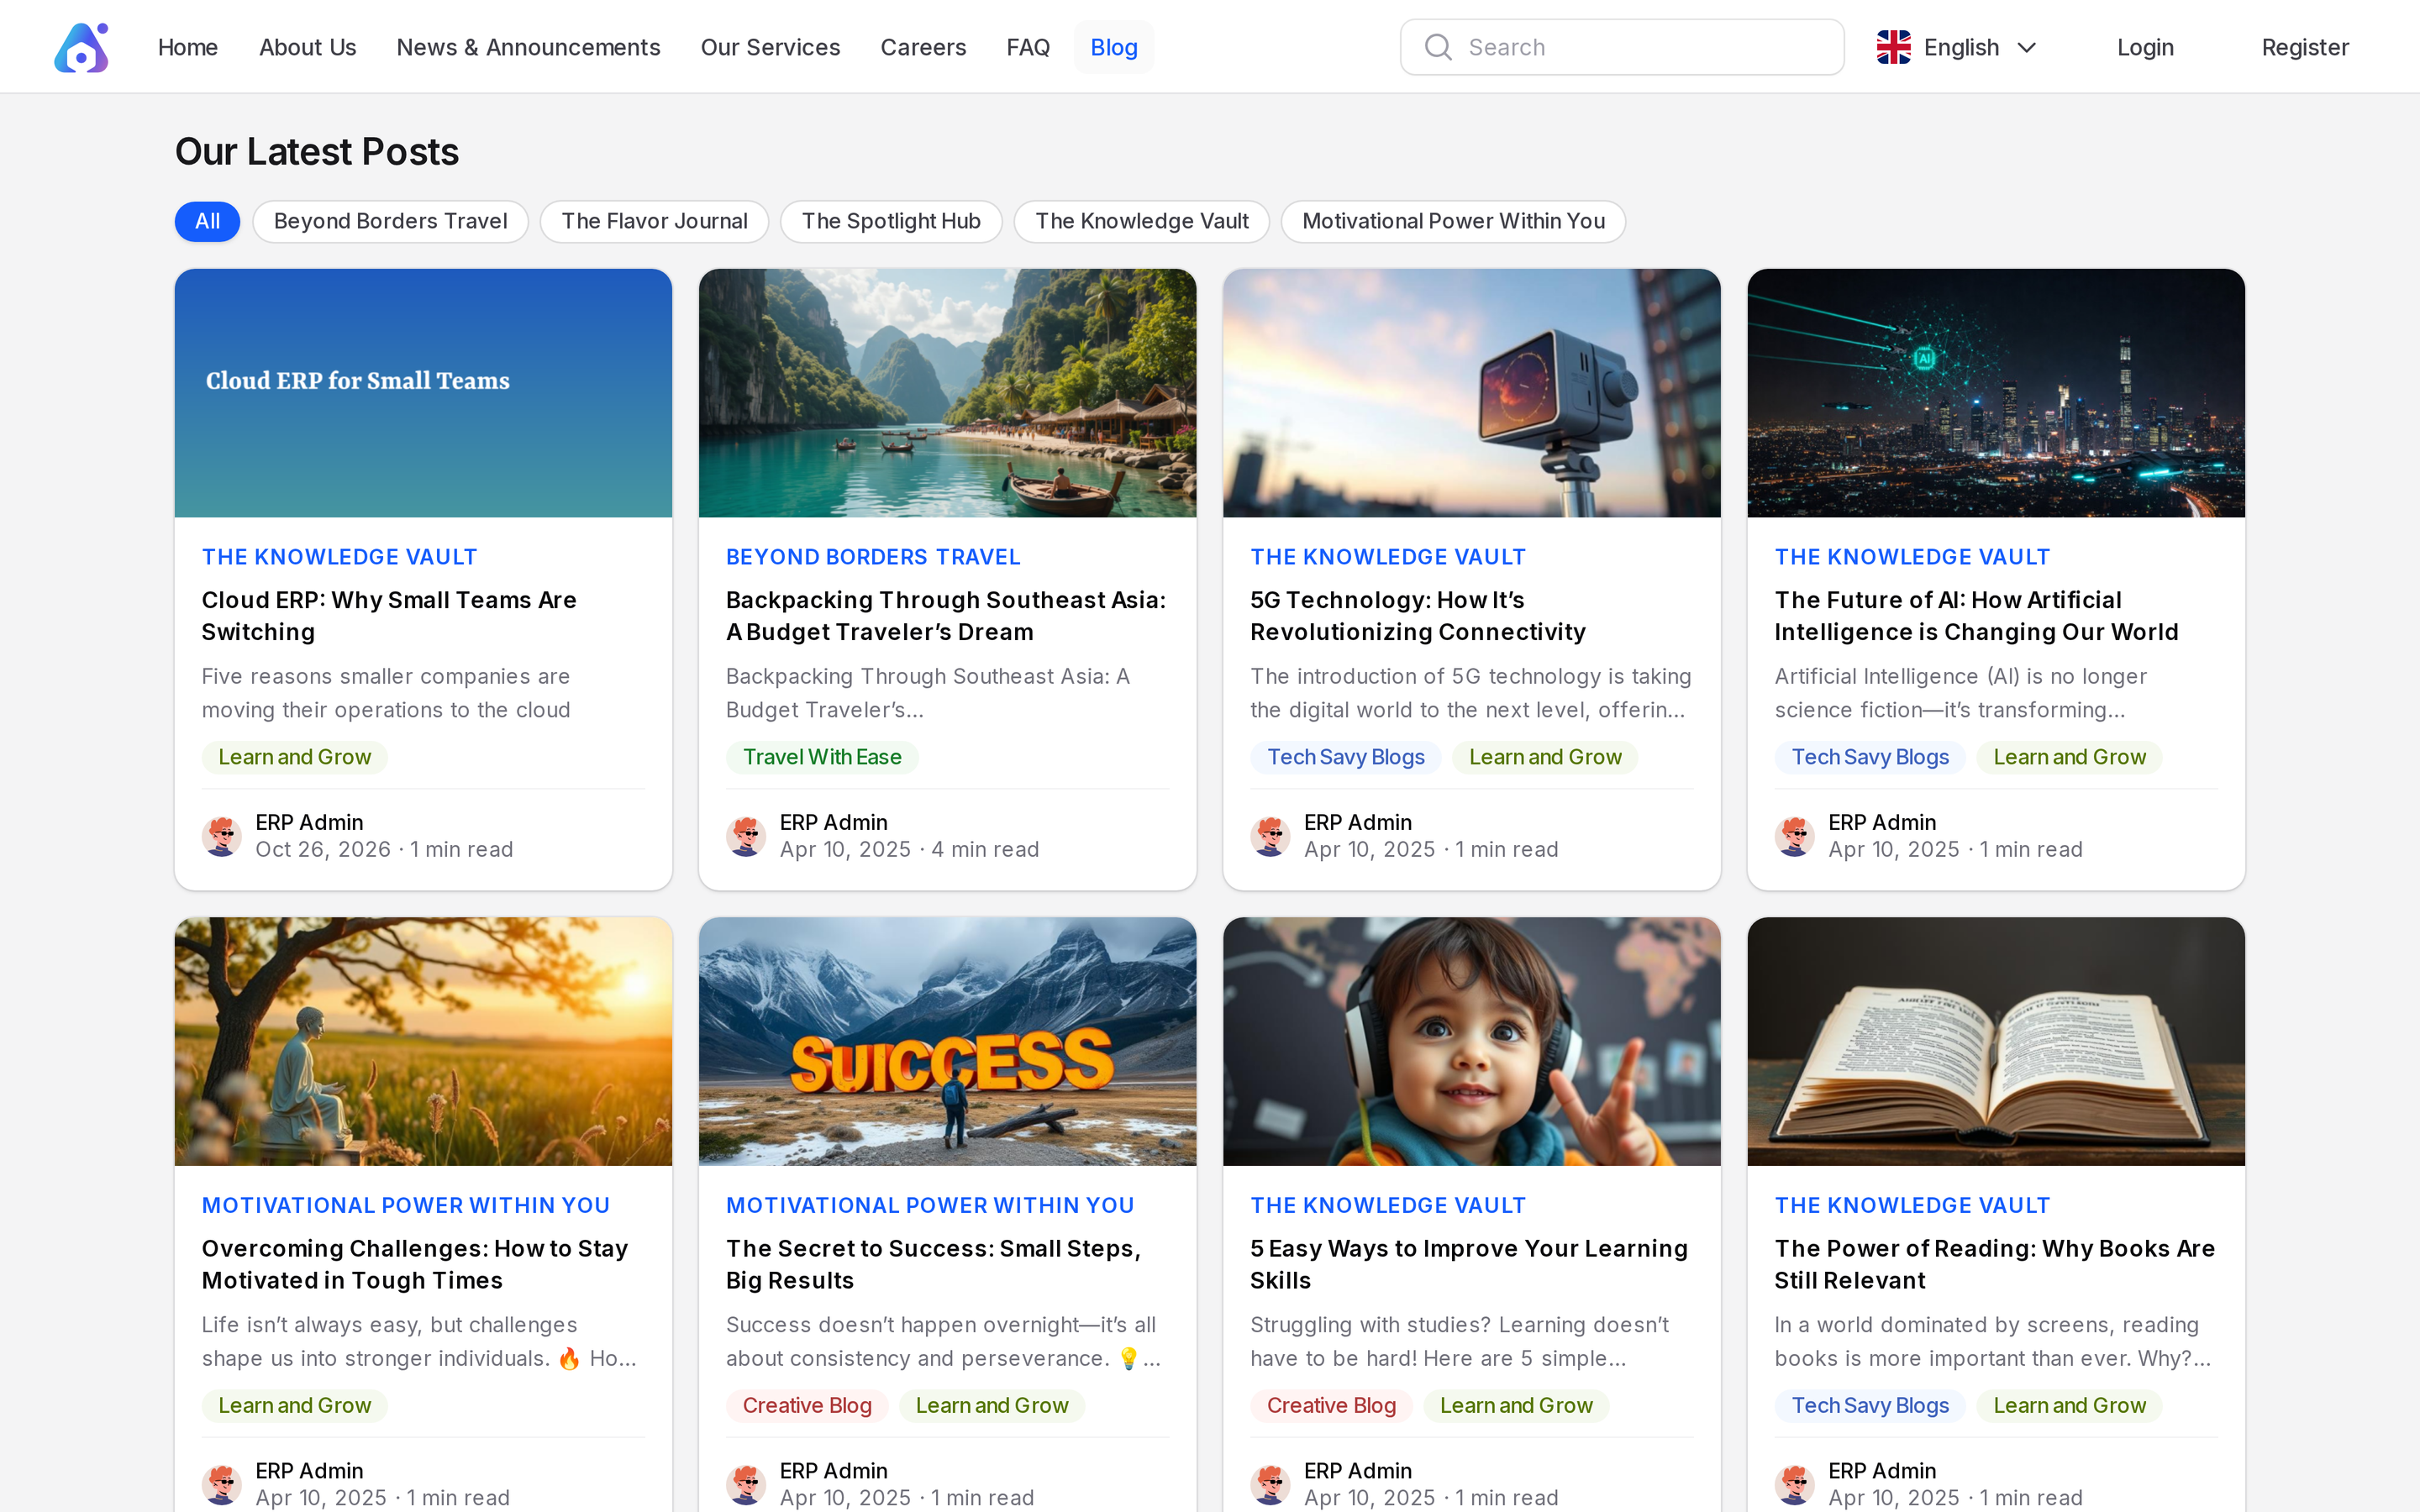
Contacts → Home page → New page in menu → Category + tag → Blog post → Publish → CheckThe example uses a company site. The page is Our Team. The category is The Knowledge Vault. The tag is Learn and Grow. The post is Cloud ERP: Why Small Teams Are Switching.
INFO
Steps 4 and 5 need the Blogs plugin.
Step 1: Set contact details
- Go to
Website → Settings → Manage Contacts. - Enter Email
hello@yourcompany.comand Phone+1 555 0100. - Type a username in the social fields you use.
- Click Save changes.
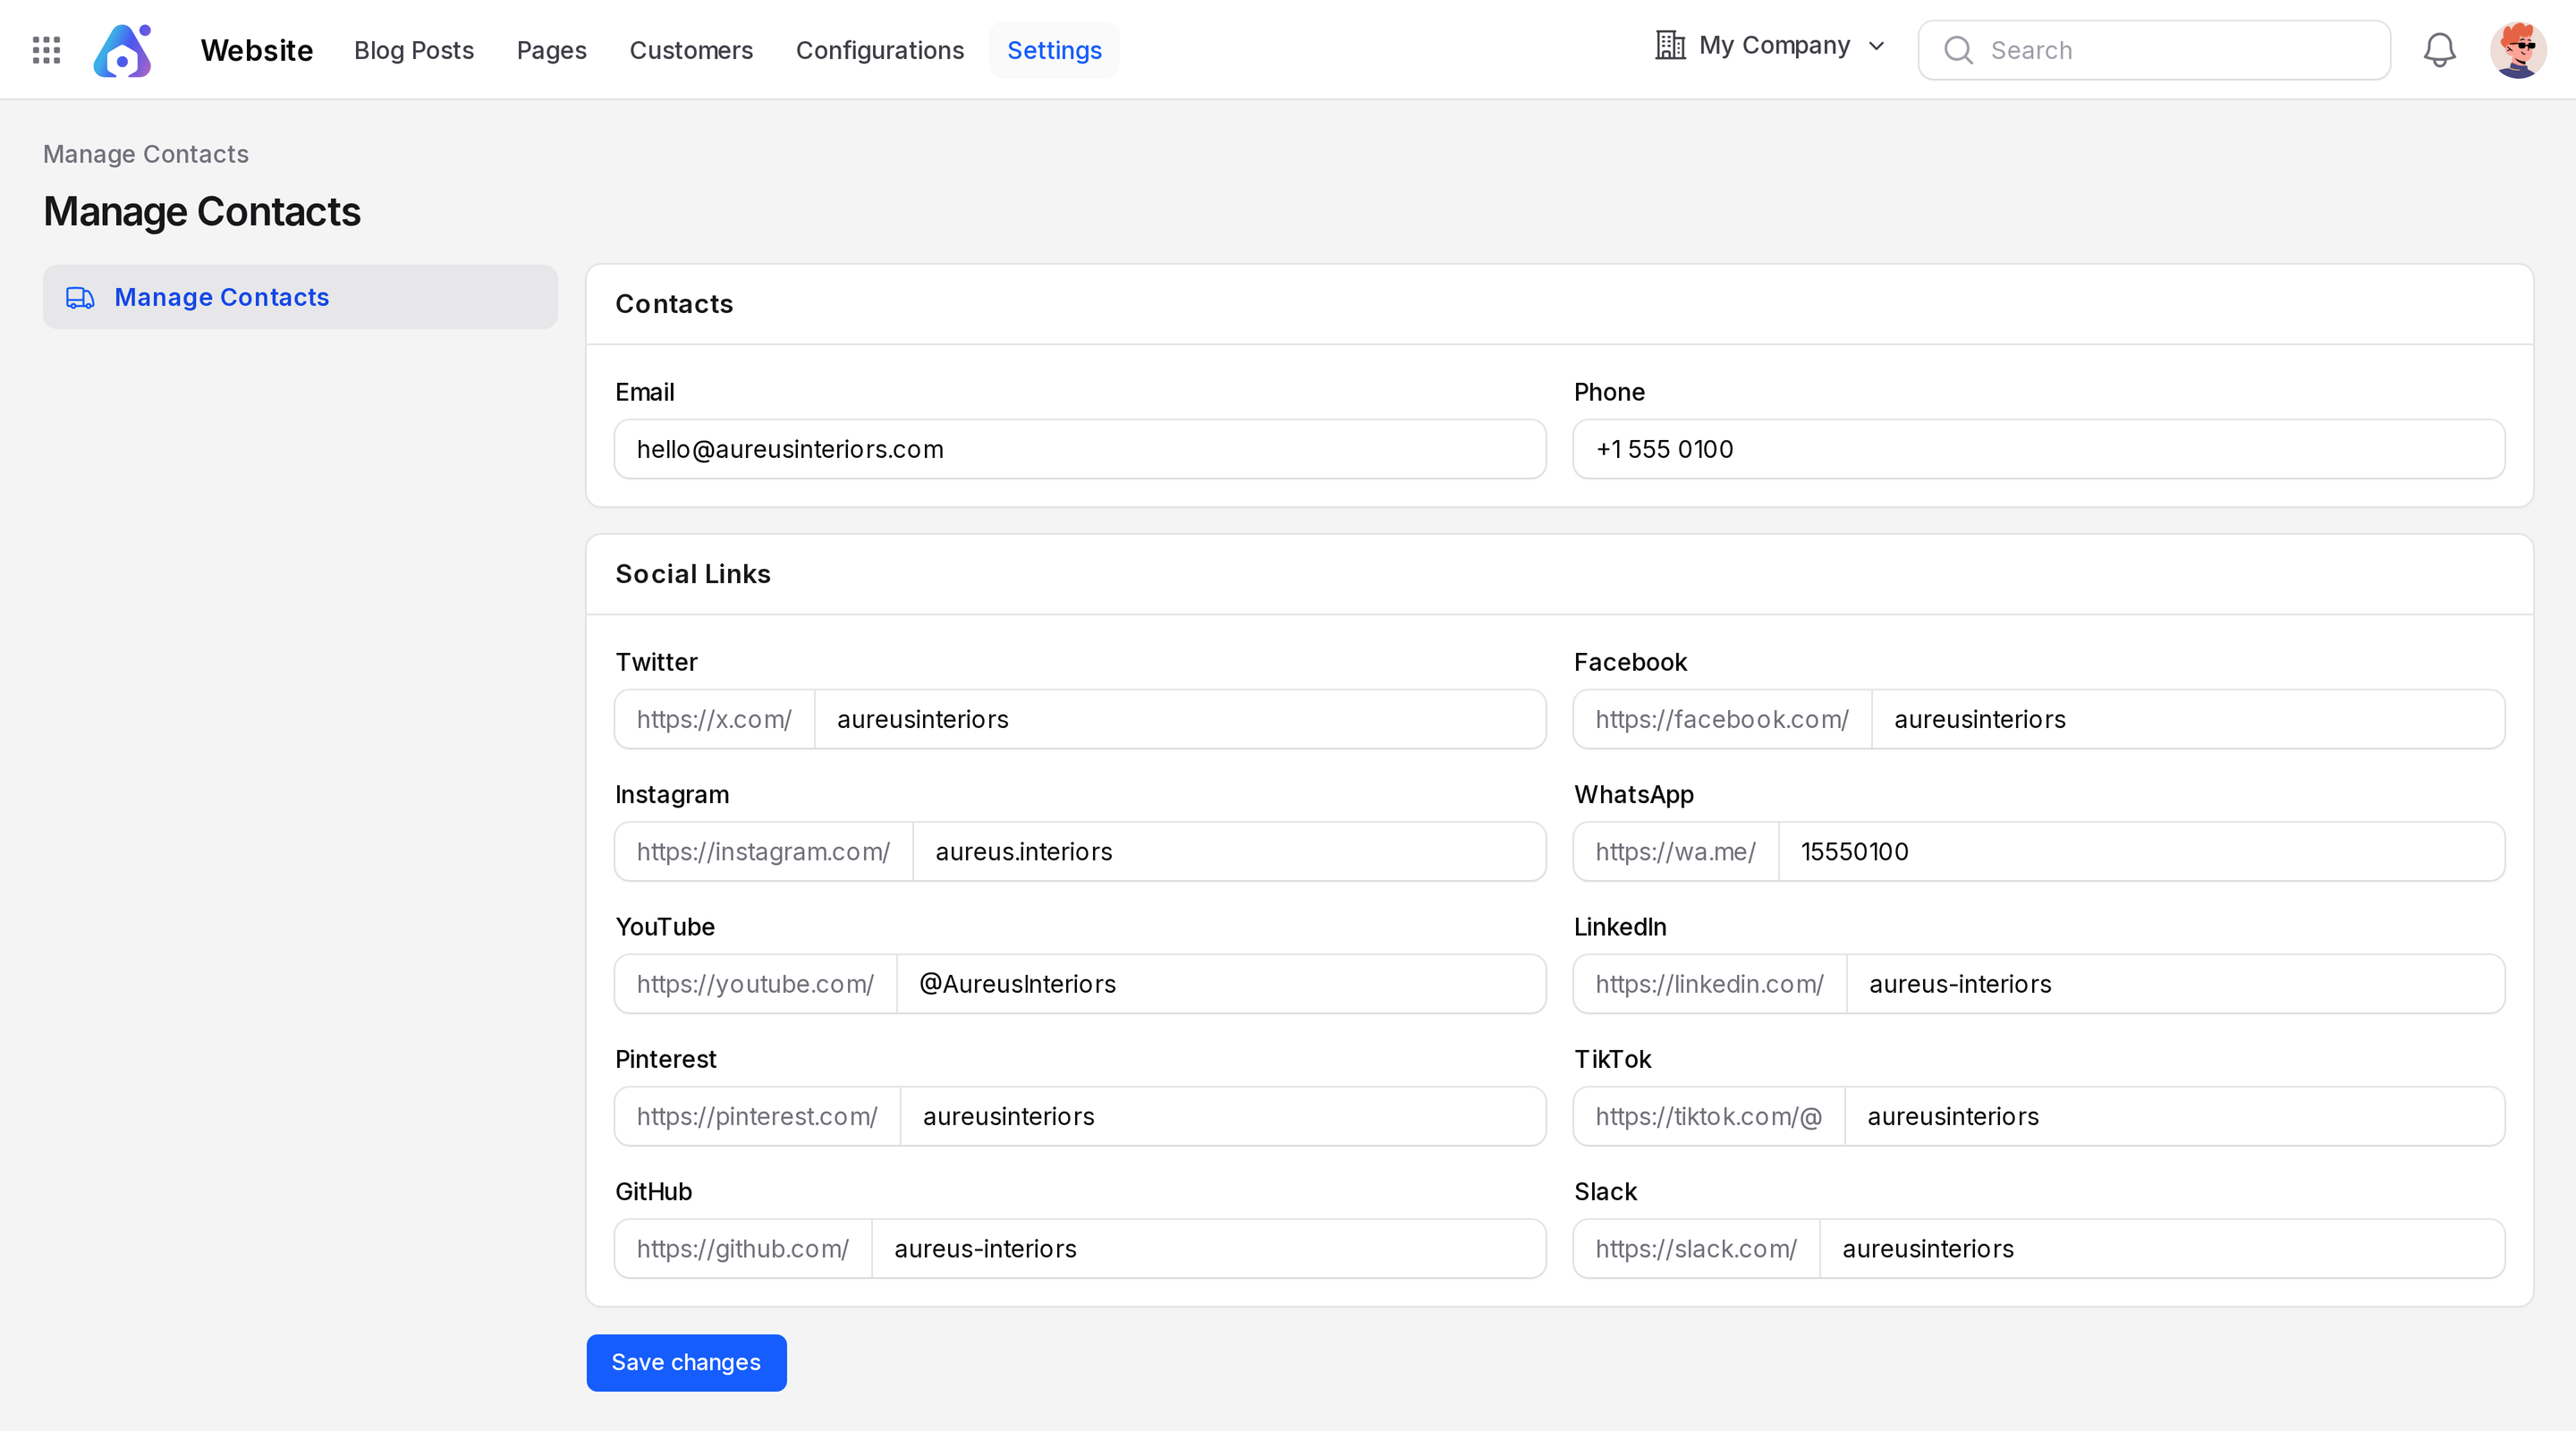
The footer now shows these details. See Manage contacts.
Step 2: Edit the Home page
- Go to
Website → Pages. - Open the page Home and click Edit.
- In the Content editor, replace the sample text with a welcome message.
- Click Save changes.
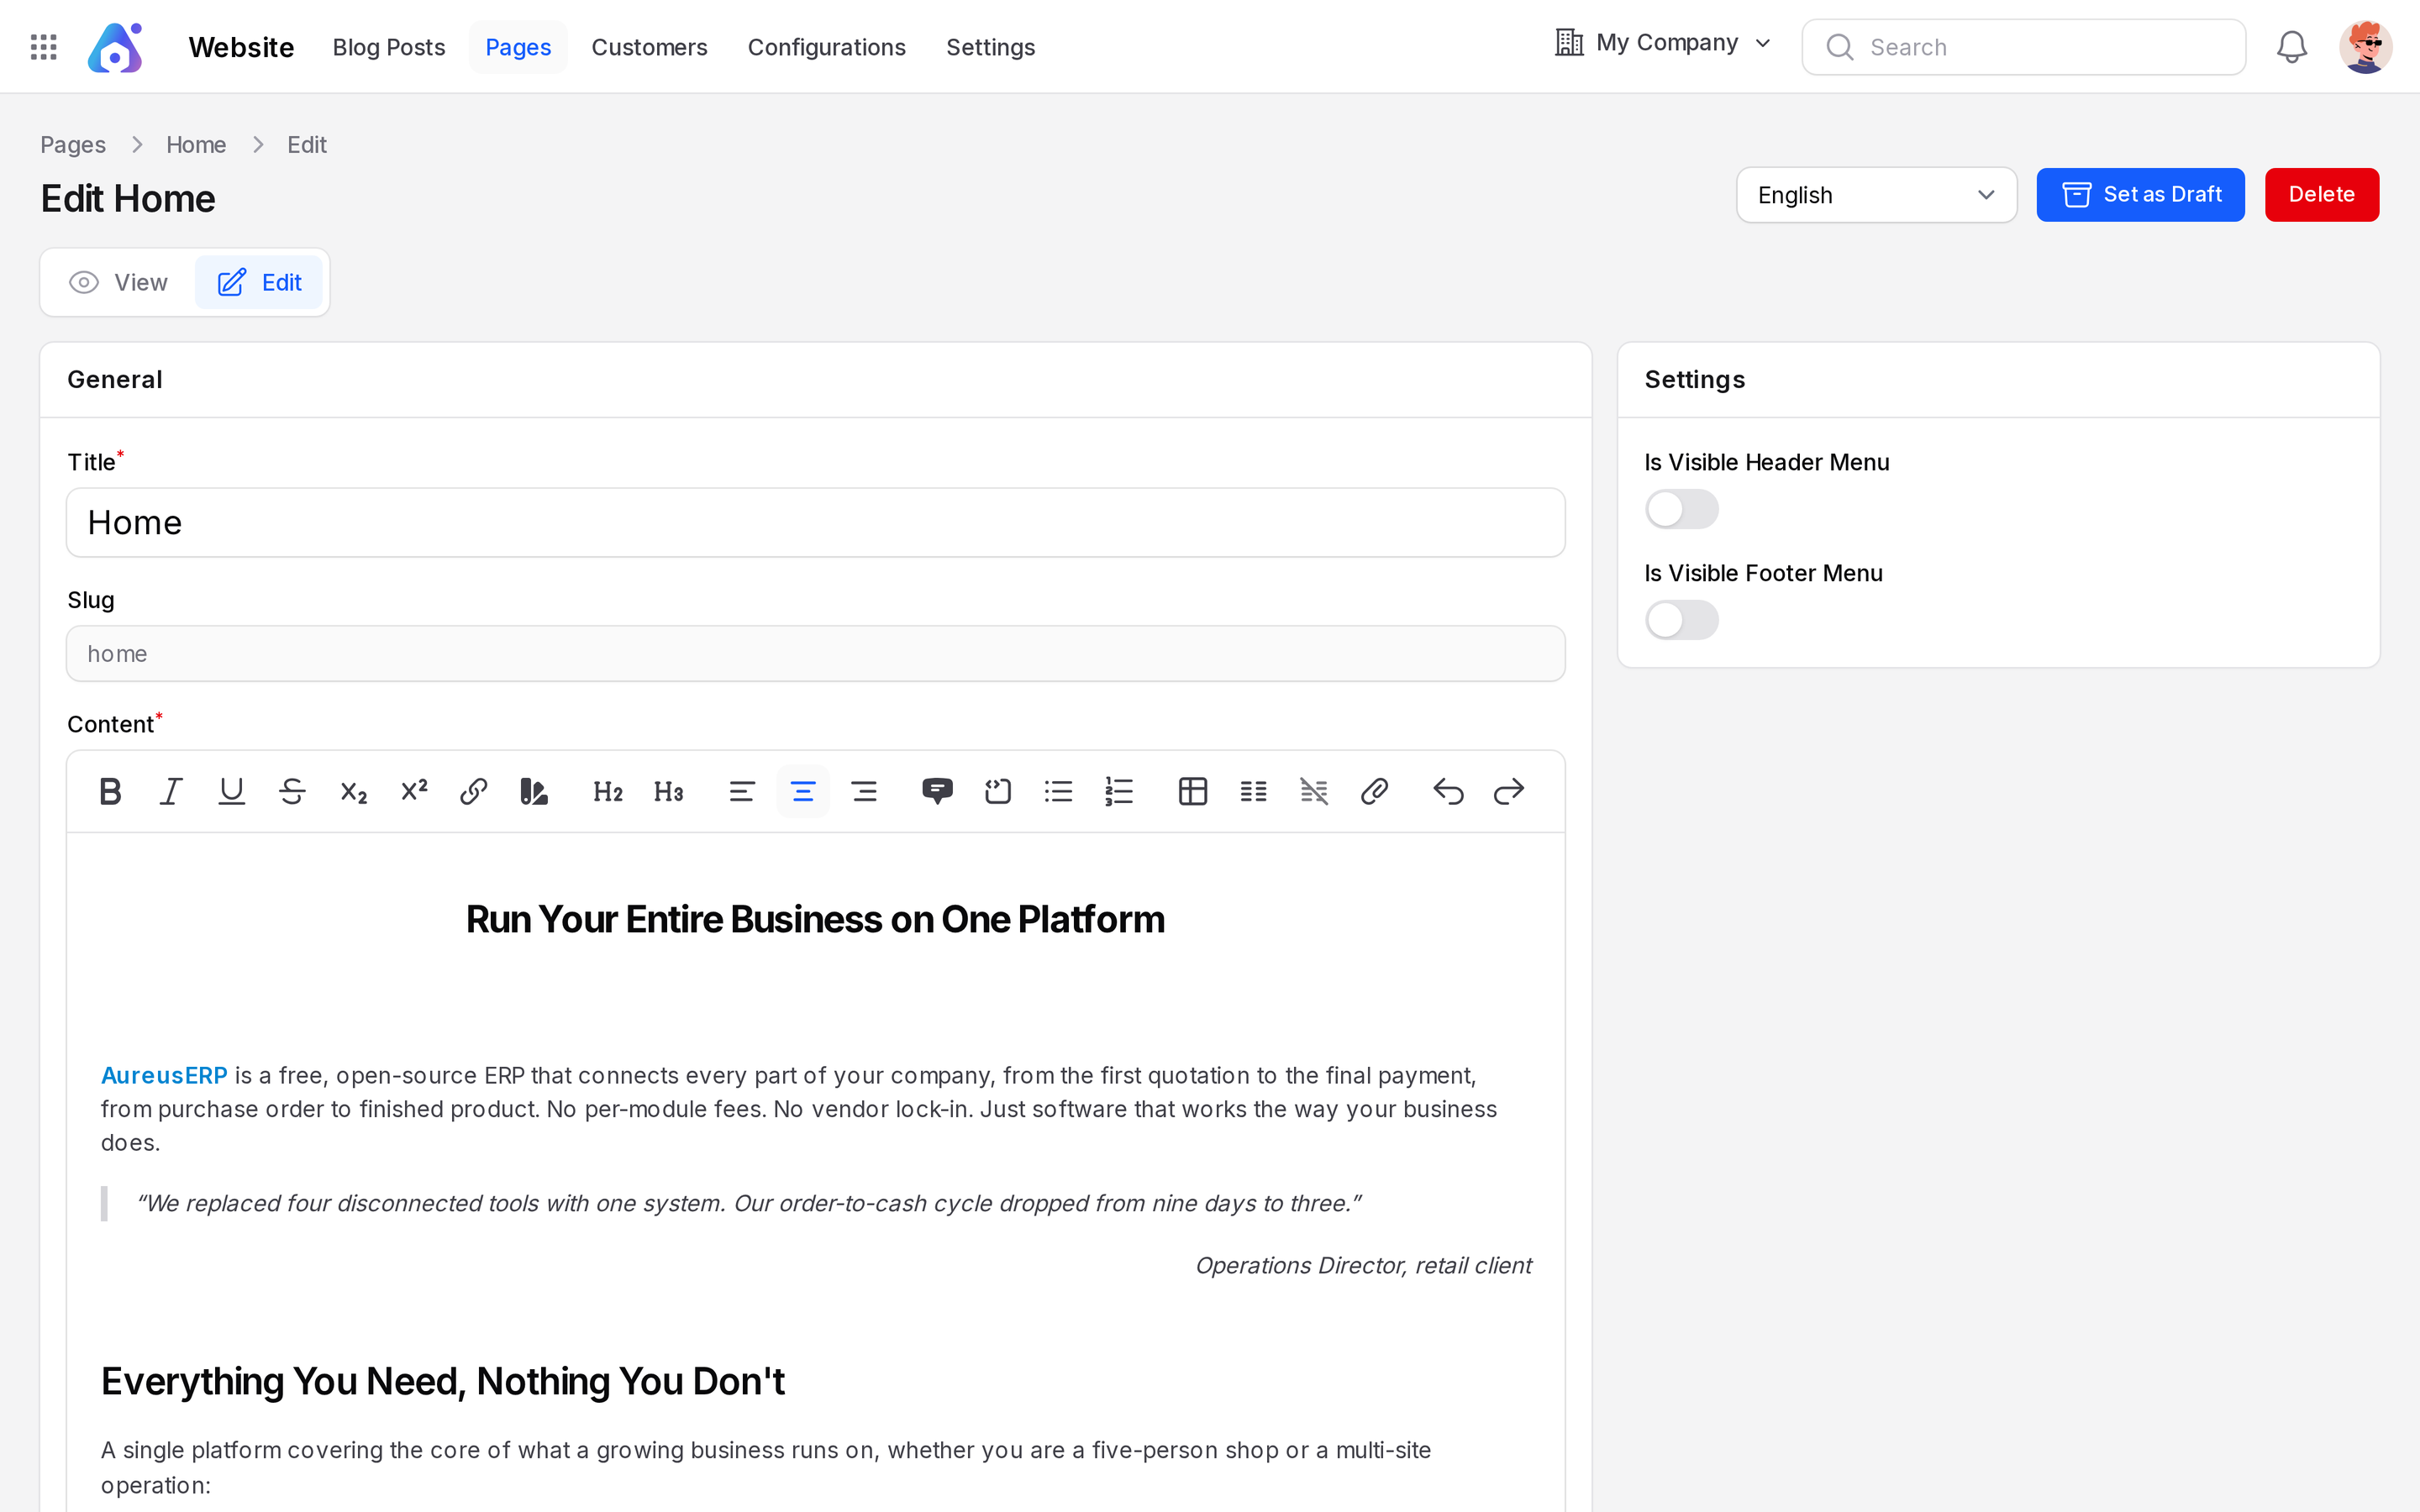
Do not change the Slug. The slug home makes this page the front page. See Create a page.
Step 3: Create a page for the header menu
- In
Website → Pages, click New Page. - Enter Title
Our Team. The Slug fills in asour-team. - Write the Content.
- Open the Settings tab. Turn on Is Visible Header Menu.
- Click Create.
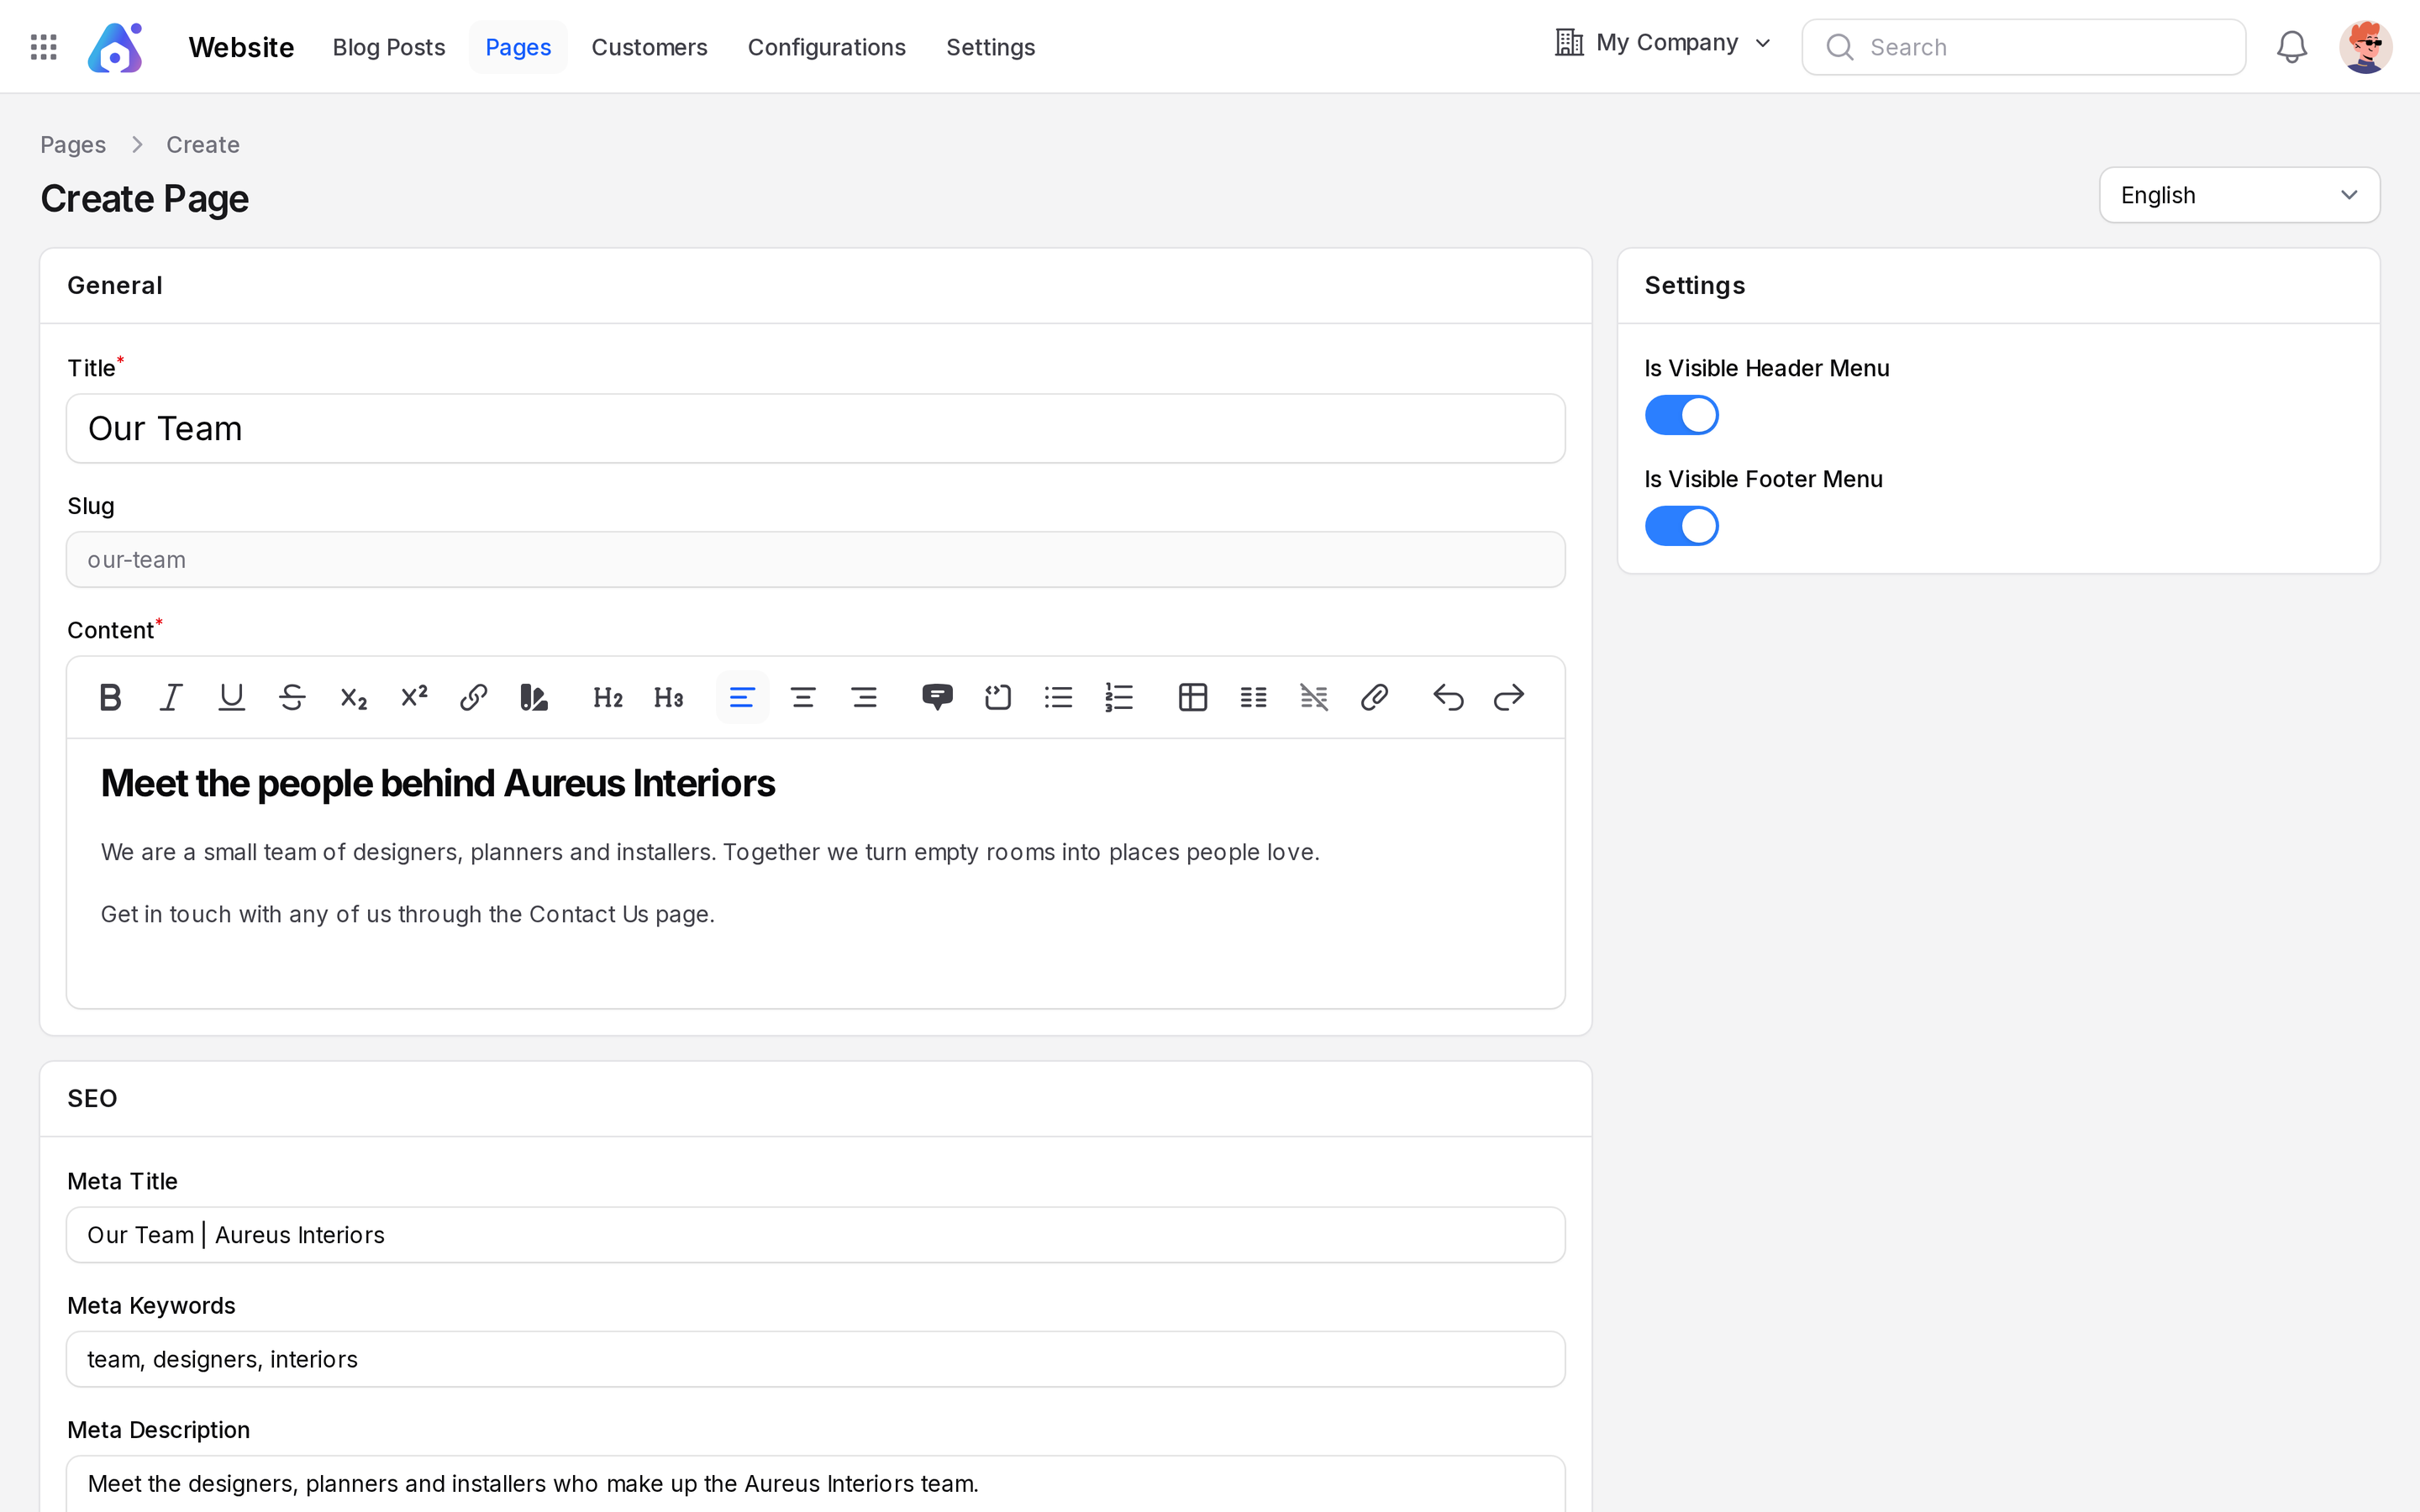
The page starts as a draft. Click Publish in the header of the page.
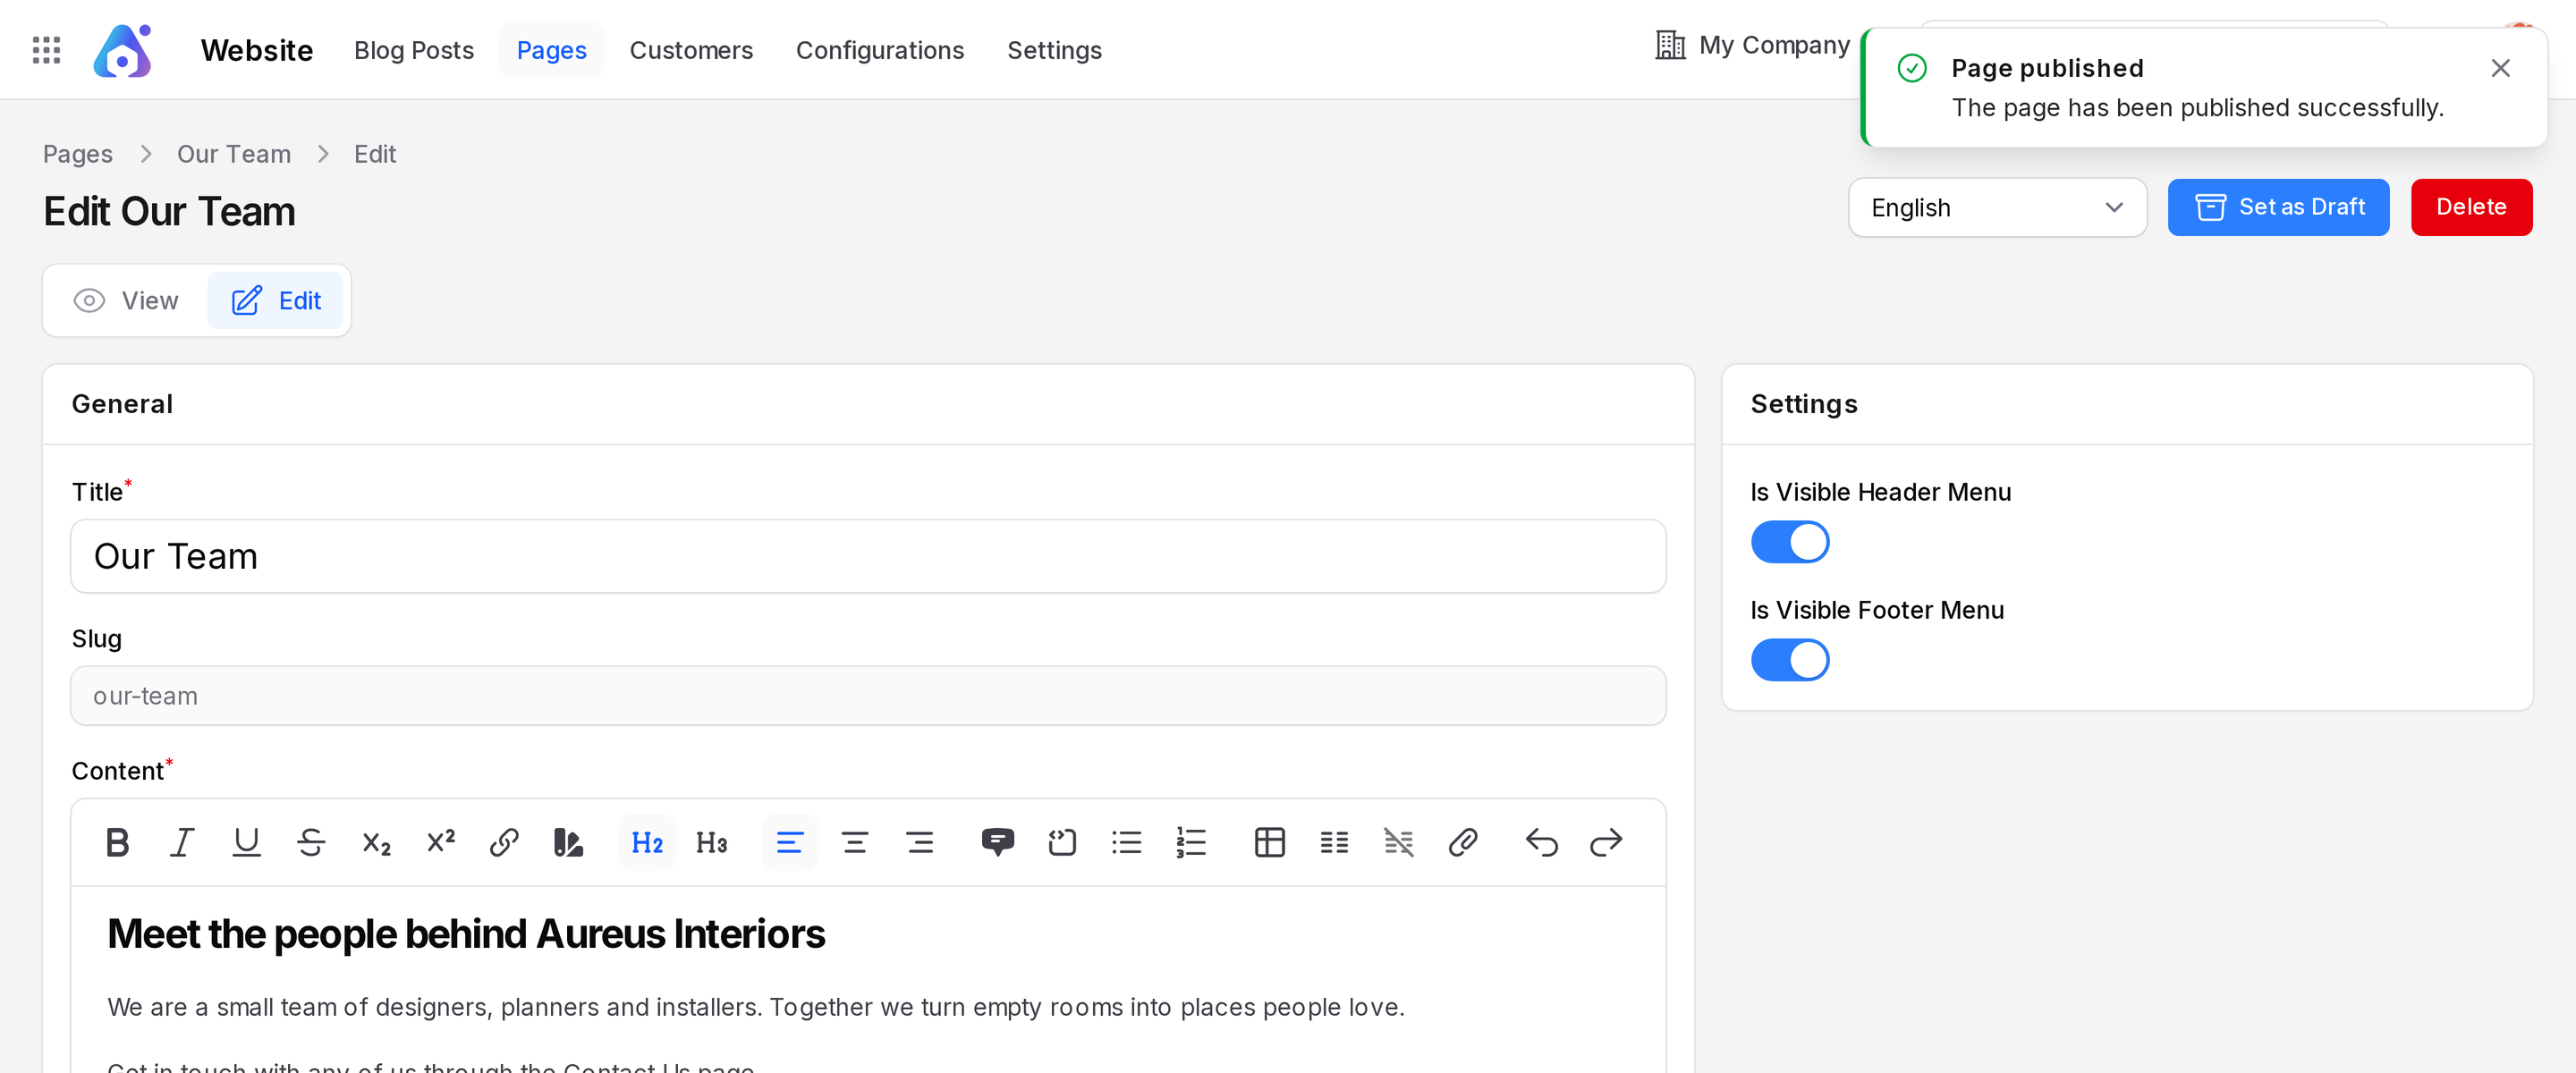
You see "Page published". See Publish and draft.
Step 4: Create a category and a tag
- Go to
Website → Configurations → Categoriesand click New Category. - Enter Name
The Knowledge Vault. Click Create. - Go to
Website → Configurations → Tagsand click New Tag. - Enter Name
Learn and Grow. Pick a Color. Click Create.
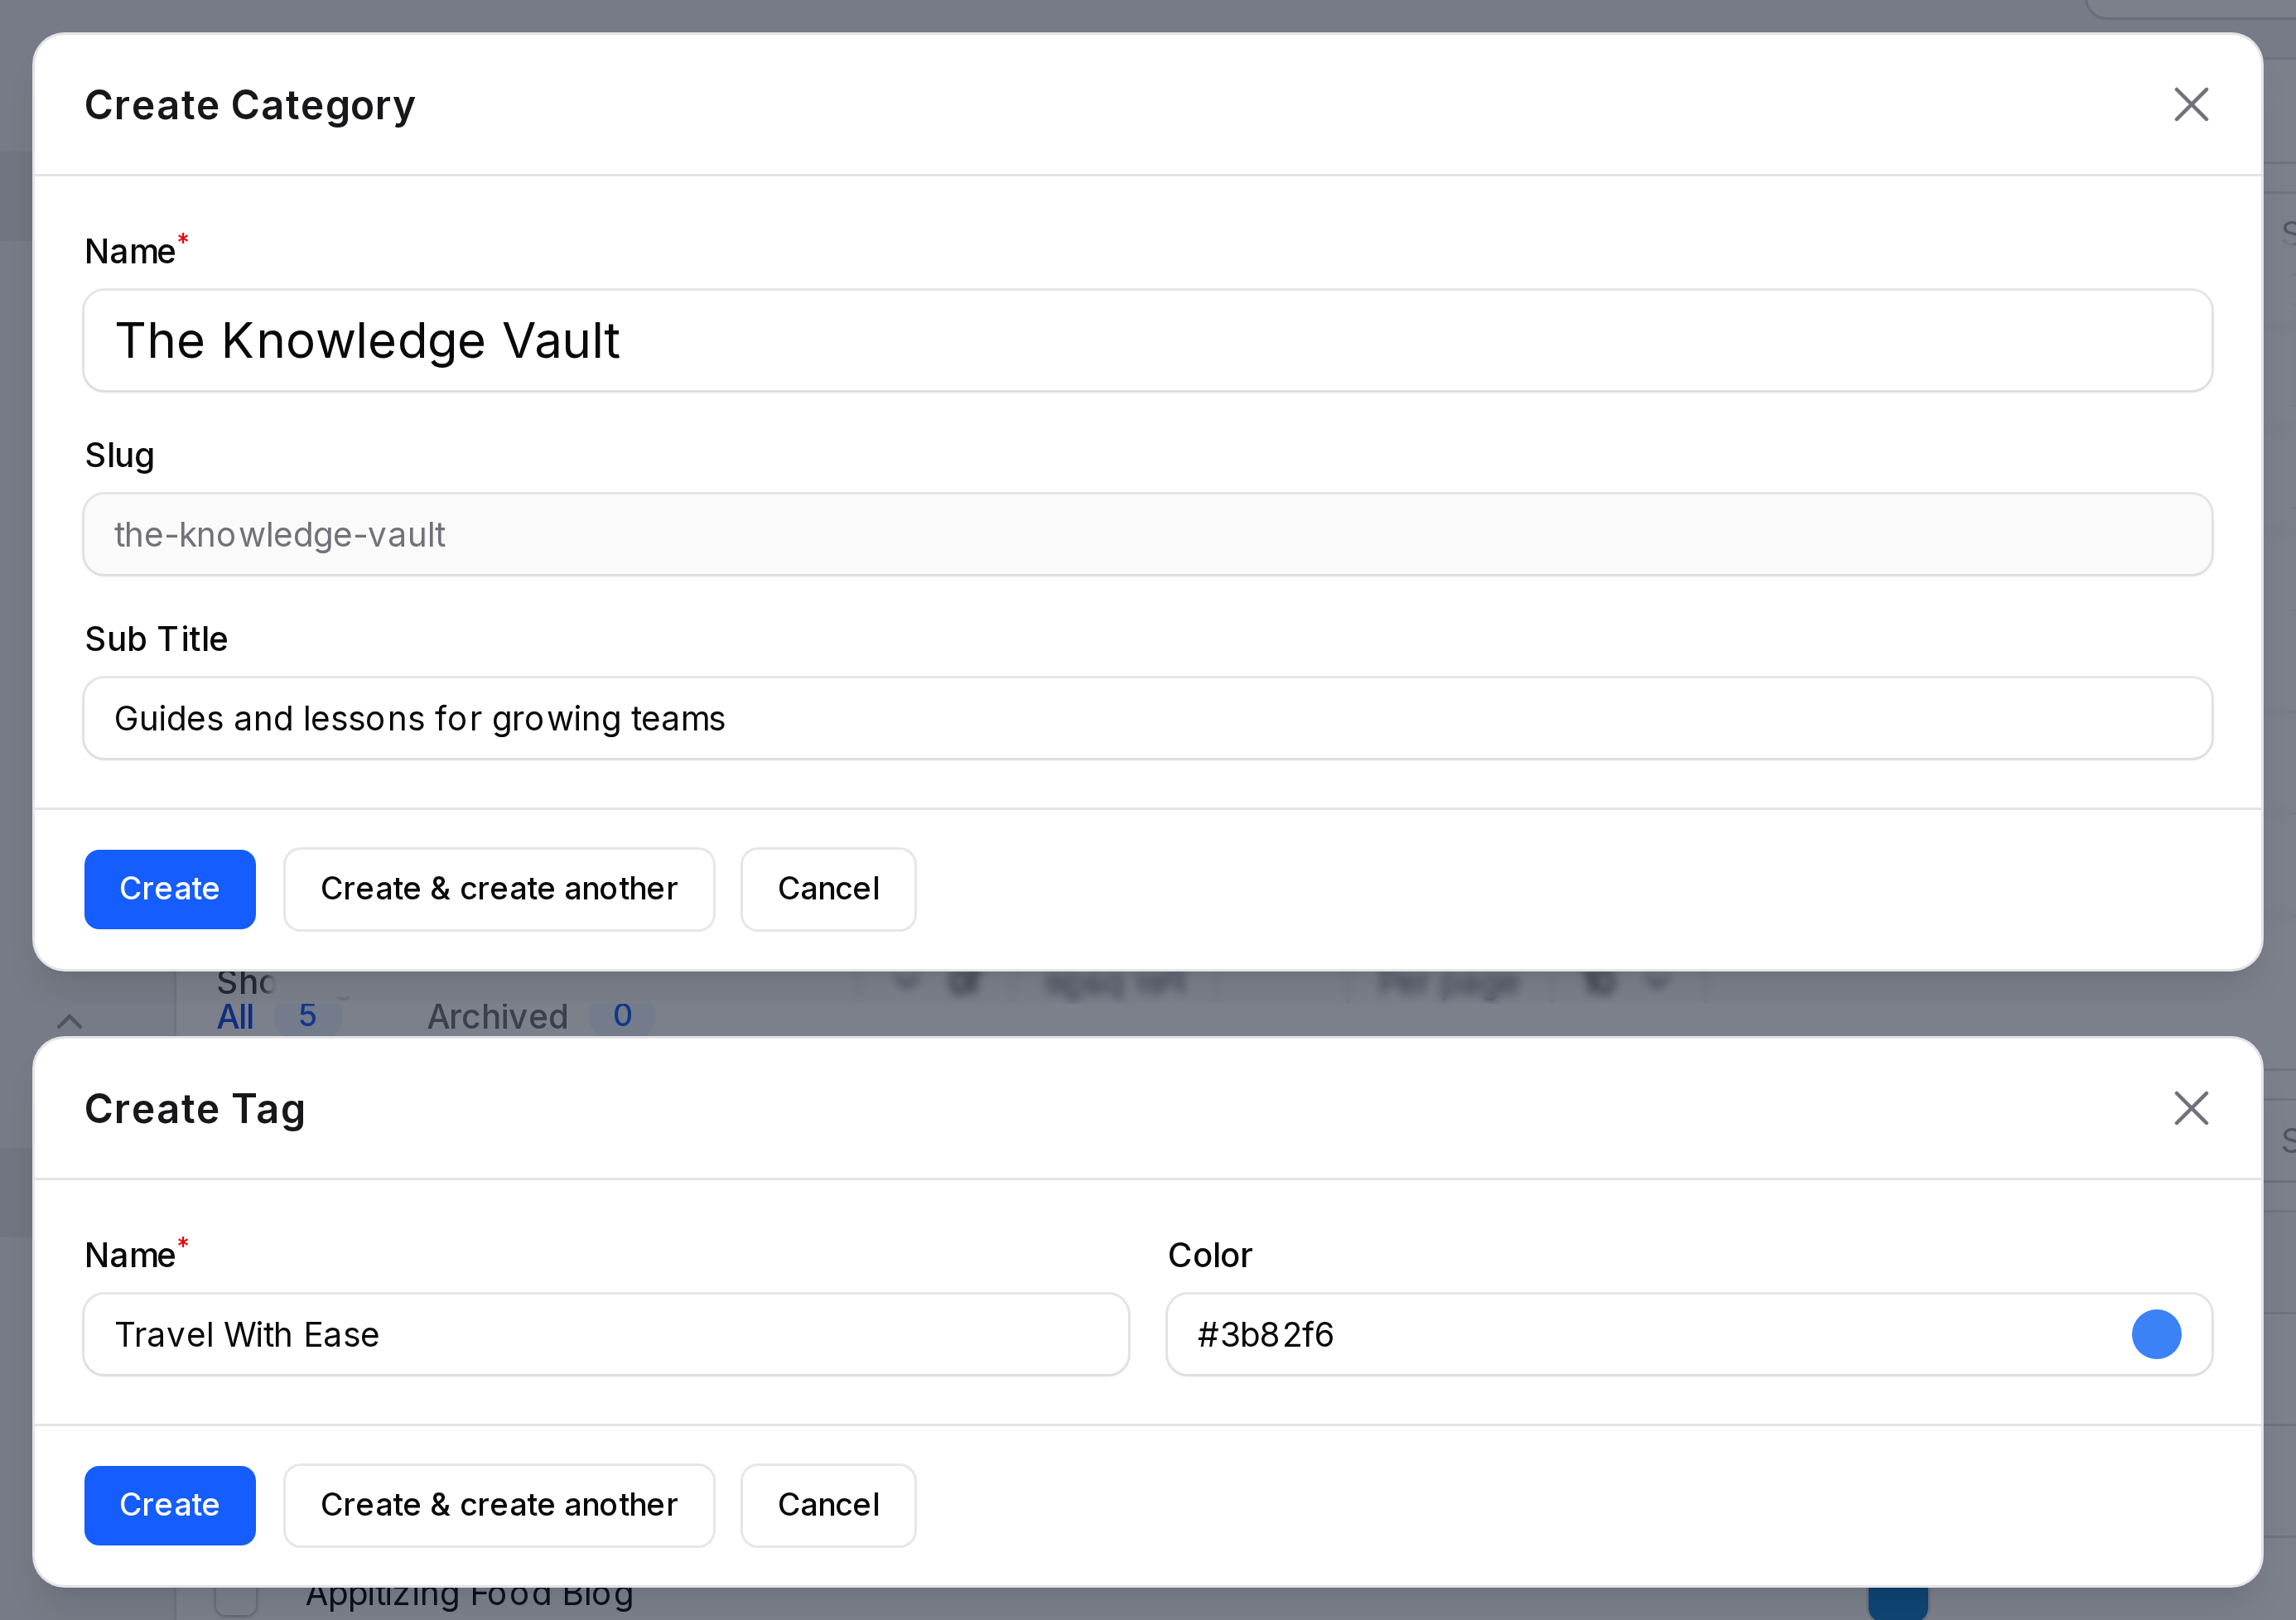
See Categories and tags.
Step 5: Write and publish a blog post
- Go to
Website → Blog Postsand click New Post. - Enter Title
Cloud ERP: Why Small Teams Are Switching. - Add a Sub Title, the Content and a Banner image.
- Open the Settings tab. Choose Category
The Knowledge Vaultand TagsLearn and Grow. - Click Create, then click Publish.
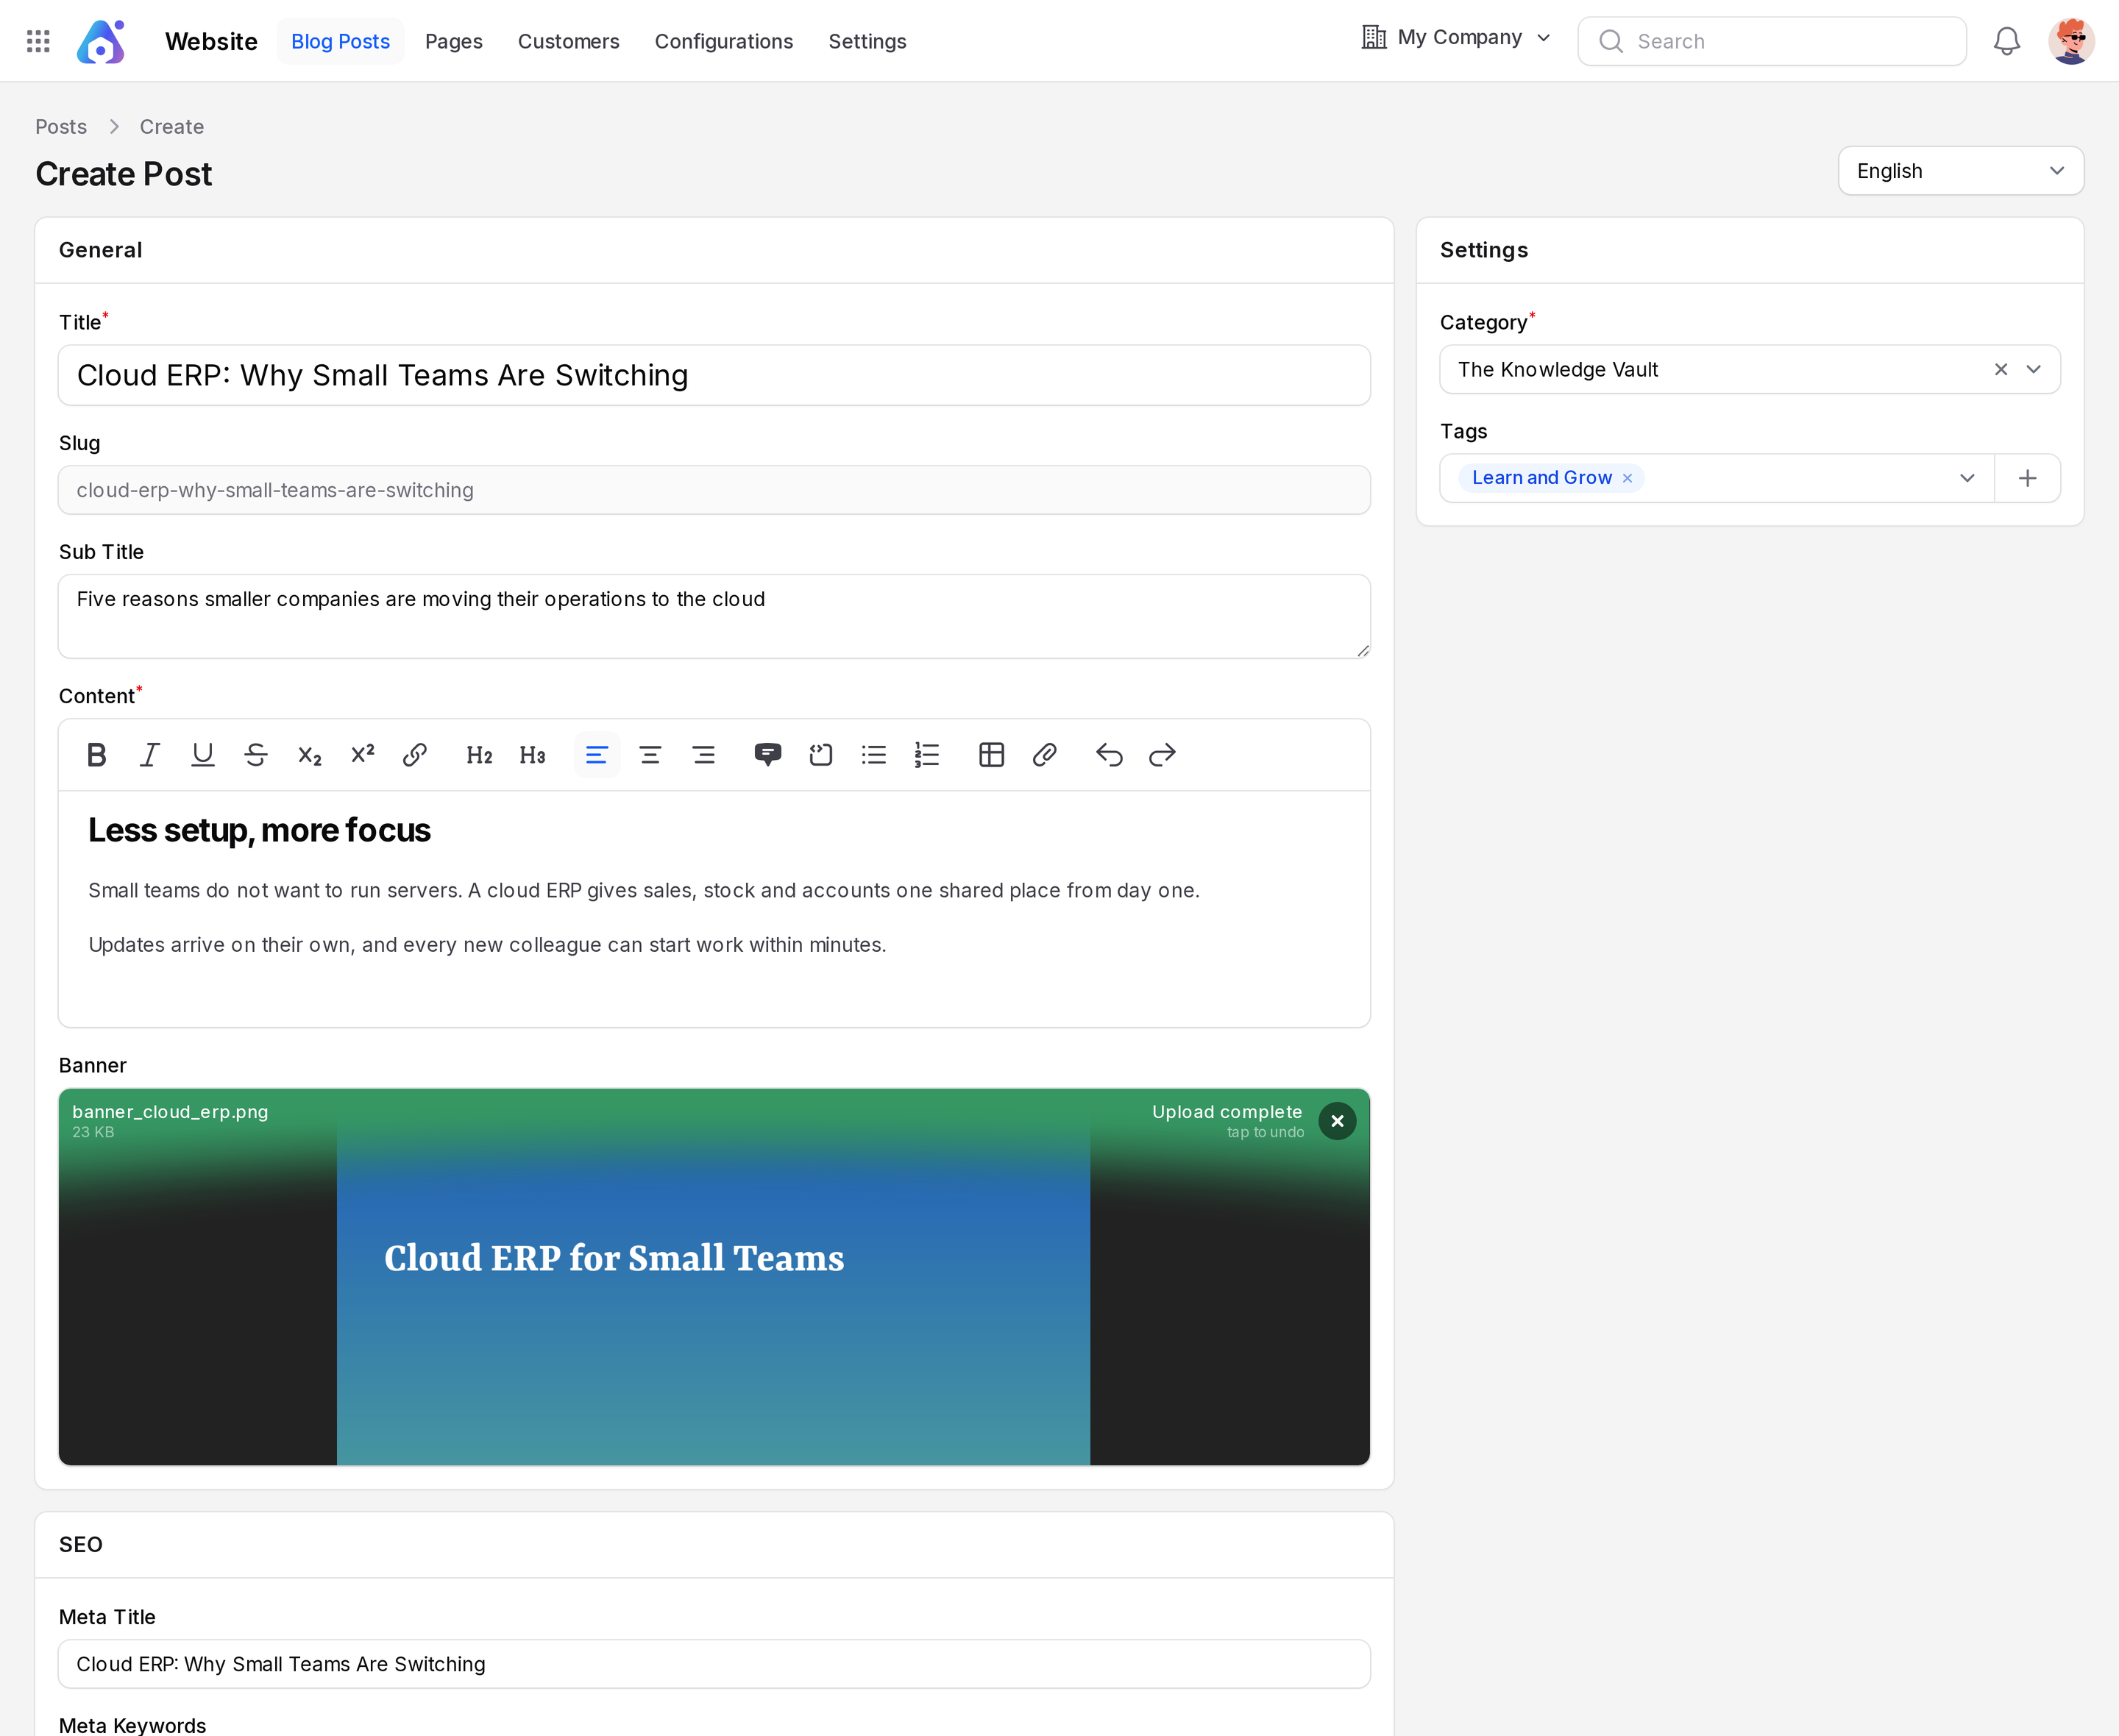
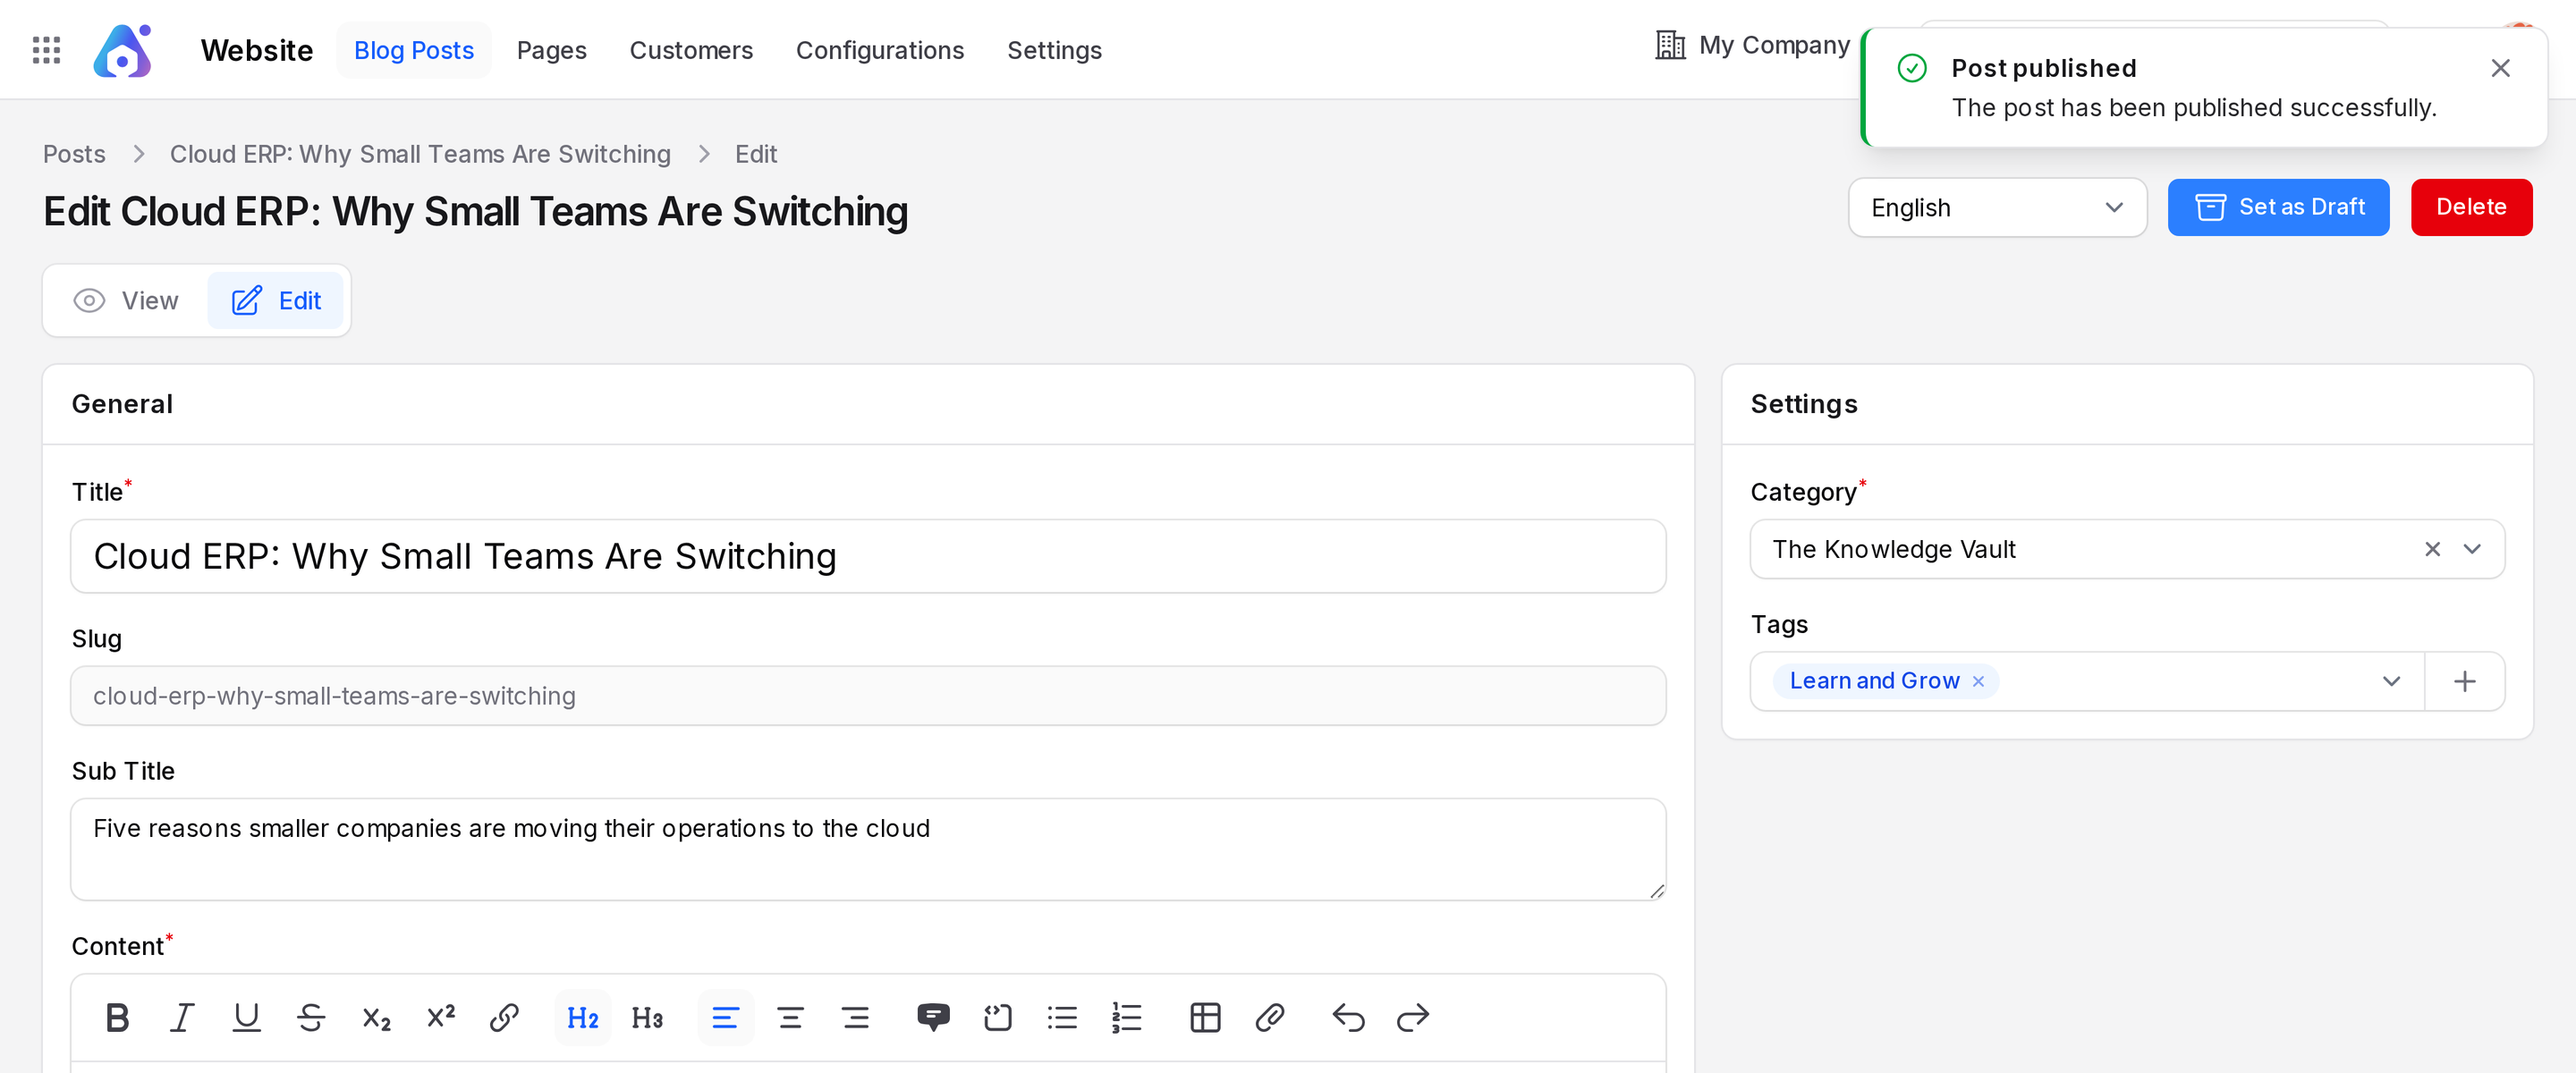
You see "Post published". The author is you. See Blog posts.
Step 6: Check the public site
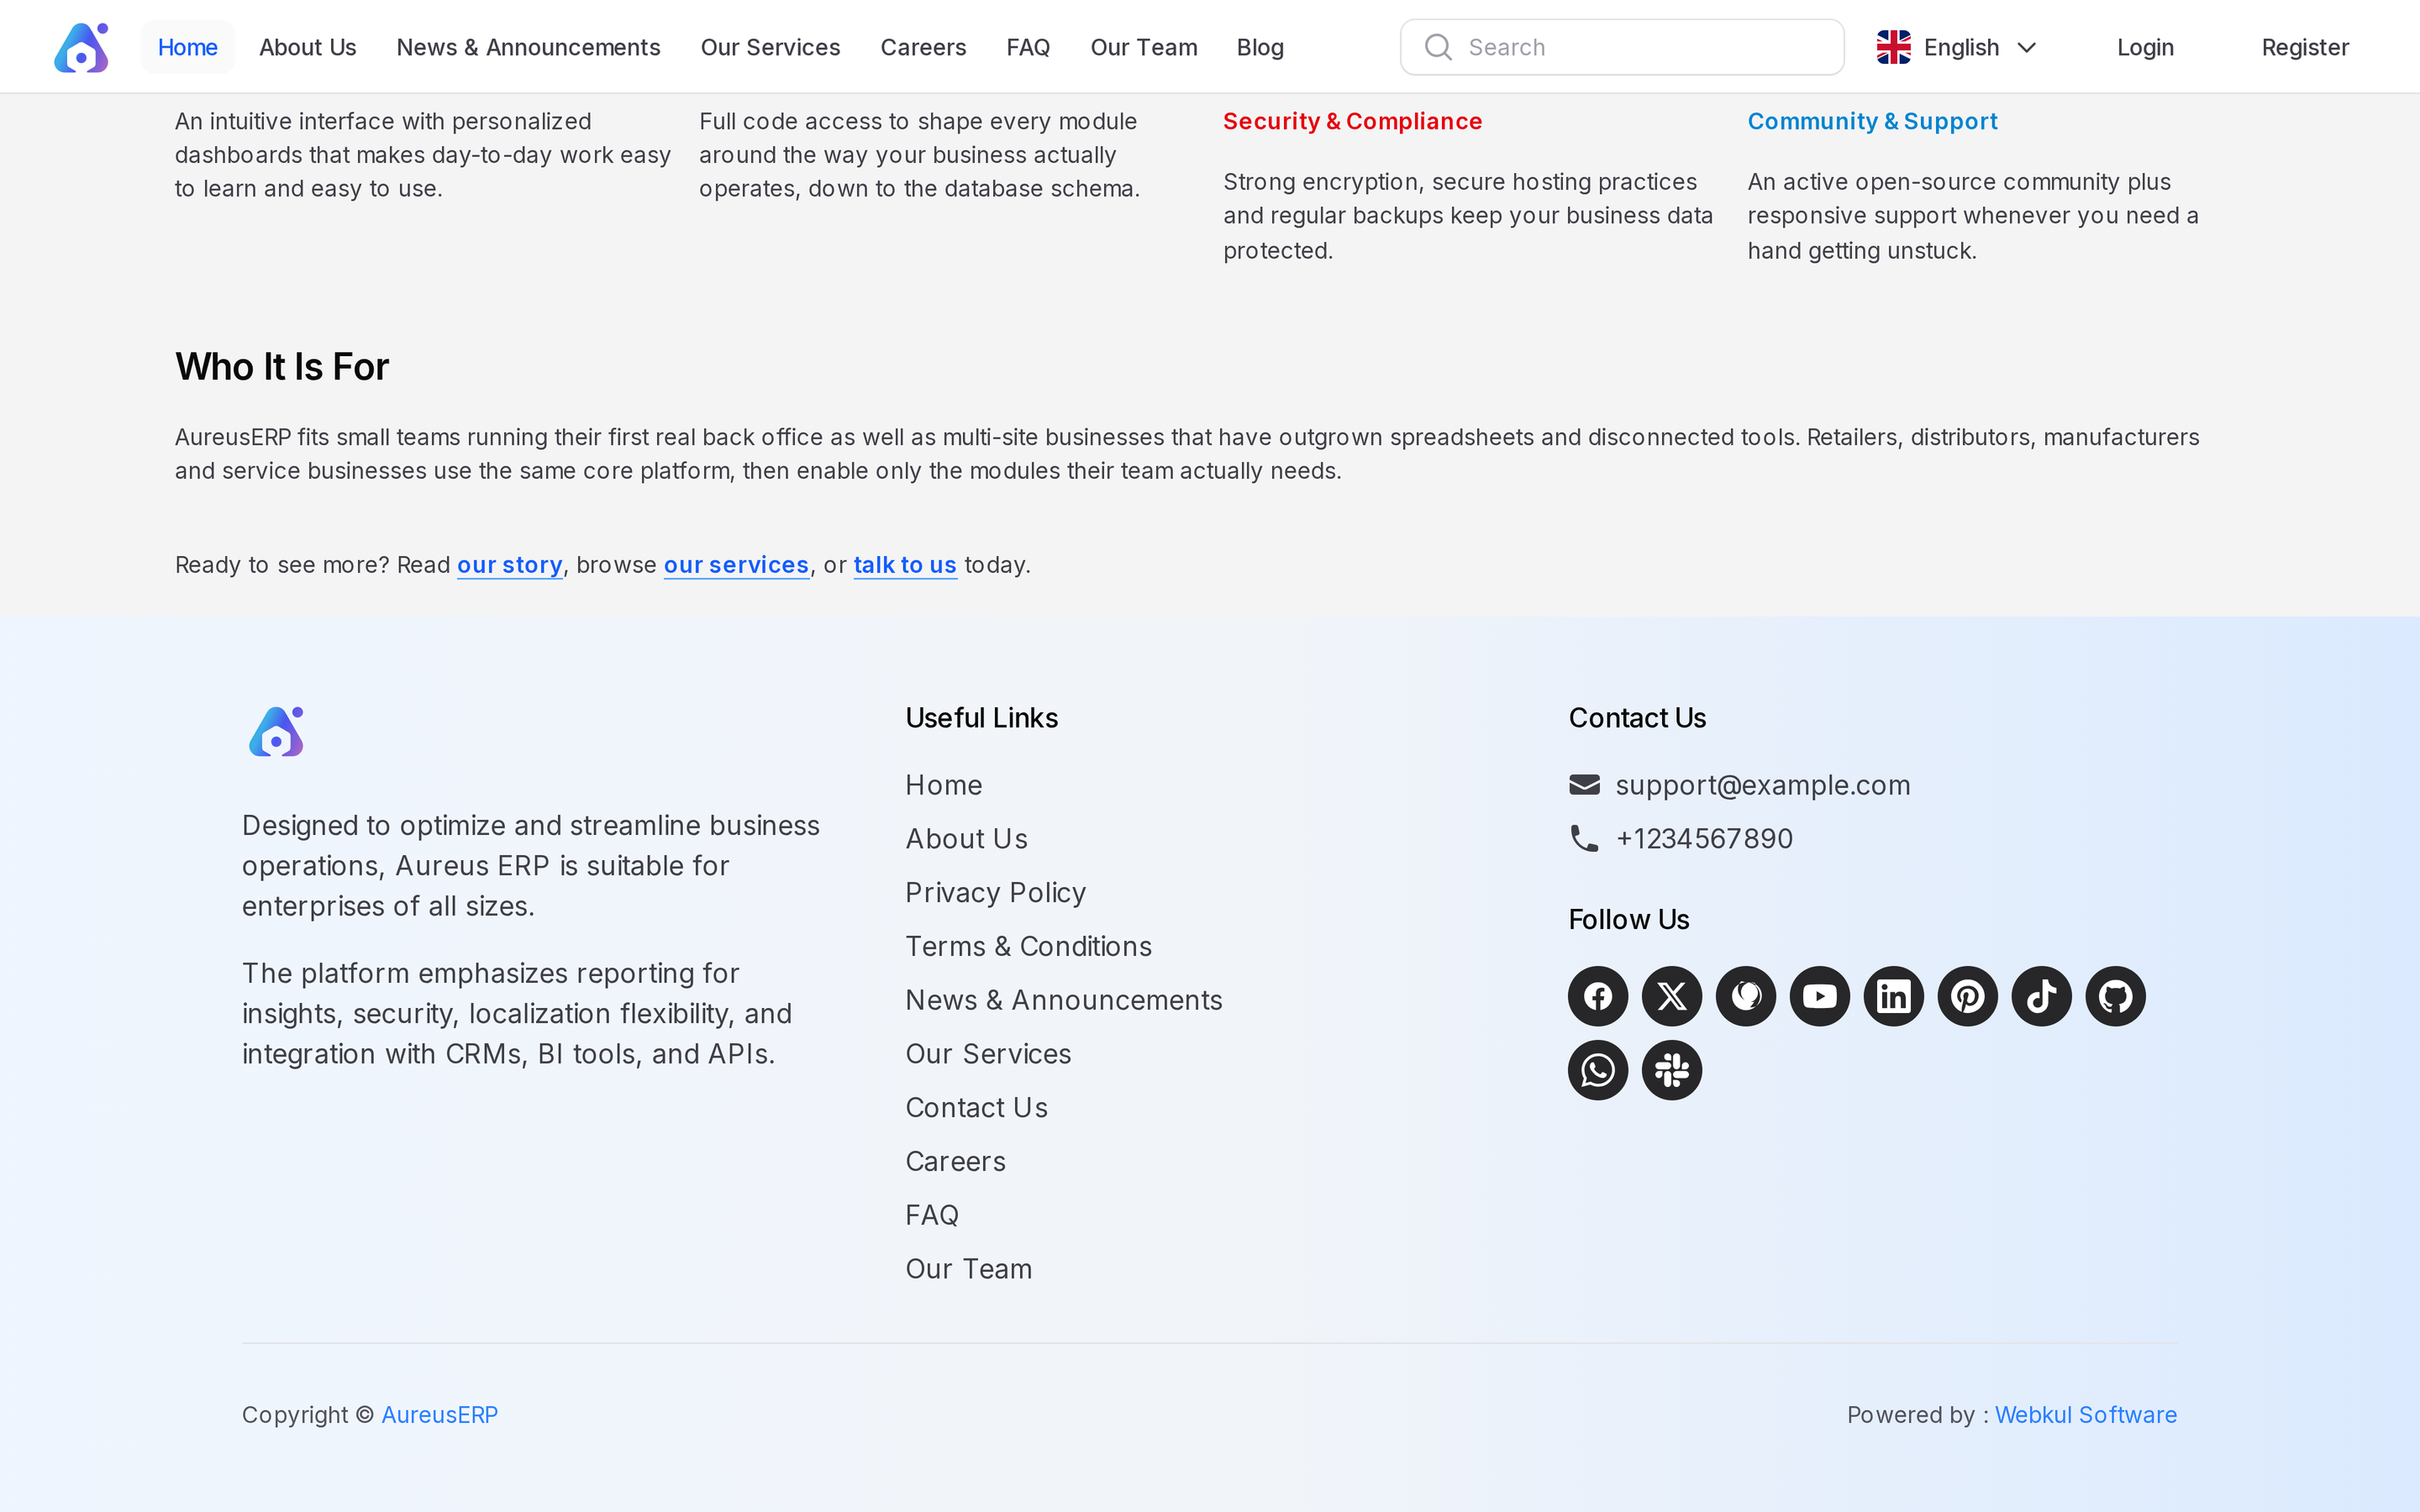
- Open your site in a new browser tab. Use the address of Aureus without
/admin, for examplehttps://your-domain/. Check the welcome text and the footer. - Find Our Team in the site header. Click it.
- Click Blog. Find your post. Click its category pill.
Behind the scenes
| You did | The public site changed |
|---|---|
| Saved Manage Contacts | Footer Contact Us and Follow Us |
| Edited Home | The page at / |
| Turned on Is Visible Header Menu and published | Our Team in the site header |
| Published a post | New entry on /blog |
What you learned
| Step | Result |
|---|---|
| Contacts | Footer filled |
| Home | Front page edited |
| New page | In the header menu |
| Category and tag | Ready for posts |
| Post | Live on /blog |