

Receipts
A receipt records goods that arrive from a vendor. When you validate it, the quantities are added to your stock. Most receipts are created for you when you confirm a purchase order, so your job is to check the delivery and click Validate.
In simple words: A receipt says "the vendor delivered this". Validate it and the products appear in your stock.
Open Inventory → Operations → Transfers → Receipts.
Worked scenario: receive PO/00014
Consolidated Components sent the goods of purchase order PO/00014: 10 Smart LED Desk Lamp.
- Confirm the purchase order. See Purchase orders.
- Open
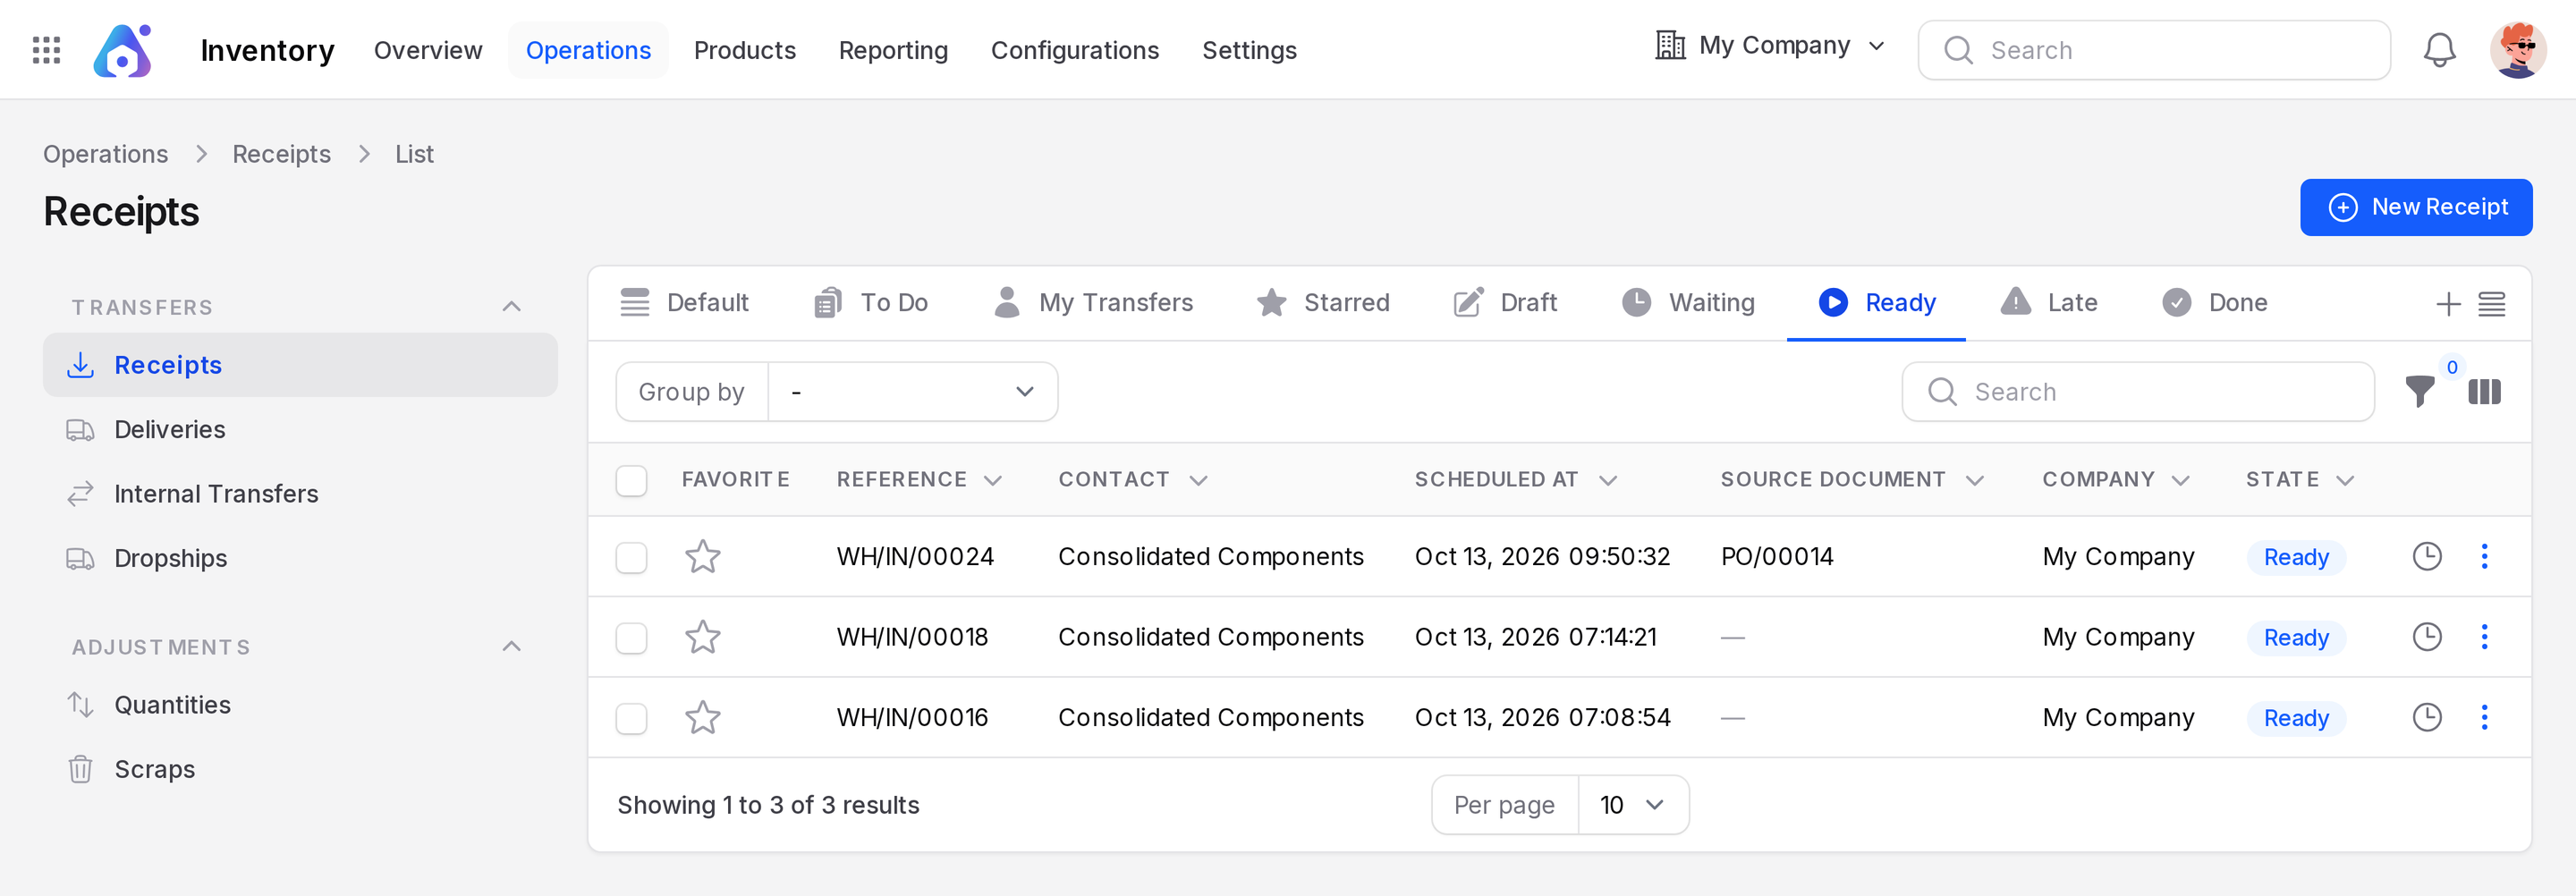
Inventory → Operations → Transfers → Receipts. The receipt WH/IN/00024 is in the list with Source Document PO/00014.
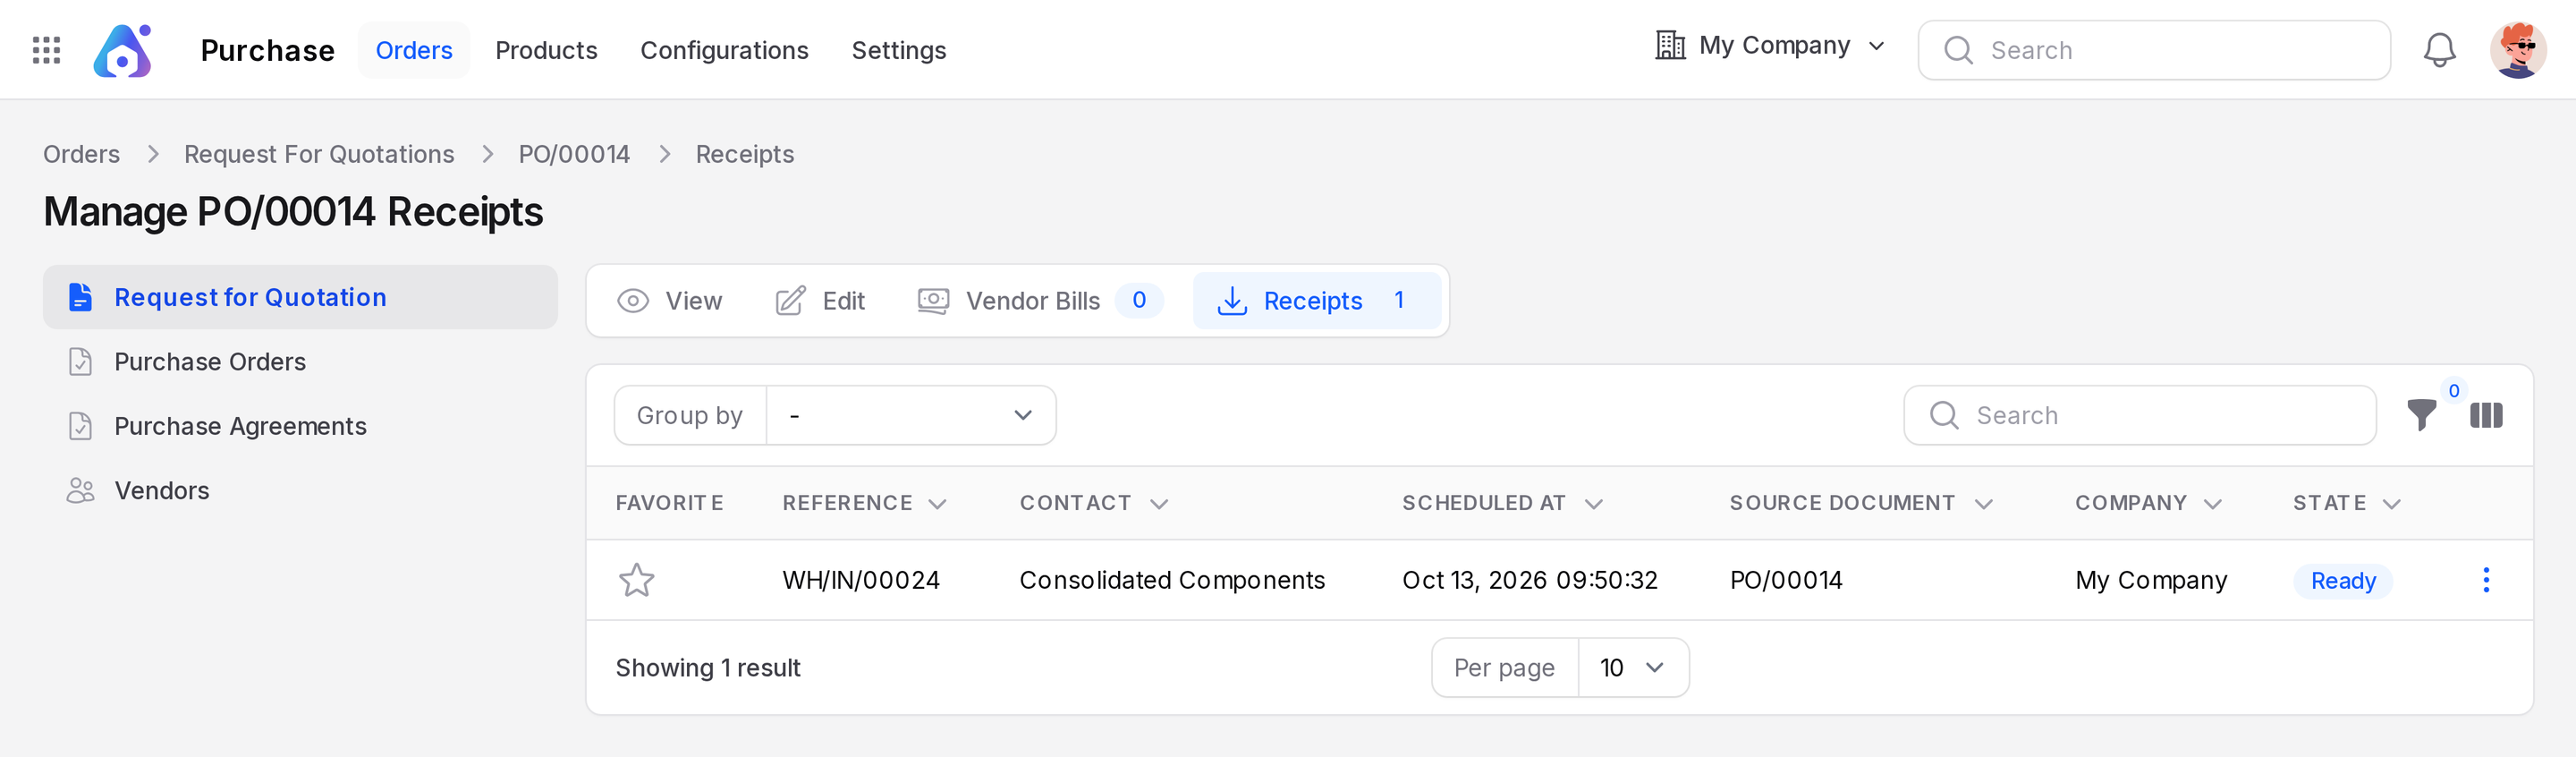
You can also reach it from the order. Open the purchase order. The switcher at the top shows View, Edit, Vendor Bills and Receipts. Click Receipts to open the sub page Manage PO/00014 Receipts.
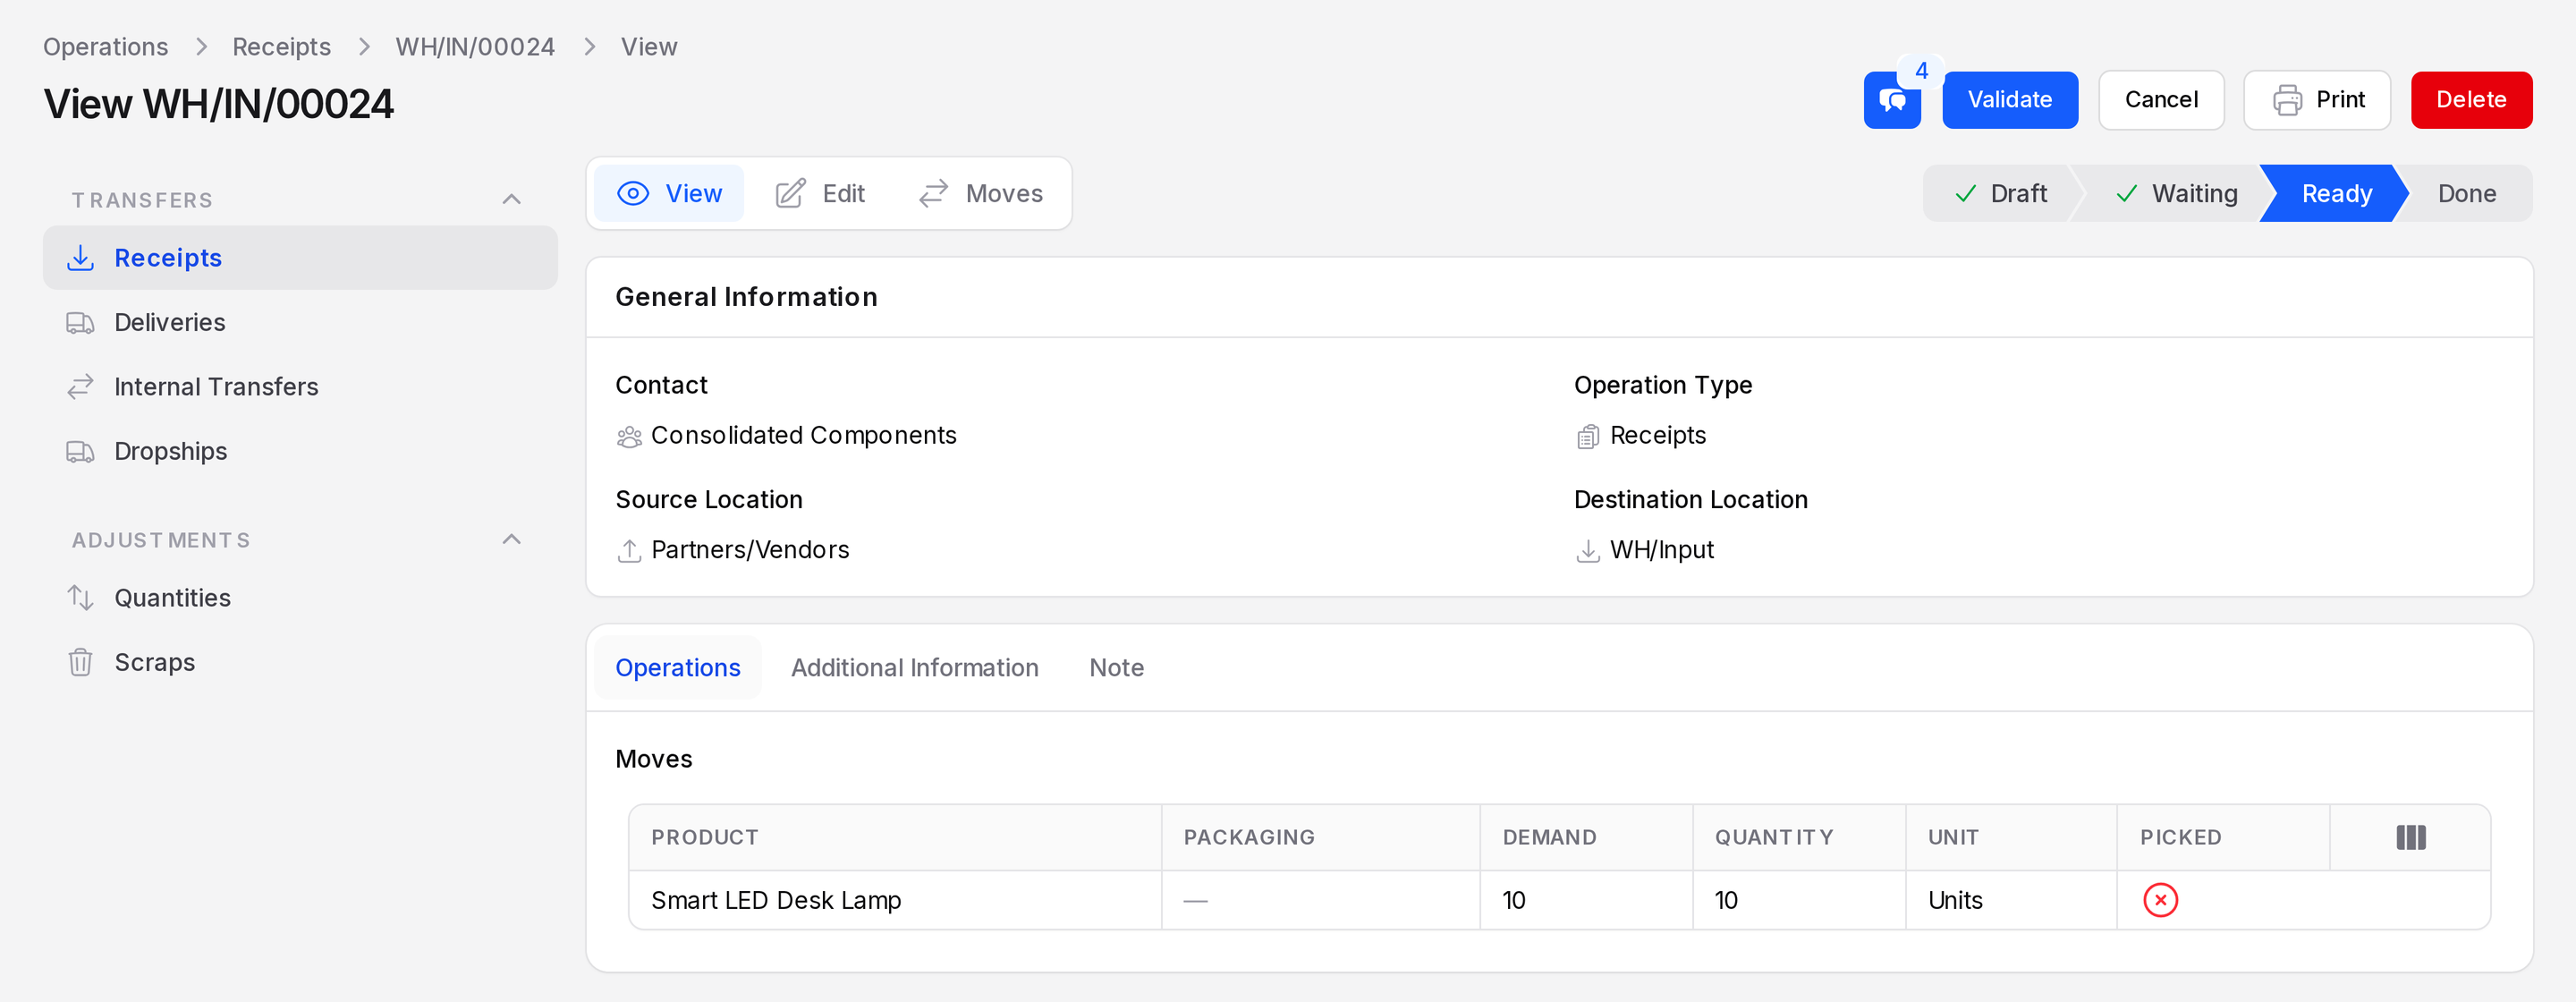
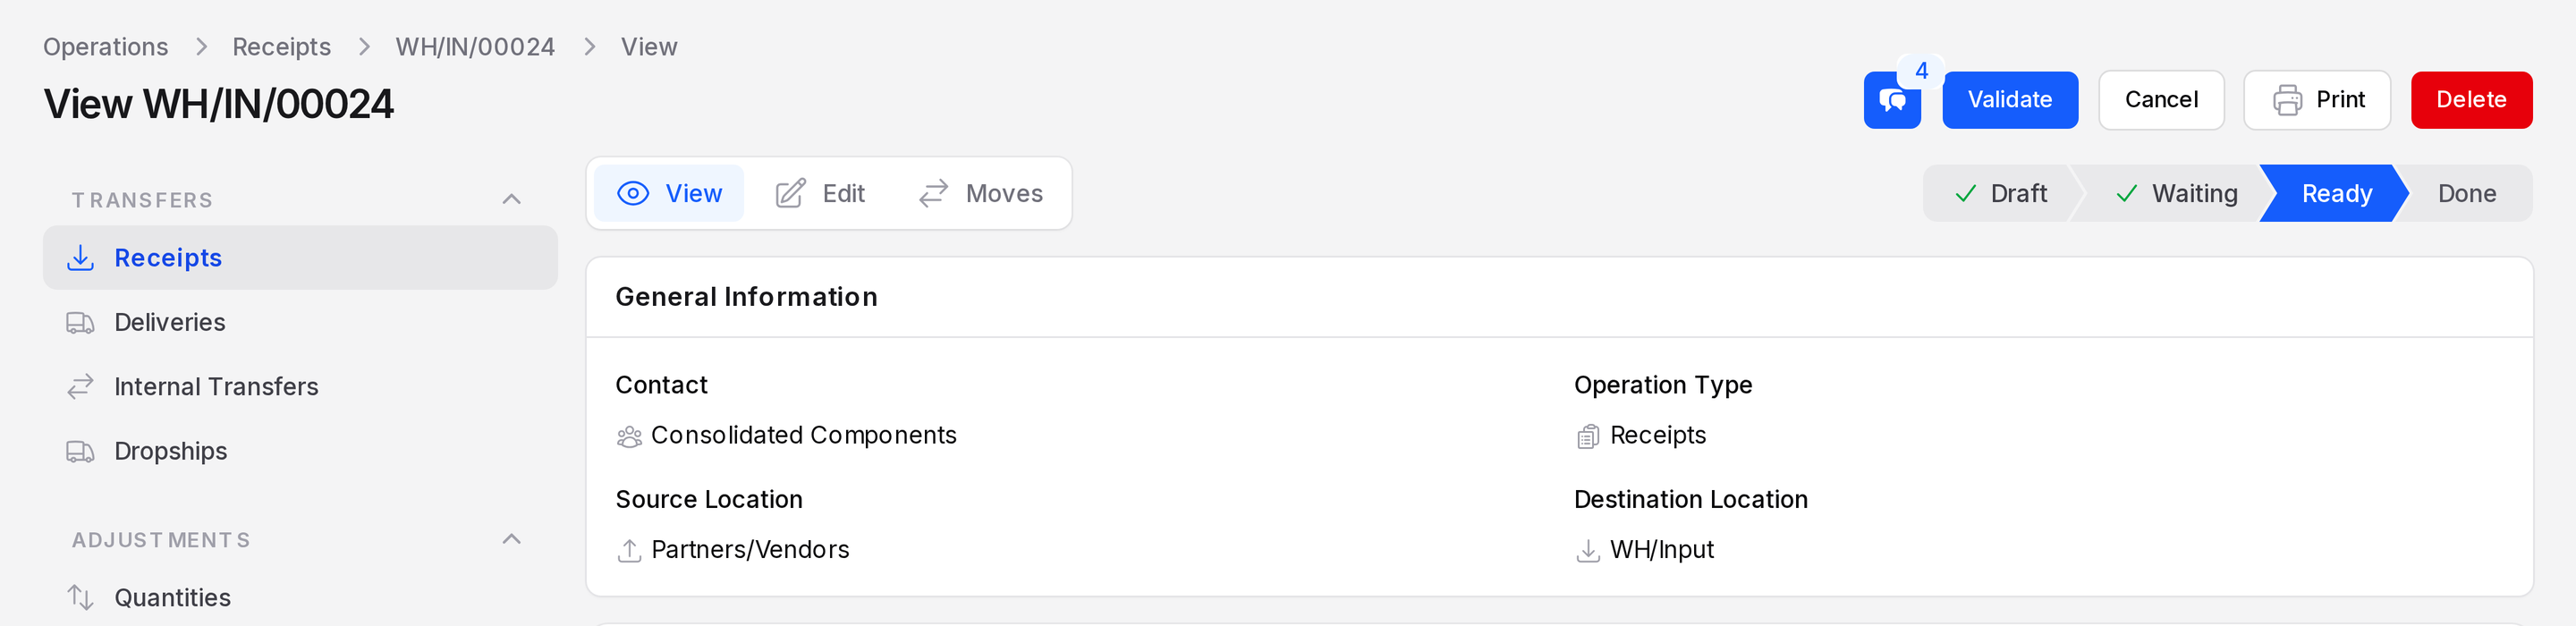
- Click WH/IN/00024. The state bar shows Draft, Waiting, Ready, Done and Canceled, and Ready is highlighted.
- Check the Operations tab. The Demand column is what you ordered.
- Count the goods. If the truck matches, open the Edit tab of the View / Edit / Moves switcher. Turn on the Picked toggle on each line, or set Quantity. Click Save changes.
- Click Validate.
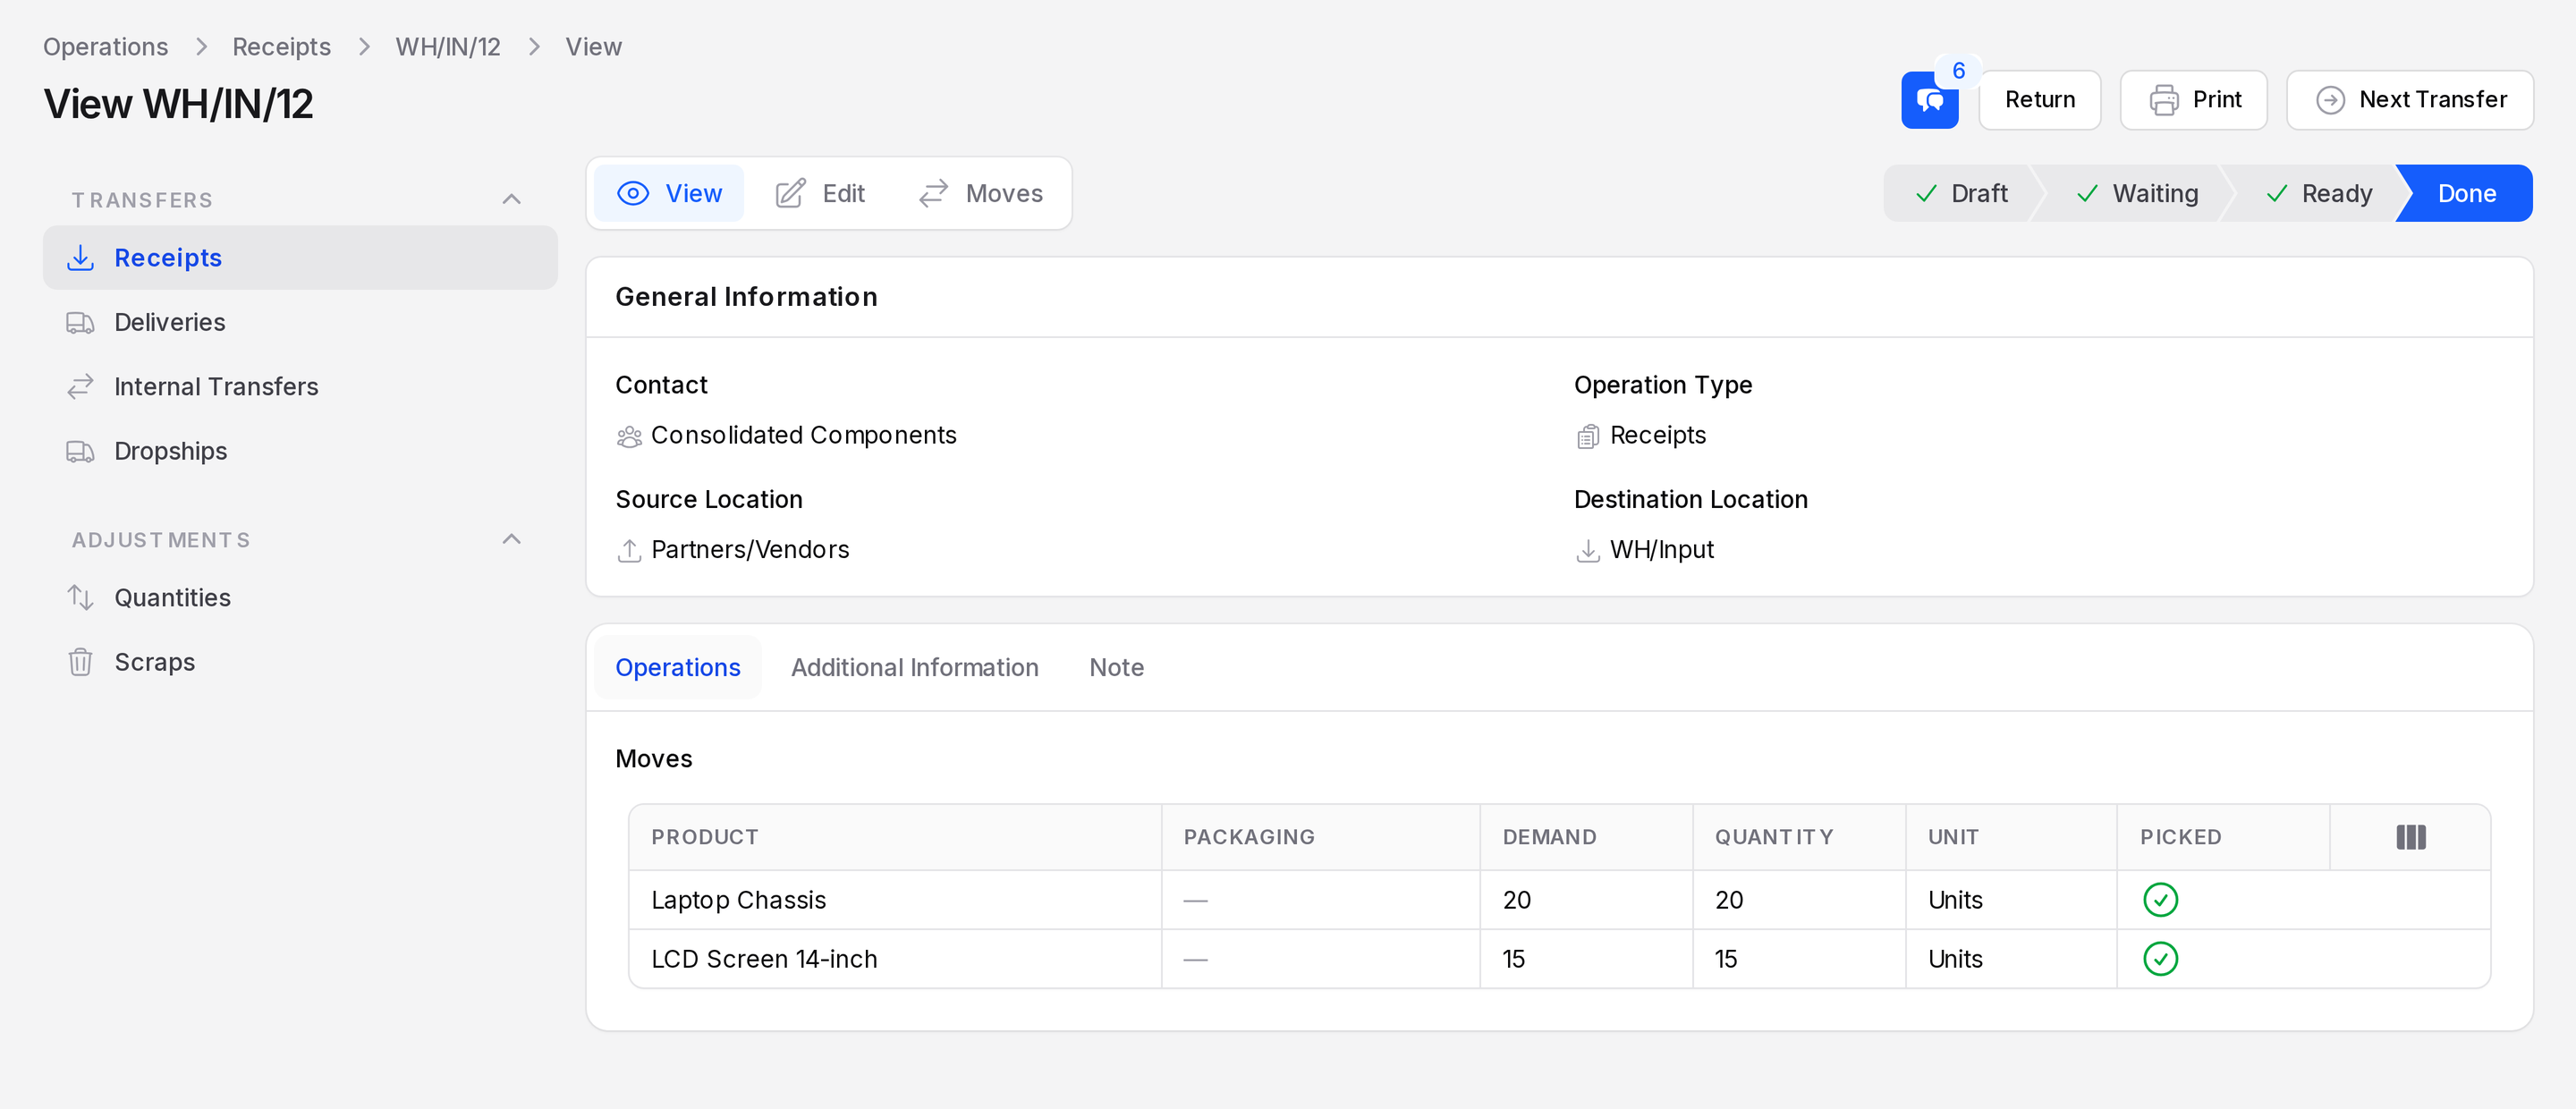
- The state changes to Done. The Return, Print and Next Transfer buttons replace Validate. The screenshot below shows WH/IN/12, a receipt that is Done, while WH/IN/00024 is still Ready in the steps above.
- Check stock. Open
Inventory → Reportingand search Smart LED Desk Lamp. See Stock report.
Fields
On the Edit page:
- Receive From: The vendor. The purchase order fills it in.
- Operation Type: Required. Usually Receipts.
- Destination Location: Required. The default is WH/Input.
- Responsible: The person in charge. The default is you.
- Scheduled At: The expected arrival. Setting it here applies it to all lines.
- Source Document: The order number, such as PO/00014.
- Description (Note tab): Free text for the team.
Table columns: Product, Packaging, Demand, Quantity, Unit, Picked. Click Add to moves to add a line.
To start a receipt by hand, click New Receipt. Fill the vendor and the lines. The form has three buttons: Create, Create & create another and Cancel. Click Create.
INFO
After Create you stay on the Edit page of the new receipt. You are not sent to the View page.
A new receipt starts in Draft. Click Mark as Todo to confirm it. The Quantity of each line then defaults to the full Demand.
WARNING
If the product tracks lots or serial numbers, Aureus asks you to supply them before you can validate. See Stock moves and lots.
Behind the scenes
Validation moves stock from Partners/Vendors to the destination, here WH/Input. The document name uses the IN prefix, such as WH/IN/00024. The state goes from Ready to Done. The Received column on the purchase order updates.
If you receive less than the demand, a window asks about a backorder. See Backorders and returns.
Multi-step warehouses
The example warehouse uses three steps. After WH/IN/12 is done, the goods are not in stock yet. Next Transfer opens the follow-up documents: WH/QC (quality control) and then WH/STOR (storage to WH/Stock). Validate each one in turn.
With one step, goods go straight to WH/Stock and no extra document appears. See One-step flow, Two-step flow and Three-step flow.
Actions and statuses
- Mark as Todo: confirms a Draft receipt. Only Draft receipts show it.
- Validate: processes the receipt and sets it to Done. Click Save changes first if you edited the lines.
- Cancel: stops it before any stock arrives.
- Delete: removes a Draft or Ready receipt.
- Return: sends goods back after Done.
- Print: see Print documents.
A Draft or Ready receipt shows Validate, Cancel, Print and Delete. A Draft receipt also shows Mark as Todo. A Done receipt shows Return, Print and Next Transfer.