

Take an order
An order is one sale at the till. You add products, check the total and take payment. This page follows a retail sale from the first product to the payment screen, using the TechNest Electronics shop.
In simple words: Tap the products, fix the quantities, then click Payment.
Make sure the register is open first. See Open the register.
Start the order
When the register opens, an empty order is ready. The order panel says "Scan or tap a product to start". The order gets a tracking number, such as 401.
To start another order at any time, click the + tab at the top right. The old order stays open under its own tab.
Add products
- Click a category tile, such as Accessories, or type in Search products.
- Click the product tile. One unit goes to the order.
- Click the tile again to add one more unit.
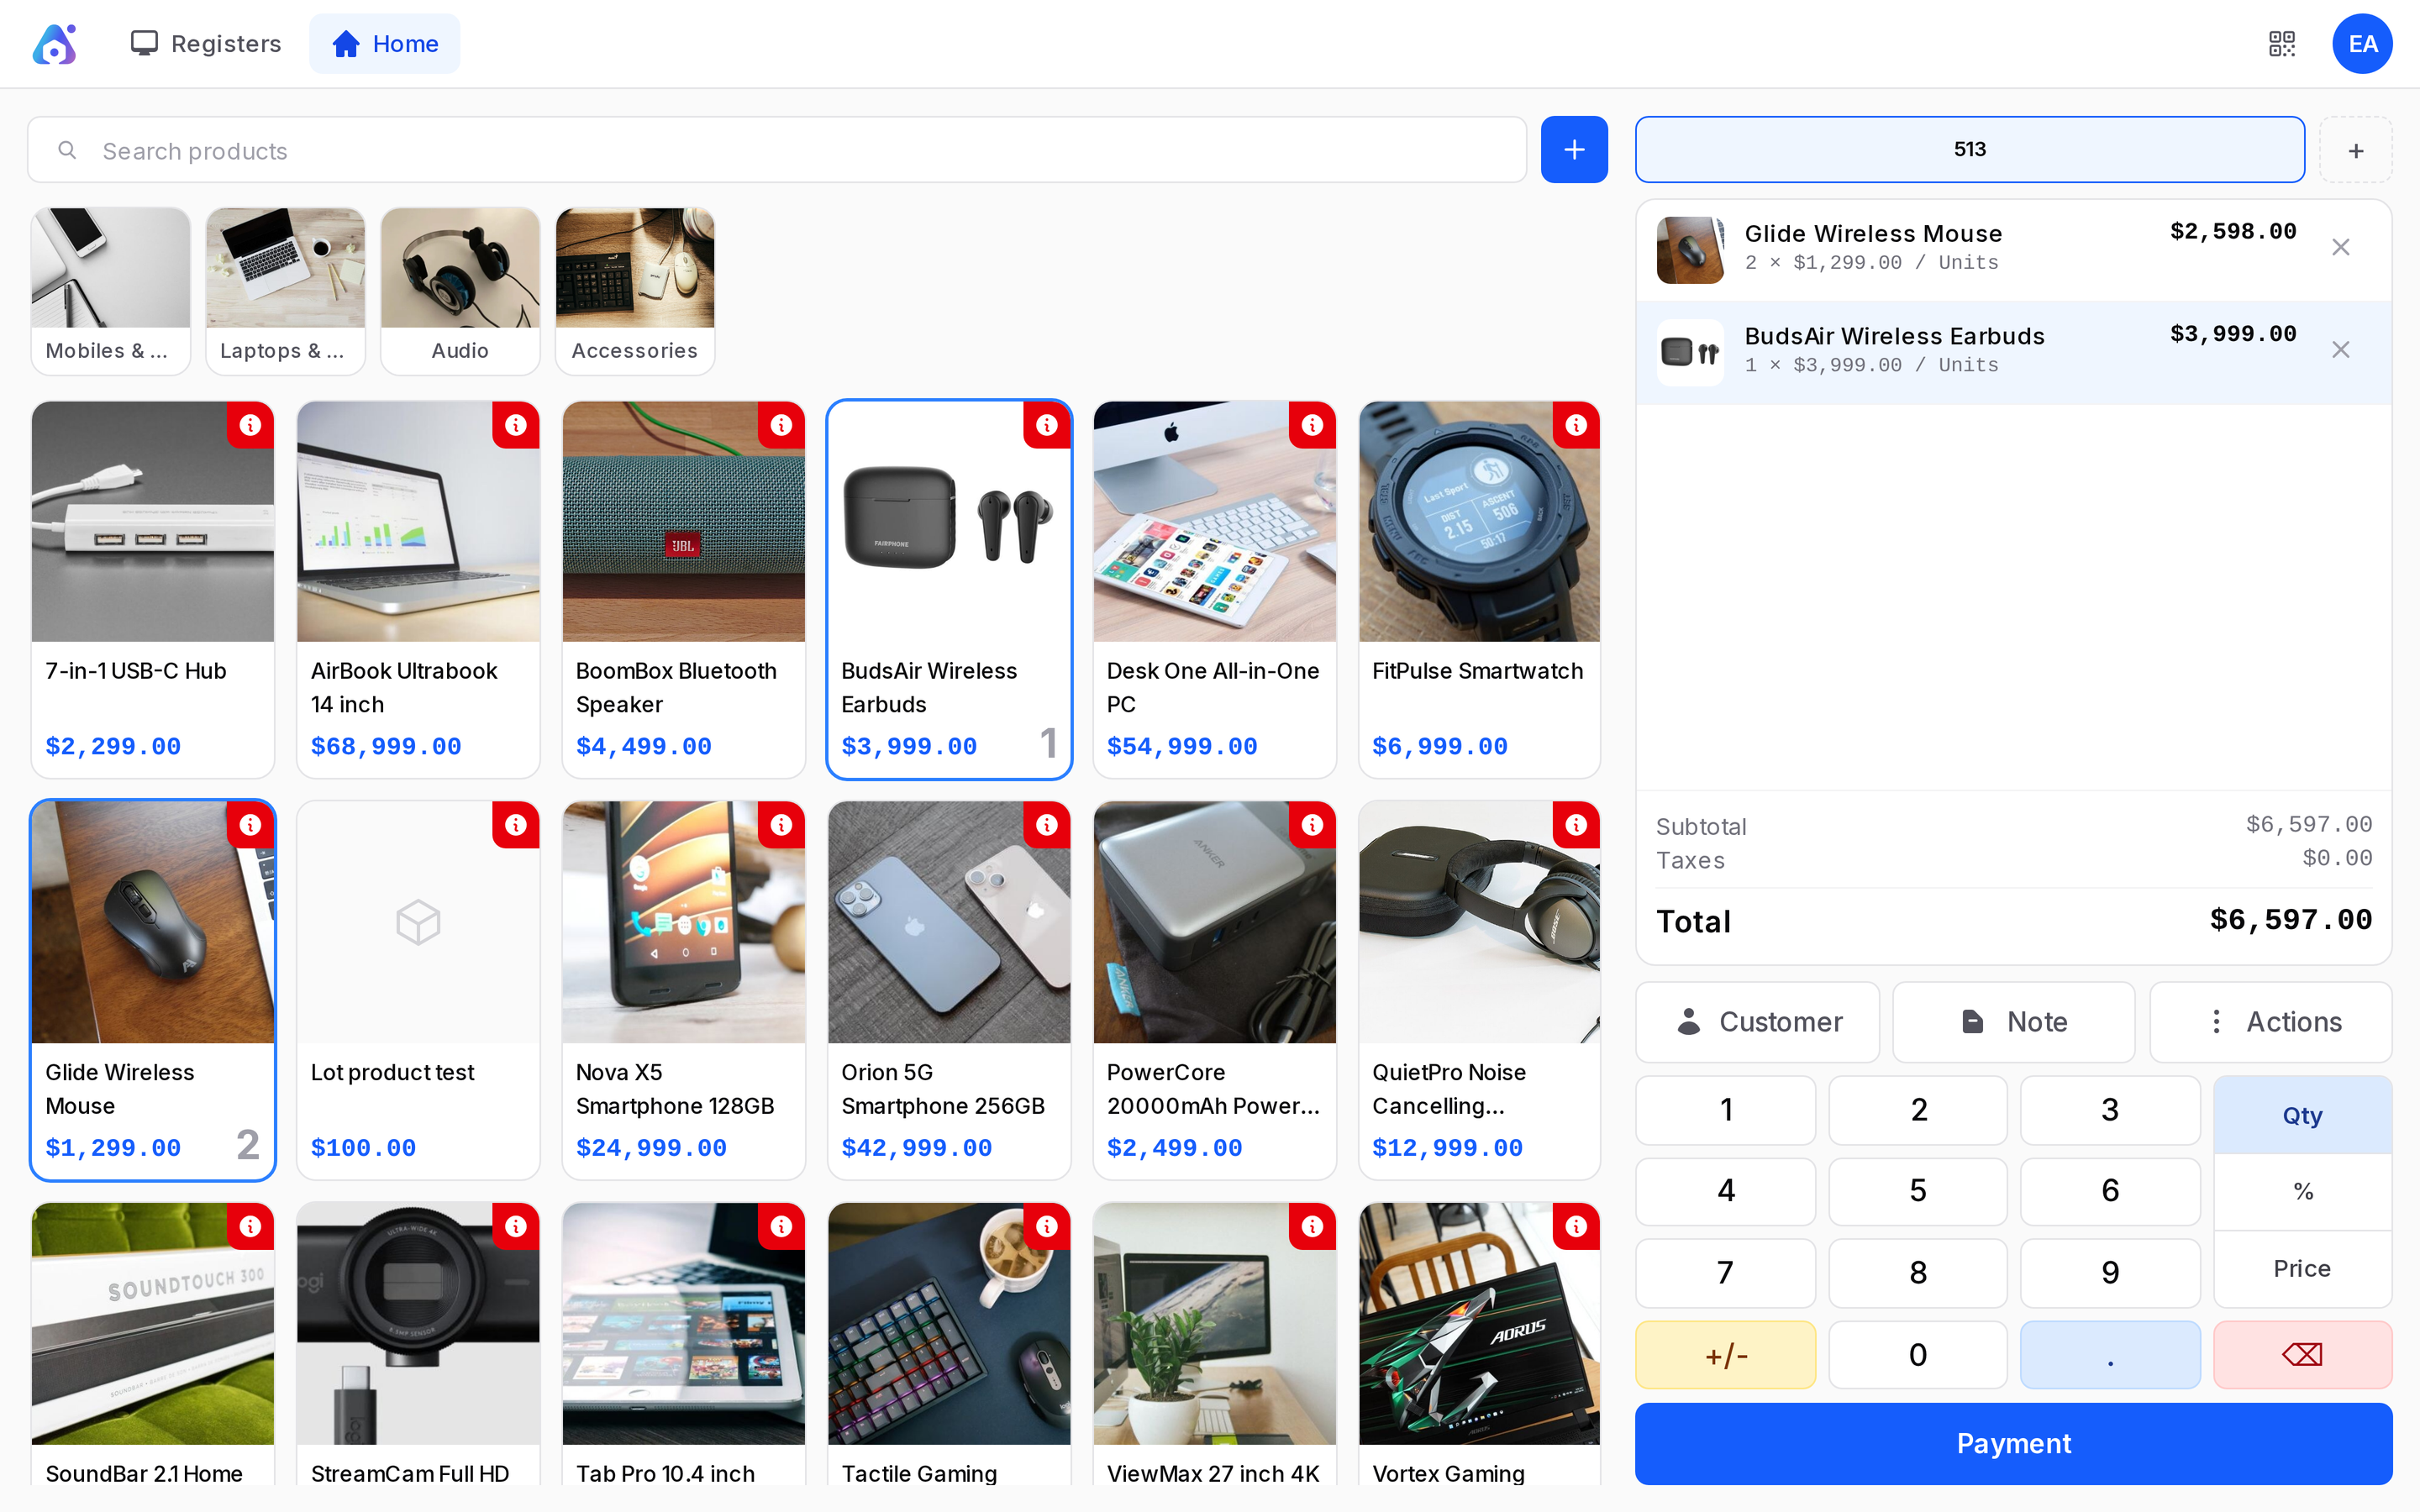
Example: Sofia Rossi wants two Glide Wireless Mouse and one BudsAir Wireless Earbuds. Click Glide Wireless Mouse twice and BudsAir Wireless Earbuds once. The panel shows:
- Glide Wireless Mouse, 2 x 1,299, line total 2,598
- BudsAir Wireless Earbuds, 1 x 3,999, line total 3,999
- Total: 6,597
If a product has variants, a window asks you to pick the attributes. If it needs a lot or serial number, a window asks for the number.
Change a quantity
- Click the line in the order panel. It turns blue.
- Make sure the number pad is in Qty mode.
- Type the new quantity, for example 3.
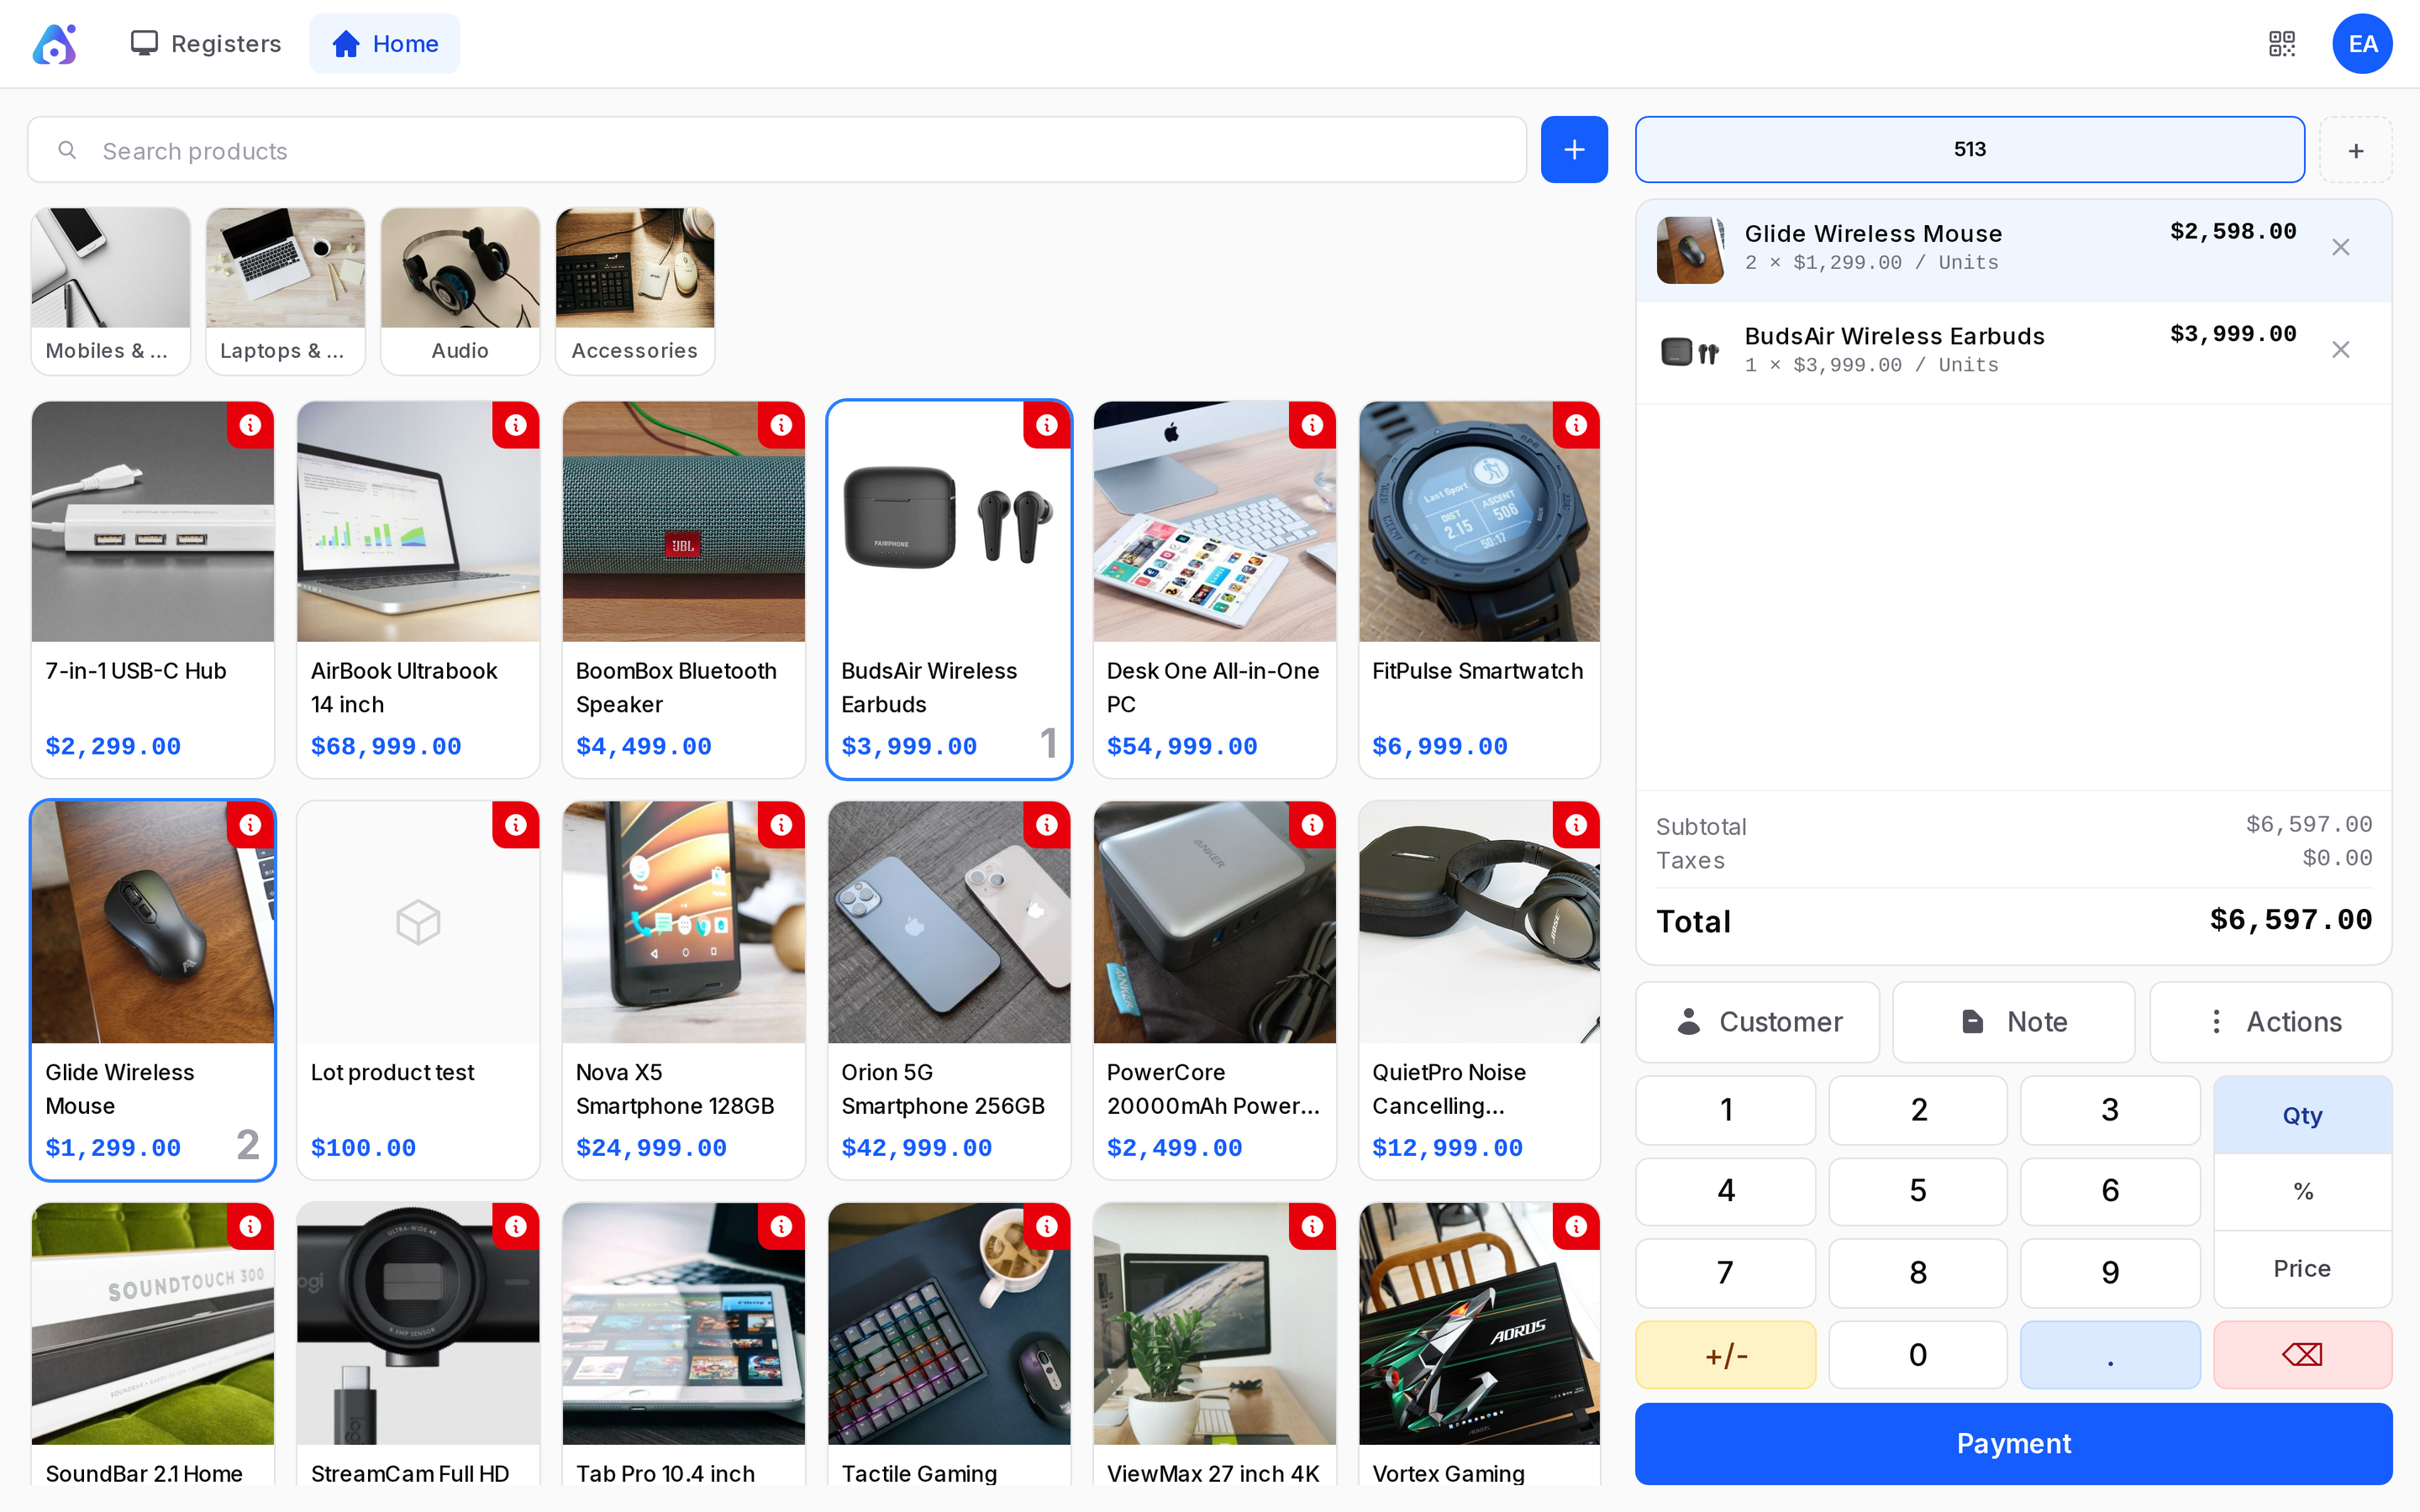
Use +/- to change the sign and the backspace key to delete a digit.
Remove a line
Click the X at the right end of the line. The line disappears and the total updates.
Discount or price on a line
Select the line, then click % or Price on the number pad.
- %: Type the discount percentage. The line then shows "5% discount", for example.
- Price: Type a new unit price for this order only.
These modes work only when your register allows them. Line discounts are a setting of the register. See POS settings and Set up a register.
Add a customer or a note
Click Customer to attach a person to the sale. Click Note to write a message on a line. See Notes and customers.
Cancel the order
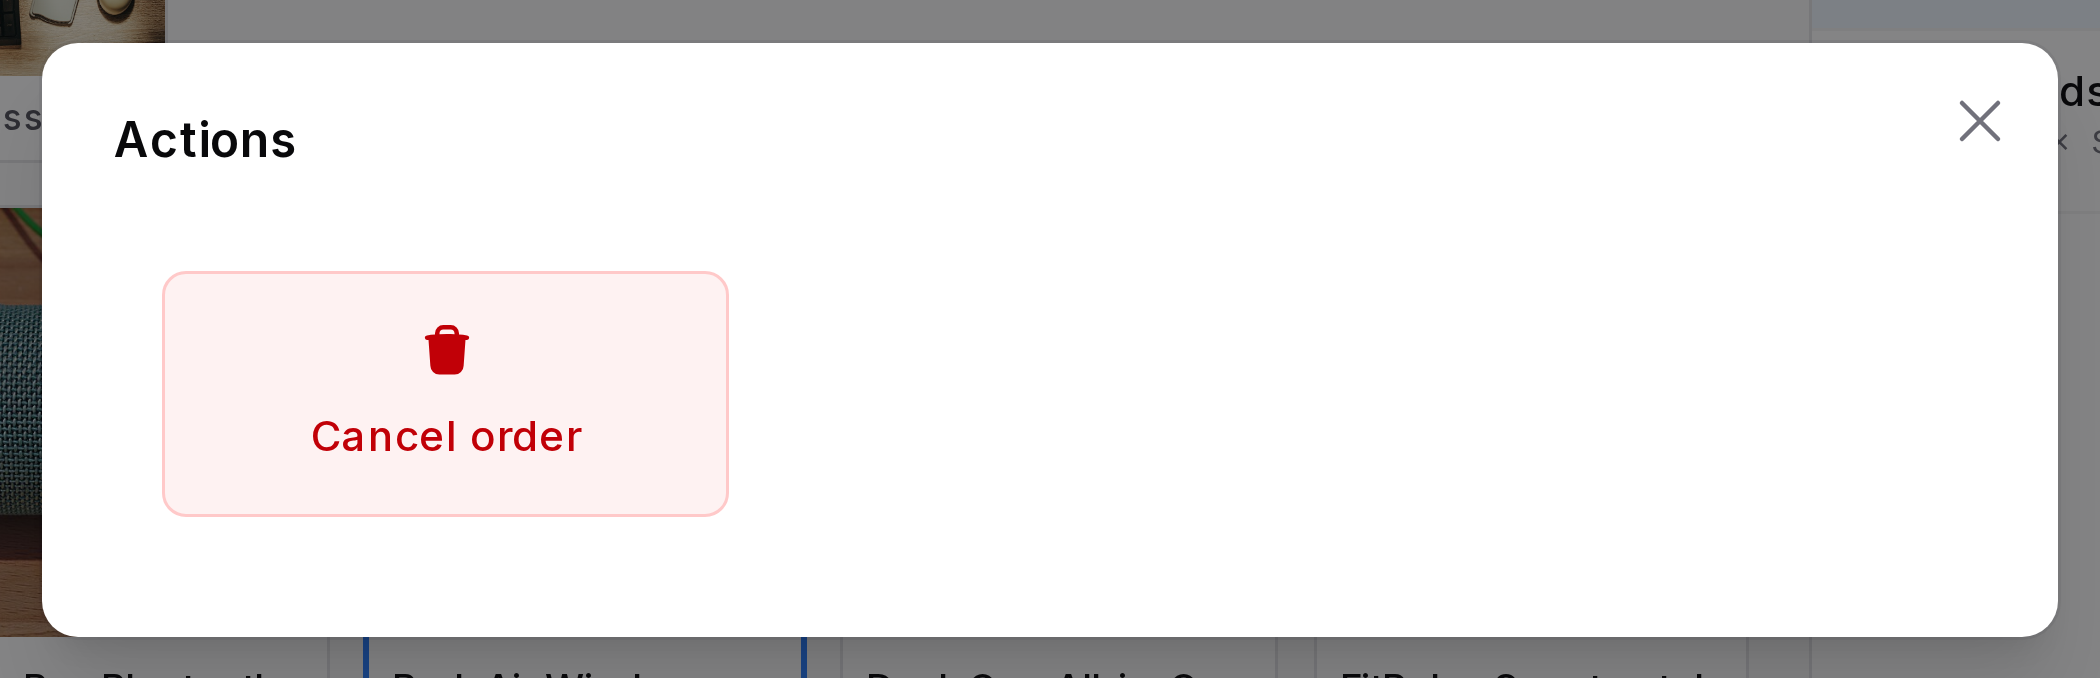
Click Actions, then Cancel order, then Confirm. The lines are lost and this cannot be undone.
Continue to payment
When the order is right, click Payment. See Pay and receipt.
Actions and statuses
- A new order has the status New until you validate the payment.
- After payment the status is Paid.
- Cancelled orders show Cancelled.
TIP
Keep two or three orders open on separate tabs when customers are waiting. Switch between them with the tabs.
INFO
Prices follow the register's price list and tax setting. See Pricing and taxes.