

Website customers
The Customers page lists every contact record, so you can see your website customers next to your other contacts. You can search them, filter them by portal access, and open one to edit its details or addresses. A customer here is the same record you see in Contacts.
In simple words: This is your contact list, opened from the Website app, with a view of who can sign in.
Open Website → Customers.
Overview
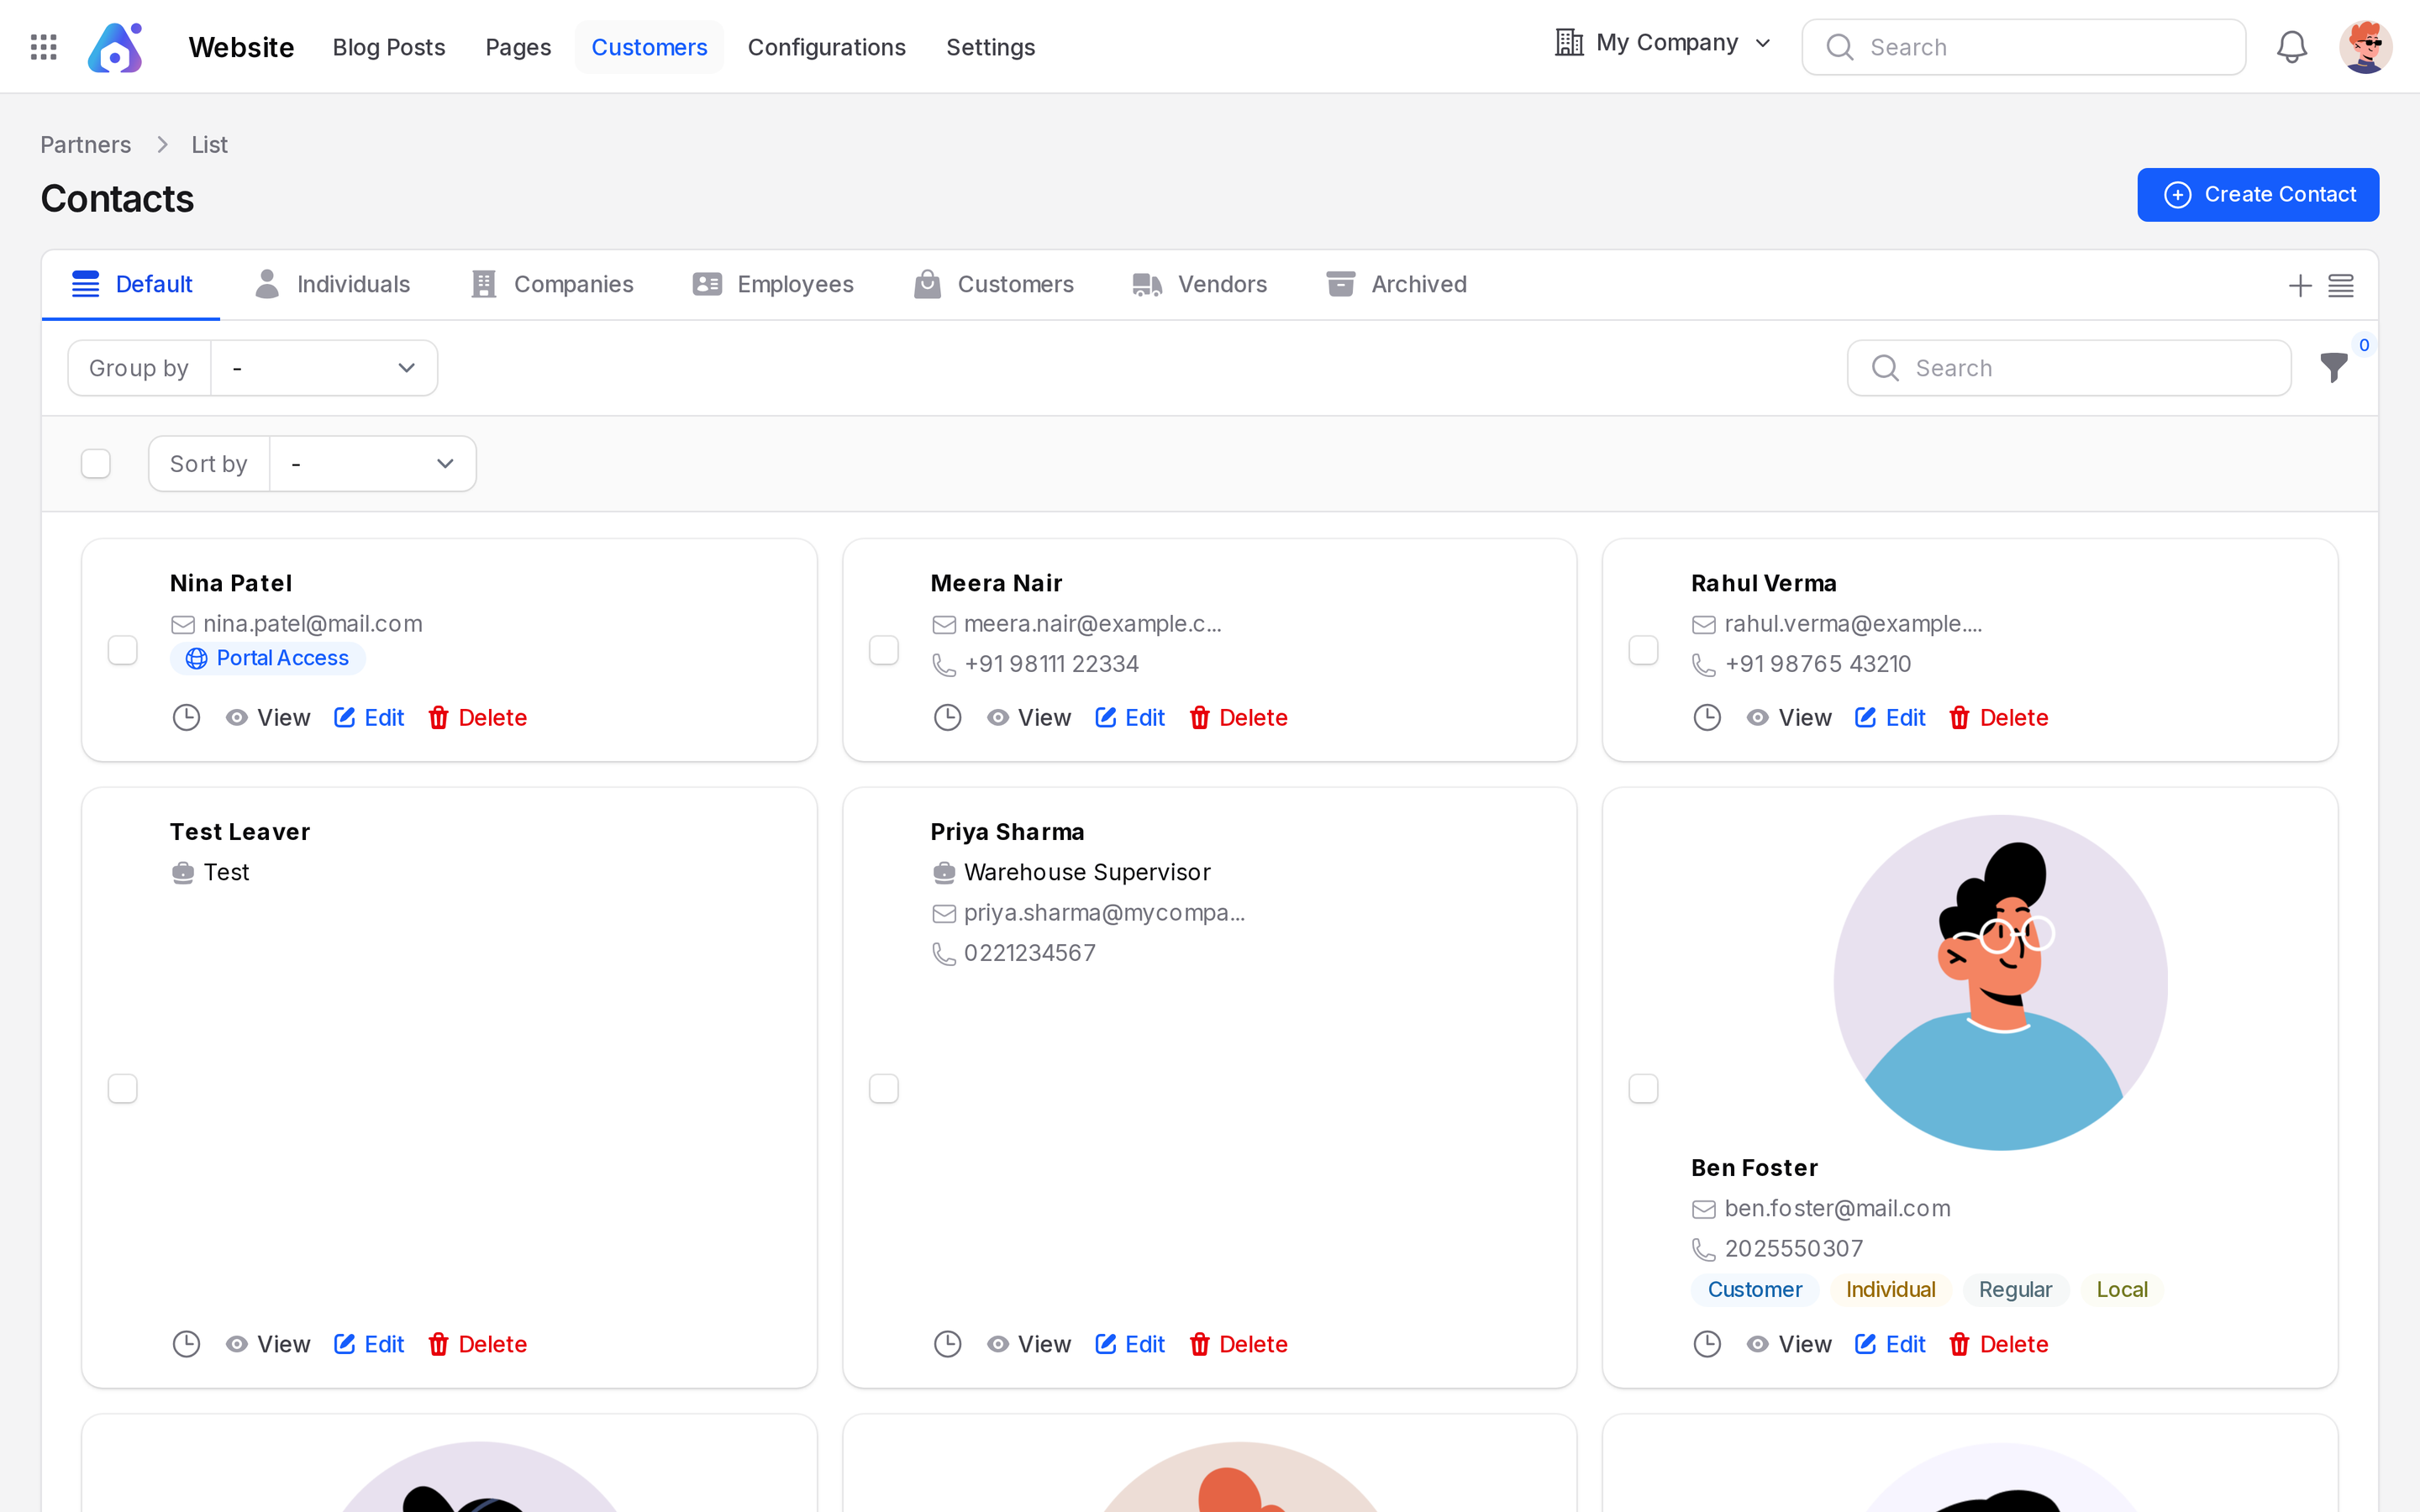
- Button: Create Contact.
- Tabs: Default, Individuals, Companies, Employees, Customers, Vendors, Archived.
- Rows: Each row shows the name, job title, work email and work phone, with labels such as Customer or Employee.
- Row actions: View, Edit, Delete.
- Per page: 16, 32, 64 or All.
Click Customers to see only contacts marked as customers. Click Archived to see deleted contacts.
Portal Access badge and filter
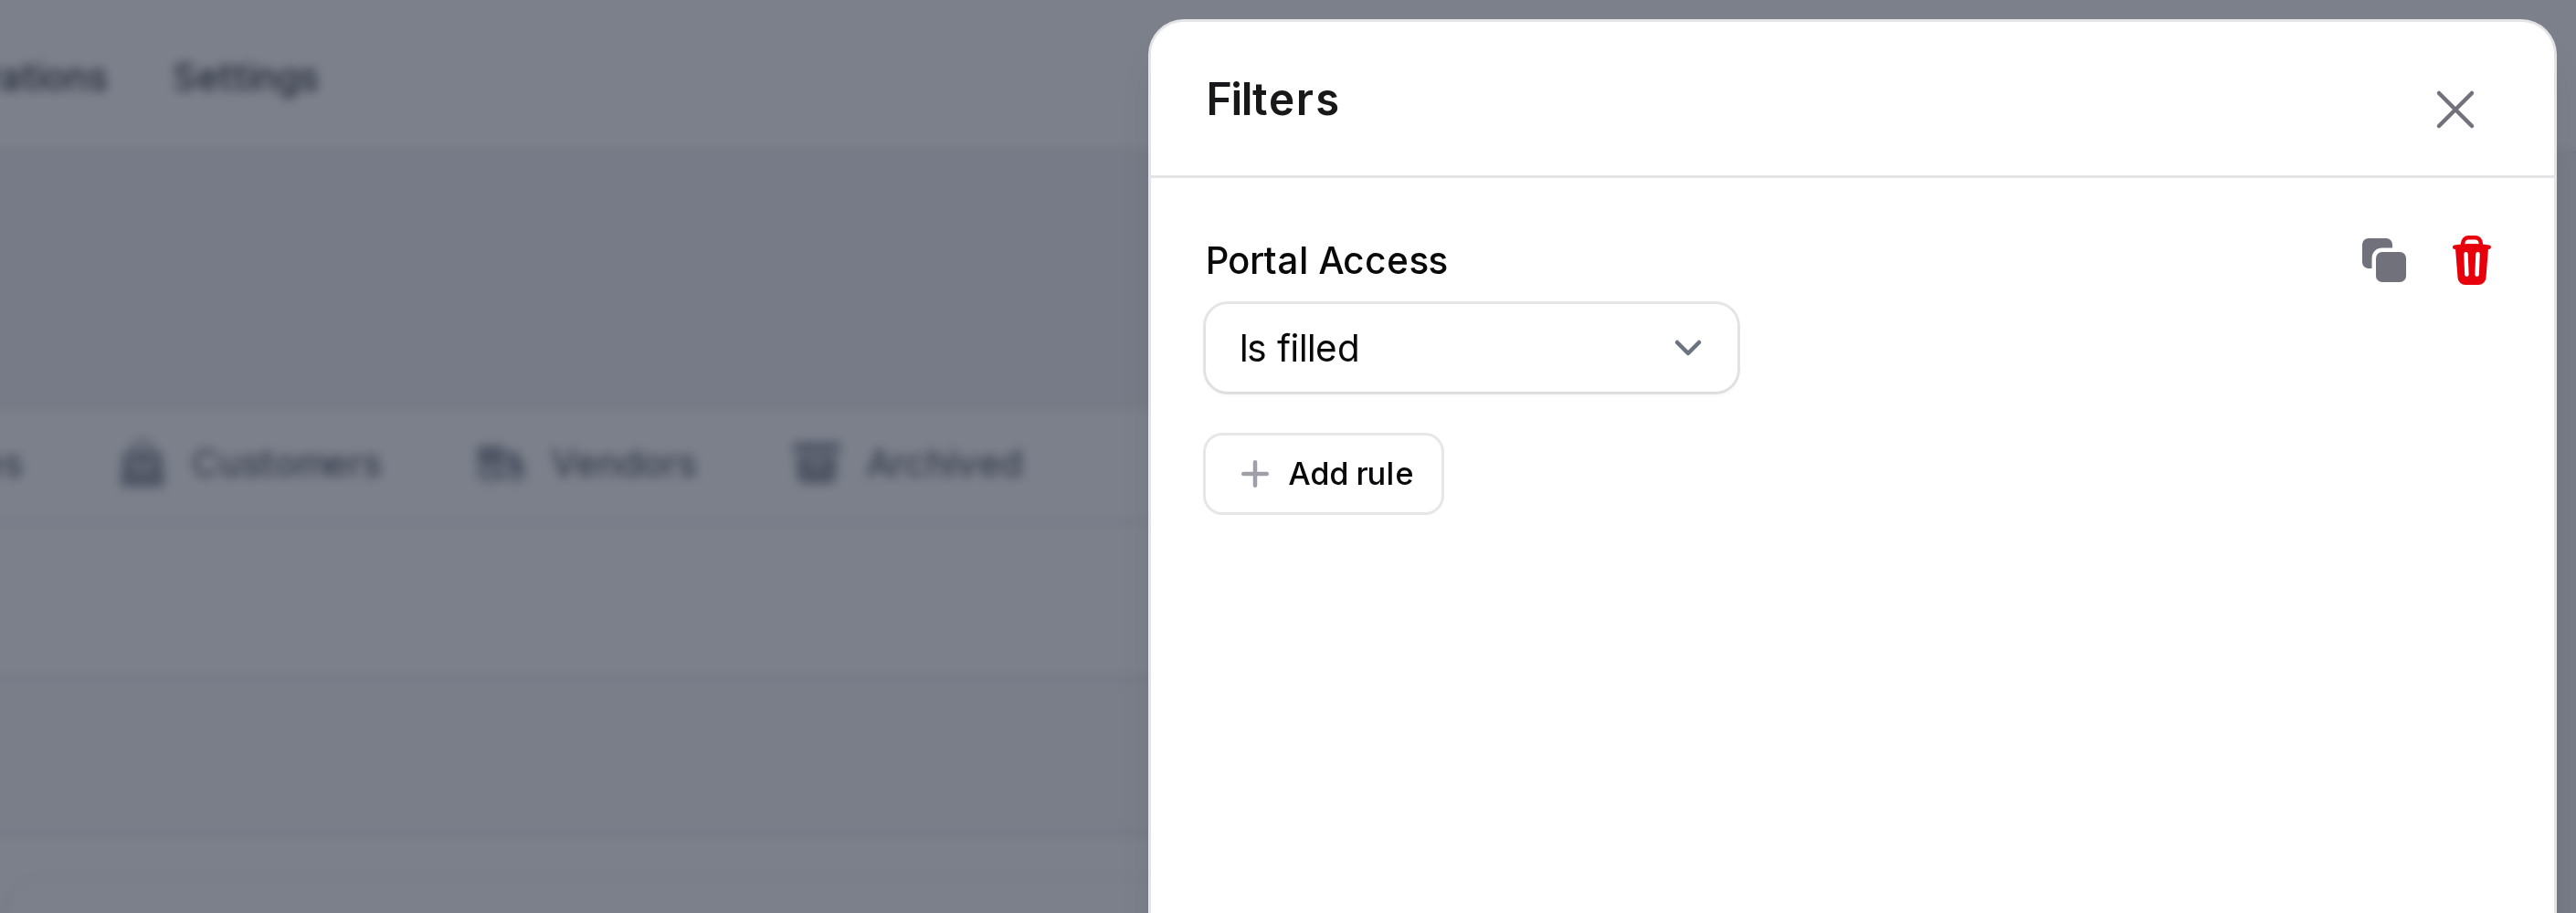
A Portal Access badge shows on rows of contacts that can sign in. To list them, open the filters and choose Portal Access.
TIP
Use the Portal Access filter to find who can sign in, for example before you send an announcement.
Create a customer
Scenario: add Ben Foster, a person who orders from you.
- Open
Website → Customers. - Click Create Contact.
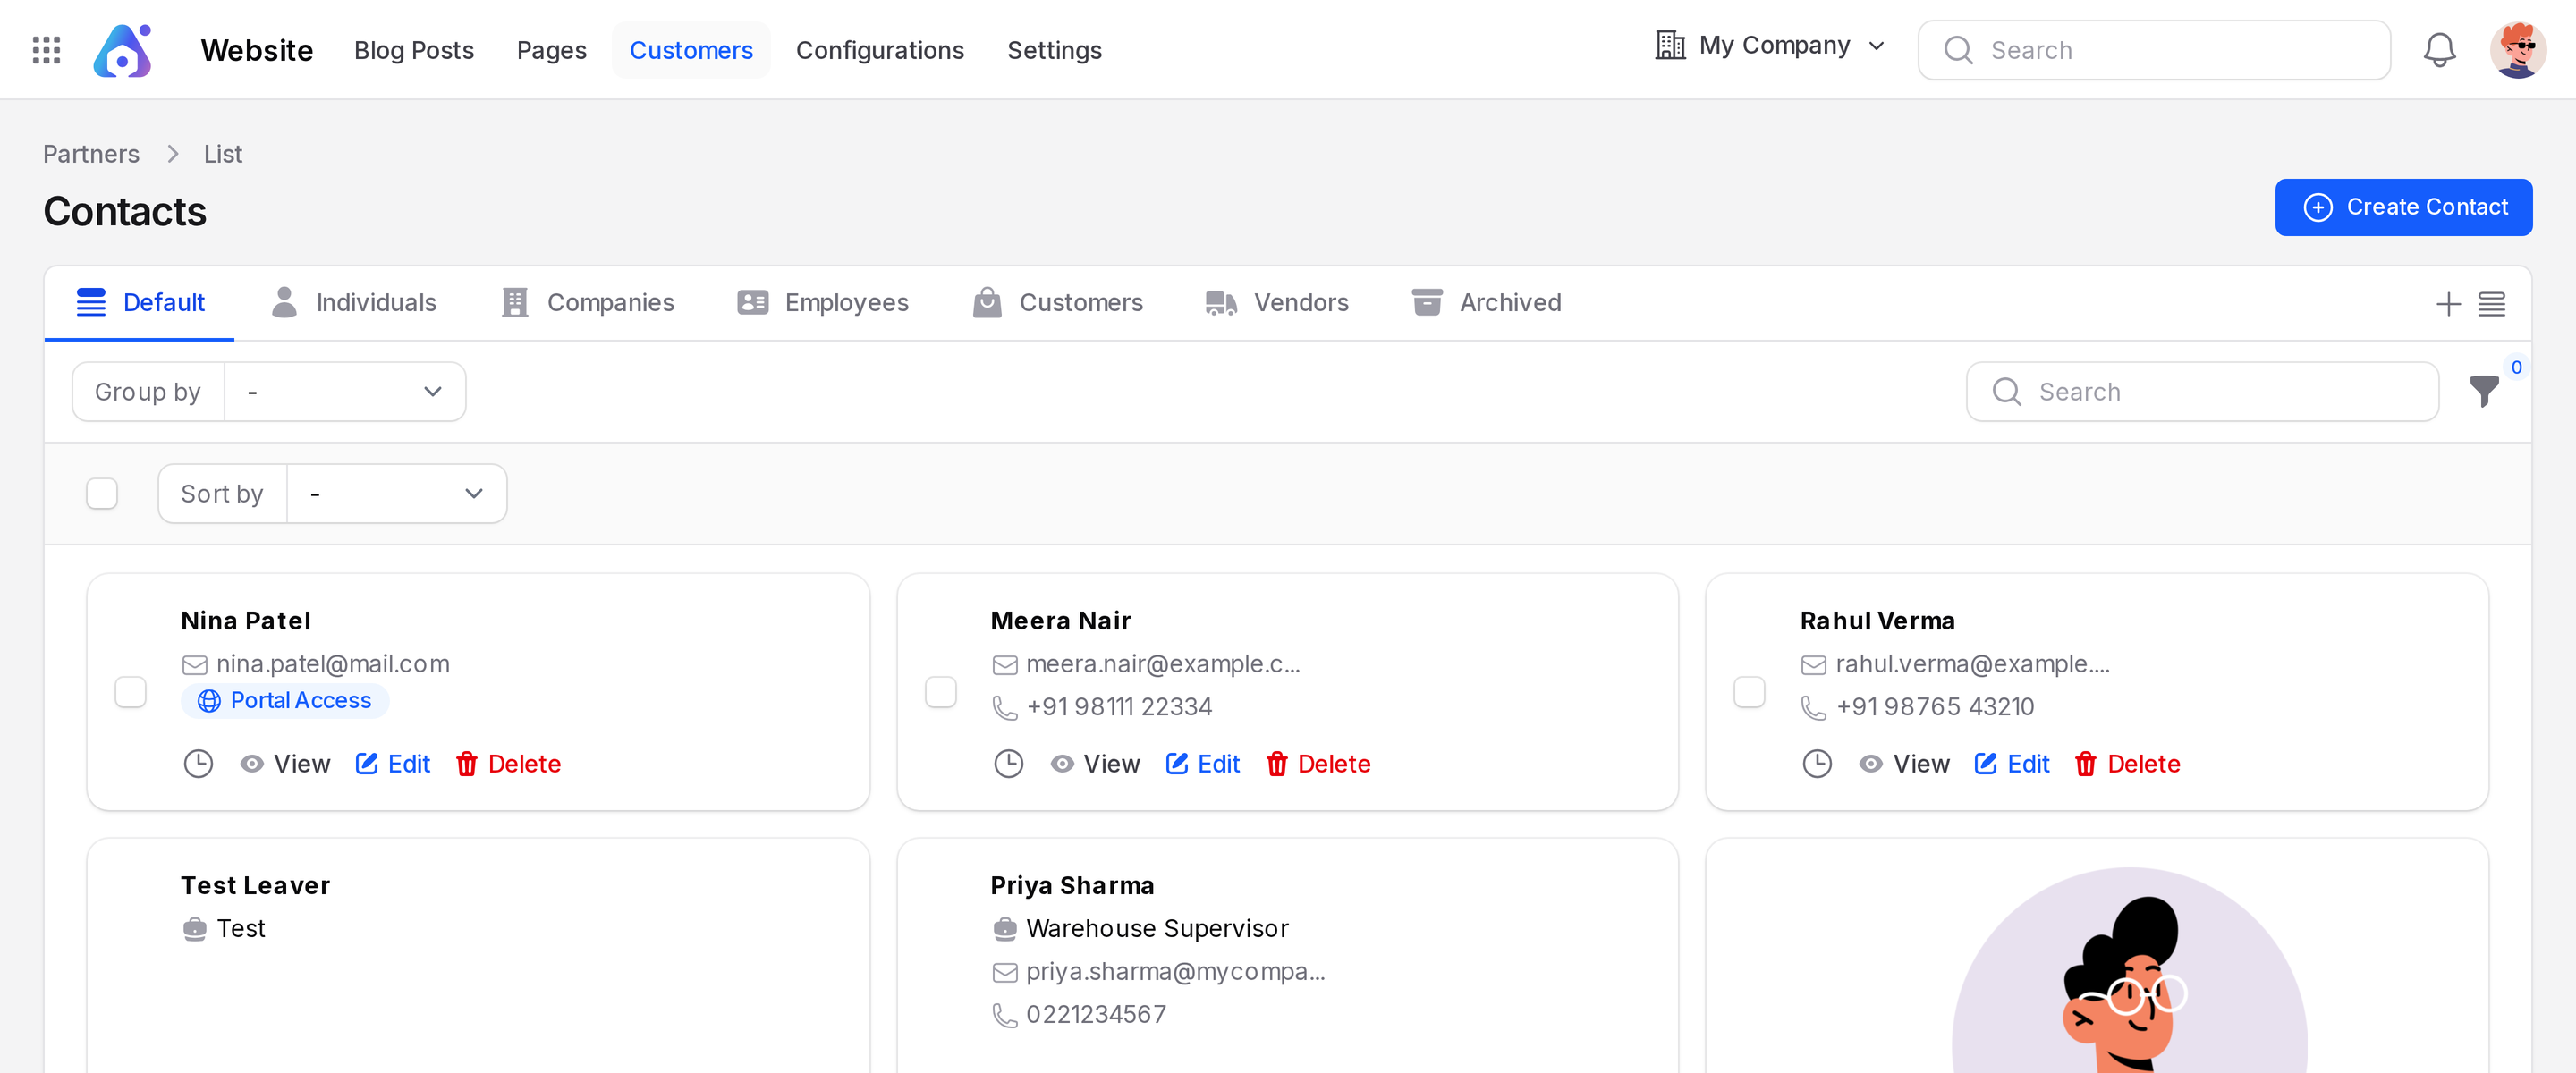
- In General, choose Individual under Account type. Enter Name, Email, Phone and an address.
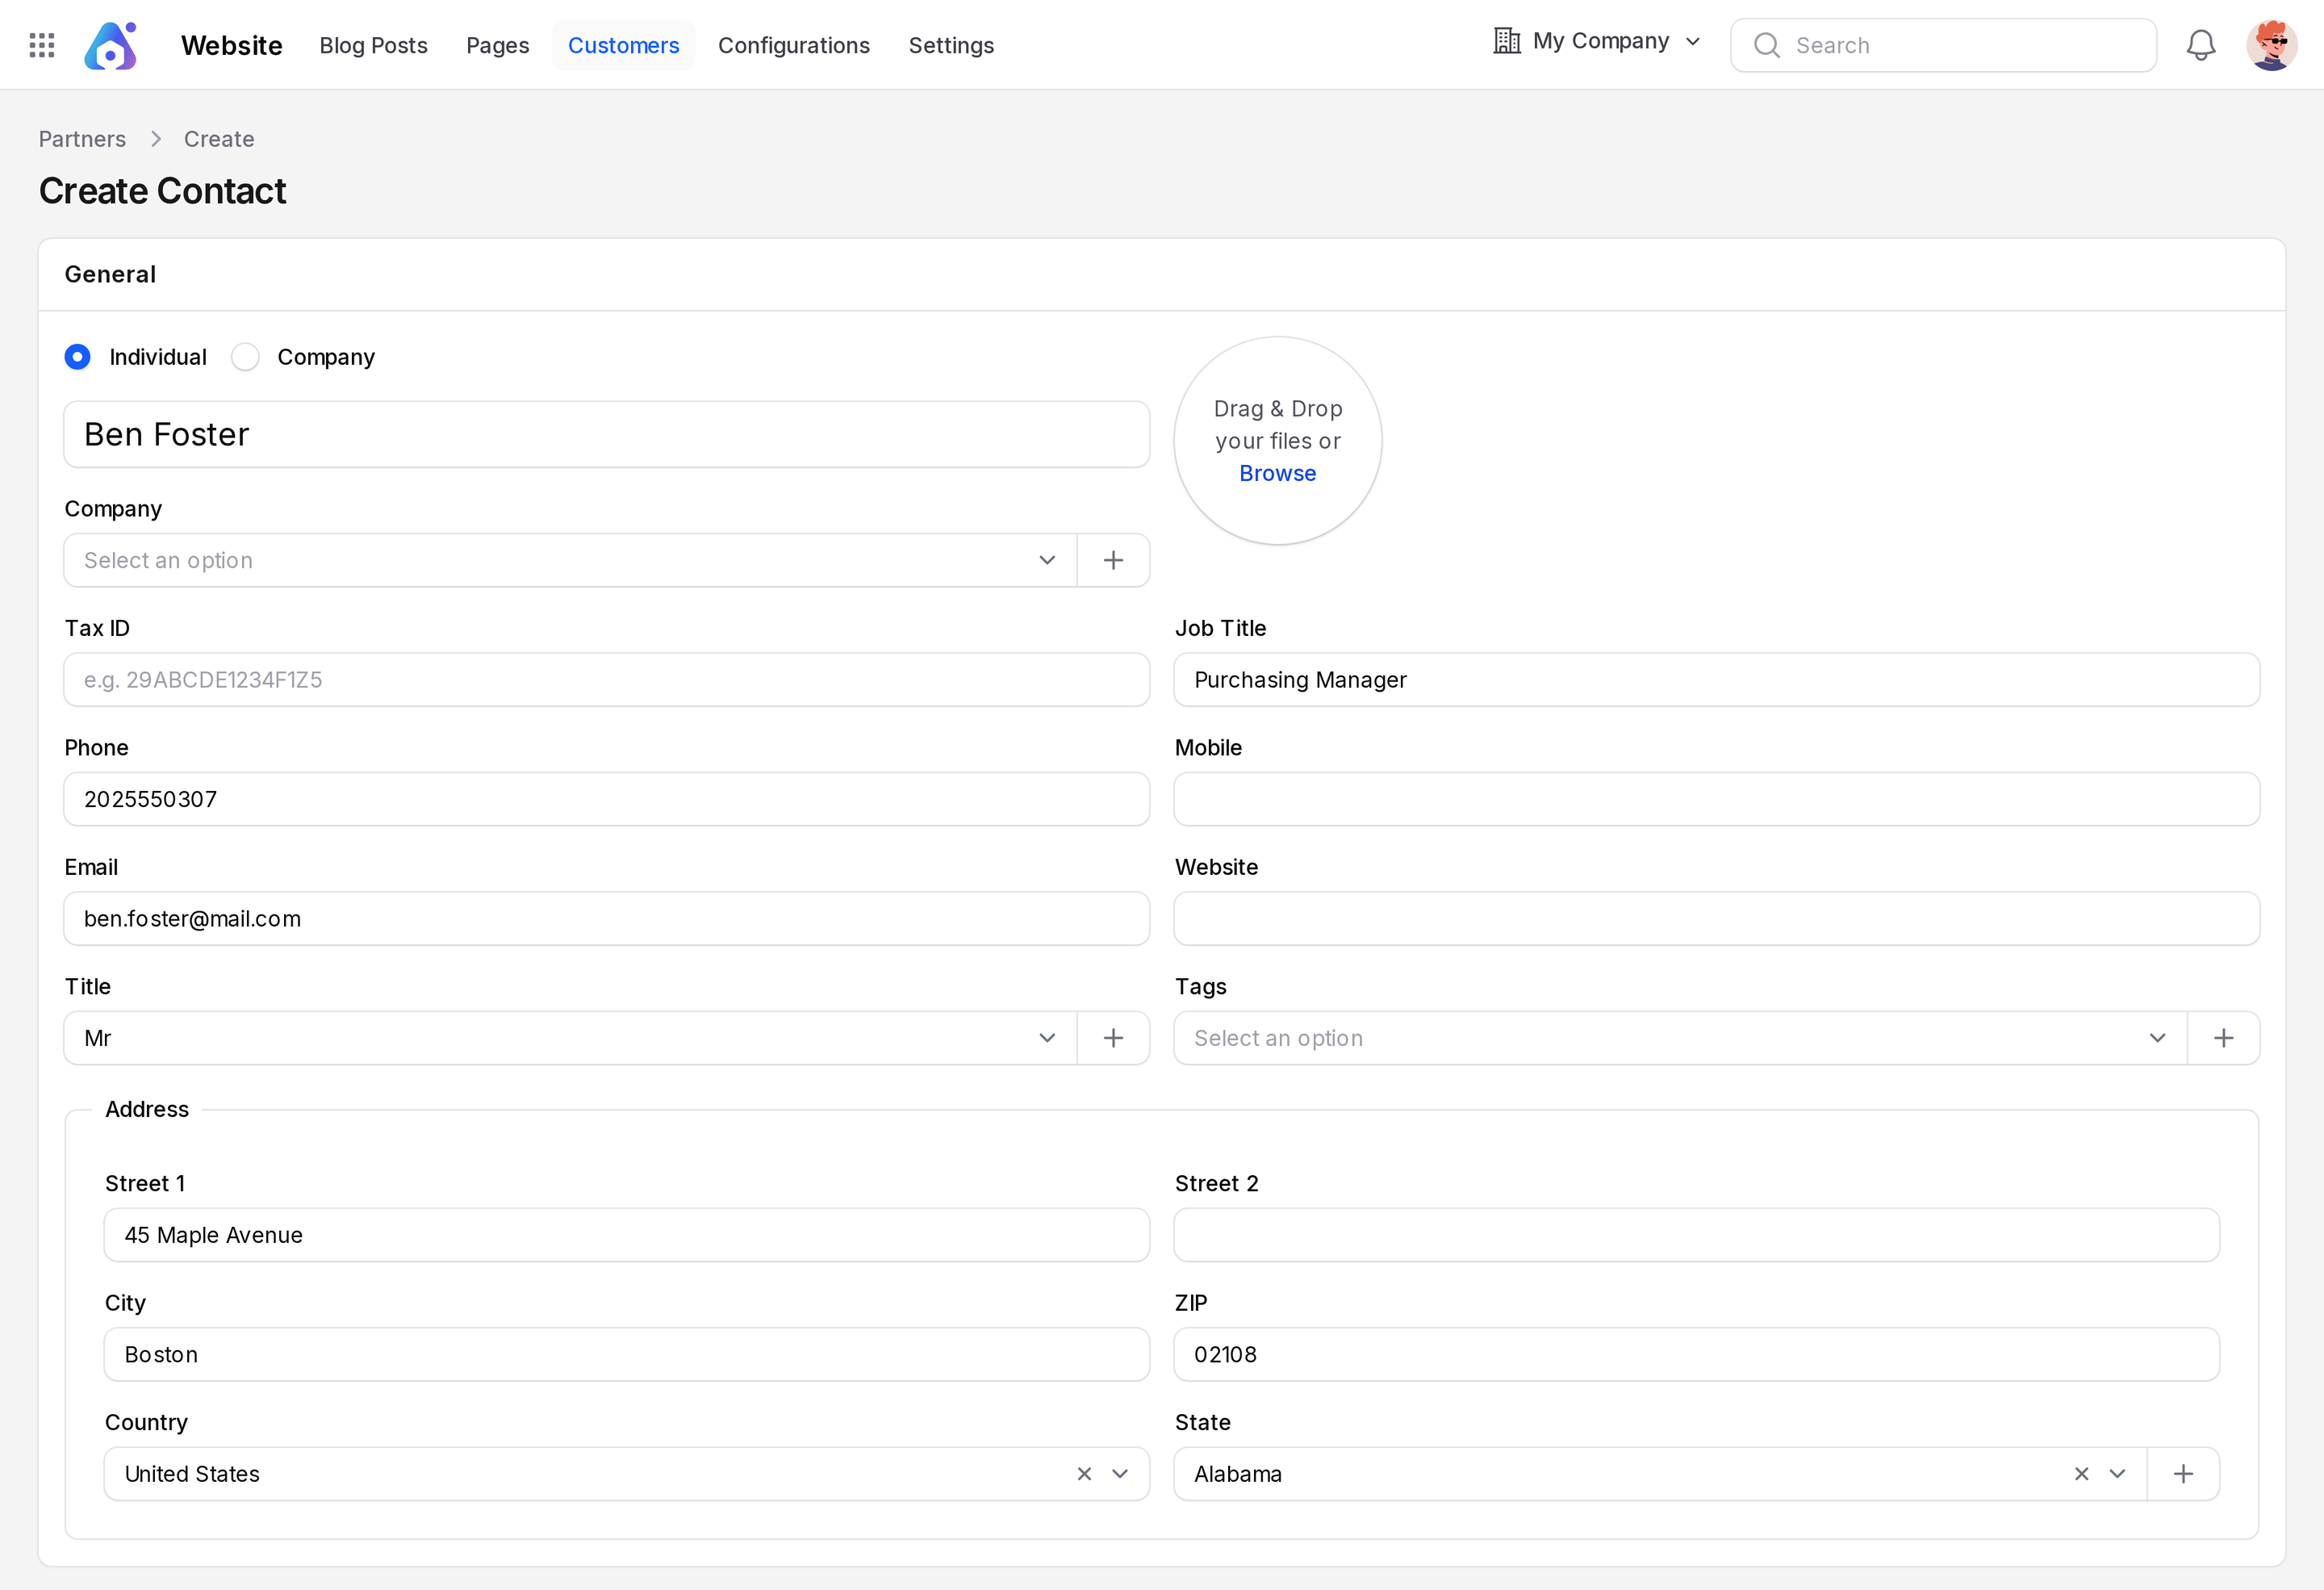
- Open Sales and Purchases to set the salesperson and payment terms if you need them.
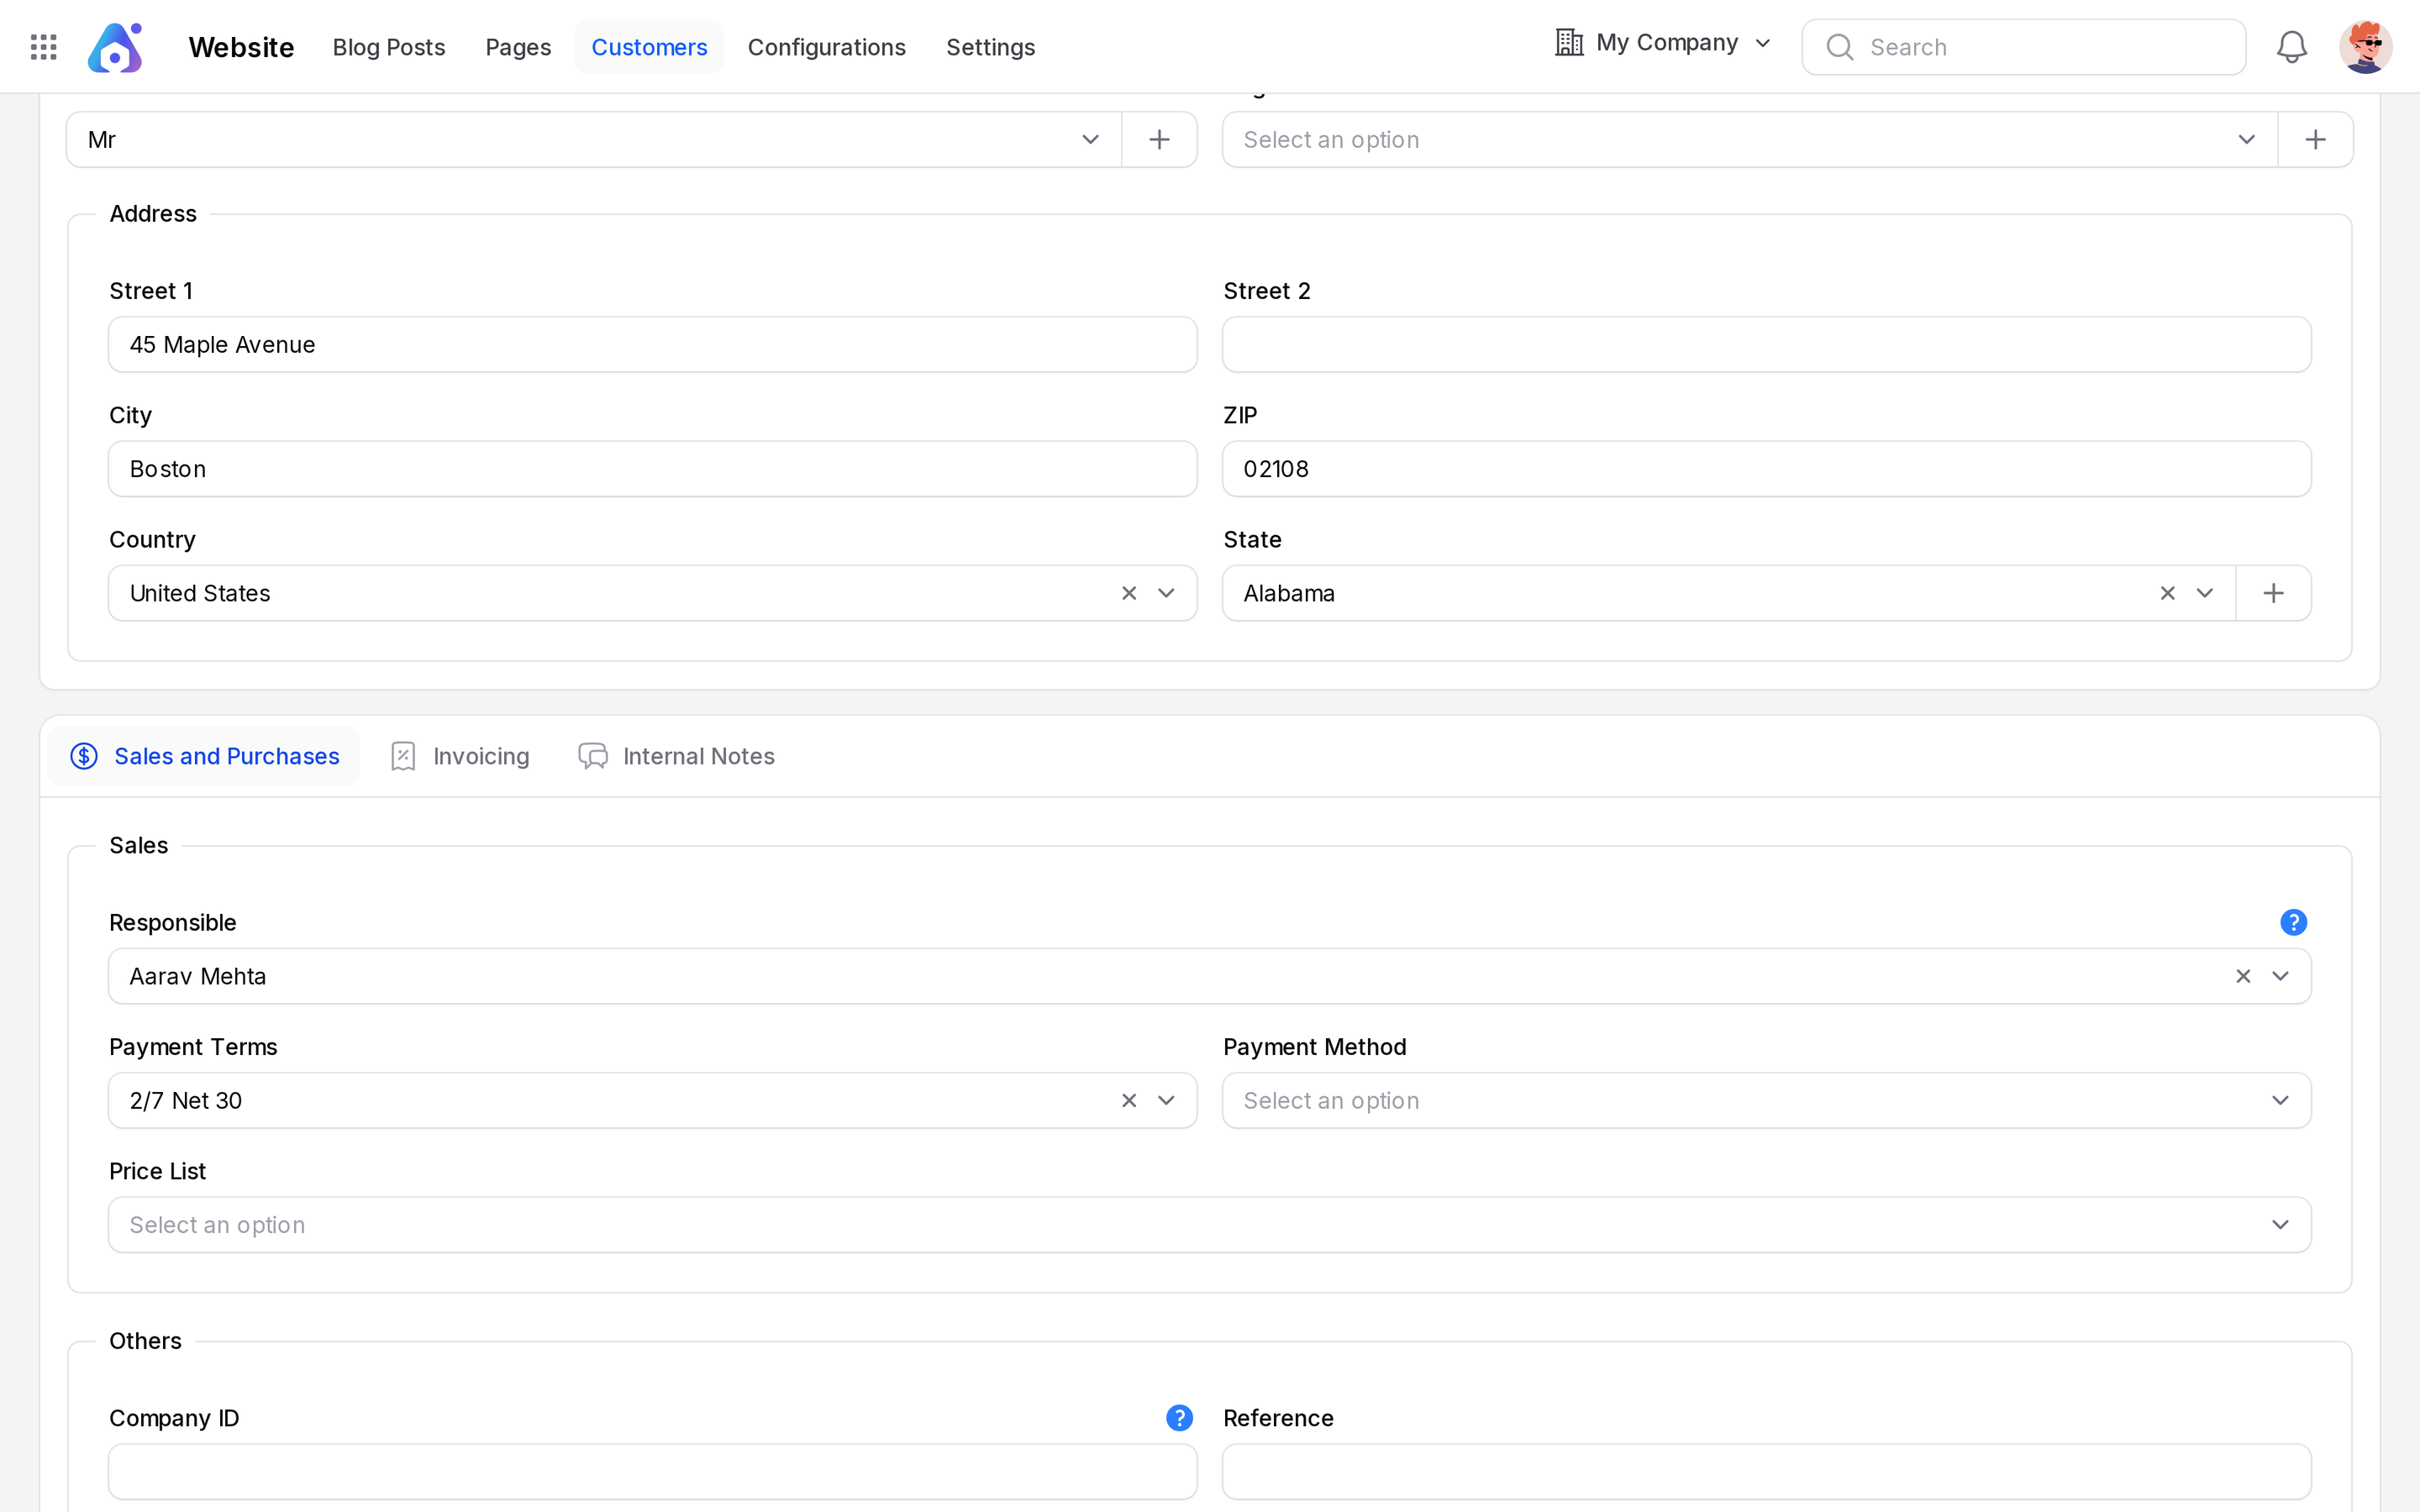
- Click Create.
Aureus opens the contact page. The contact shows Not Granted under Customer Portal.
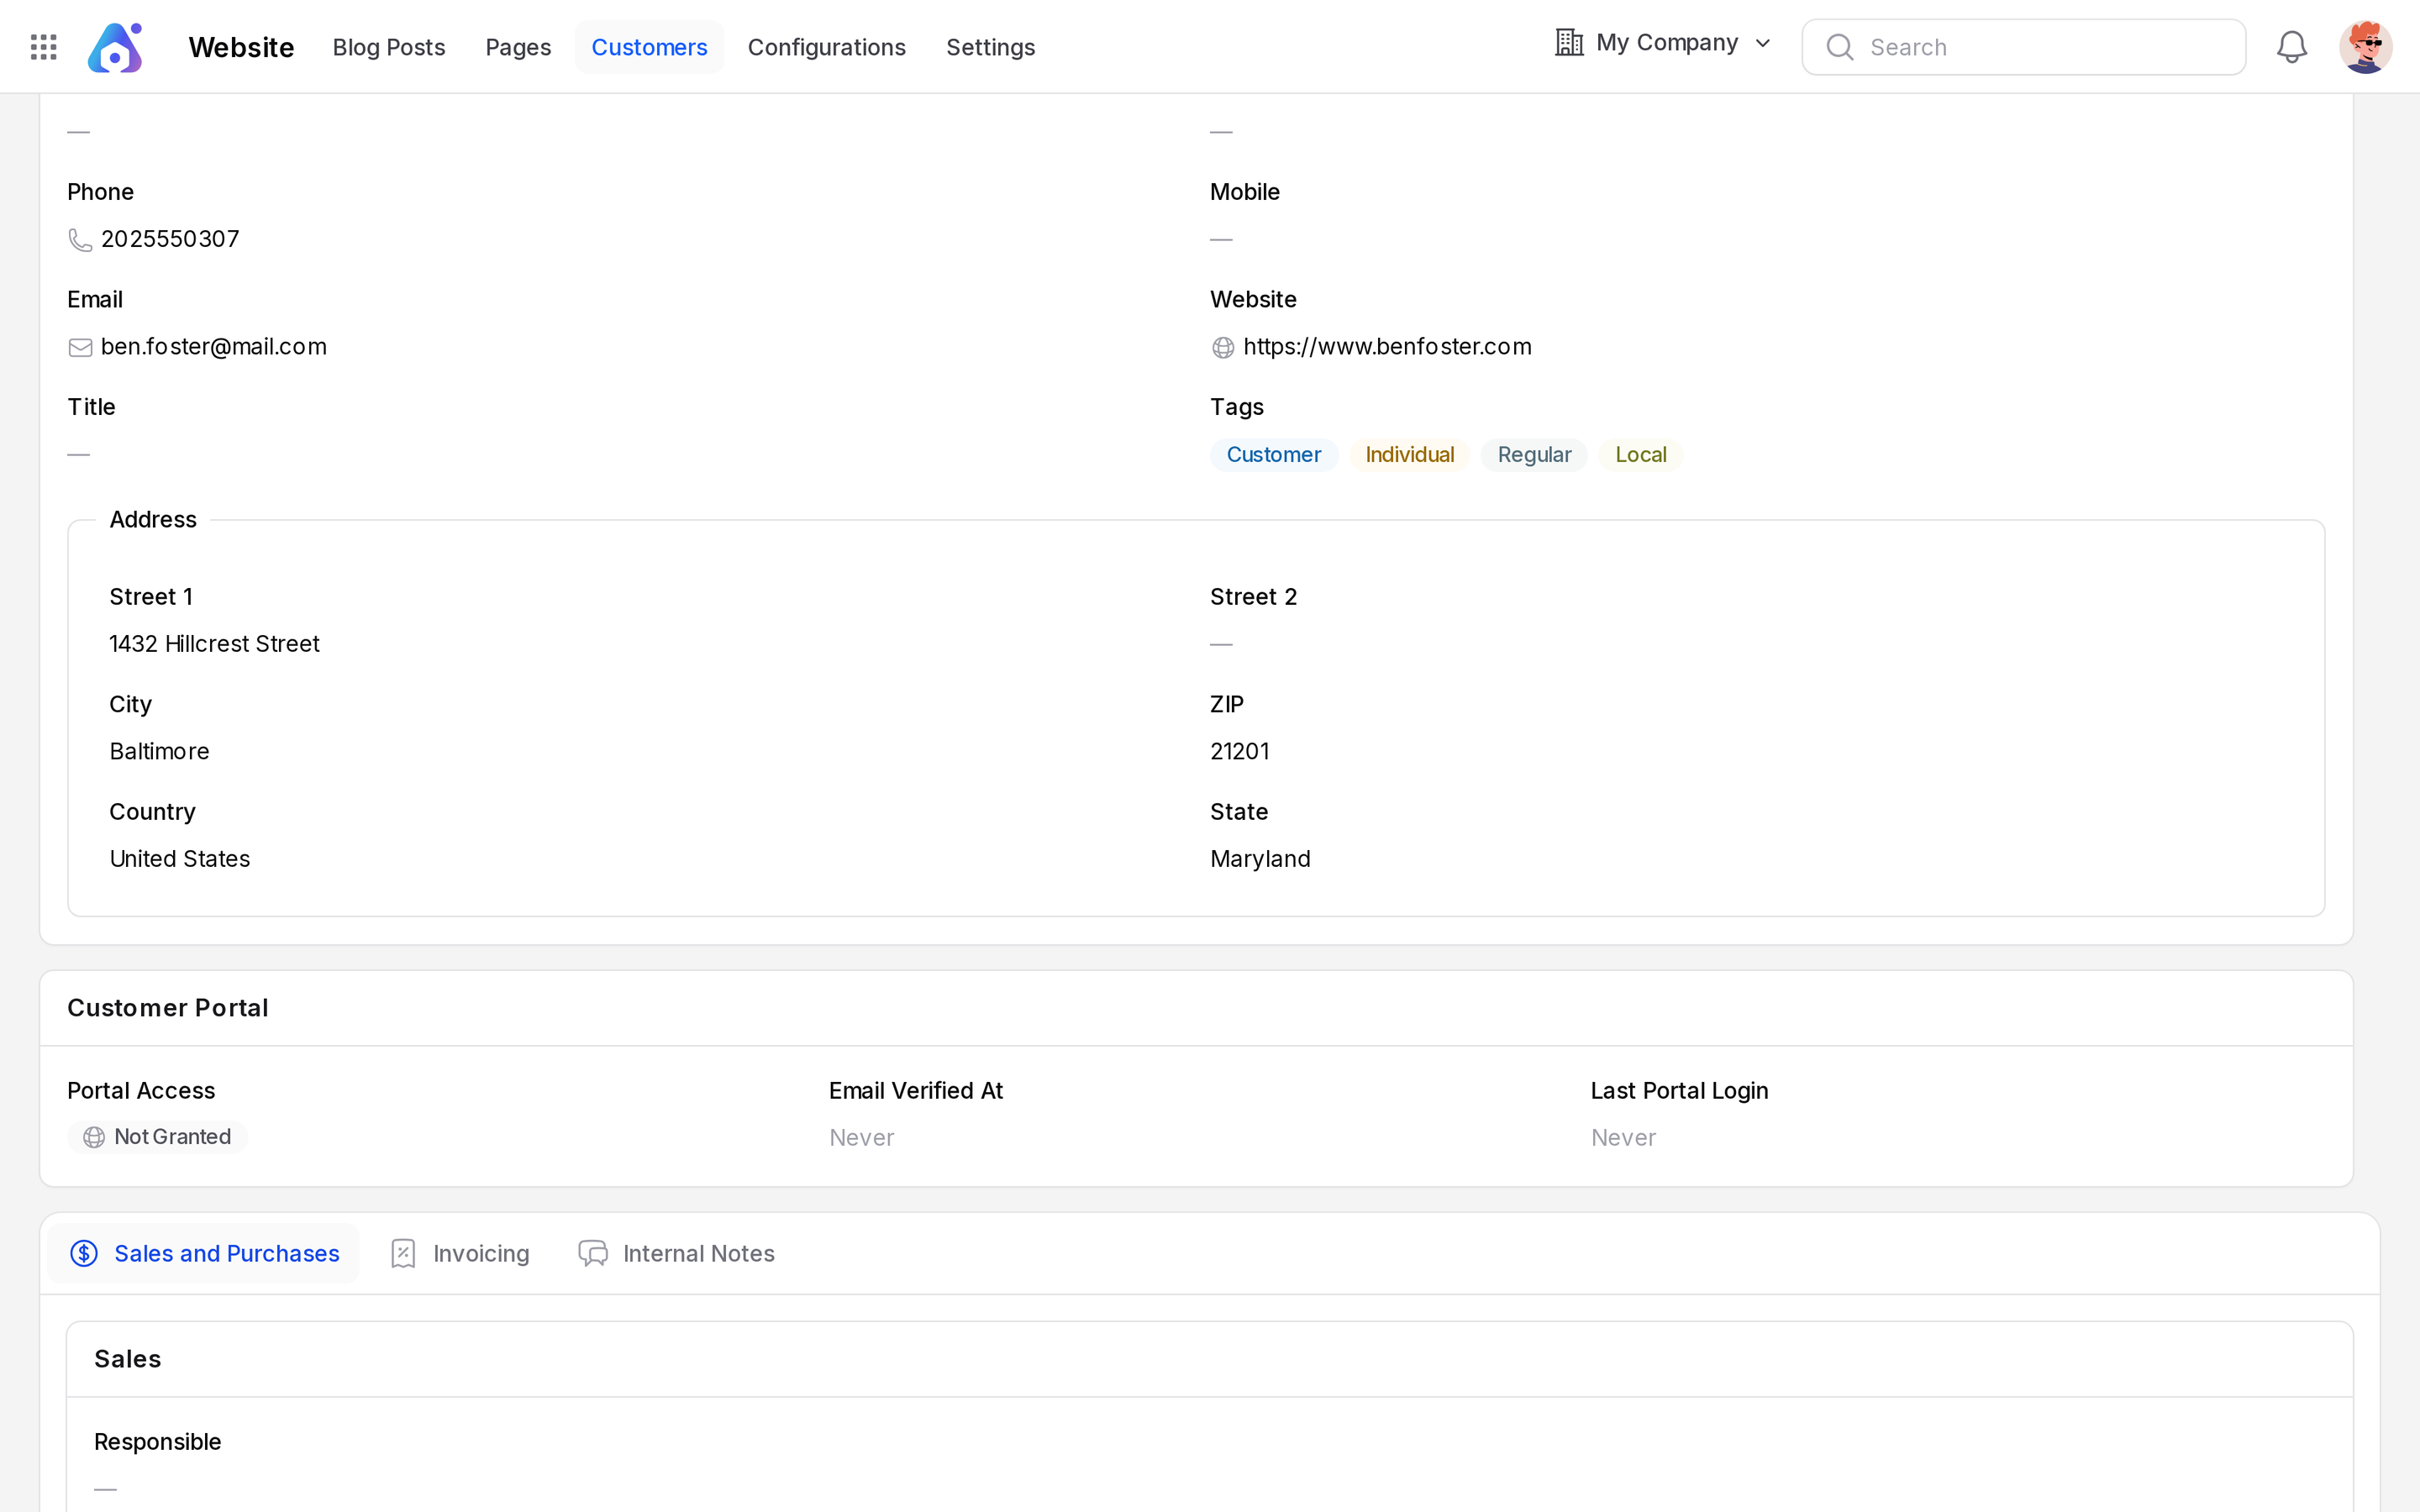
Form tabs in short
- General: Account type, Name, Company, Avatar, Tax ID, Job Title, Phone, Mobile, Email, Website, Title, Tags and the address (Street 1, Street 2, City, ZIP, Country, State).
- Sales and Purchases: Responsible, Payment Terms, Payment Method, Company ID, Reference, Industry, and the purchase and Fiscal Position settings.
- Invoicing and Internal Notes.
For what each field means, see Contacts.
WARNING
A customer needs an Email before you can grant portal access. Add it now to save time later.
Sub pages
Open a customer to find these pages.
| Page | What it holds |
|---|---|
| View | Details and the Customer Portal section. |
| Edit | The same form as Create Contact. |
| Contacts | Other people who work for this customer. Click Add Contact to add one. |
| Addresses | Extra addresses. Types are Permanent, Present, Invoice, Delivery and Other. |
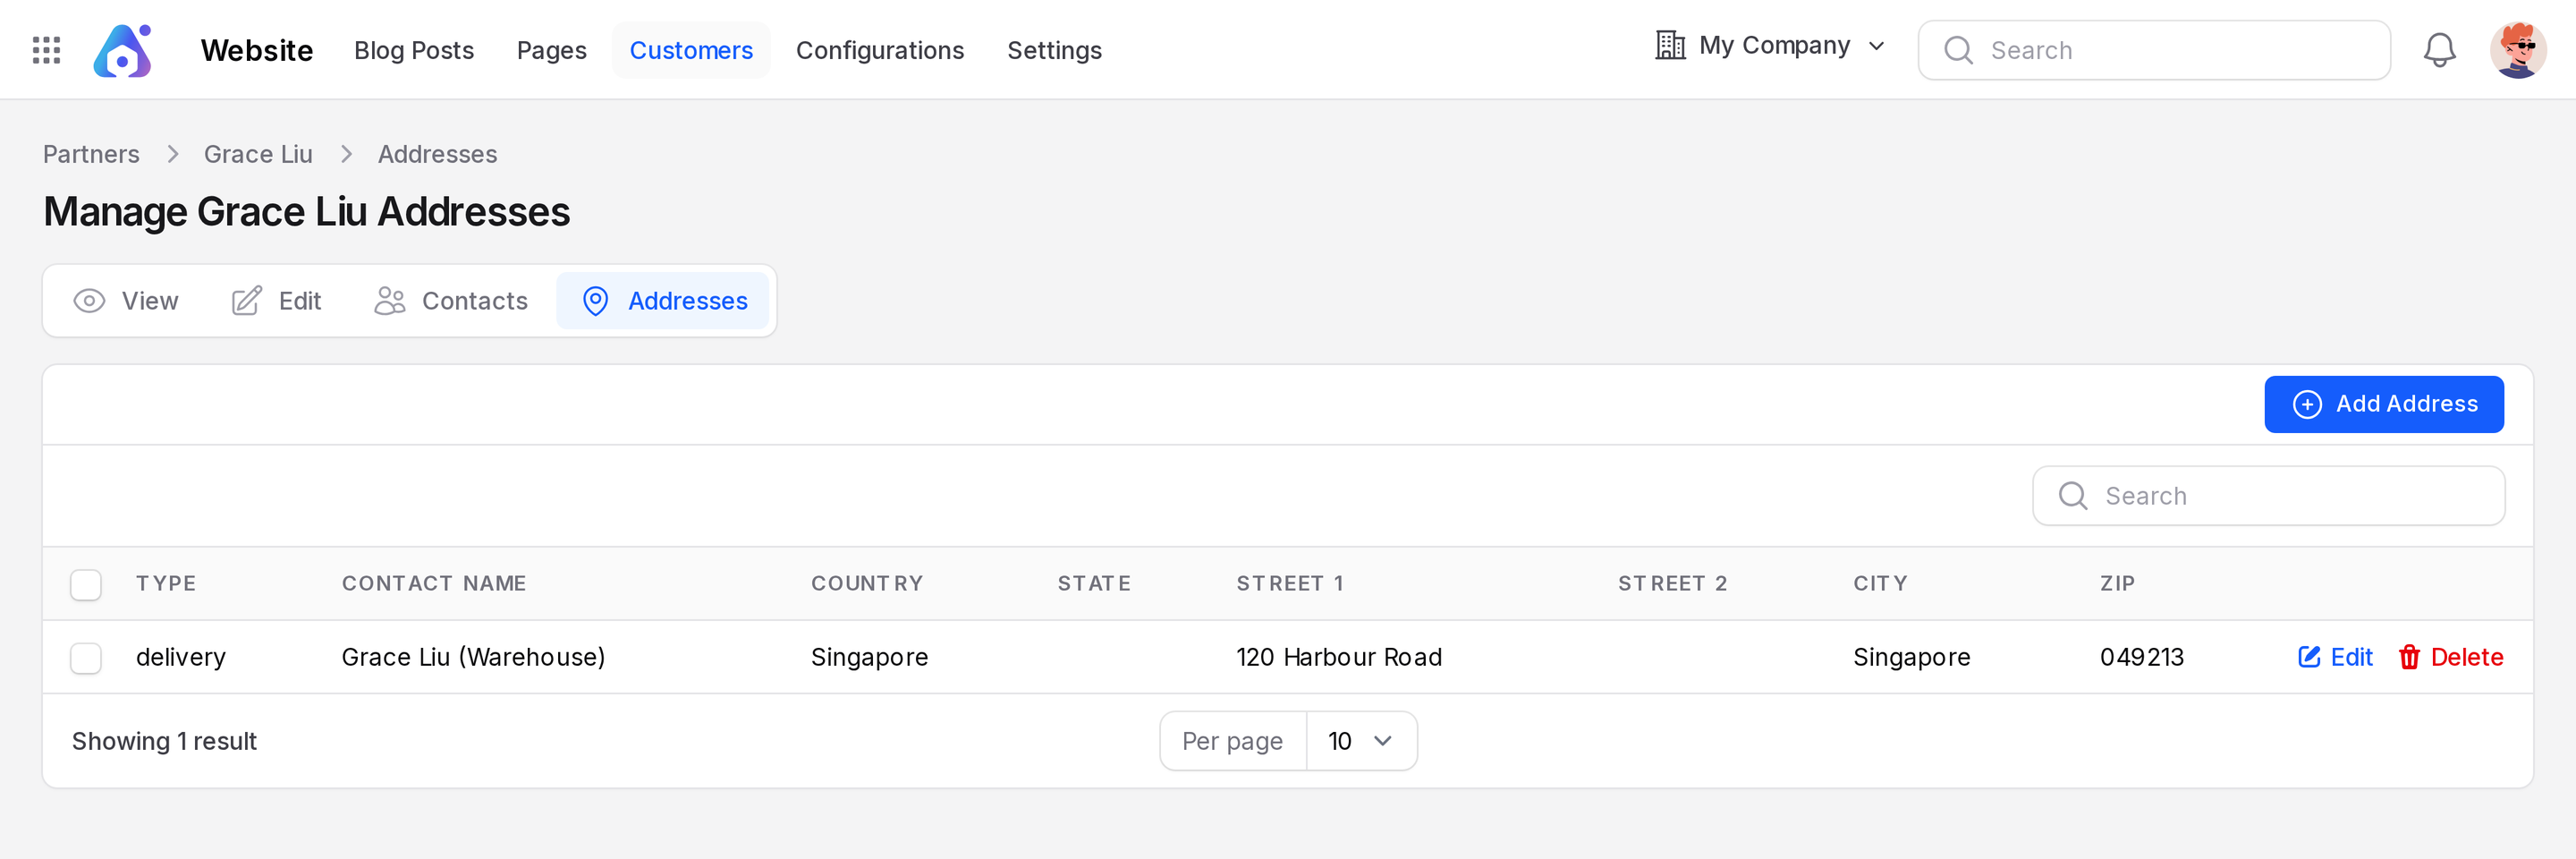
Actions and statuses
- Create Contact: Saves a new contact.
- Edit: Changes any detail. The change shows in Contacts too.
- Delete: Moves the contact to Archived.
- Portal Access menu: Grants, changes or removes sign-in. See Portal and sign-in.
- Chatter: Keeps notes and messages on the record.
| Portal Access | Meaning |
|---|---|
| Not Granted | The contact cannot sign in. |
| Granted | The contact can sign in to the portal. |