

Tags
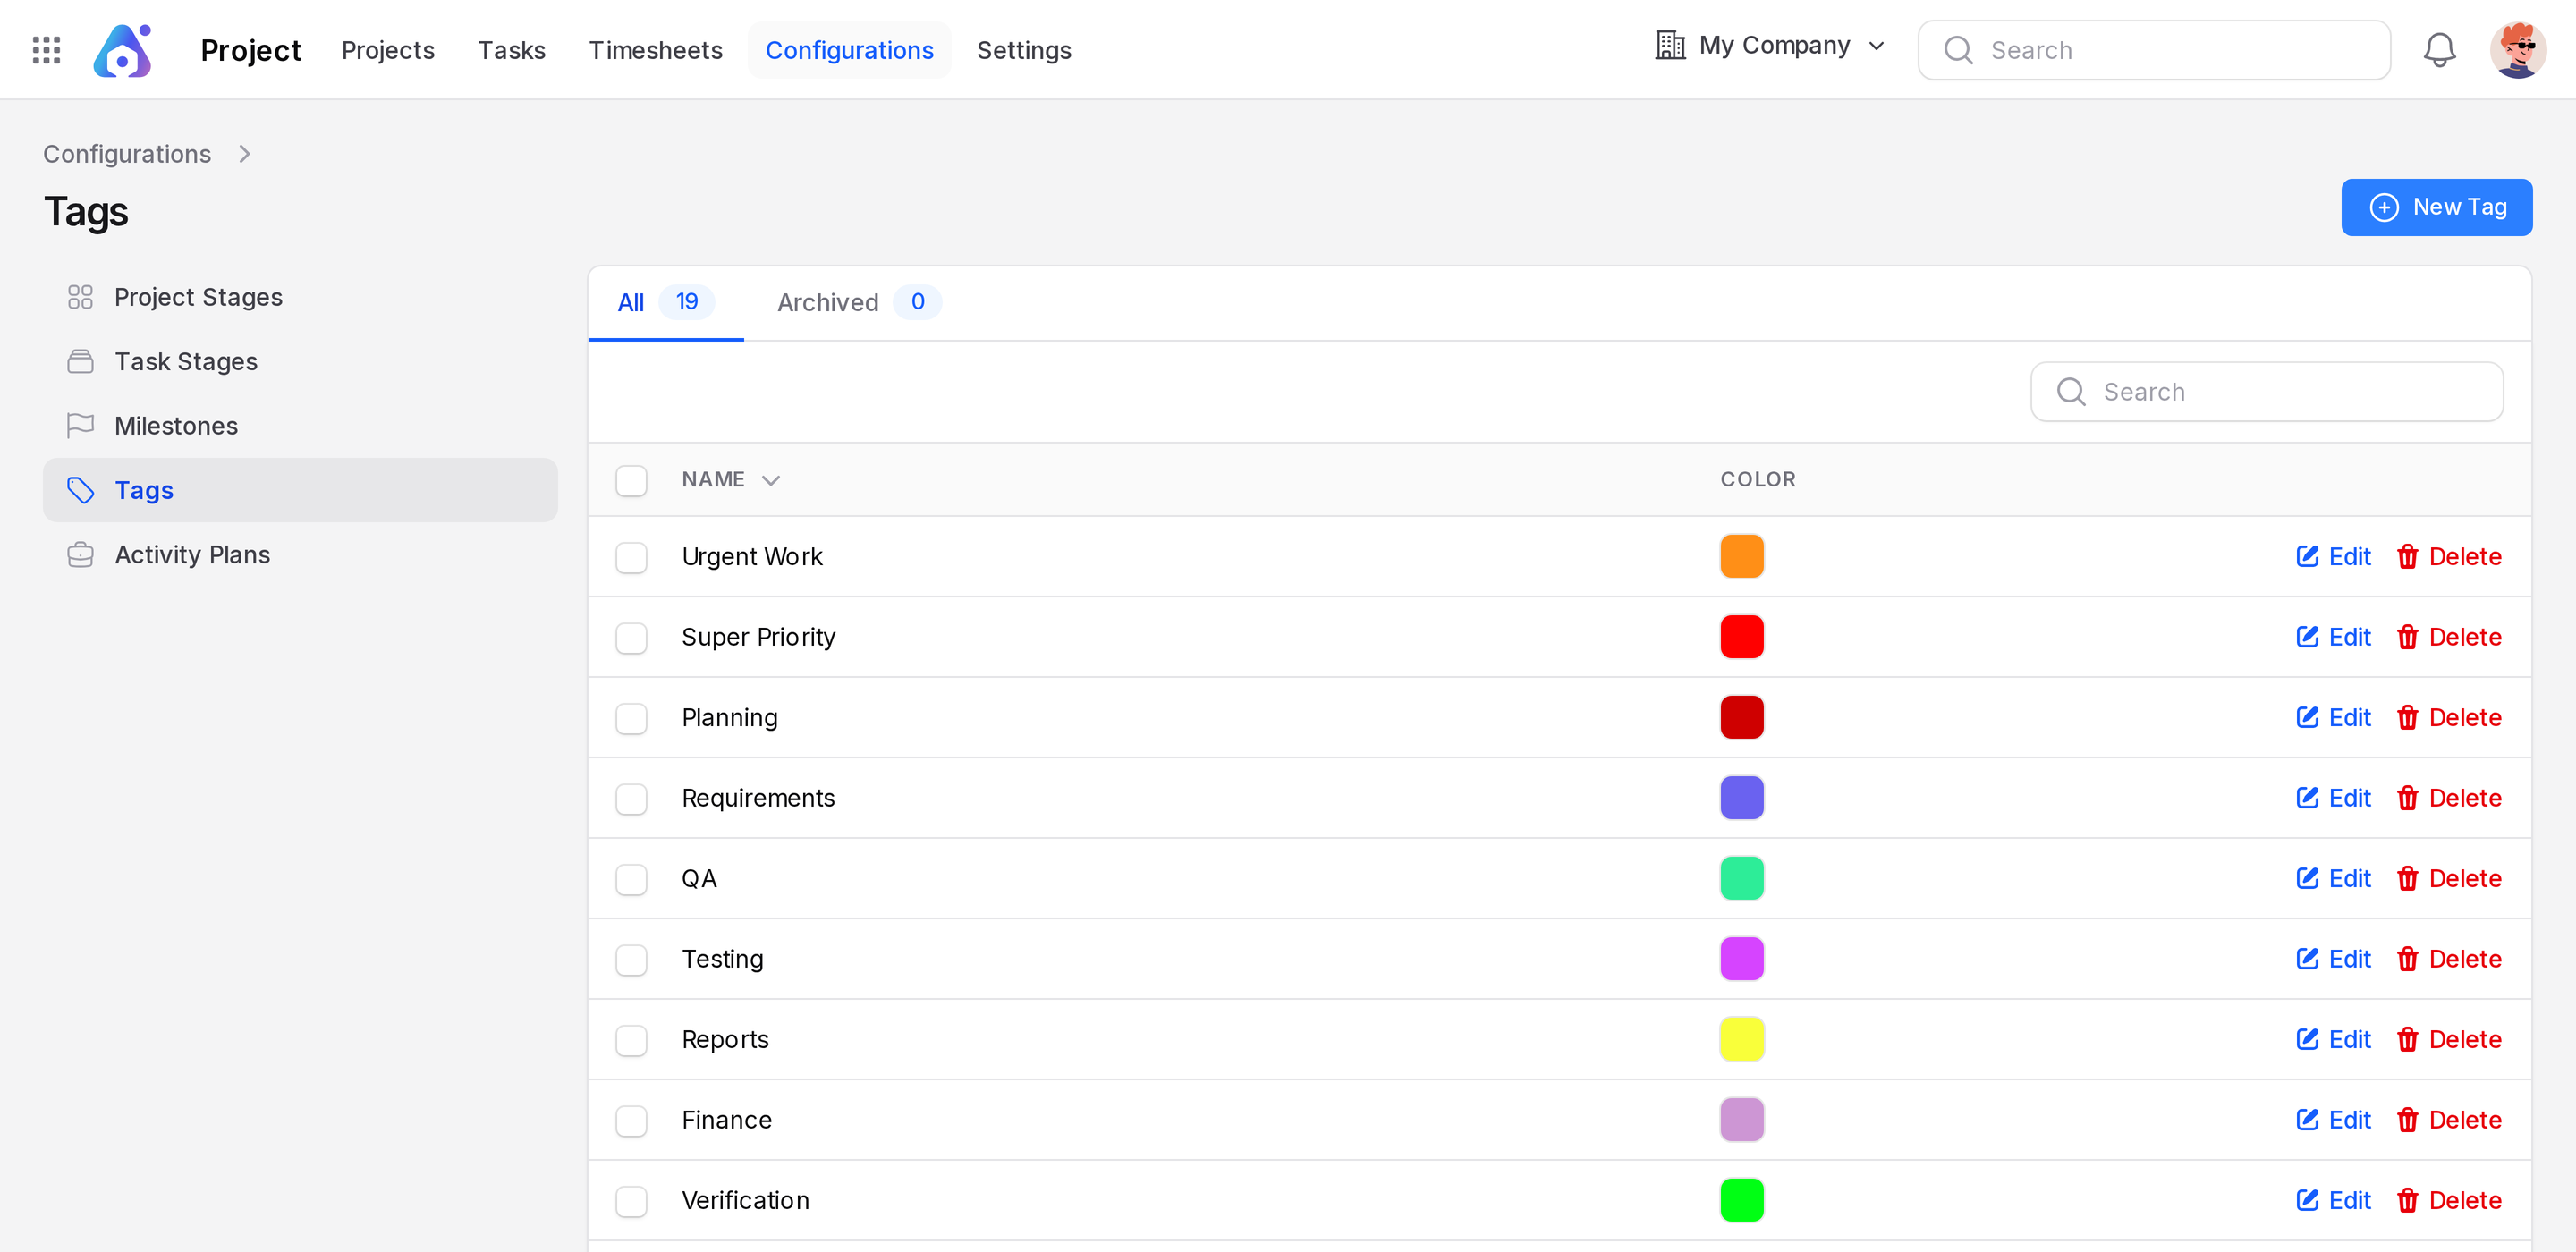
A tag is a short coloured label. You stick it on a project or a task so you can spot and filter related work quickly. One shared list serves both projects and tasks.
In simple words: A tag is a coloured sticker. Create it once and use it on any project or task.
Open Project → Configurations → Tags.
Overview
The list shows each tag with its Name and Color. Use the row menu for Edit, Delete, Restore and Force delete. Tick rows for the same bulk actions.
Create a tag
The example creates the tag Client Work.
Open
Project → Configurations → Tagsand click New Tag.Fill in the form.
- Name: (required) A unique name, for example Client Work.
- Color: The label colour. The default is grey. Pick a colour that stands out, such as orange.
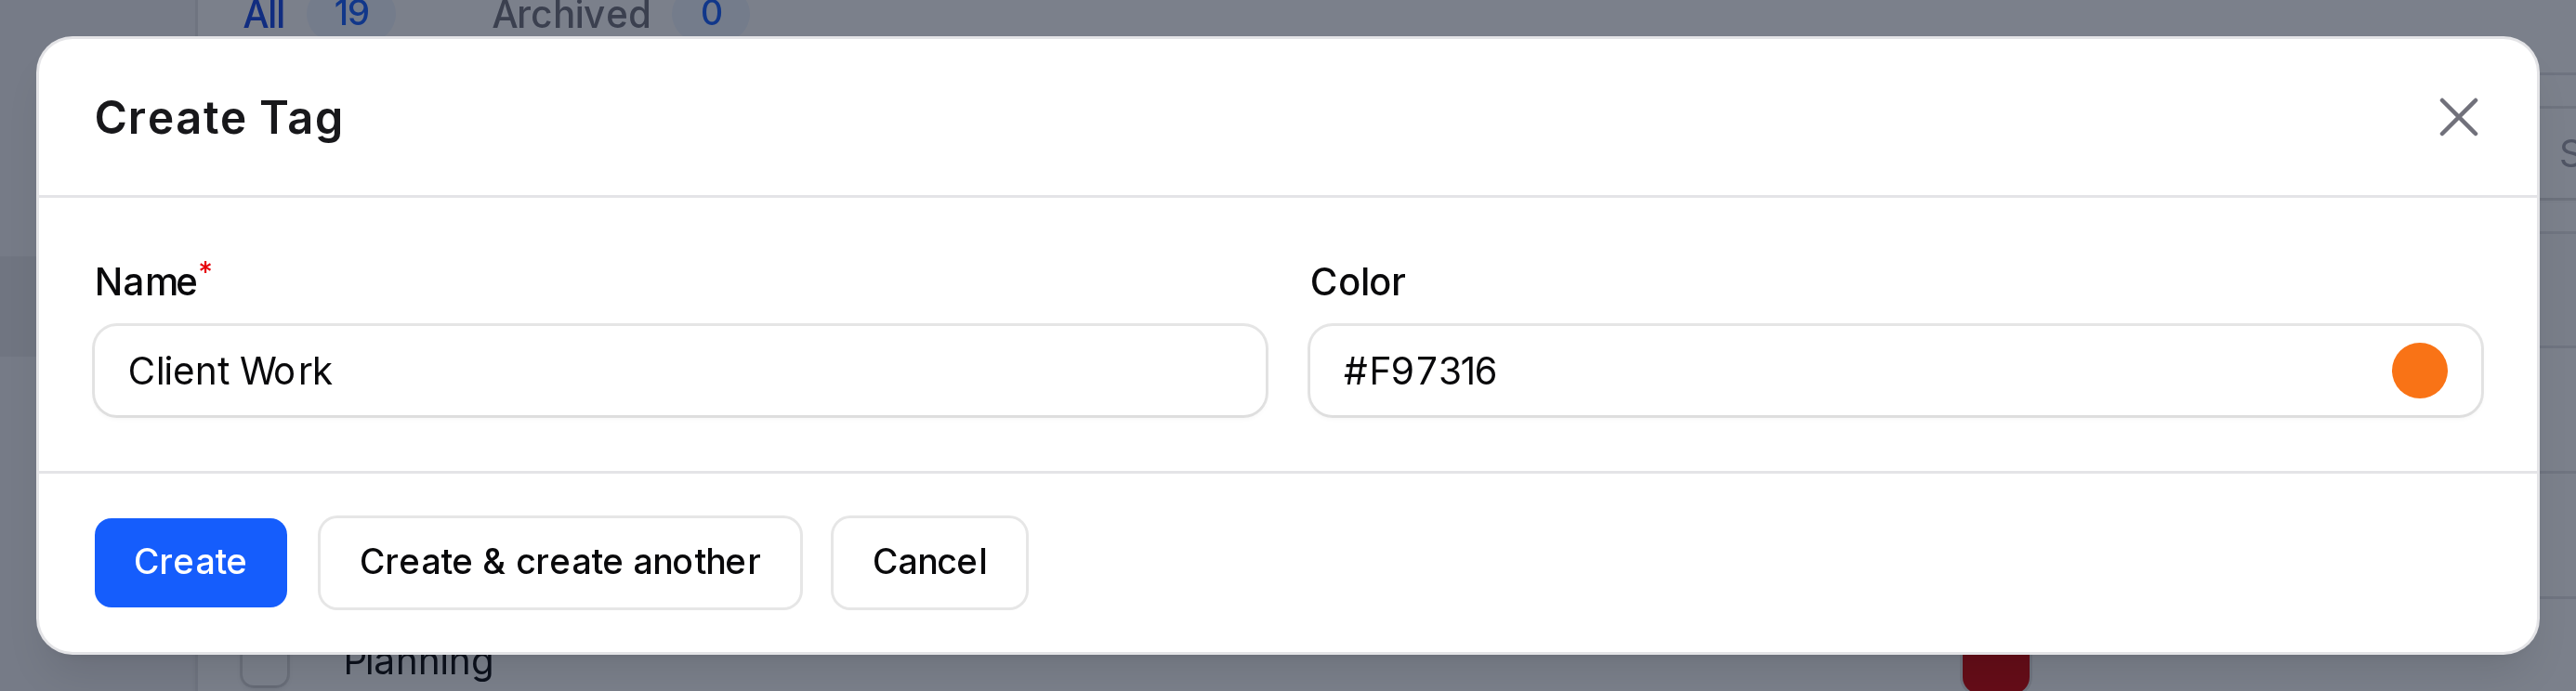
Click Create. The tag now appears in the list.
You can also create a tag while filling a project or task. Open the Tags field and use the create option. Give the Name and Color.
Use a tag
- On a project, pick tags in Additional Information. They show as badges on the project card.
- On a task, pick tags in General. They show in the Tags column of the task list.
- Filter the project list, the task list or the dashboard by Tags.
In Website Revamp, the tags are Requirements, Testing, Documentation, Client Work and Design.
INFO
A tag name must be unique. Delete archives a tag, so it can no longer be picked until you restore it.