

Plugins
A plugin is a module of Aureus ERP, such as Sales, Inventory or Accounting. The plugin manager lists every module and lets an administrator install or uninstall it. You install only the modules your business uses. Your administrator usually installs plugins once. You need this page when you add a new module.
In simple words: Plugins are the building blocks of the ERP. You switch each block on by installing it.
Overview
Open the Plugins menu in the main navigation to see the plugin list. It shows each plugin as a card.
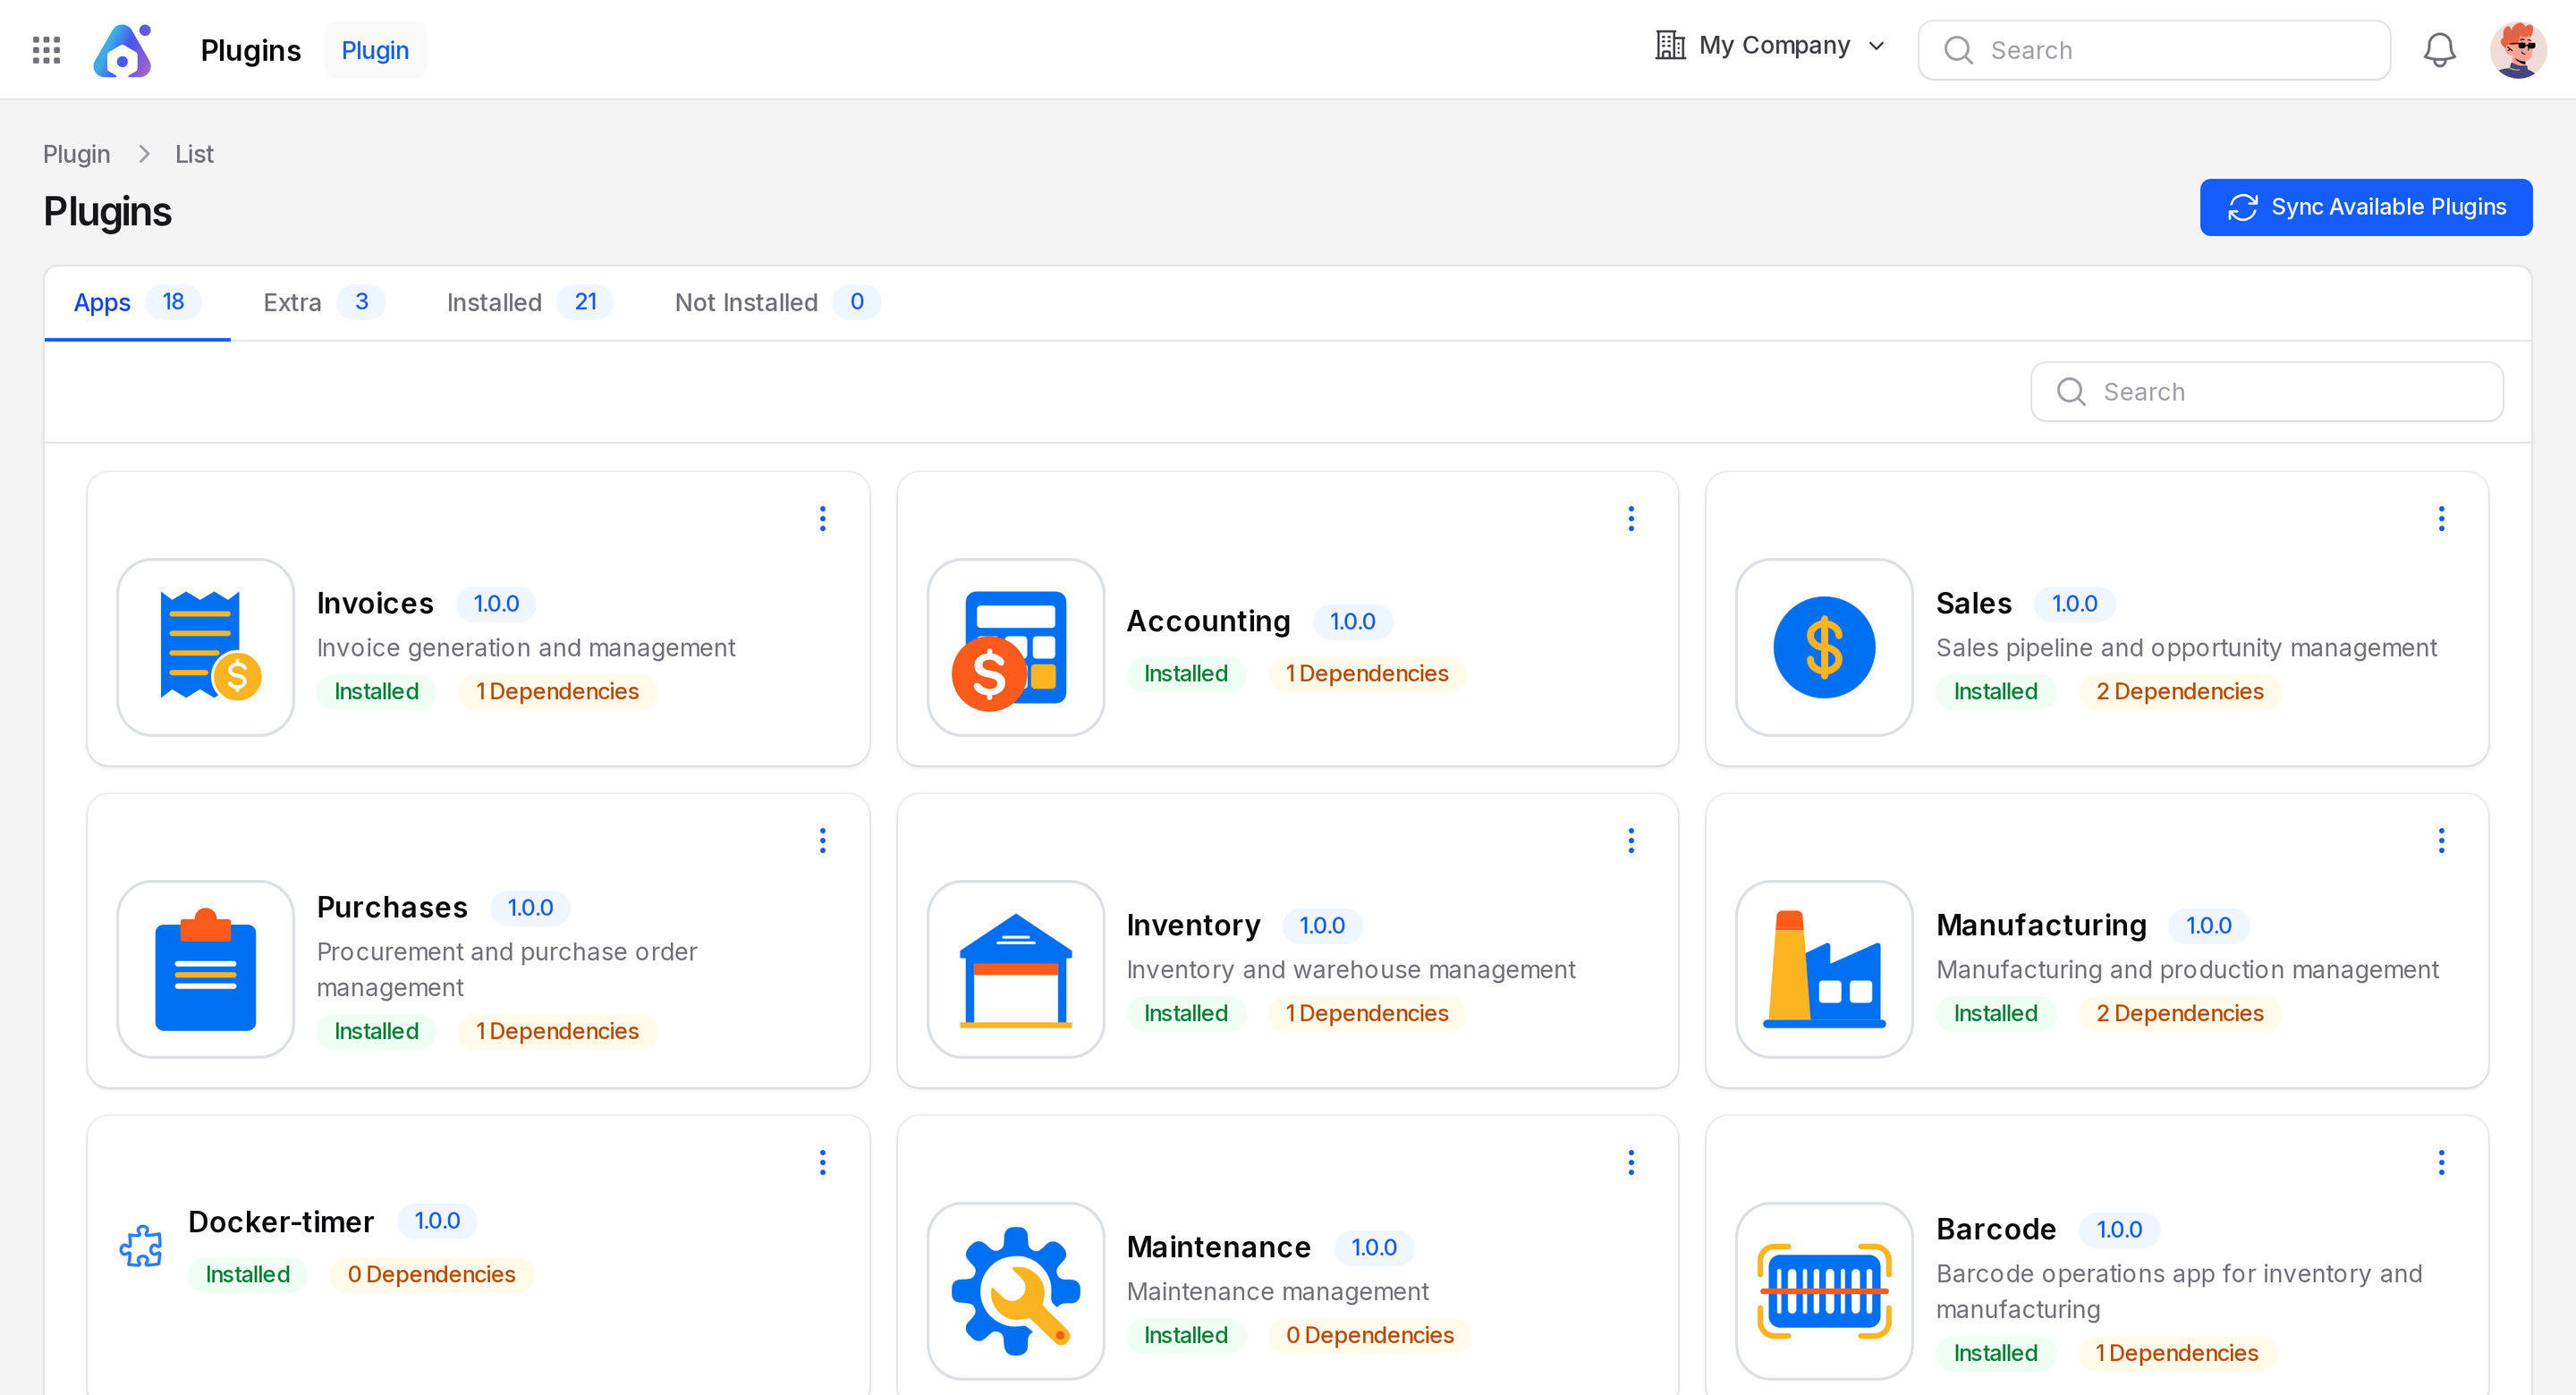
Each card shows:
- Name: The name of the plugin, for example Sales.
- Version: The version number.
- Description: A short line about what the plugin does.
- Installation Status: Installed or Not Installed.
- Dependencies: How many other plugins it needs.
Use the tabs to narrow the list:
- Apps: Plugins that have an app icon.
- Extra: Plugins without an icon.
- Installed: Plugins that are installed.
- Not Installed: Plugins that are not installed yet.
Each tab shows a count. You can search by name.
View plugin details
- On a card, click the three dots.
- Click View. A View Plugin window opens.
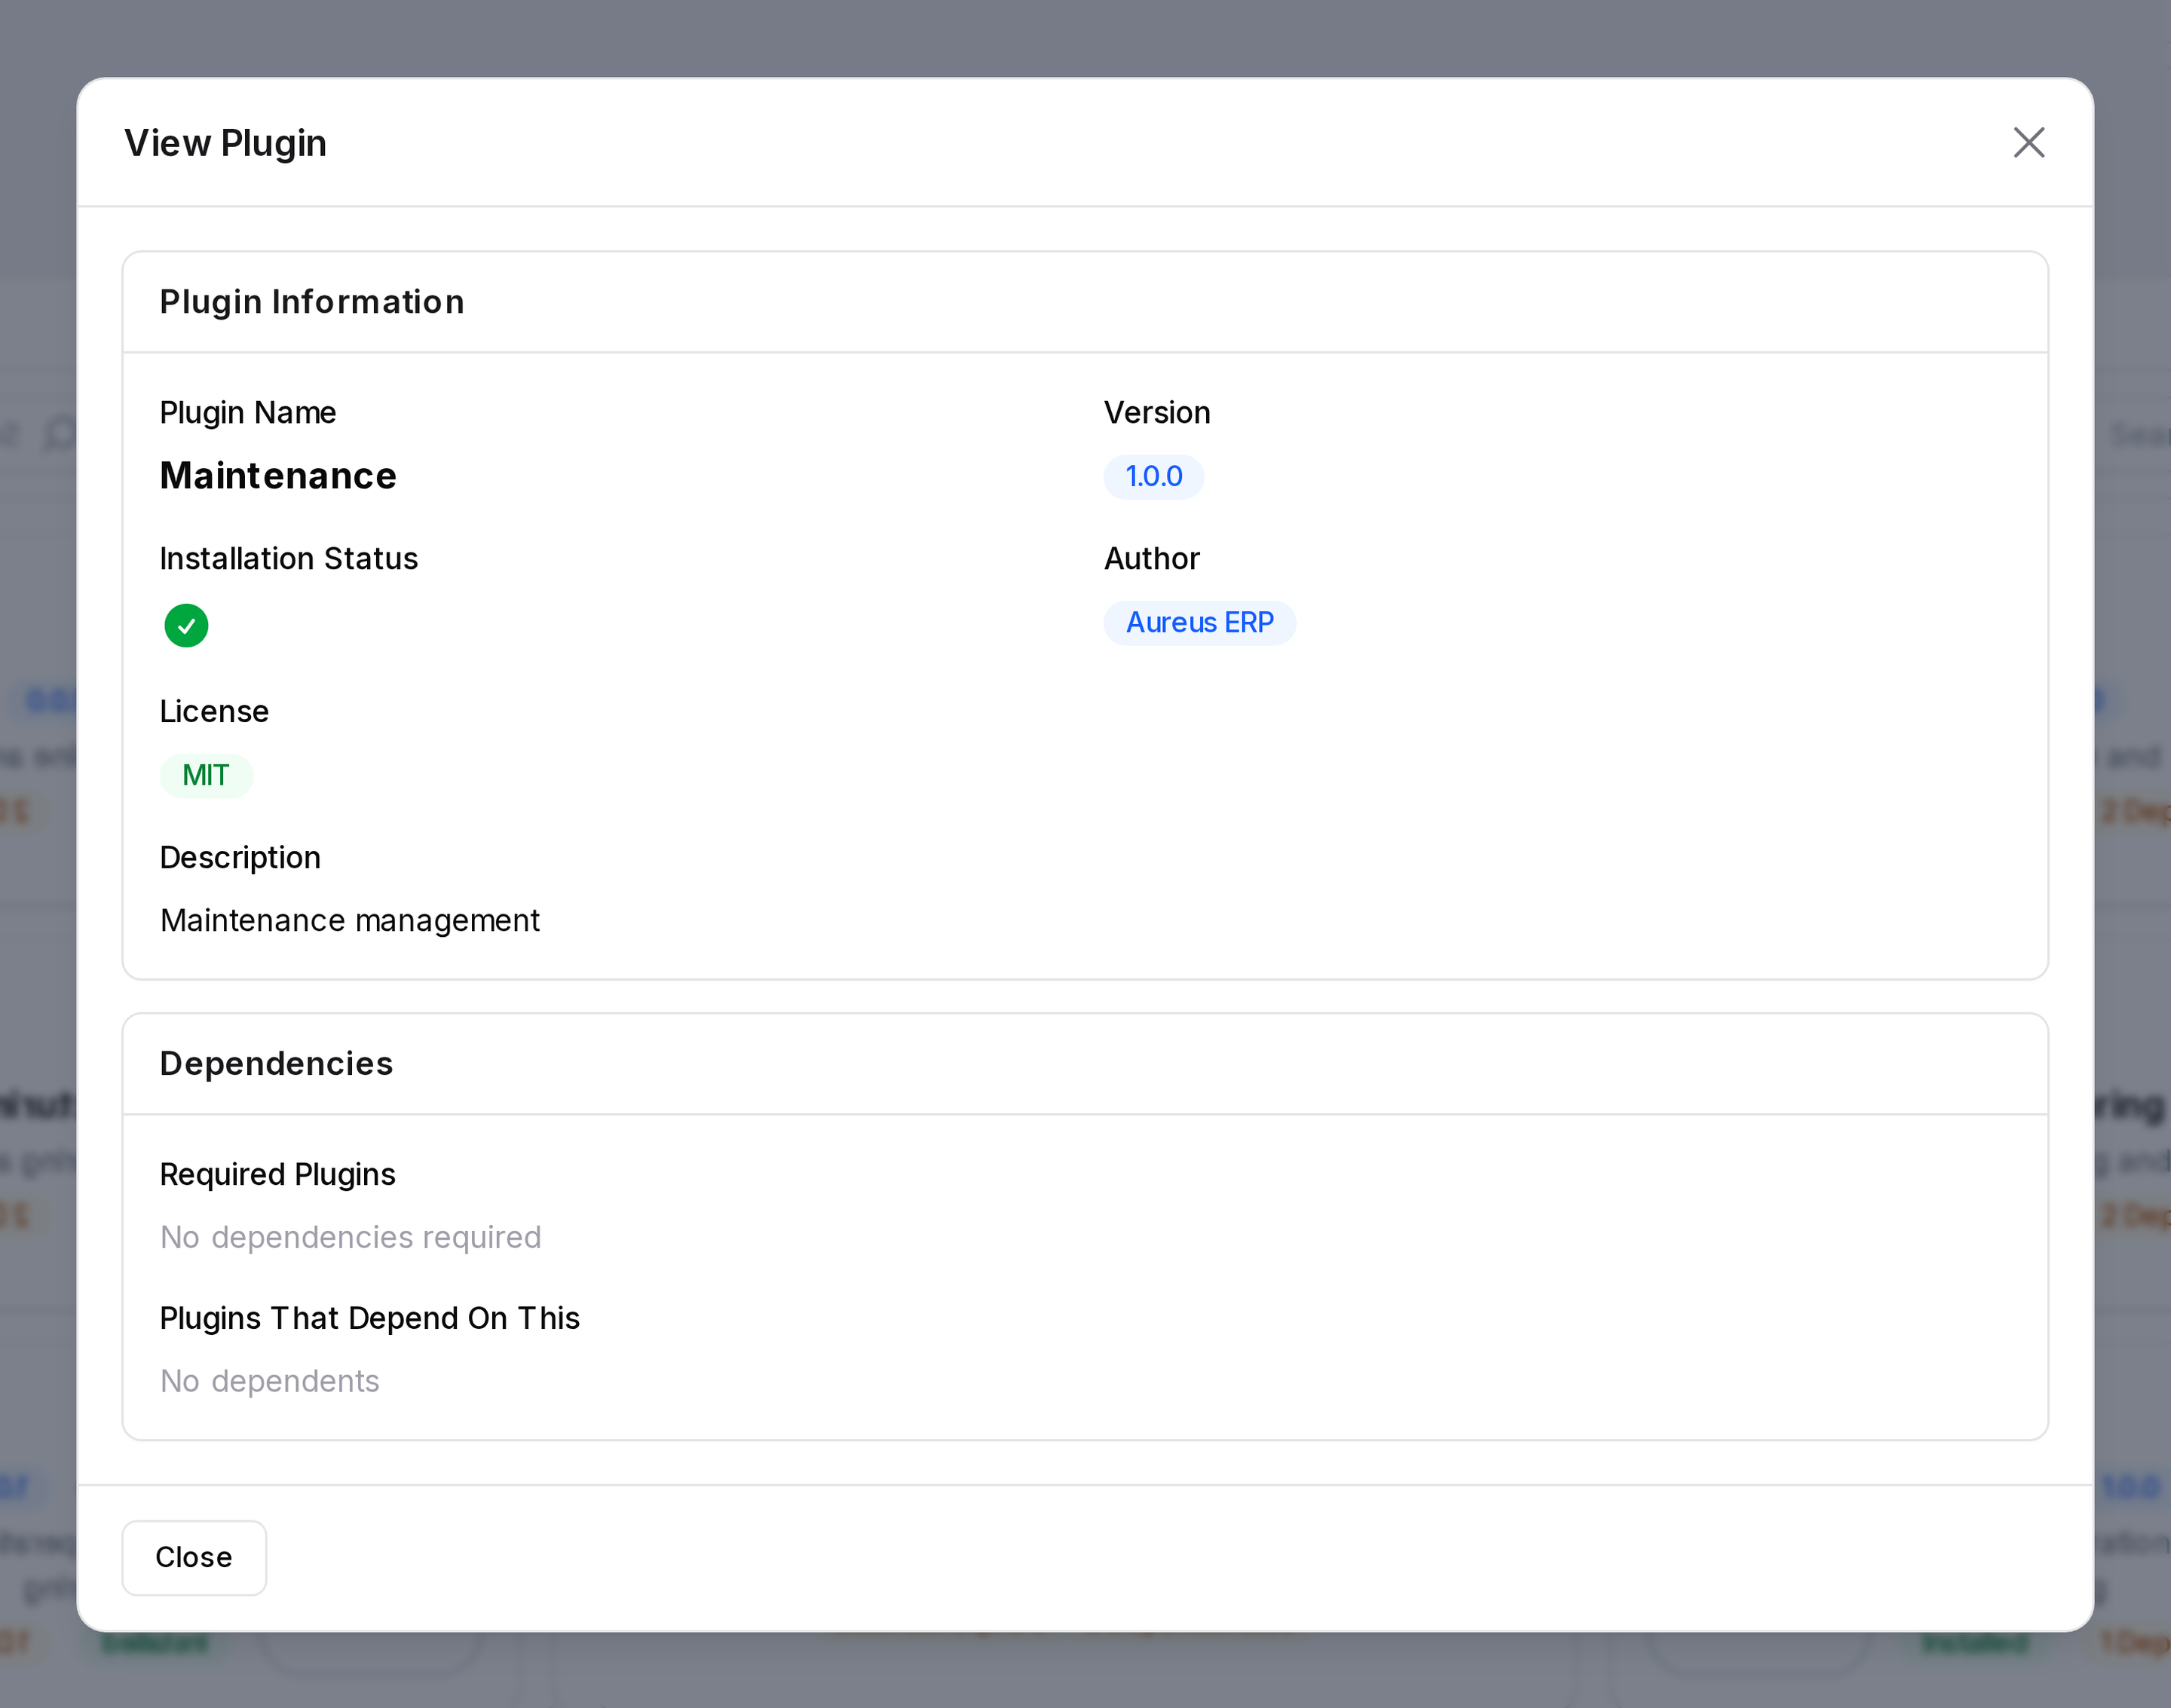
The window shows:
- Plugin Name: The name of the plugin.
- Version: The version number.
- Installation Status: A tick when installed.
- Author: Who made the plugin.
- License: The license of the plugin.
- Description: What the plugin does.
- Required Plugins: Plugins that must be installed first, with their status.
- Plugins That Depend On This: Plugins that need this one, with their status.
Install a plugin
- Open the Plugins menu.
- Find the plugin on the Not Installed tab.
- Click the three dots and click Install.
- Read the message. It says the install runs migrations and seeders.
- Click Install Plugin.
The app shows Plugin Installed Successfully when it finishes. The plugin is then marked Installed and active. If it fails, the app shows Installation Failed with the reason, and no change is kept.
INFO
The install stops after 5 minutes. Wait for the message before you leave the page.
Uninstall a plugin
- Click the three dots on the card of an installed plugin.
- Click Uninstall.
- Read the Uninstall Plugin window. It shows an Uninstall Confirmation note.
- Click Uninstall Plugin.
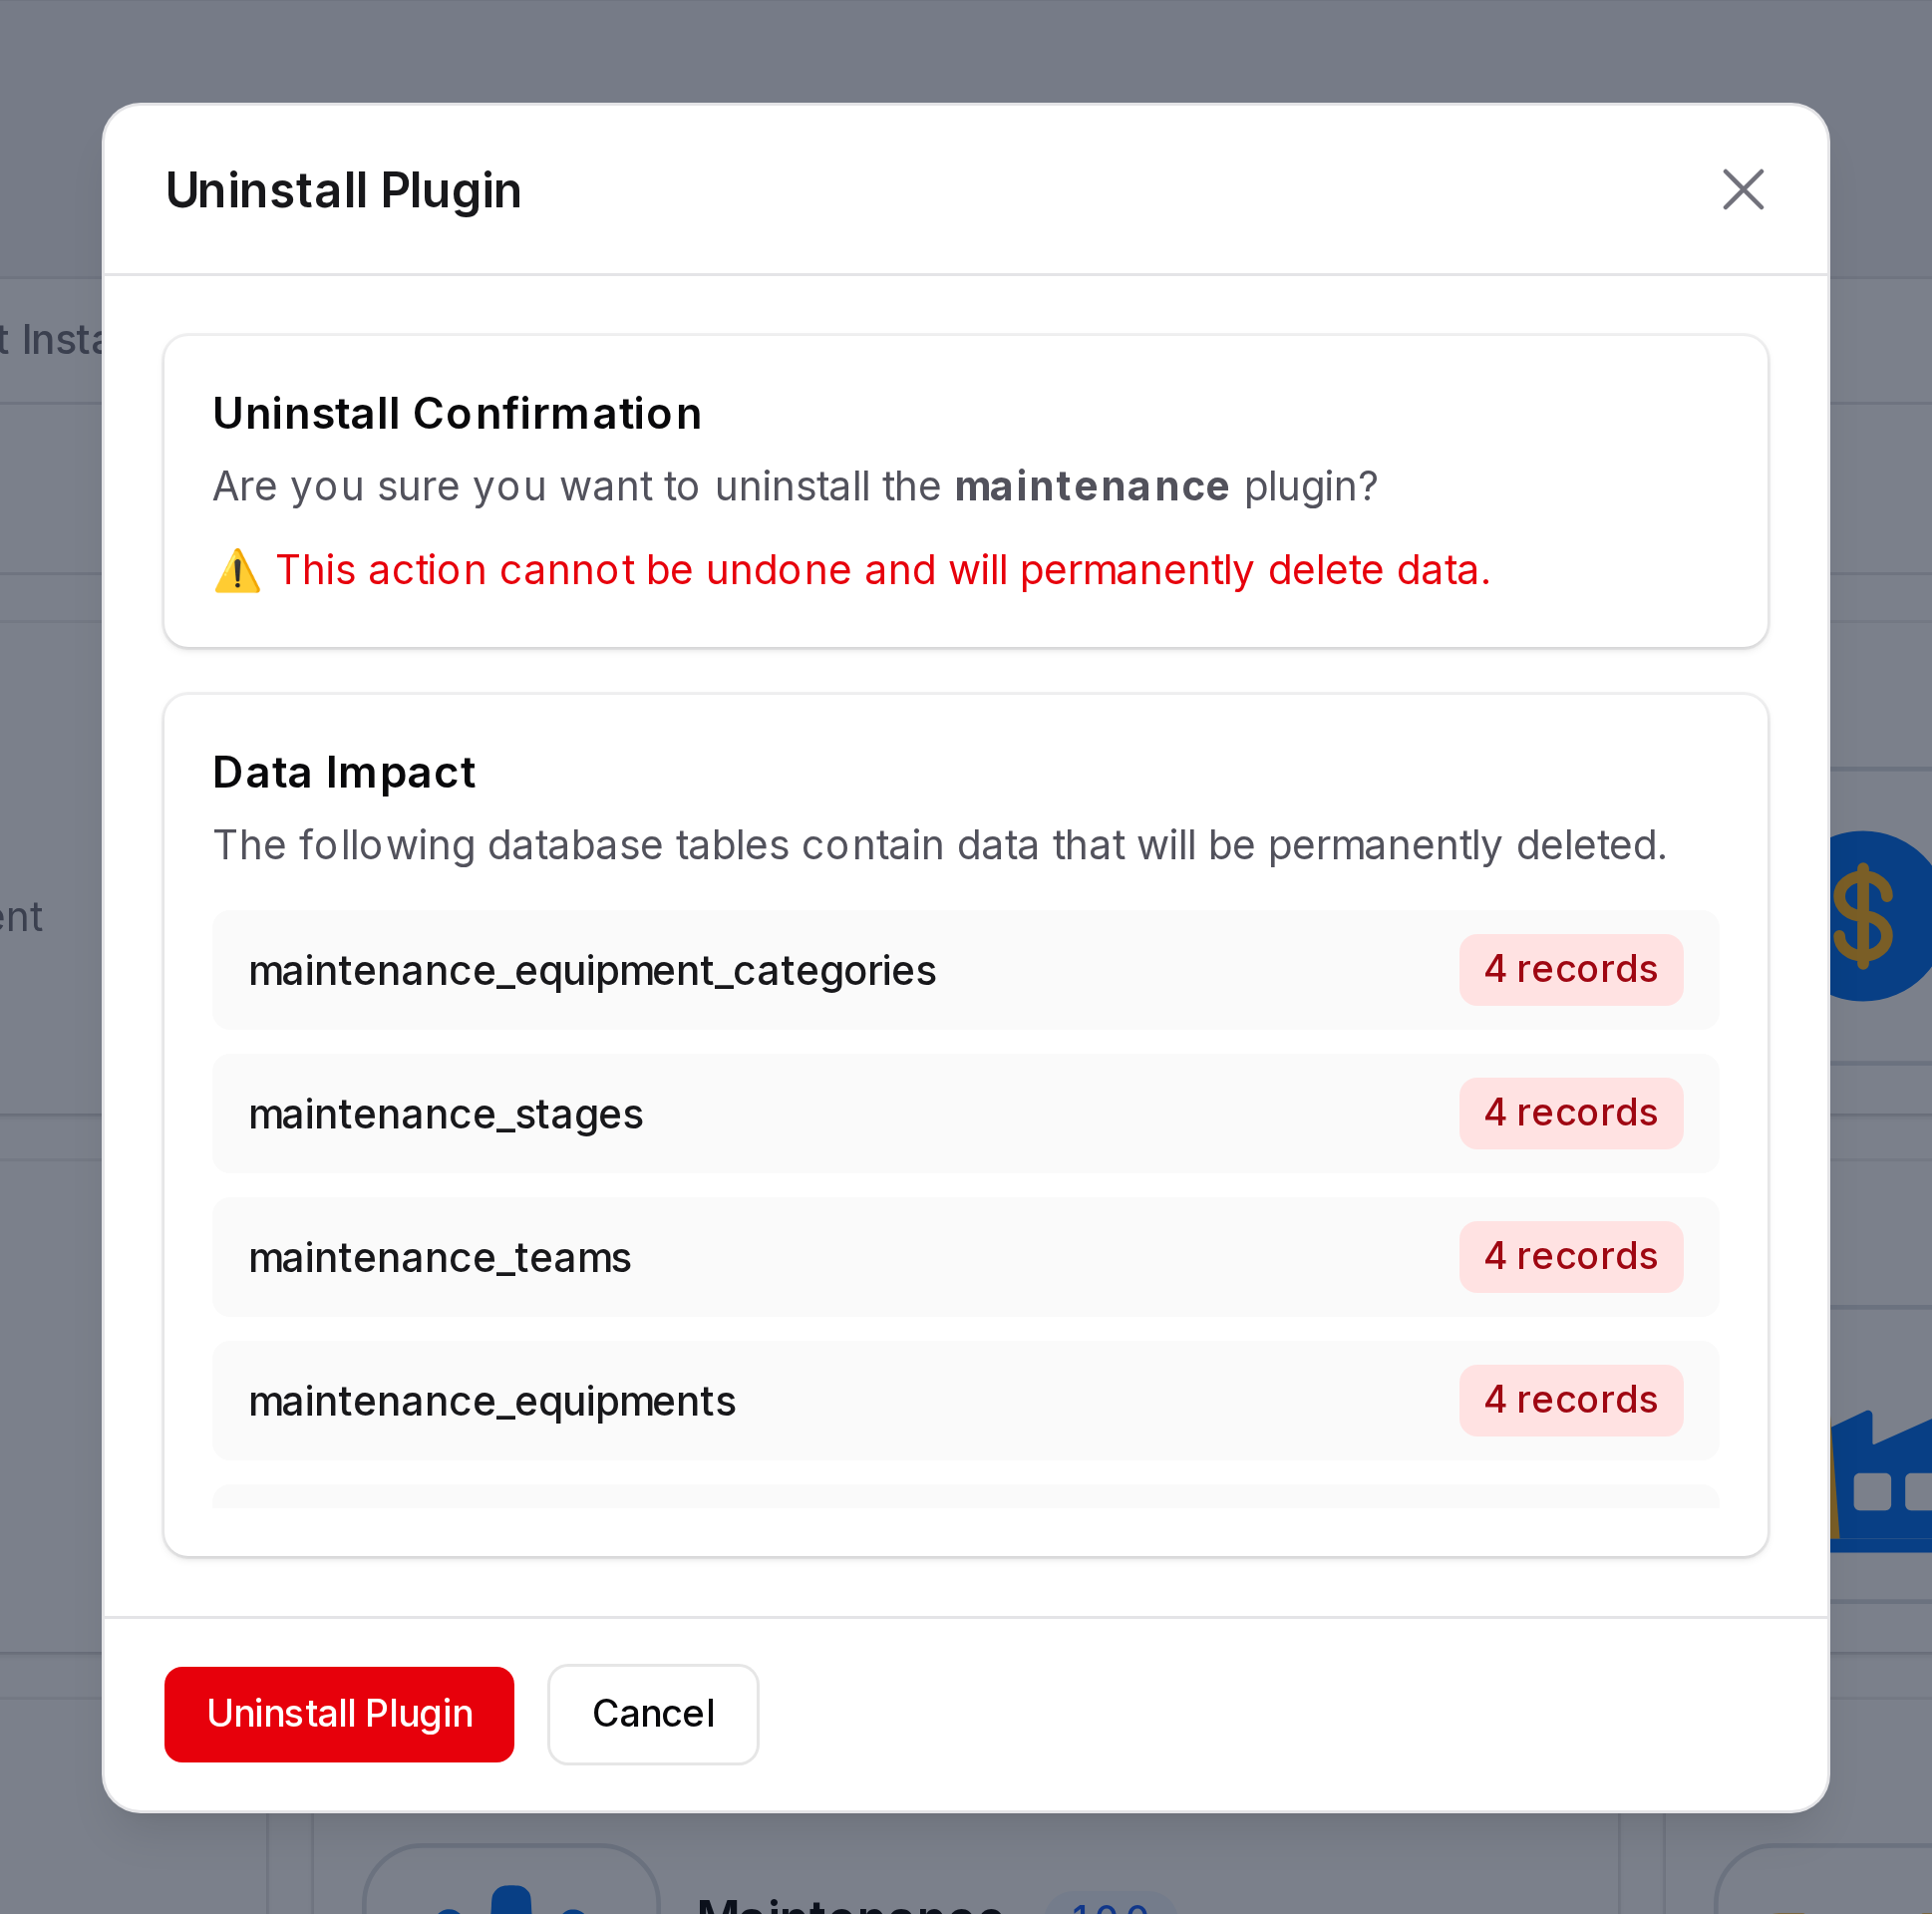
The window shows:
- Dependent Plugins: Plugins that need this one, and whether they are installed.
- Data Impact: The database tables with data that will be deleted, and the number of records.
WARNING
Uninstalling cannot be undone. It permanently deletes the data of the plugin.
Dependent plugins
If an installed plugin depends on this one, the window shows Action Required and hides the Uninstall Plugin button. Uninstall the dependent plugins first. If you try anyway, the app shows Cannot Uninstall Plugin and lists them.
Sync available plugins
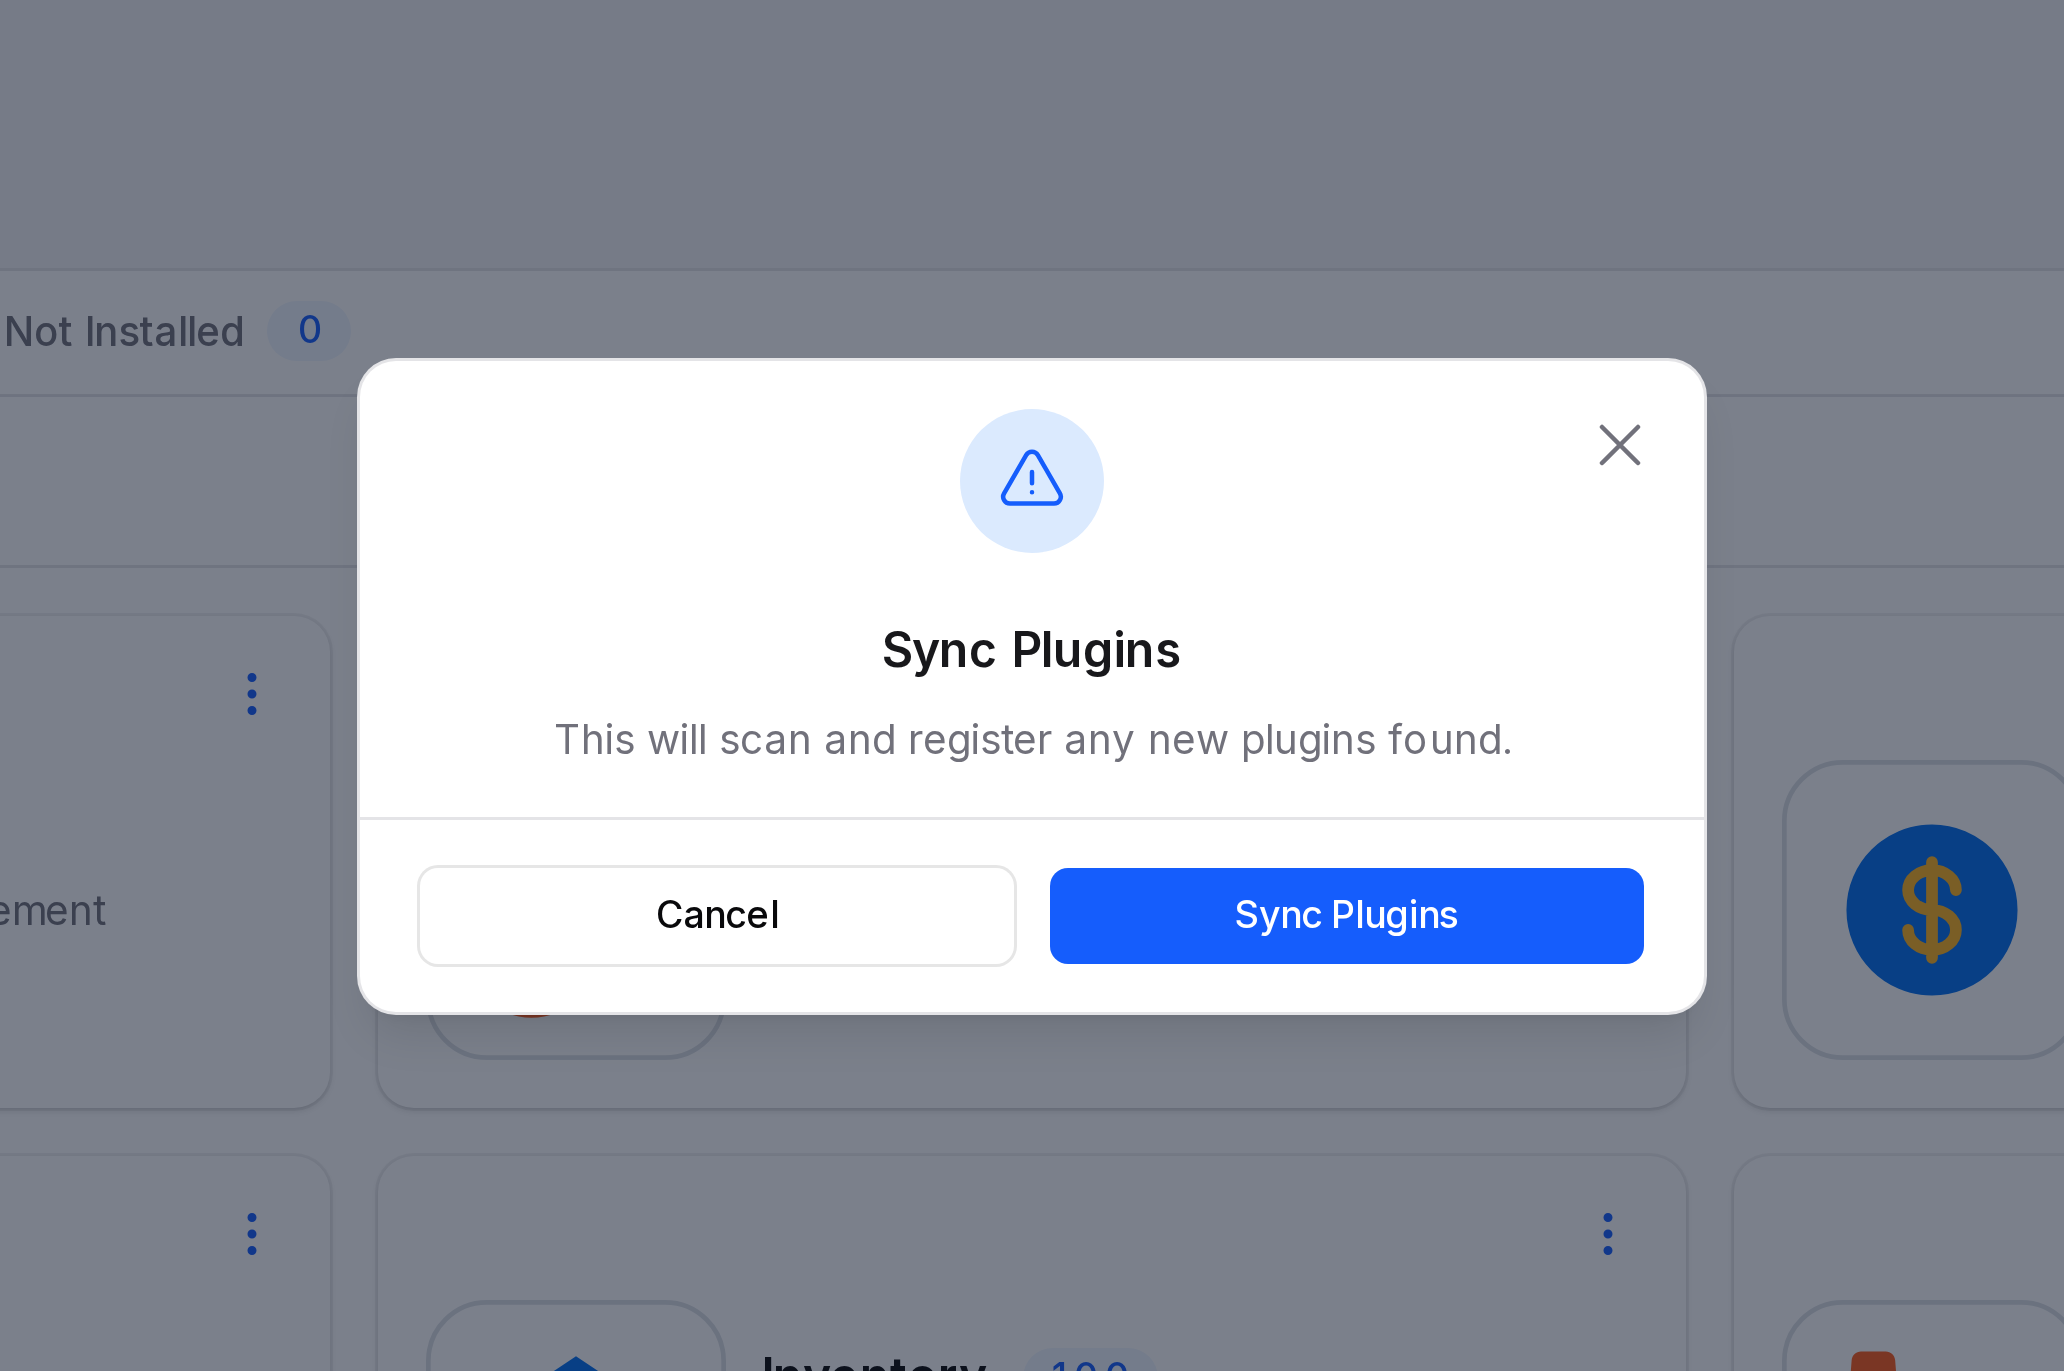
Click Sync Available Plugins at the top of the page. Then click Sync Plugins. The app scans for new plugins and adds them to the list. A message shows how many new plugins it found.
Actions and statuses
- Install: Runs the plugin setup. The status changes to Installed.
- Uninstall: Removes the plugin data. The status changes to Not Installed.
- View: Opens the plugin details.
- Sync Available Plugins: Registers new plugins.
TIP
The page has no separate enable or disable button. Installing makes a plugin active. Uninstalling makes it inactive.