

Warehouses
A warehouse is the site where you keep stock. Each warehouse has a name, a short name and an optional address. It also decides how many steps goods take when they arrive and when they leave. Your first warehouse already exists, so you only add one when you run a second site.
In simple words: A warehouse is a building with its own code, plus a choice of how many handling steps receipts and deliveries use.
Open Inventory → Configurations → Warehouse Management → Warehouses.
Settings
The Settings block on the warehouse form needs a setting turned on.
- Go to
Inventory → Settings → Manage Warehouses. - Turn on Multi Steps Routes.
- Click Save changes.
Turn on Locations on the same page. Creating a new warehouse also turns it on. See Inventory settings.
Overview
The list shows the columns Name, Short Name, Company and Address. The dev database has one warehouse: My Company, short name WH.
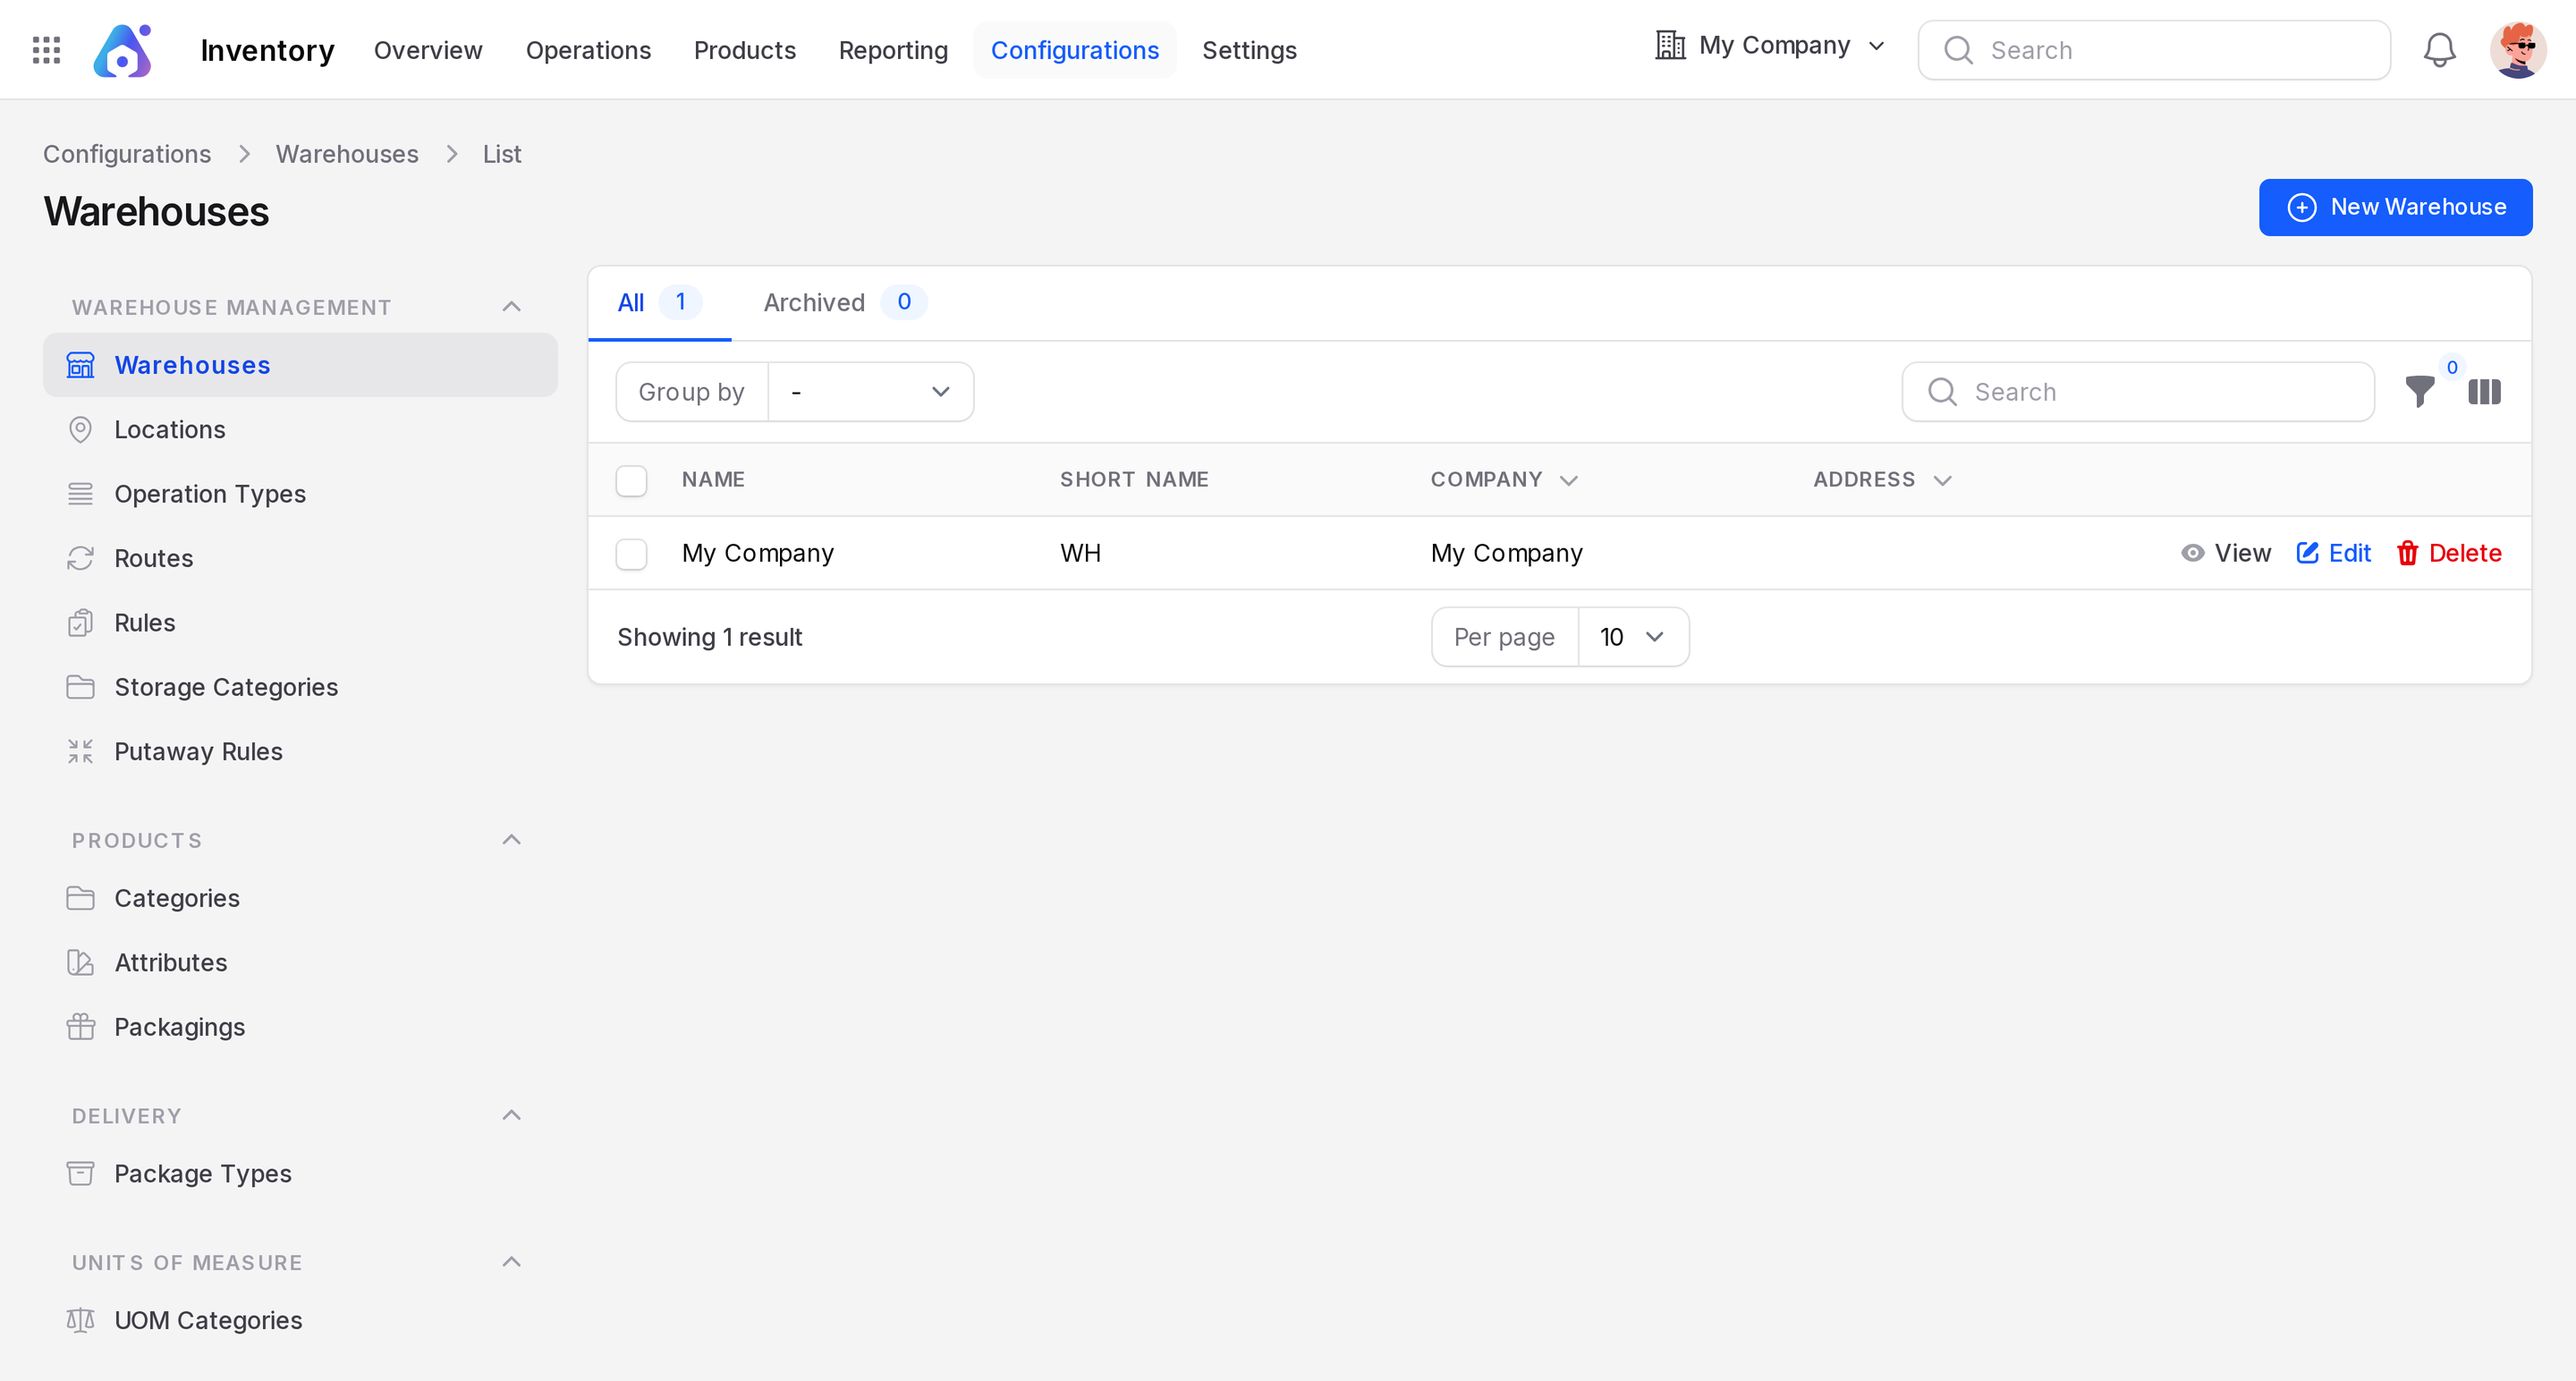
Two tabs sit above the list:
- All: every active warehouse.
- Archived: warehouses you deleted. Deleting only archives the record. Open the tab to restore a warehouse or remove it for good.
You can group the list by Company, Created At or Updated At, and filter by Company.
Create a warehouse
- Click New Warehouse.
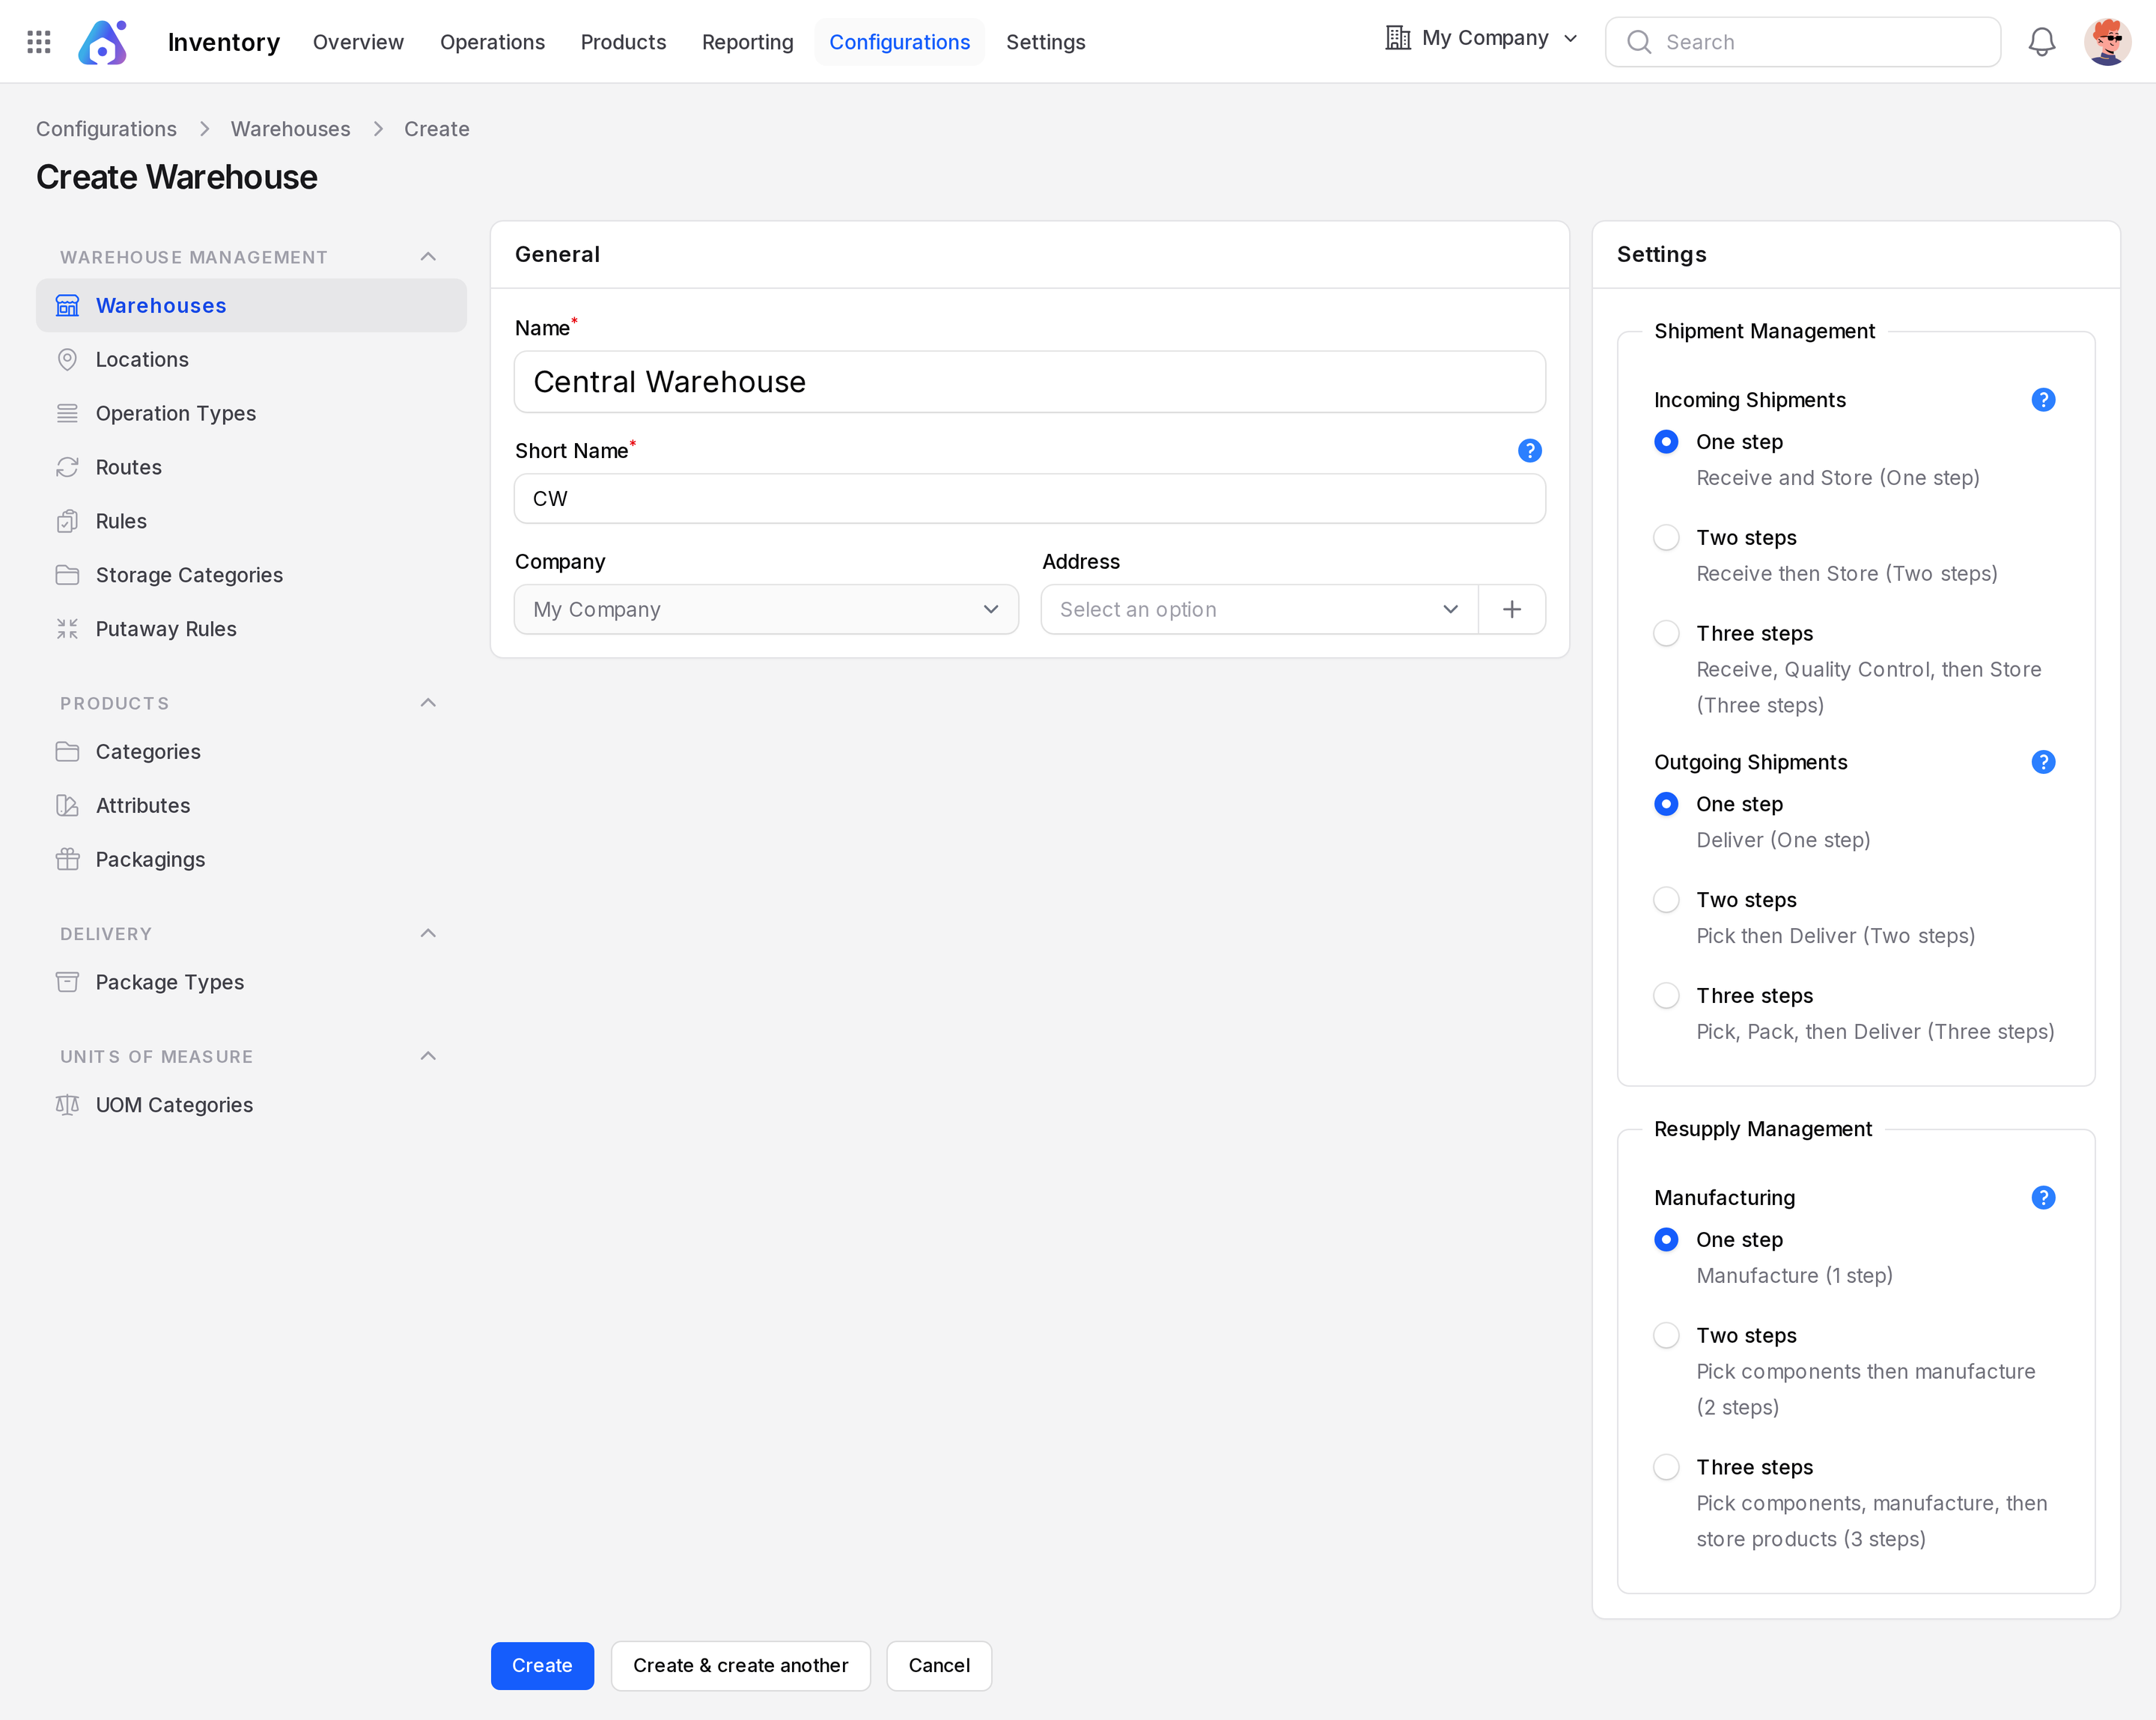
- Fill the General section.
- Choose the reception and delivery steps in the Settings section.
- Click Create.
General
- Name: The full name, for example Central Warehouse. Required.
- Short Name: A code such as CW. Required.
- Company: Fixed to your current company. You cannot change it here.
- Address: The contact record for the site. Click + to create a contact on the spot.
WARNING
The short name becomes the first part of every location and document name, such as CW/Stock and CW/IN/1. Choose it with care before you start moving stock.
Settings
The Shipment Management fieldset has two radio lists.
Incoming Shipments: the default route for goods that arrive.
| Option | Label | What happens |
|---|---|---|
| One step | Receive and Store (One step) | Goods go straight to Stock. |
| Two steps | Receive then Store (Two steps) | Goods go to Input, then to Stock. |
| Three steps | Receive, Quality Control, then Store (Three steps) | Goods go to Input, then Quality Control, then Stock. |
Outgoing Shipments: the default route for goods that leave.
| Option | Label | What happens |
|---|---|---|
| One step | Deliver (One step) | Goods leave straight from Stock. |
| Two steps | Pick then Deliver (Two steps) | Goods move to Output, then leave. |
| Three steps | Pick, Pack, then Deliver (Three steps) | Goods move to Packing Zone, then Output, then leave. |
The default for both lists is One step, as the create form shows. Extra steps add extra locations and extra documents, but give you more control.
A third fieldset, Resupply Management, appears when the Manufacturing app is installed. Its Manufacturing radio sets how many steps manufacturing uses. See Manufacturing orders.
TIP
The example warehouse uses three steps for reception, delivery and manufacturing. That is why you see documents such as WH/PICK, WH/PACK and WH/QC. See Three-step flow.
View a warehouse
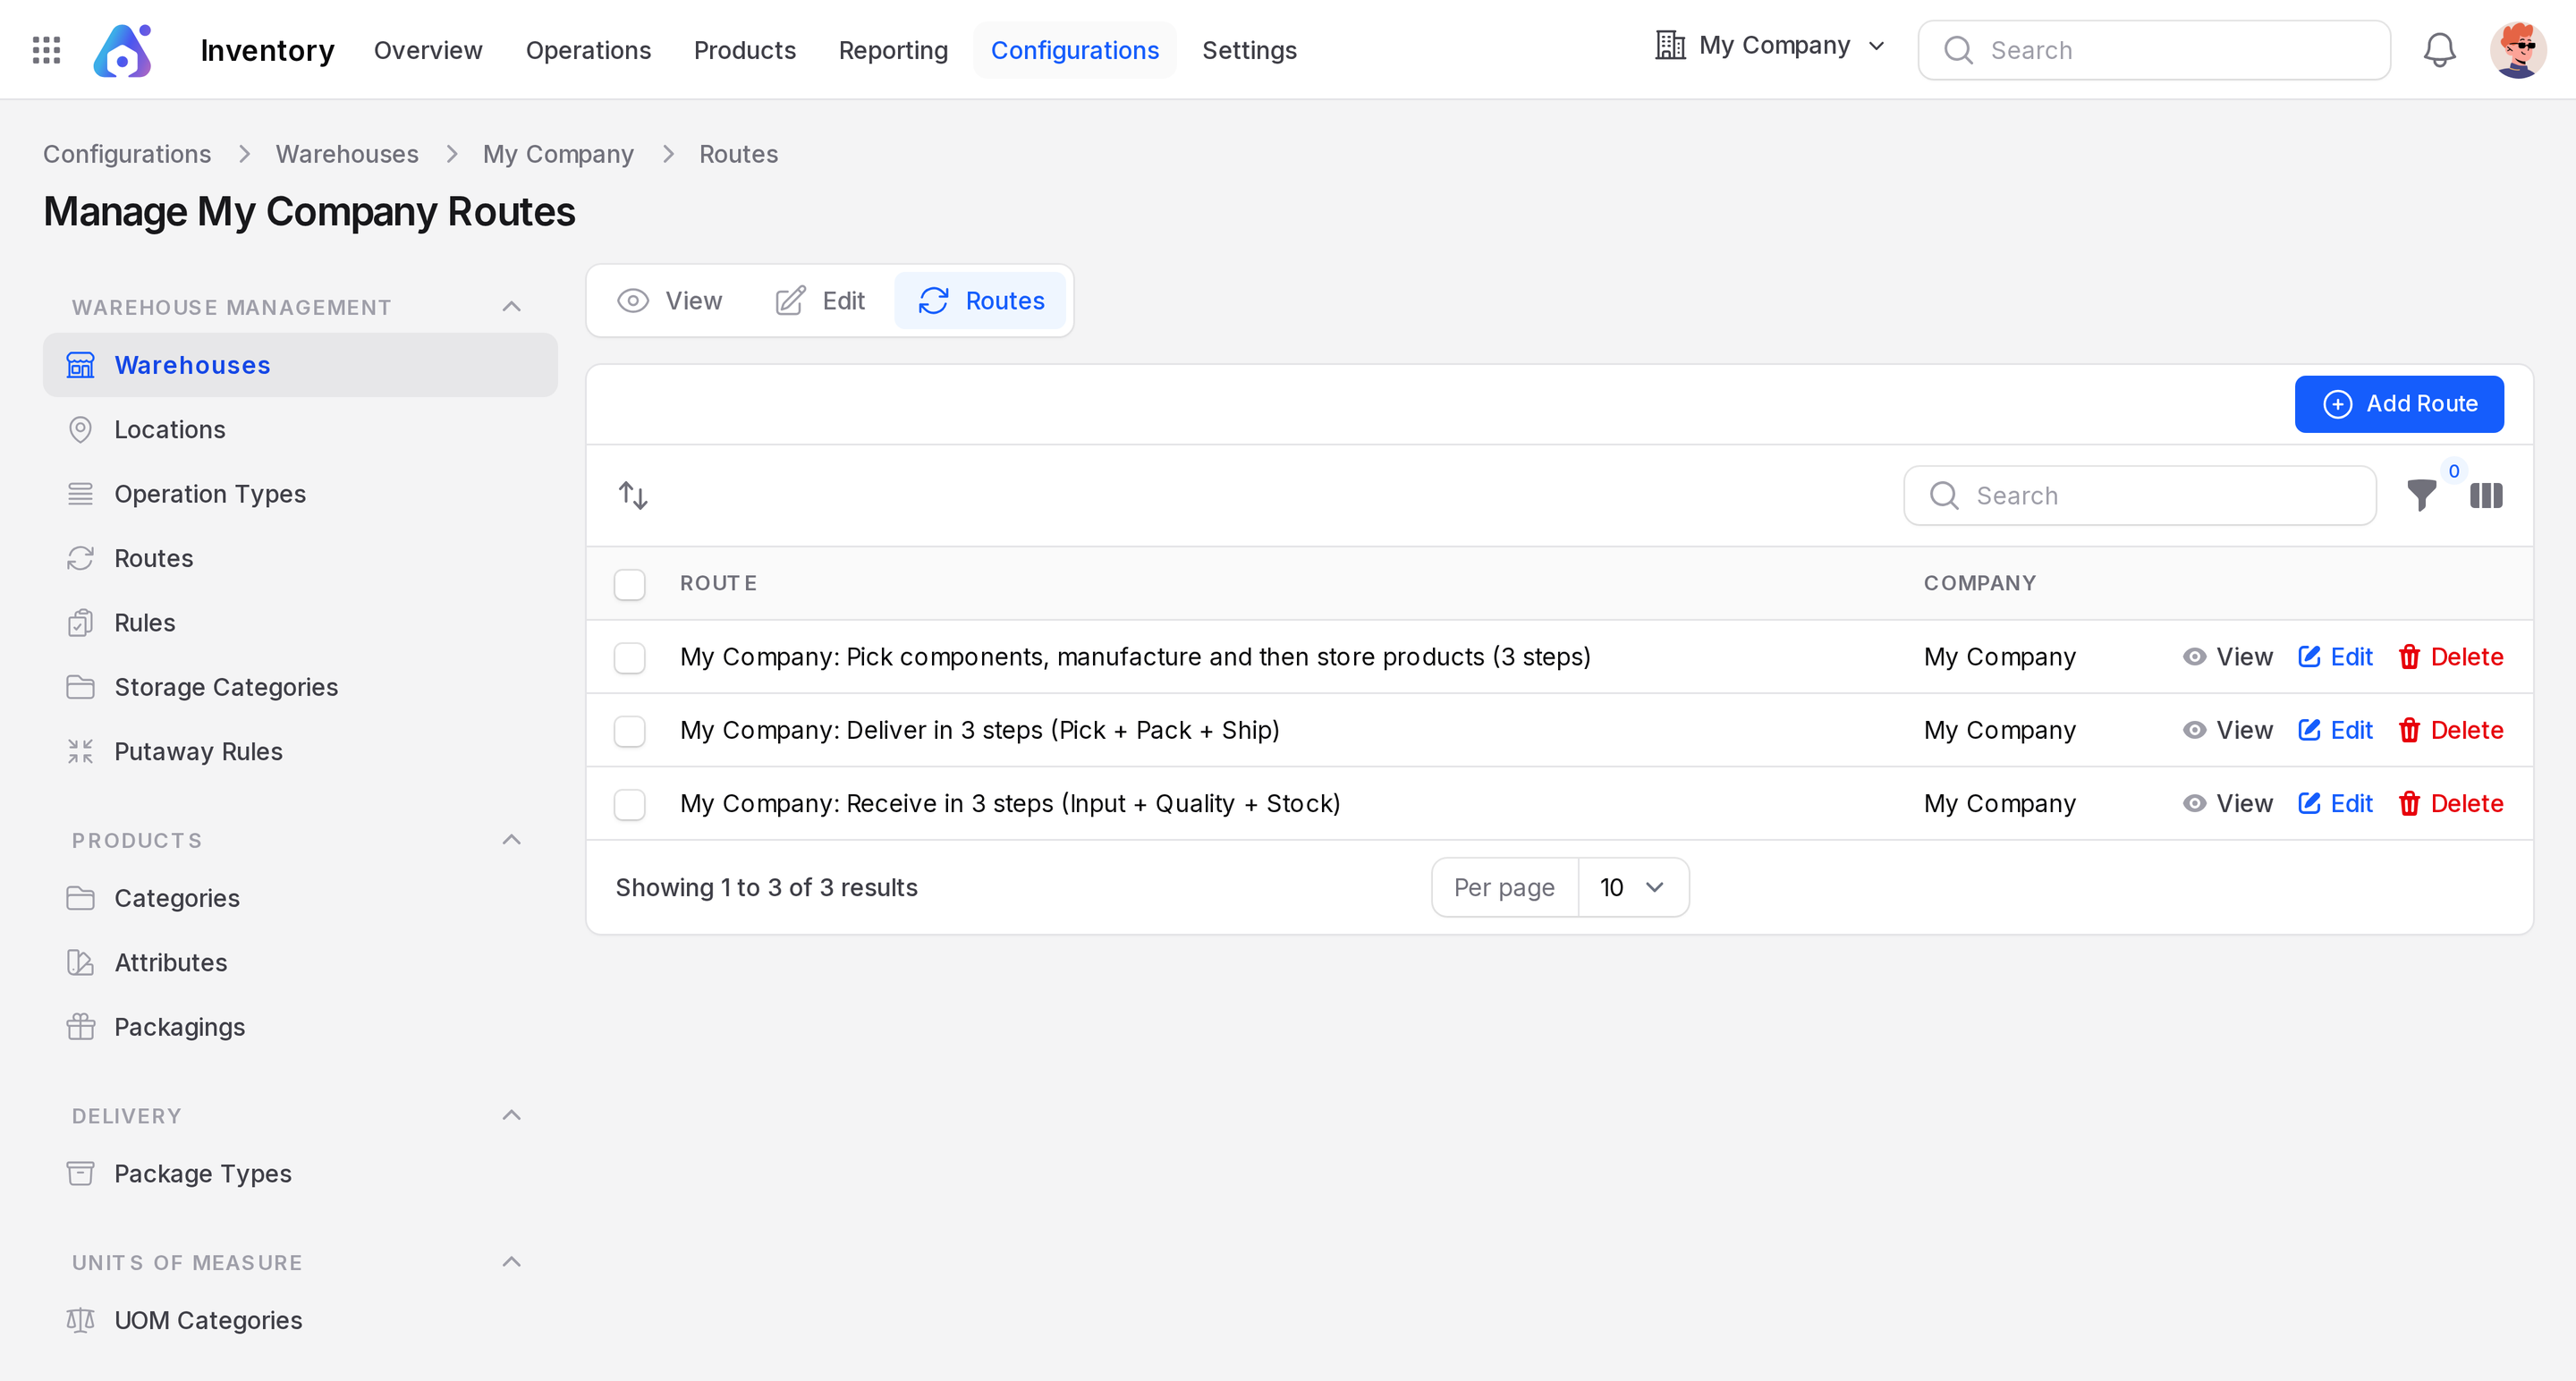
Open a warehouse to see three tabs at the top: View, Edit and Routes. View shows the warehouse name, code, company, address and chosen steps. Routes opens a page titled Manage My Company Routes. It lists the routes the warehouse created for those steps and has an Add Route button. See Routes.
Actions and statuses
- Edit: change the name, address or steps. Existing documents keep working.
- Delete: a button on the Edit tab. It archives the warehouse and moves it to the Archived tab.
- Restore and Force delete: available on archived rows.