

First steps with Purchase
This tutorial walks one purchase from start to end. You set up a vendor and a product, ask for a price, send the request, confirm it, receive the goods and create the vendor bill. Each step links to a deeper page, so treat this as a map.
In simple words: Add a vendor, ask for a price, order, receive, bill.
Vendor → Product + price → RFQ → Send → Vendor answers → Confirm → Receipt → Vendor billYou need the Inventory app for step 7. The examples use vendor FreshFoods Wholesale and the product SSD 512GB.
Step 1: Add the vendor
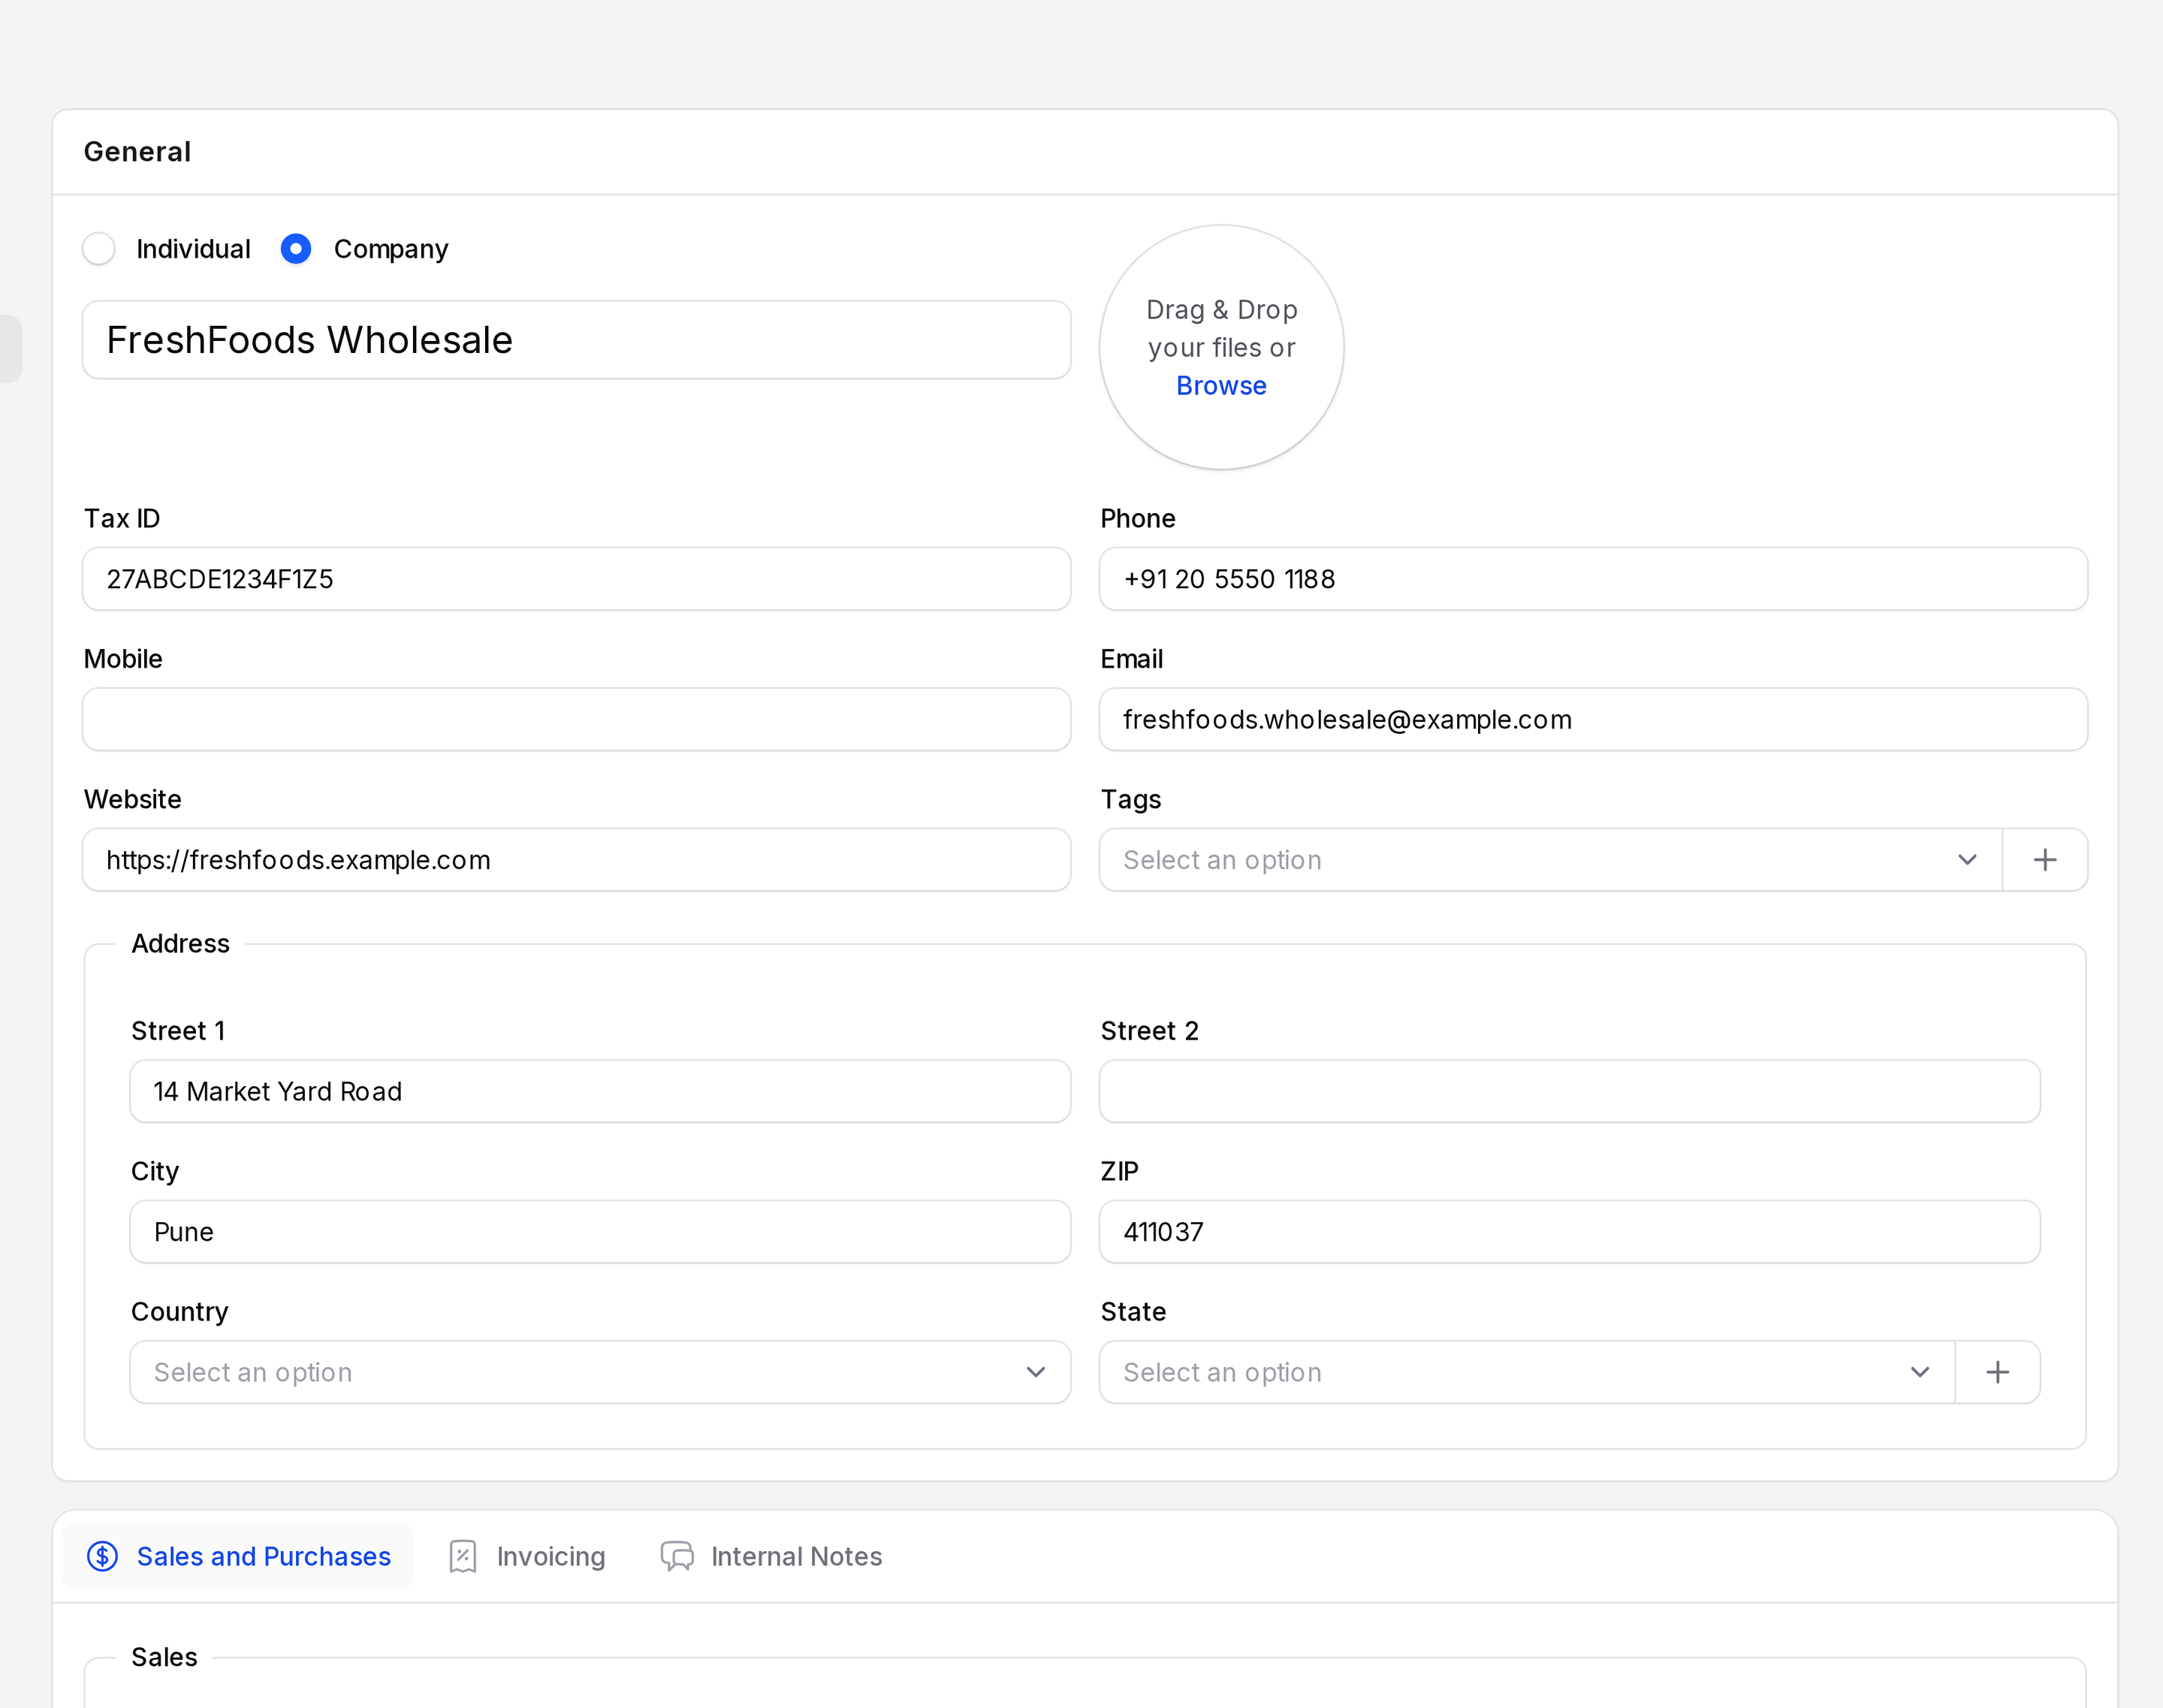
A vendor is a contact you buy from. You keep their name, email and address once, then pick them on every order.
- Go to
Purchase → Orders → Vendorsand click New Vendor. - Enter the name FreshFoods Wholesale and an email address.
- Click Create.
Behind the scenes: A vendor is a normal contact. Master data steps are in Contacts. See also Vendors.
Step 2: Add the product and its vendor price
- Go to
Purchase → Products → Productsand click New Product. - Enter the Name SSD 512GB and set Type to Goods. Fill Price and Cost, then click Create.
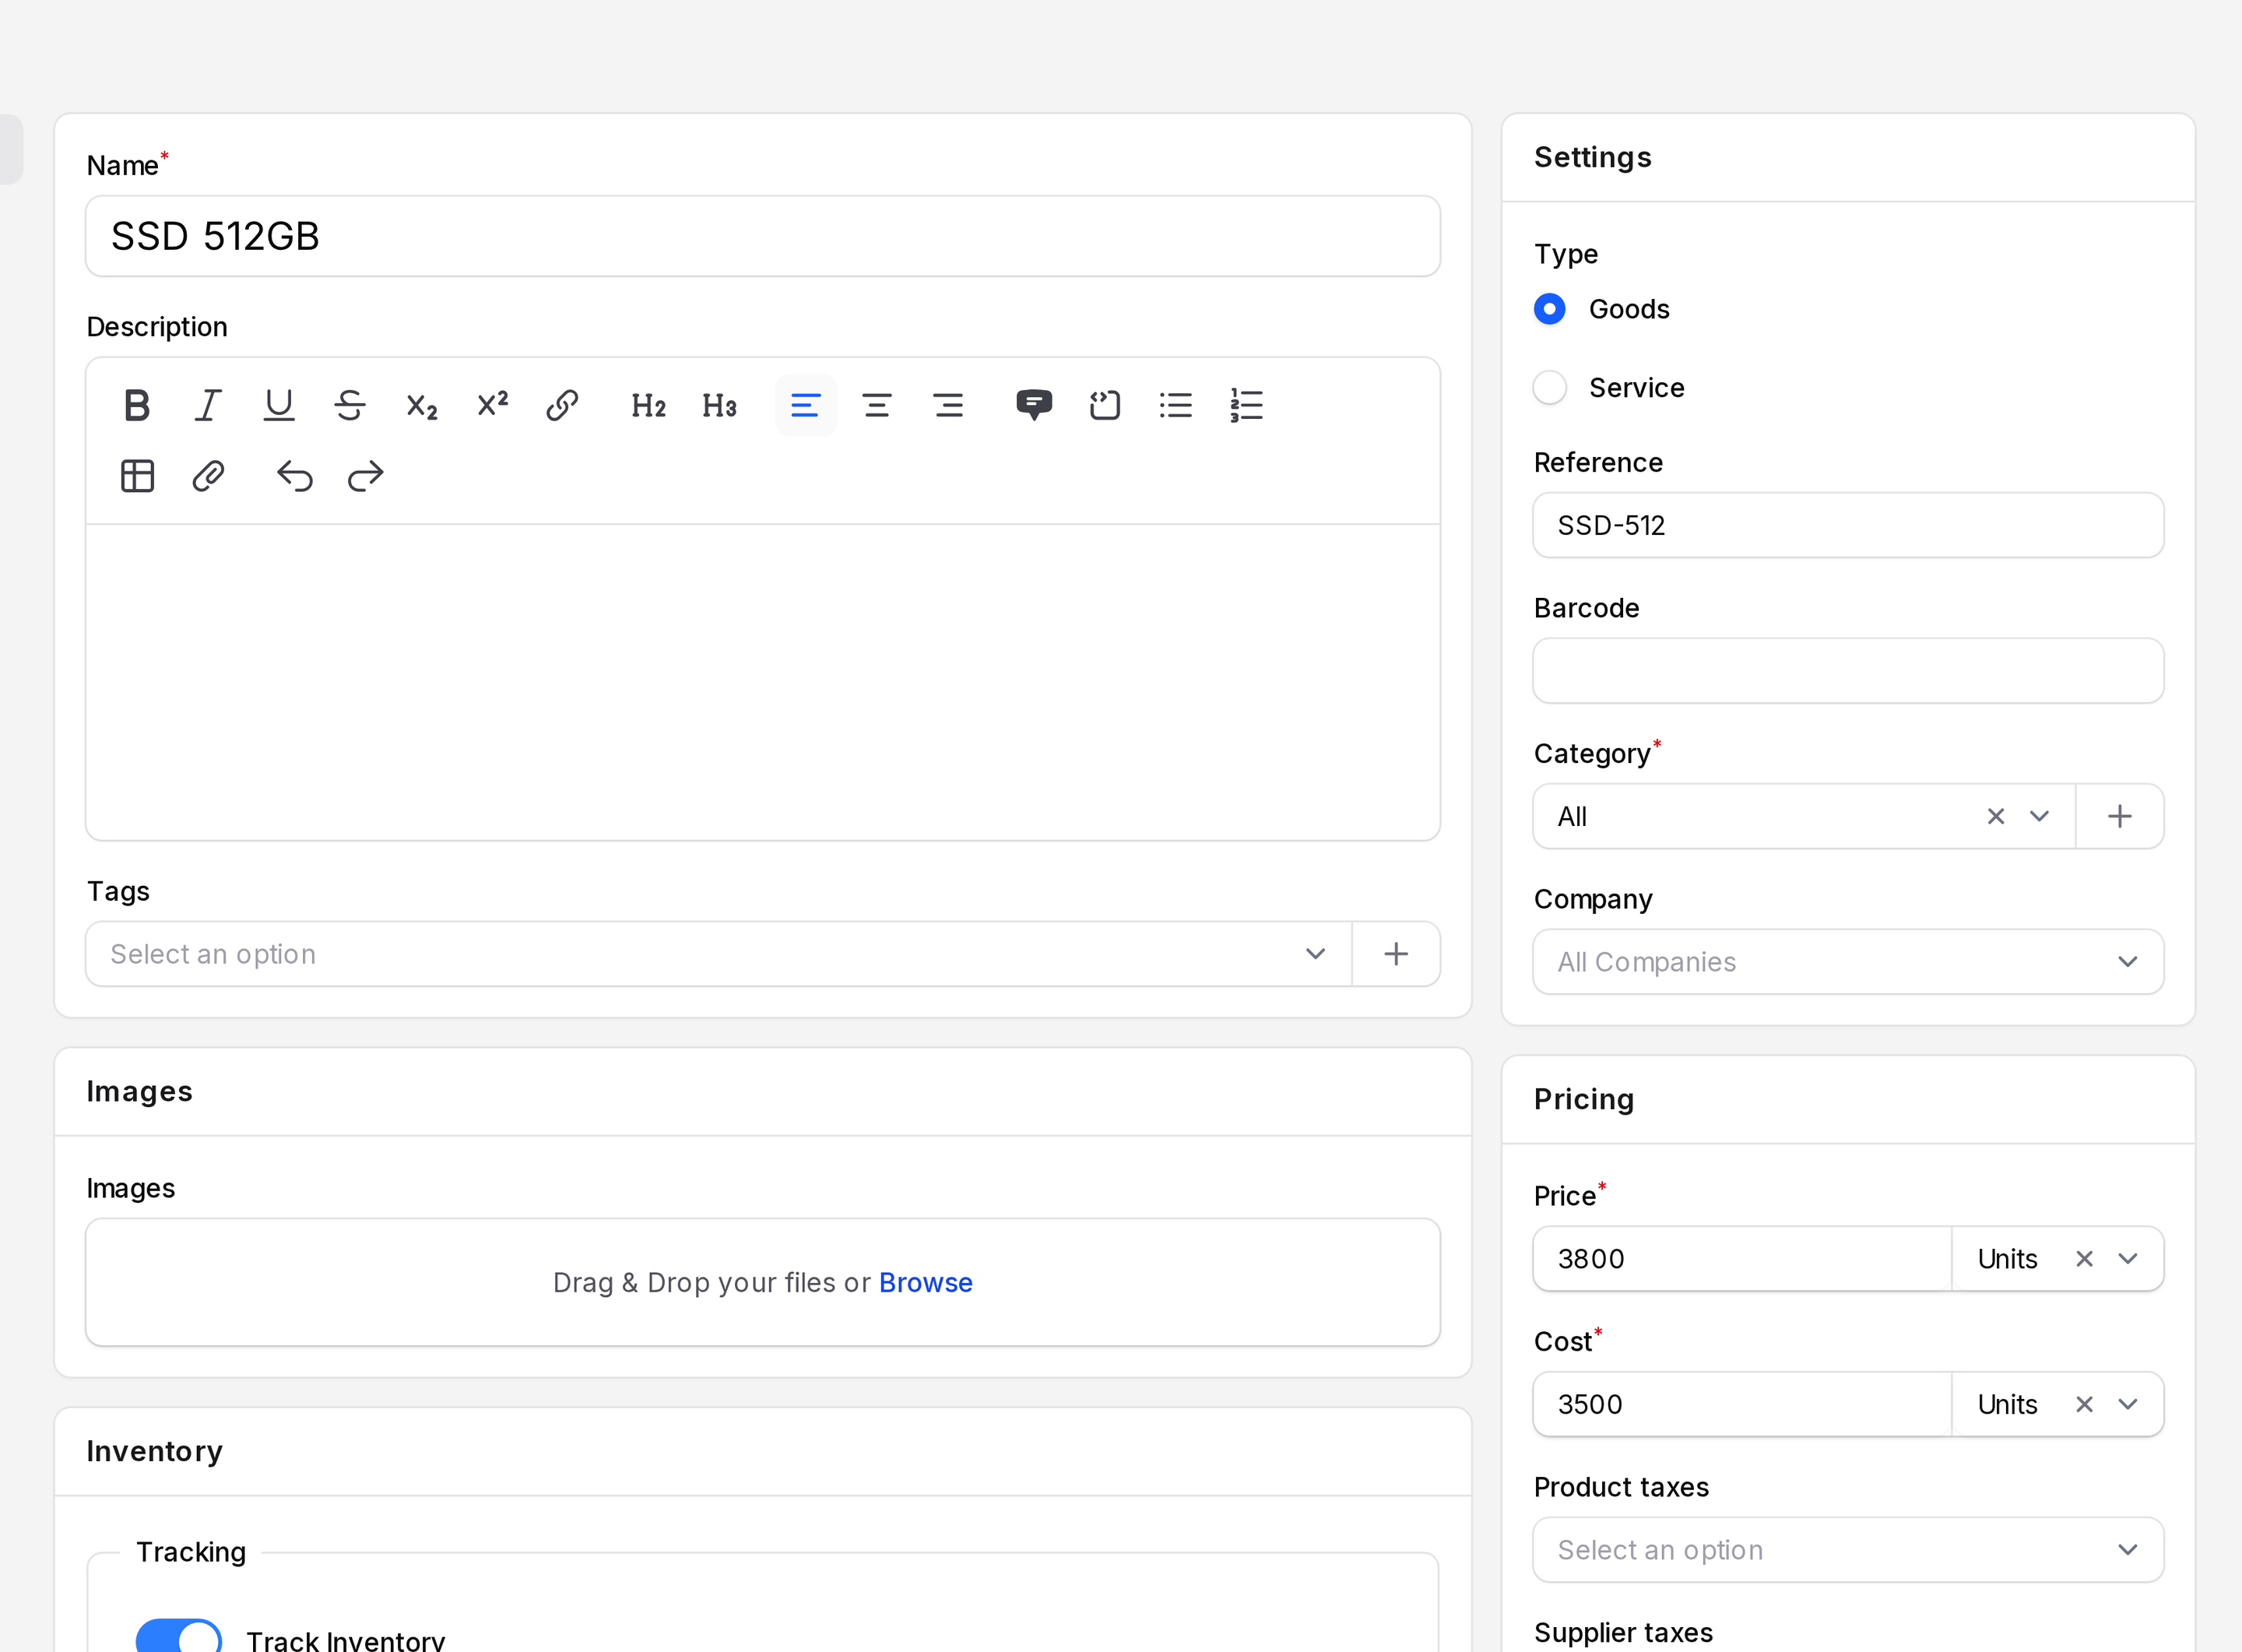
- Open the product and click Vendors in the switcher at the top.
- Click Add Vendor Price. Choose FreshFoods Wholesale, enter Unit Price 3500 and click Create.
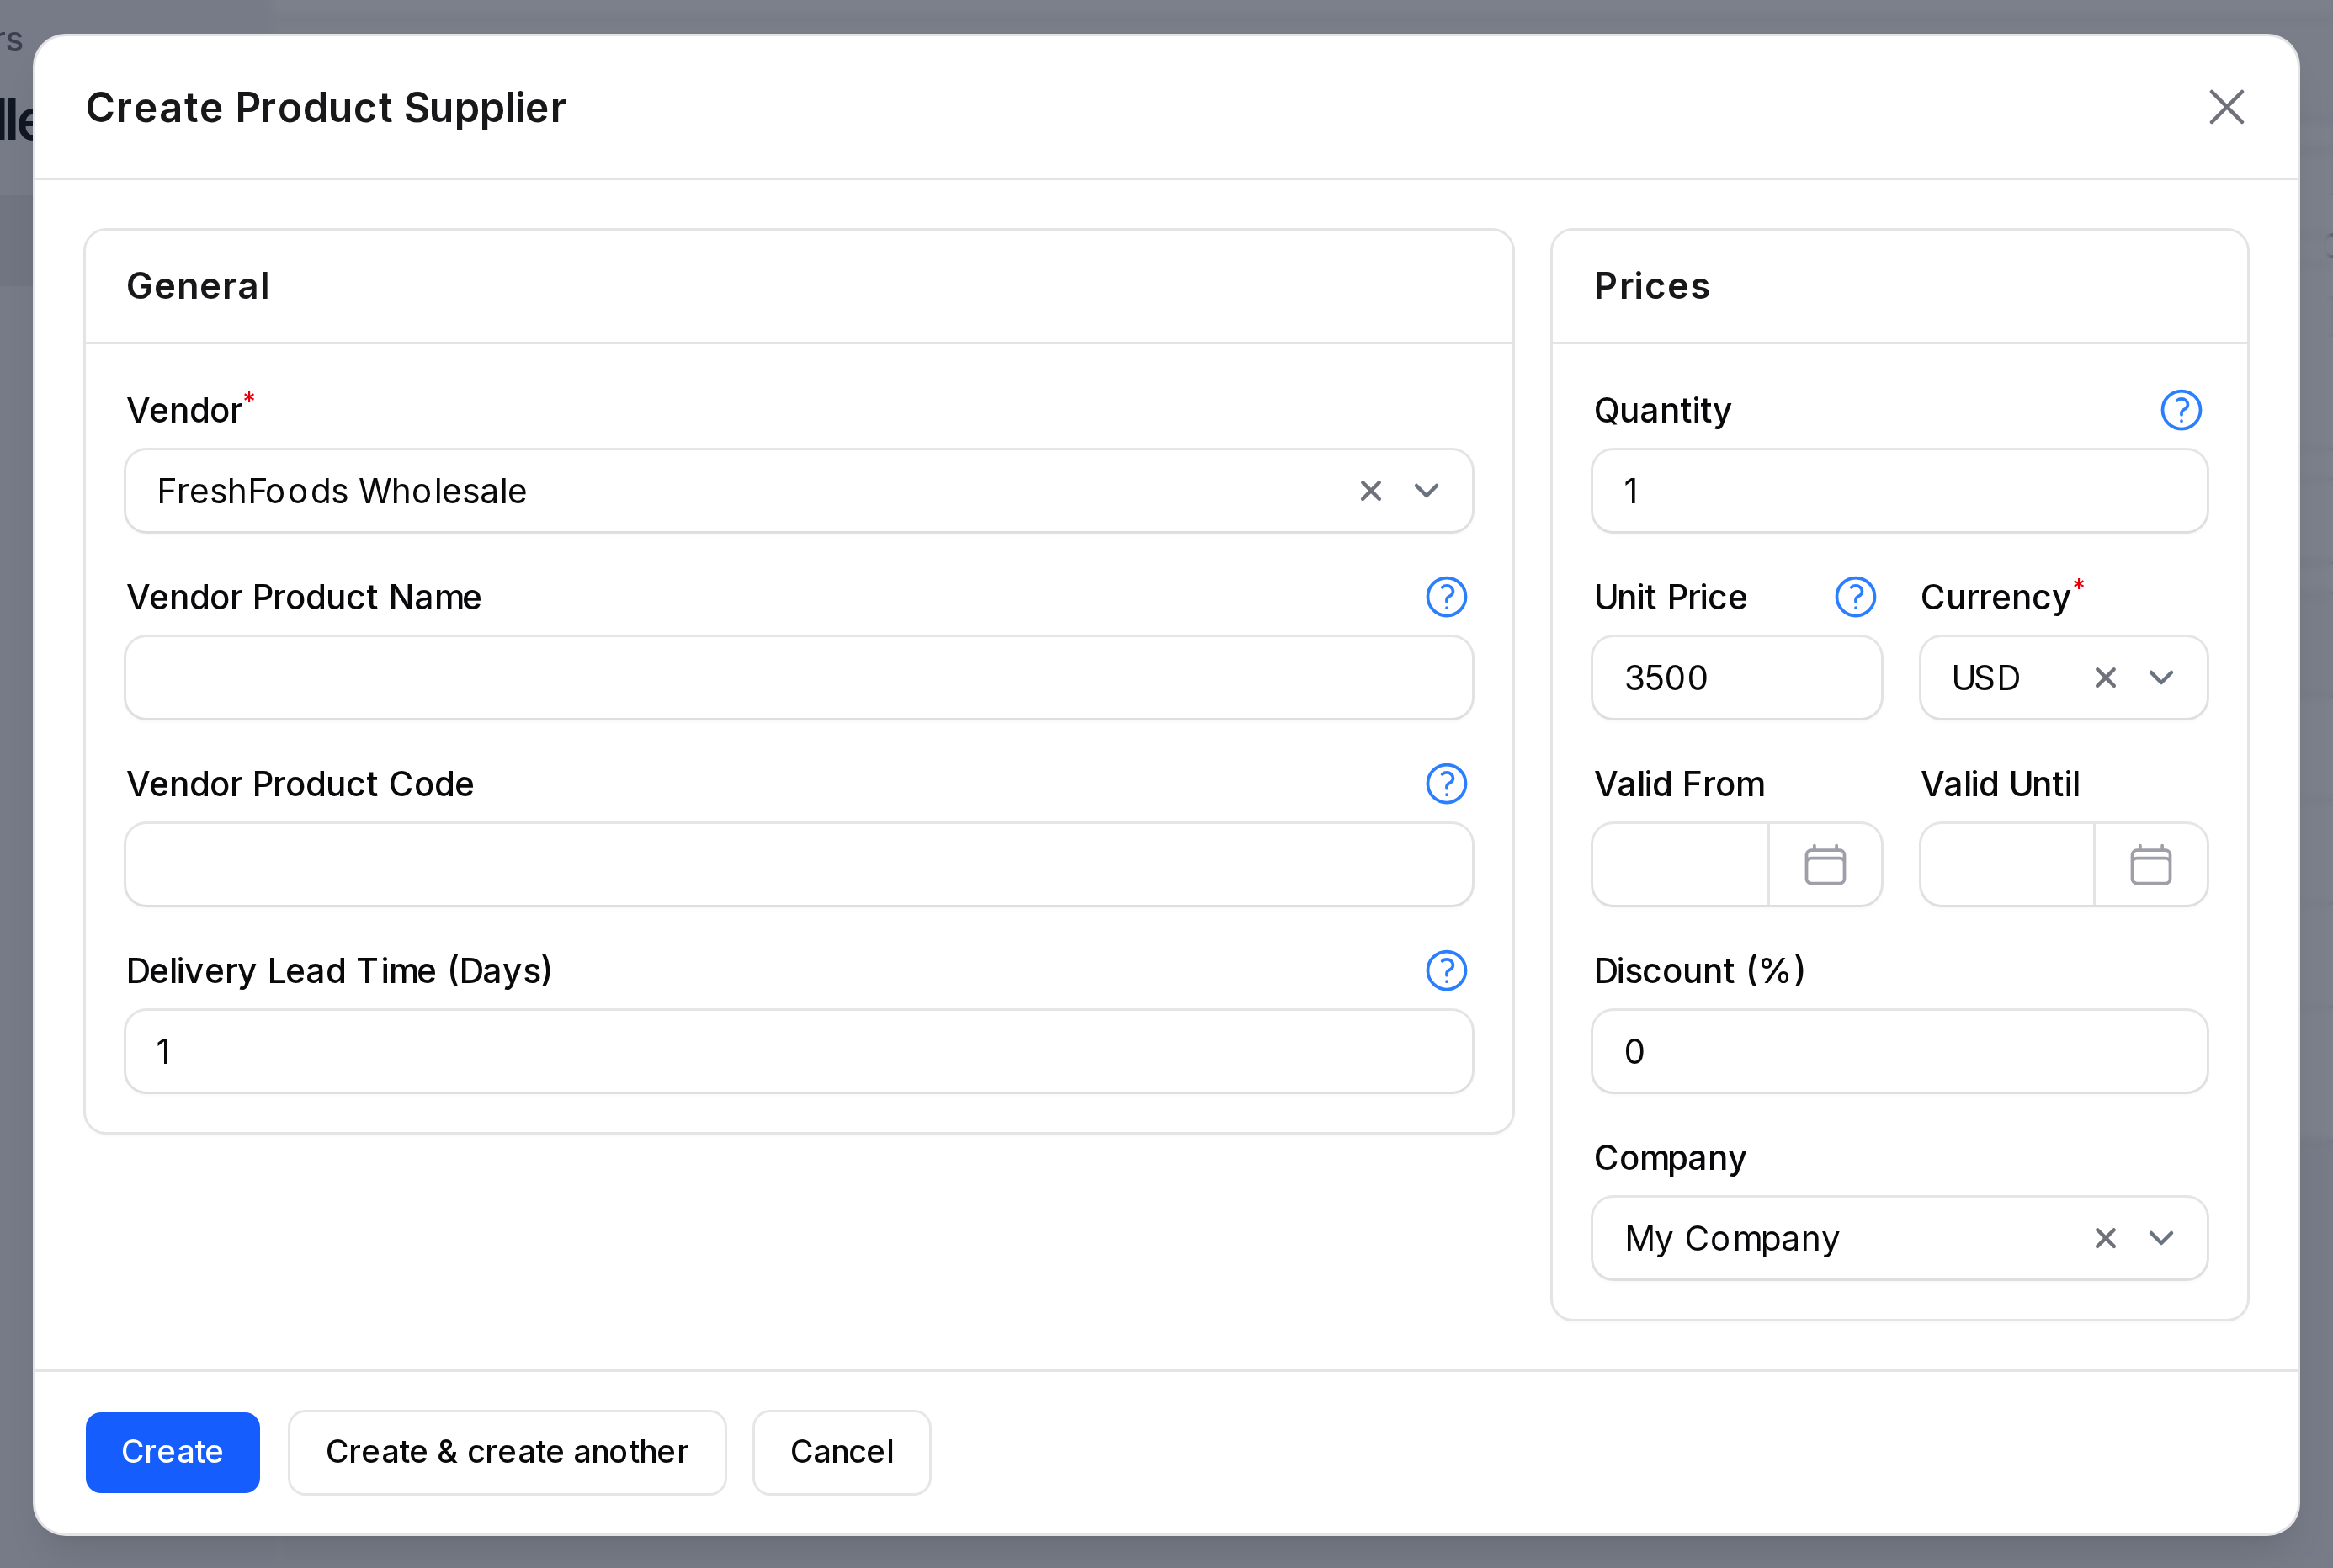
Behind the scenes: This row fills the price on an order line later. See Configure a product and Vendor price lists.
Step 3: Create the RFQ
An RFQ is a request for a price. It is a draft, so the vendor owes you nothing yet.
- Go to
Purchase → Orders → Request for Quotationand click New RFQ. - Choose the Vendor FreshFoods Wholesale. Check Currency and Order Deadline.
- On the Products tab click Add Product. Choose SSD 512GB and enter Quantity 15.
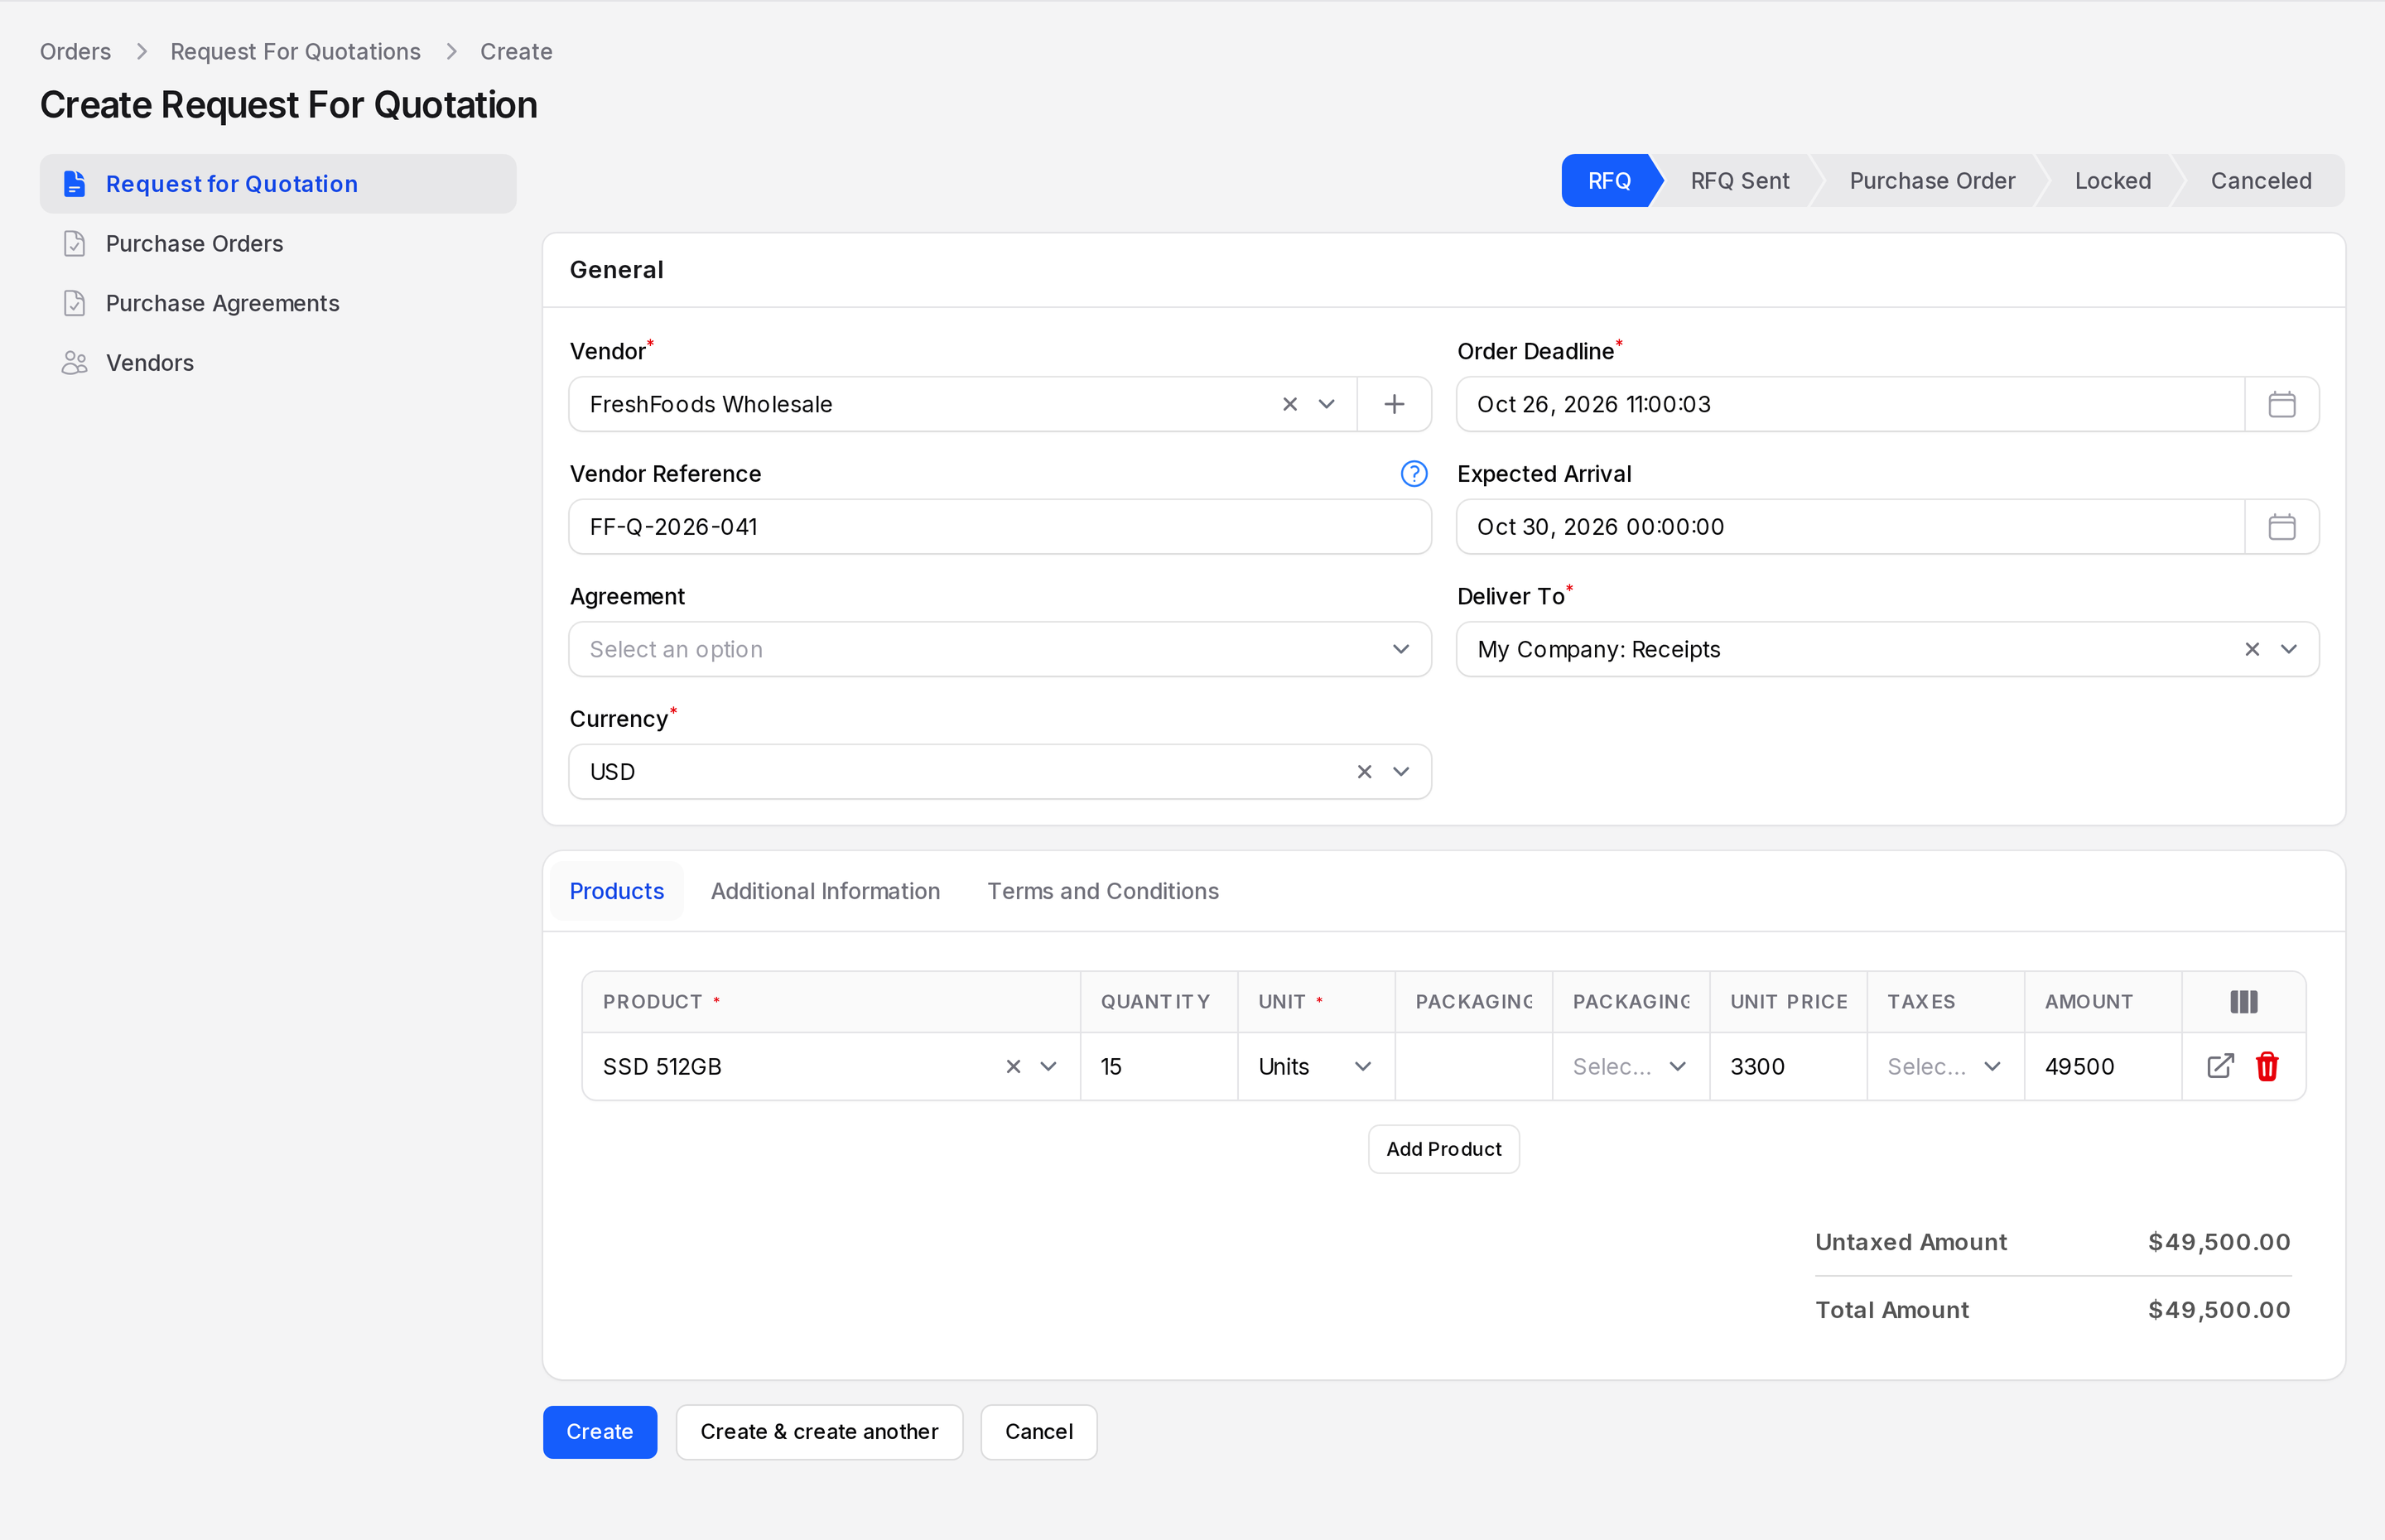
- Click Create. The order gets a number like
PO/00012and the status RFQ.
Behind the scenes: The unit price came from the vendor price row. See Quotations.
Step 4: Send it to the vendor
- Click Send By Email. Check To, Subject and the message.
- Click Send.
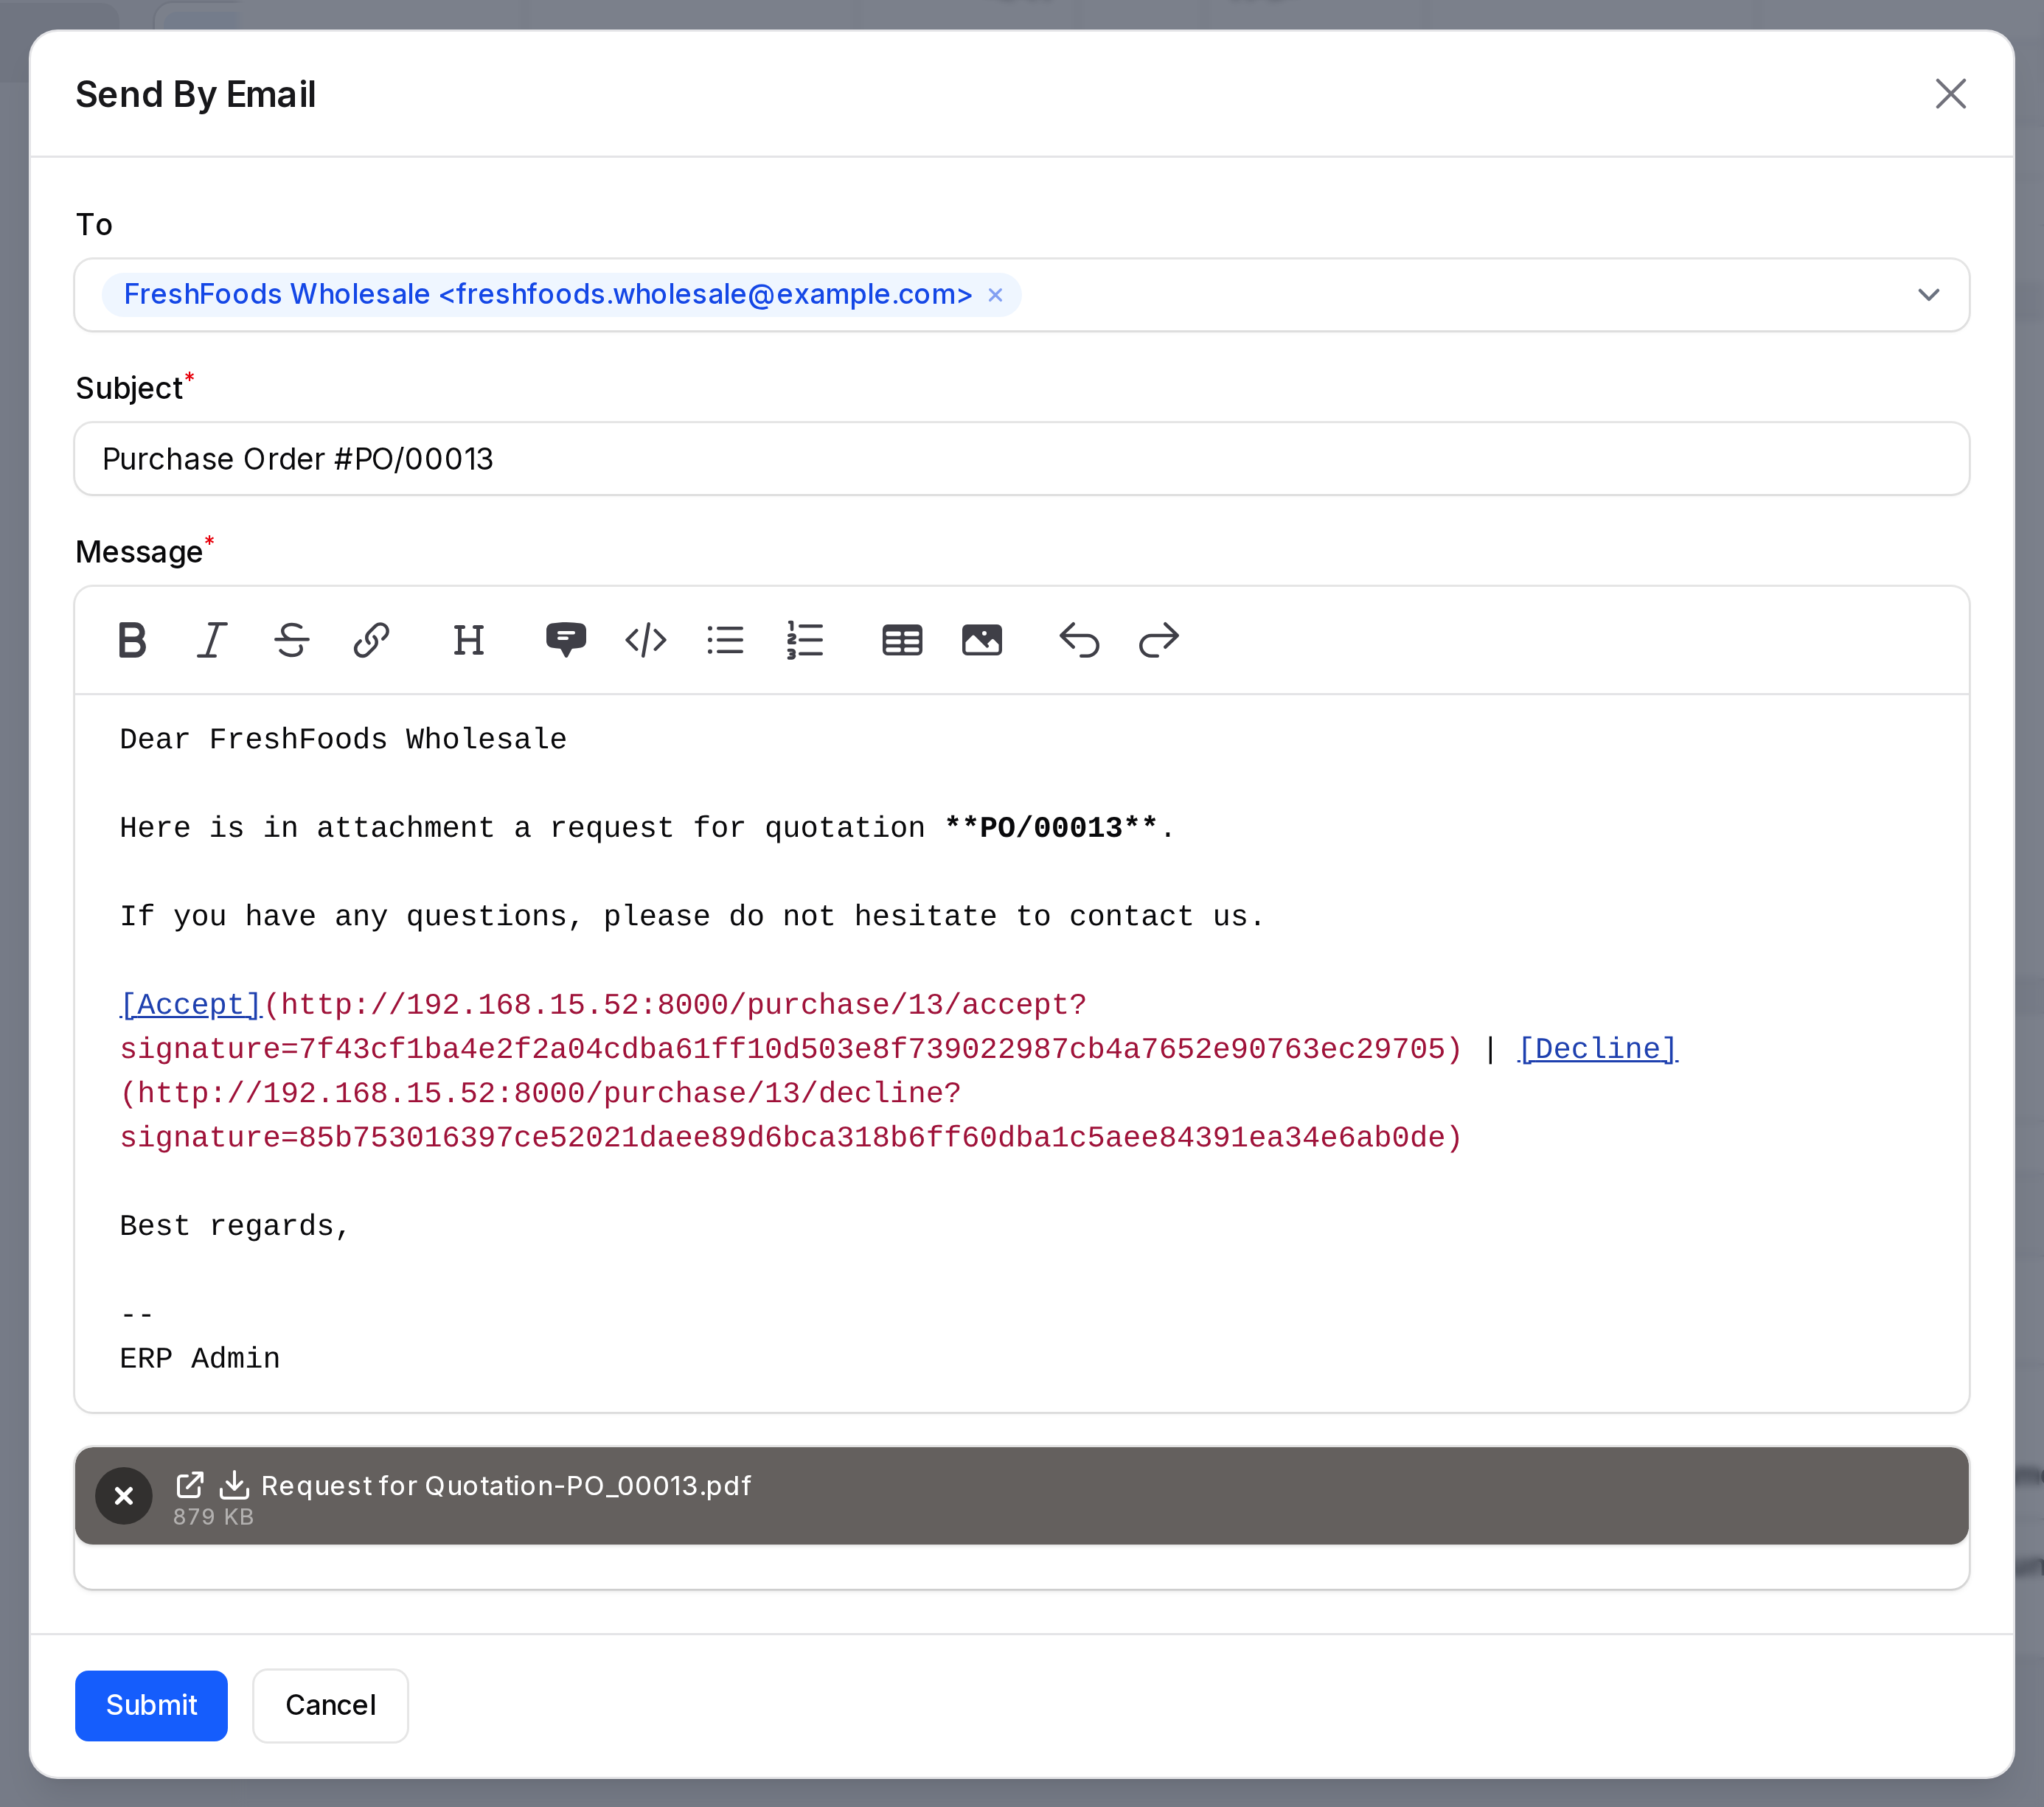
The status changes to RFQ Sent. The vendor receives a PDF and can accept or decline from the email.
Step 5: The vendor answers
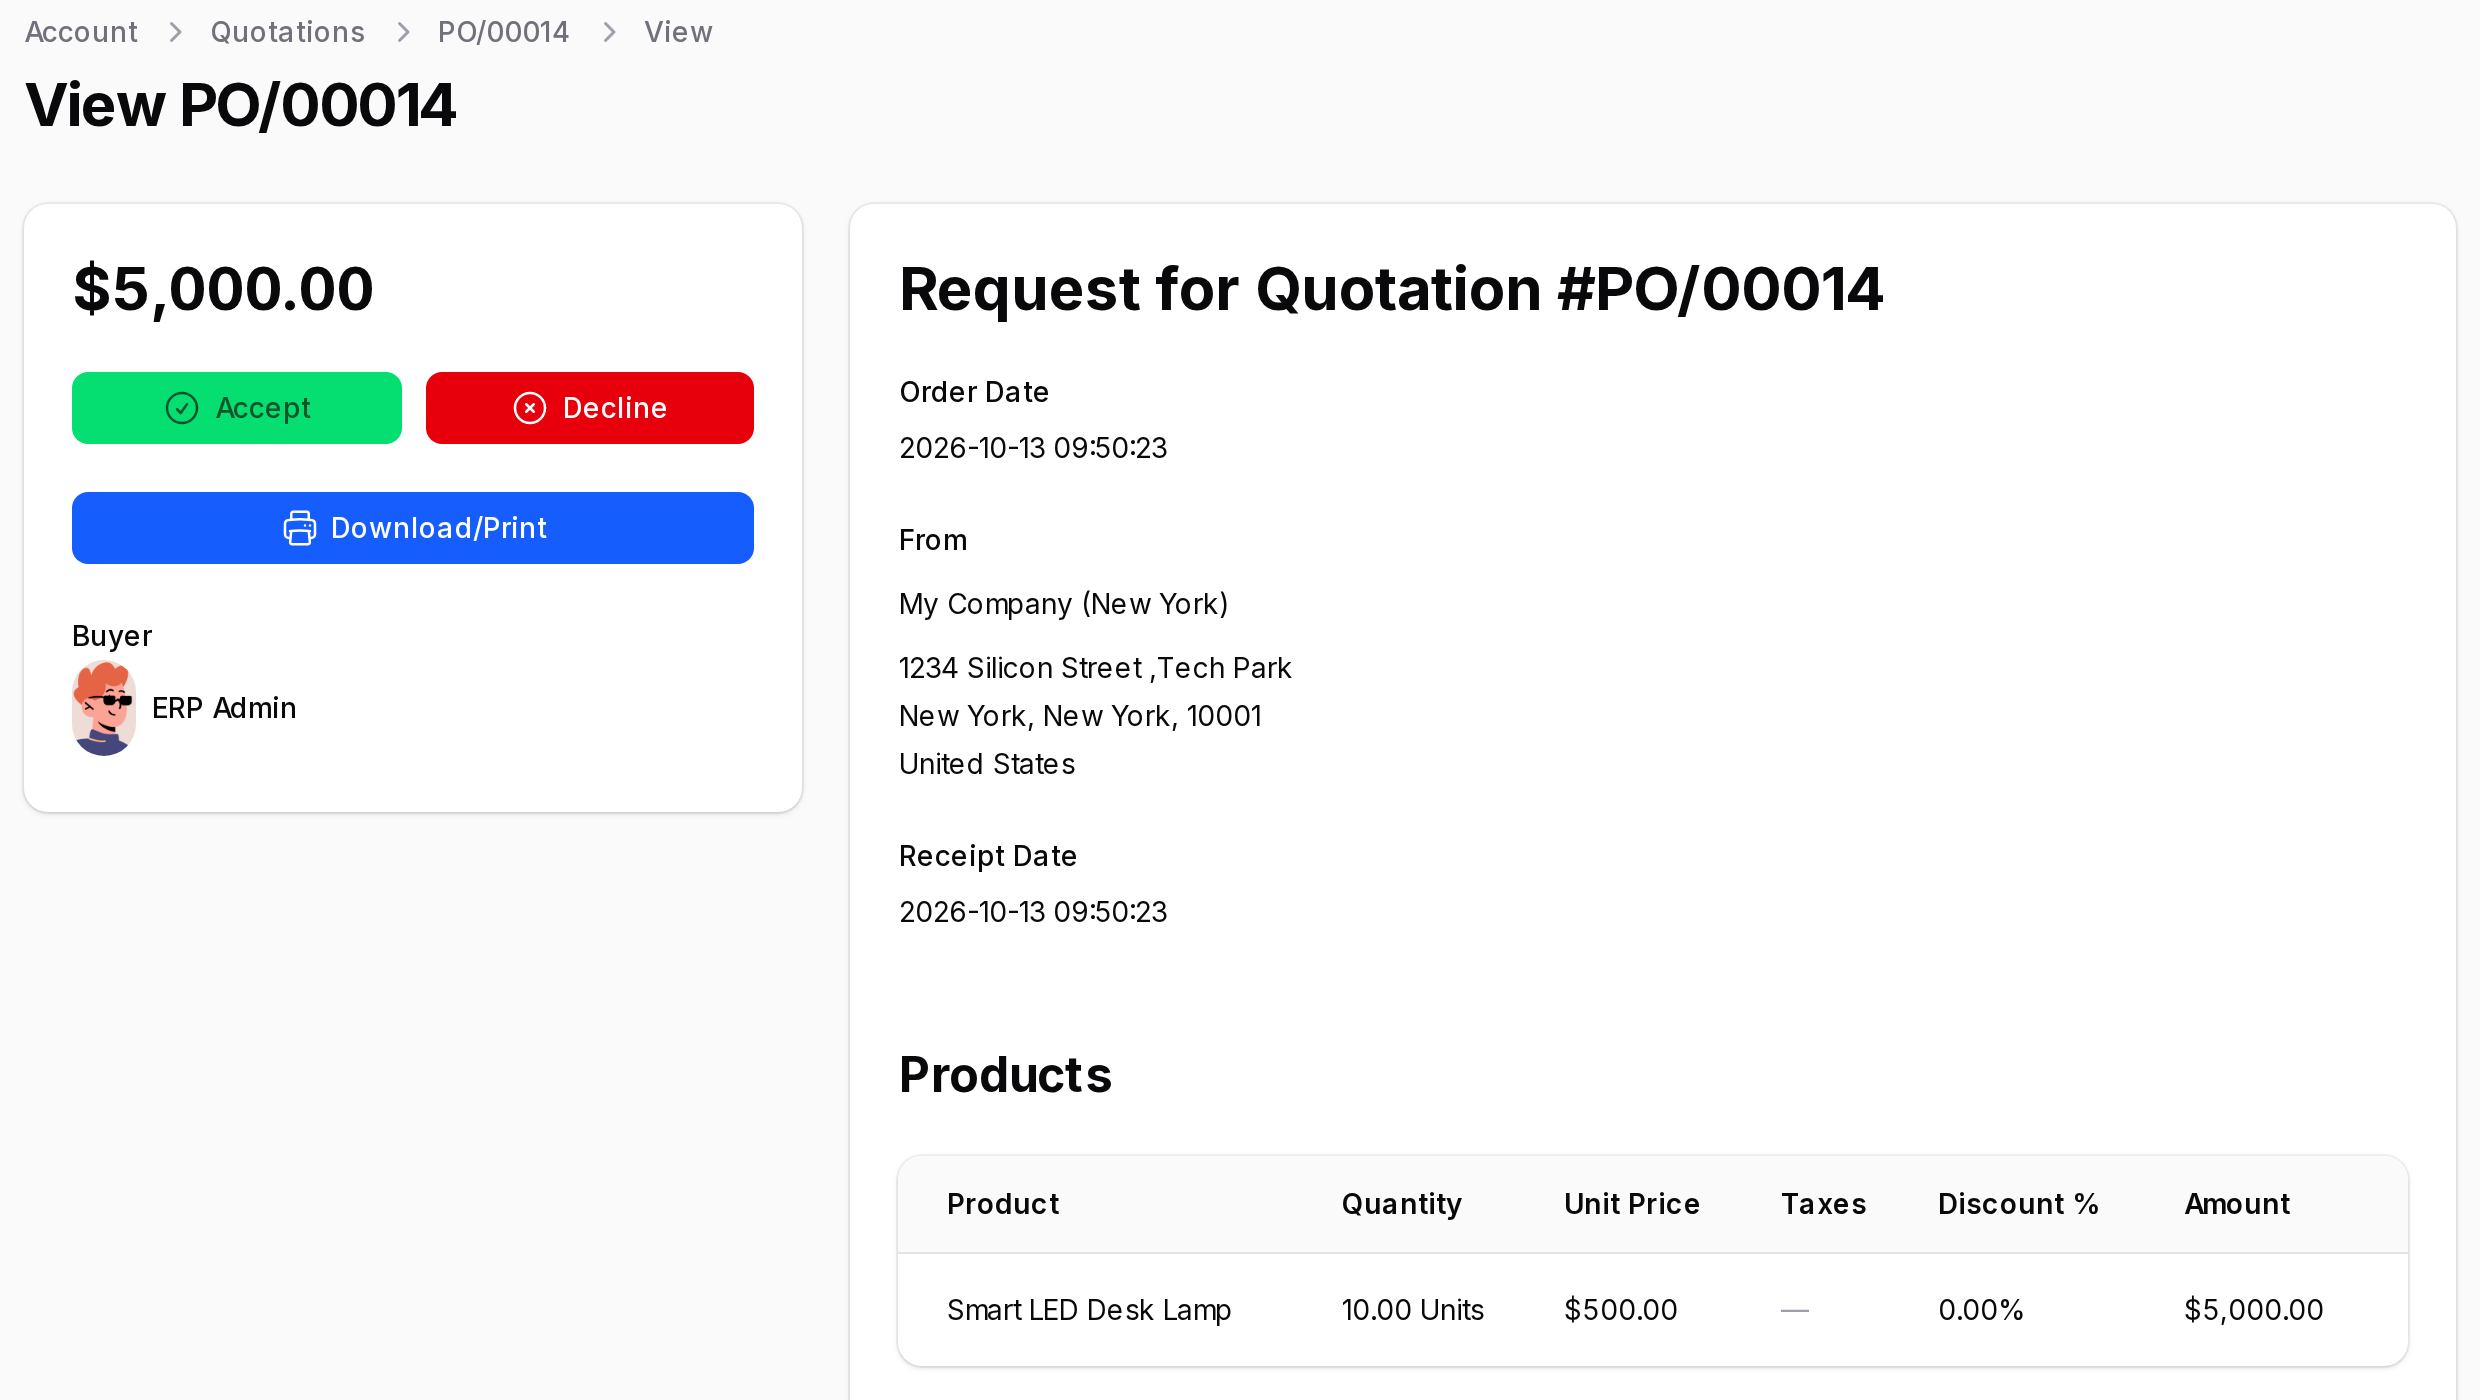
The vendor can answer from the email or from the vendor portal. In the portal the vendor signs in, opens the RFQ and clicks Accept.
Aureus adds a comment to the order chatter. Open the chatter on the order to read it.
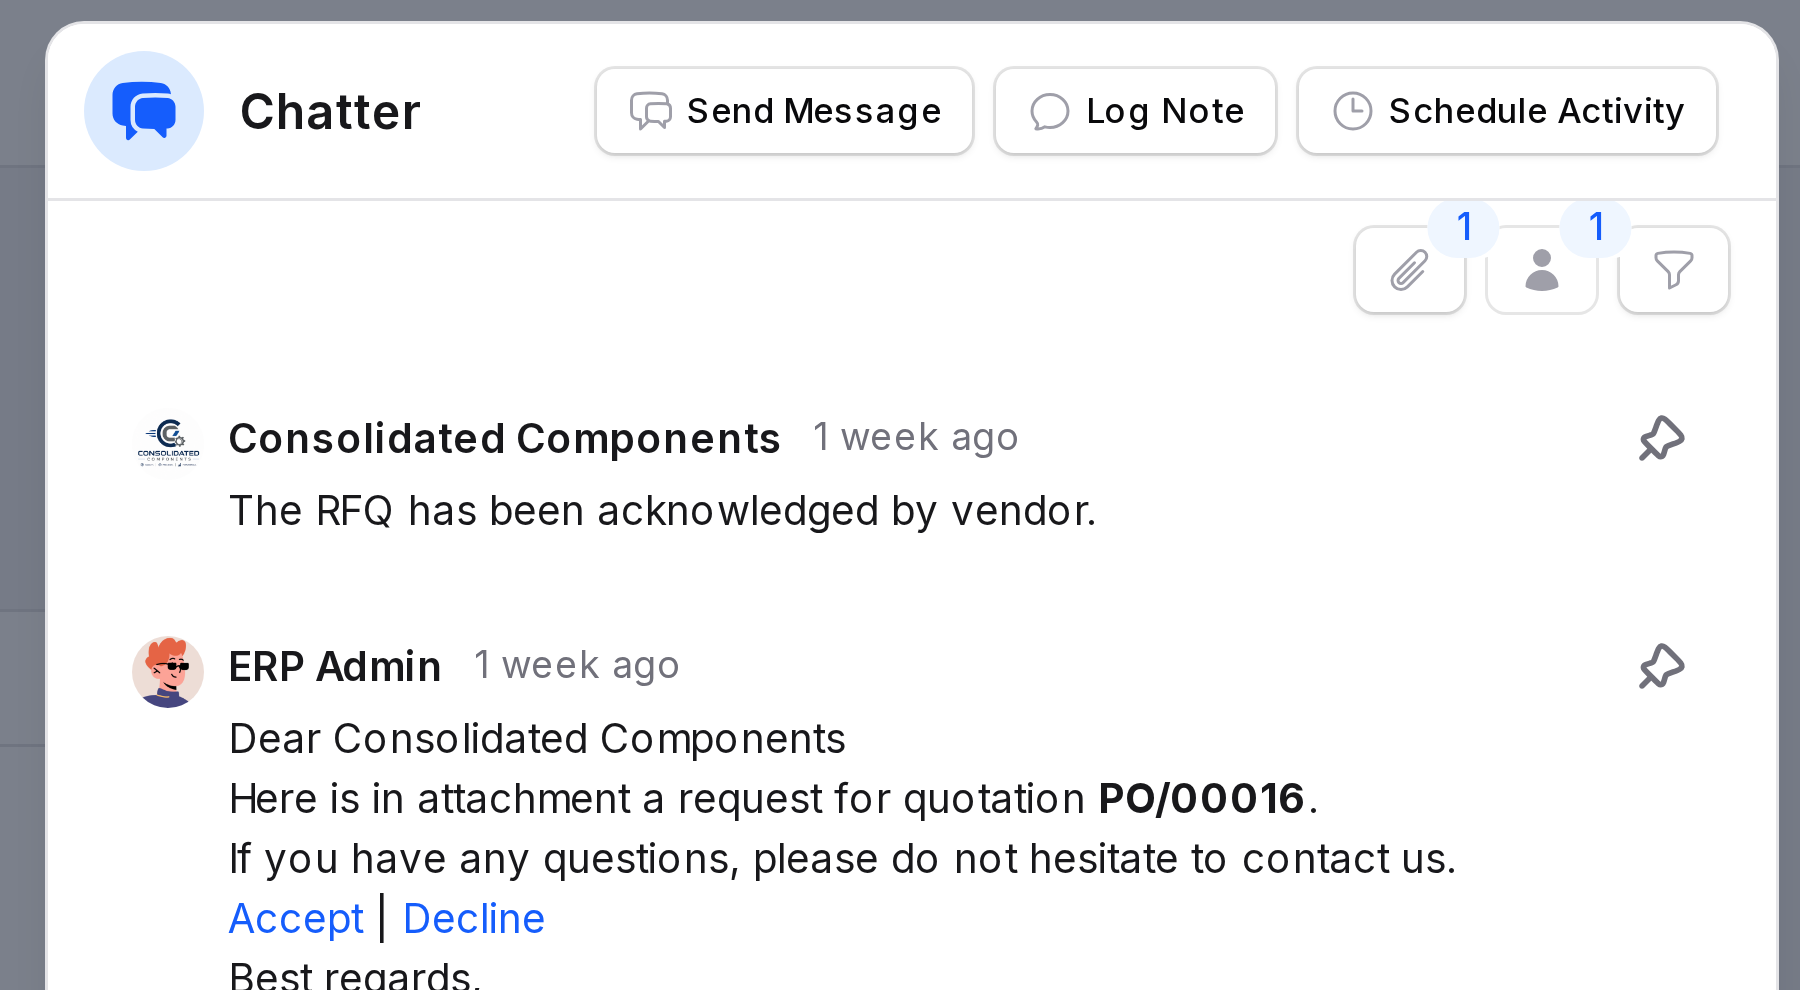
The status stays RFQ Sent. The answer is only a note for you. See Vendor portal.
Step 6: Confirm the order
- Click Confirm Order when the vendor agrees.

The status becomes Purchase Order. With approval on and a total above the minimum, it shows To Approve first. See Purchase orders.
Behind the scenes: Aureus plans a receipt in Inventory for the goods on the order.
Step 7: Receive the goods
- Open the order and click Receipts in the switcher at the top.
- Open the receipt, for example WH/IN/00018, and click Validate.
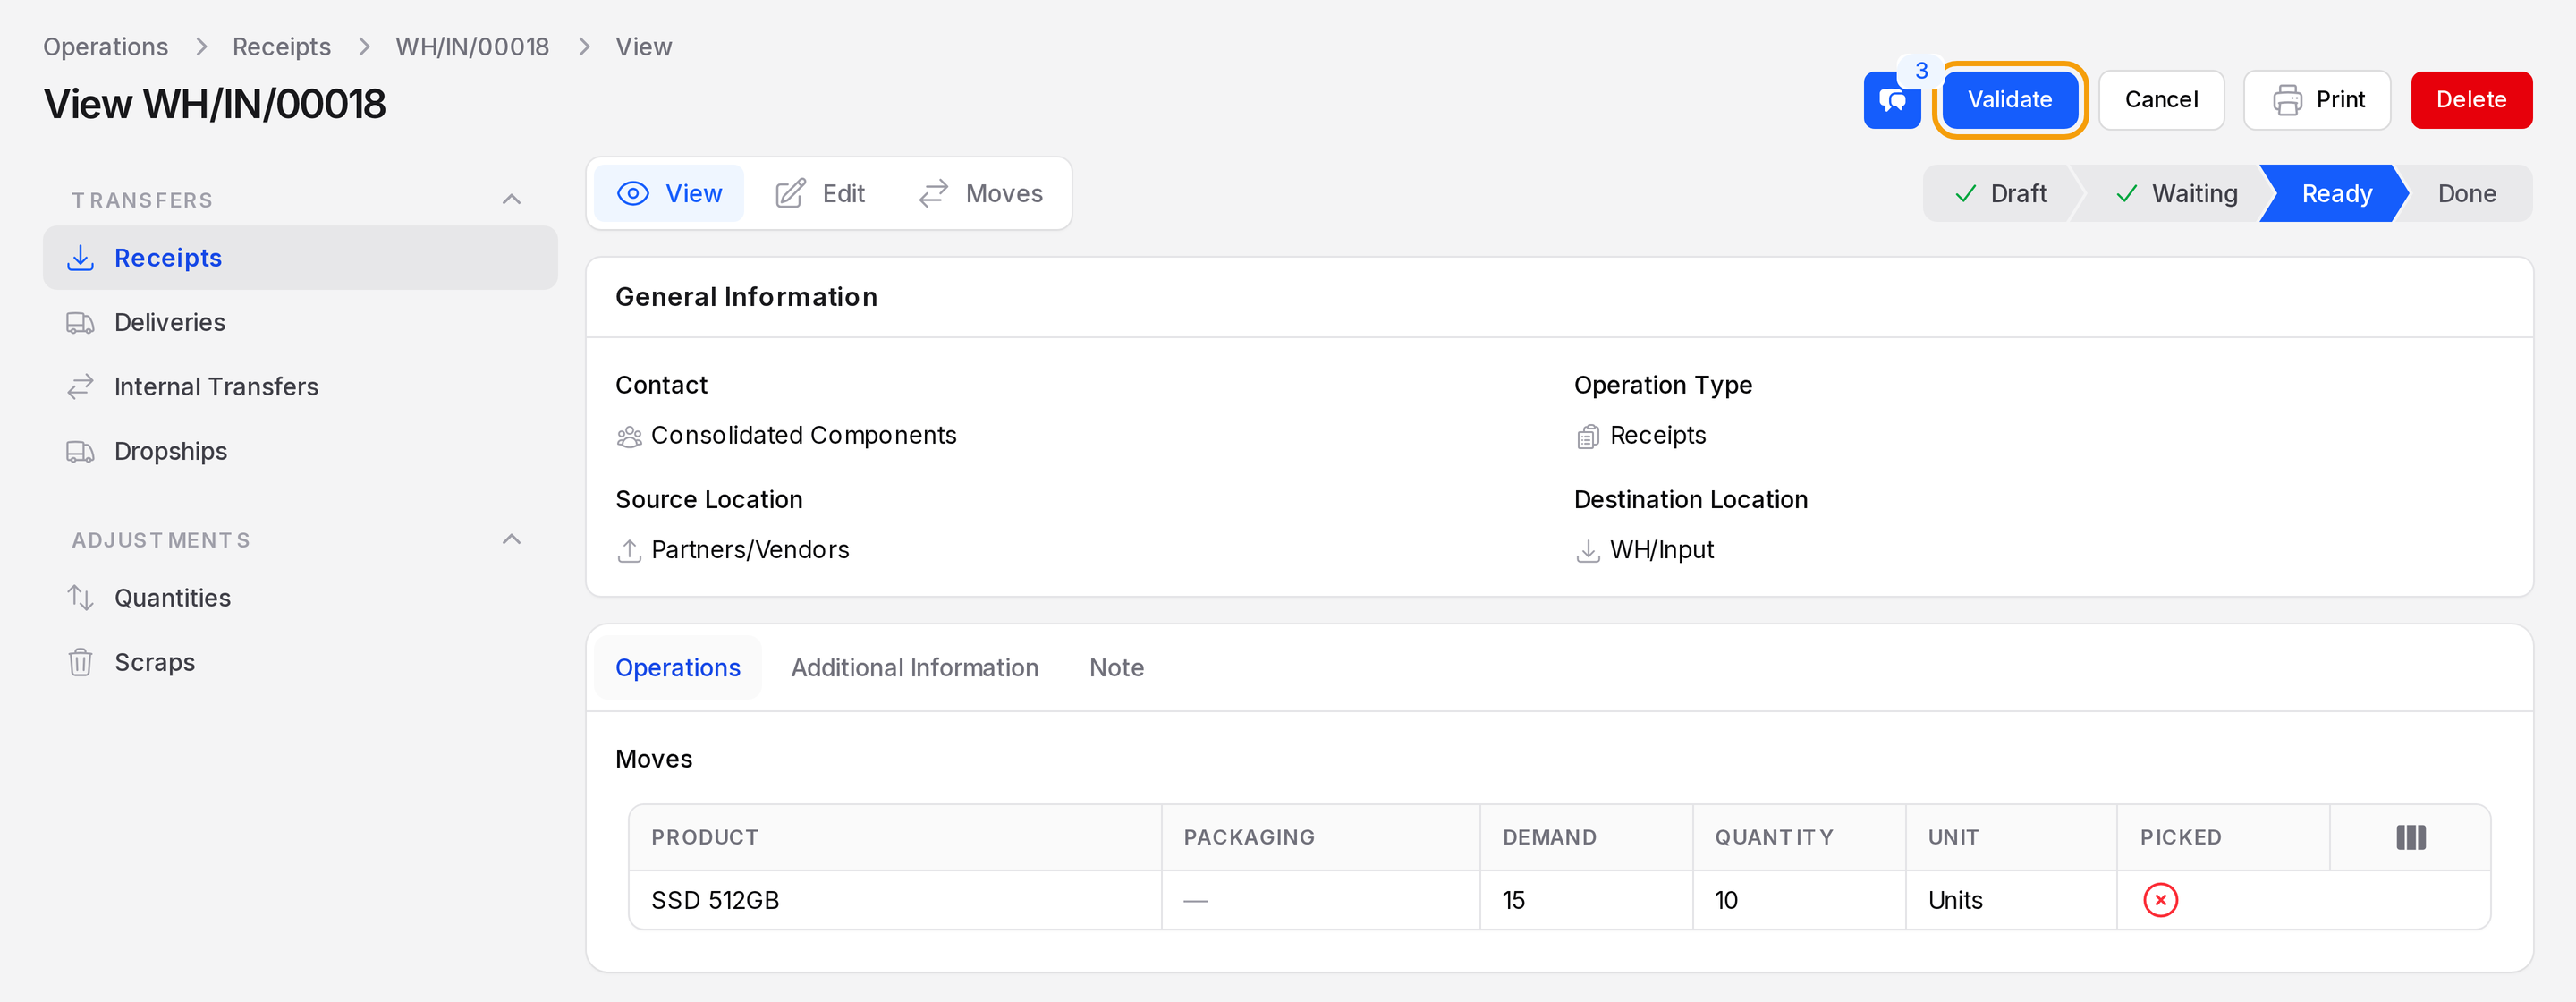
The receipt becomes Done and stock goes up. See Receipts.
Step 8: Create the vendor bill
- Go back to the order and click Create Bill.
- Click Vendor Bills in the switcher. The new bill is listed.
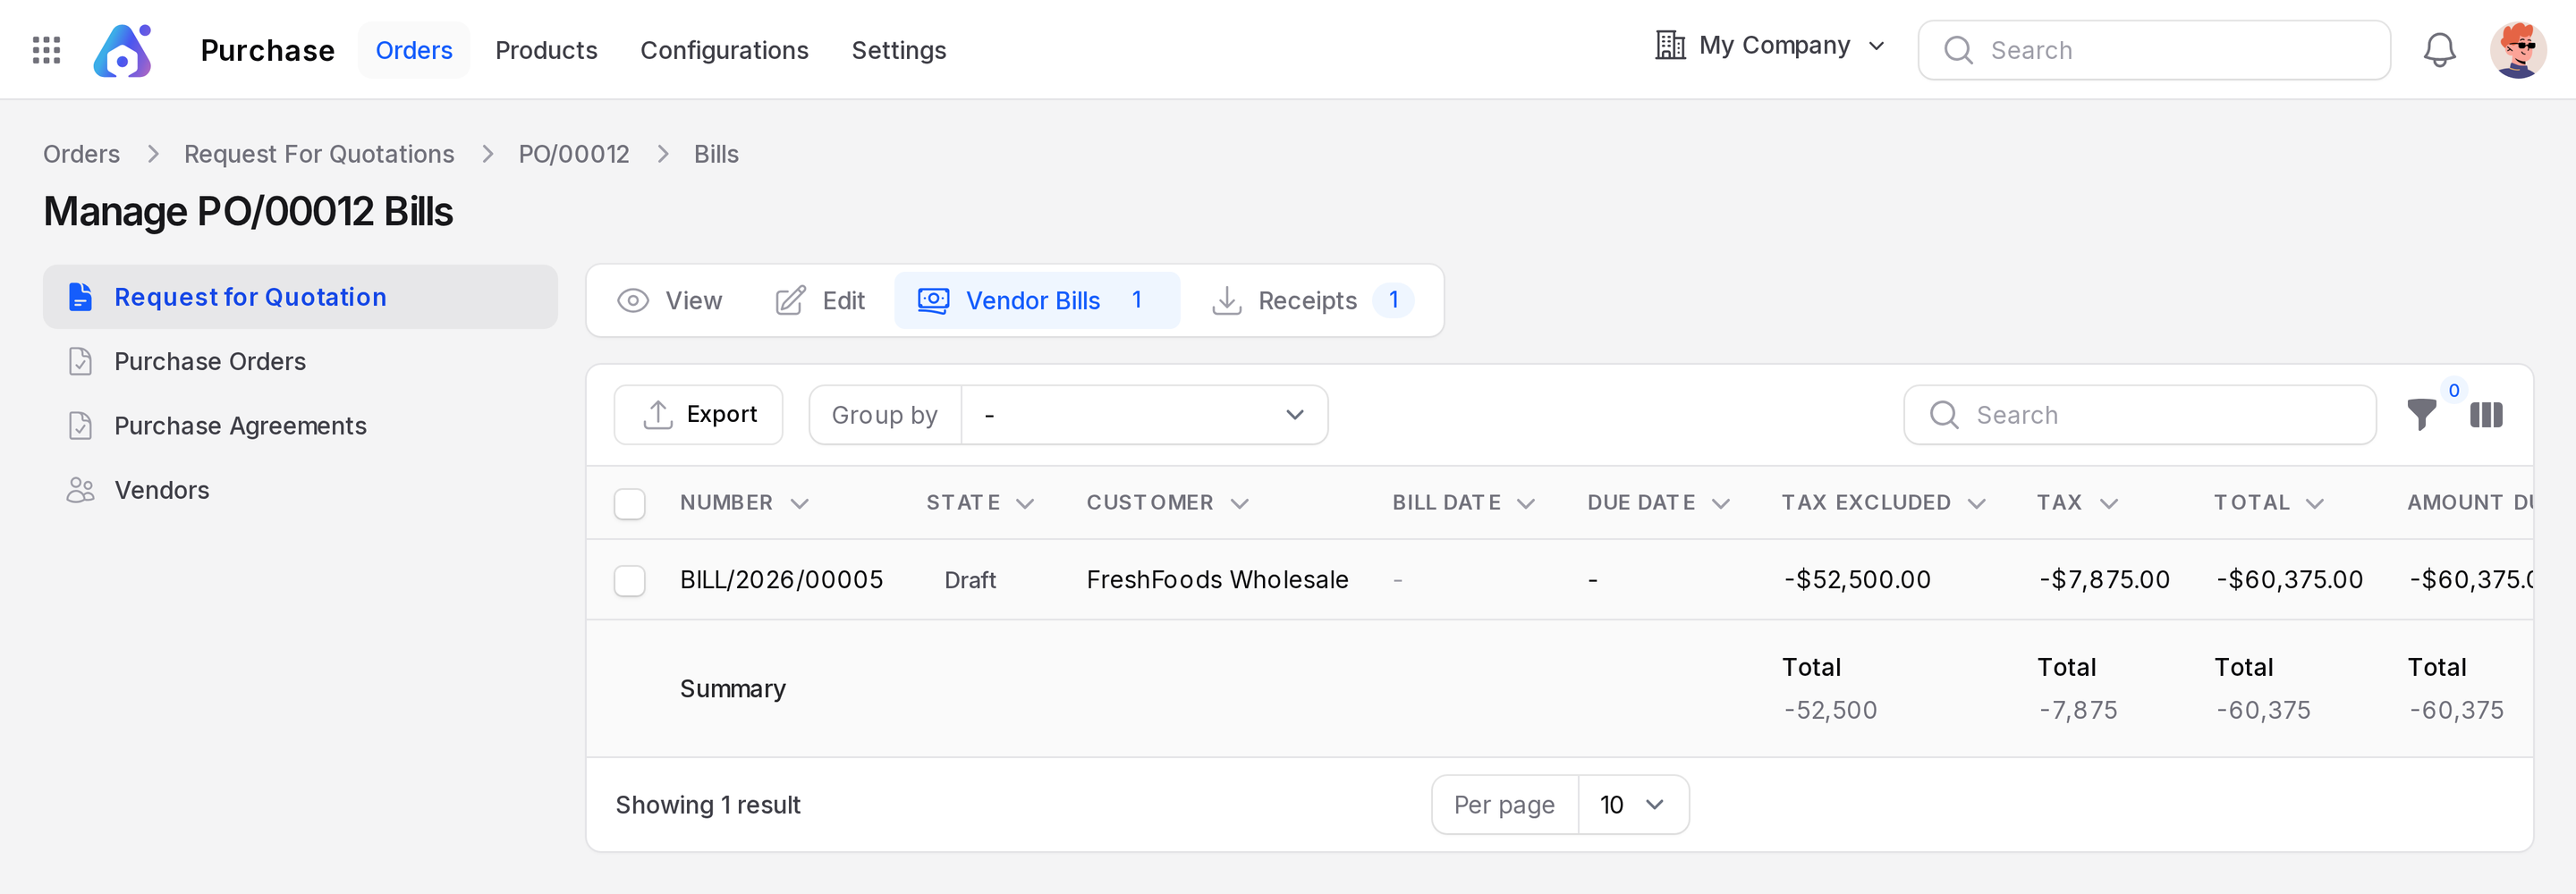
The bill is a draft. Open it in Finance, click Confirm, then register the payment.
Behind the scenes: The bill uses received minus billed quantity. Open it in Finance to post and pay. See Vendor bills and Create a vendor bill.
What you learned
| Step | Result |
|---|---|
| Vendor and product | Master data and a price row |
| RFQ and send | Status RFQ, then RFQ Sent |
| Vendor answers | A chatter comment, status unchanged |
| Confirm | Purchase Order and a planned receipt |
| Receive | Stock goes up |
| Bill | A vendor bill for the received quantity |