

Categories and attributes
PoS product categories are the tiles cashiers tap on the terminal screen. Attributes describe choices such as size or colour that a product can have. Both are set up under Configurations.
In simple words: Categories are the folders on your till screen. Attributes are the options inside a product.
PoS product categories
PoS categories are separate from the normal product categories used in Inventory. They only control how products are grouped at the till.
Overview
Go to Point of Sale → Configurations → PoS Product Categories.
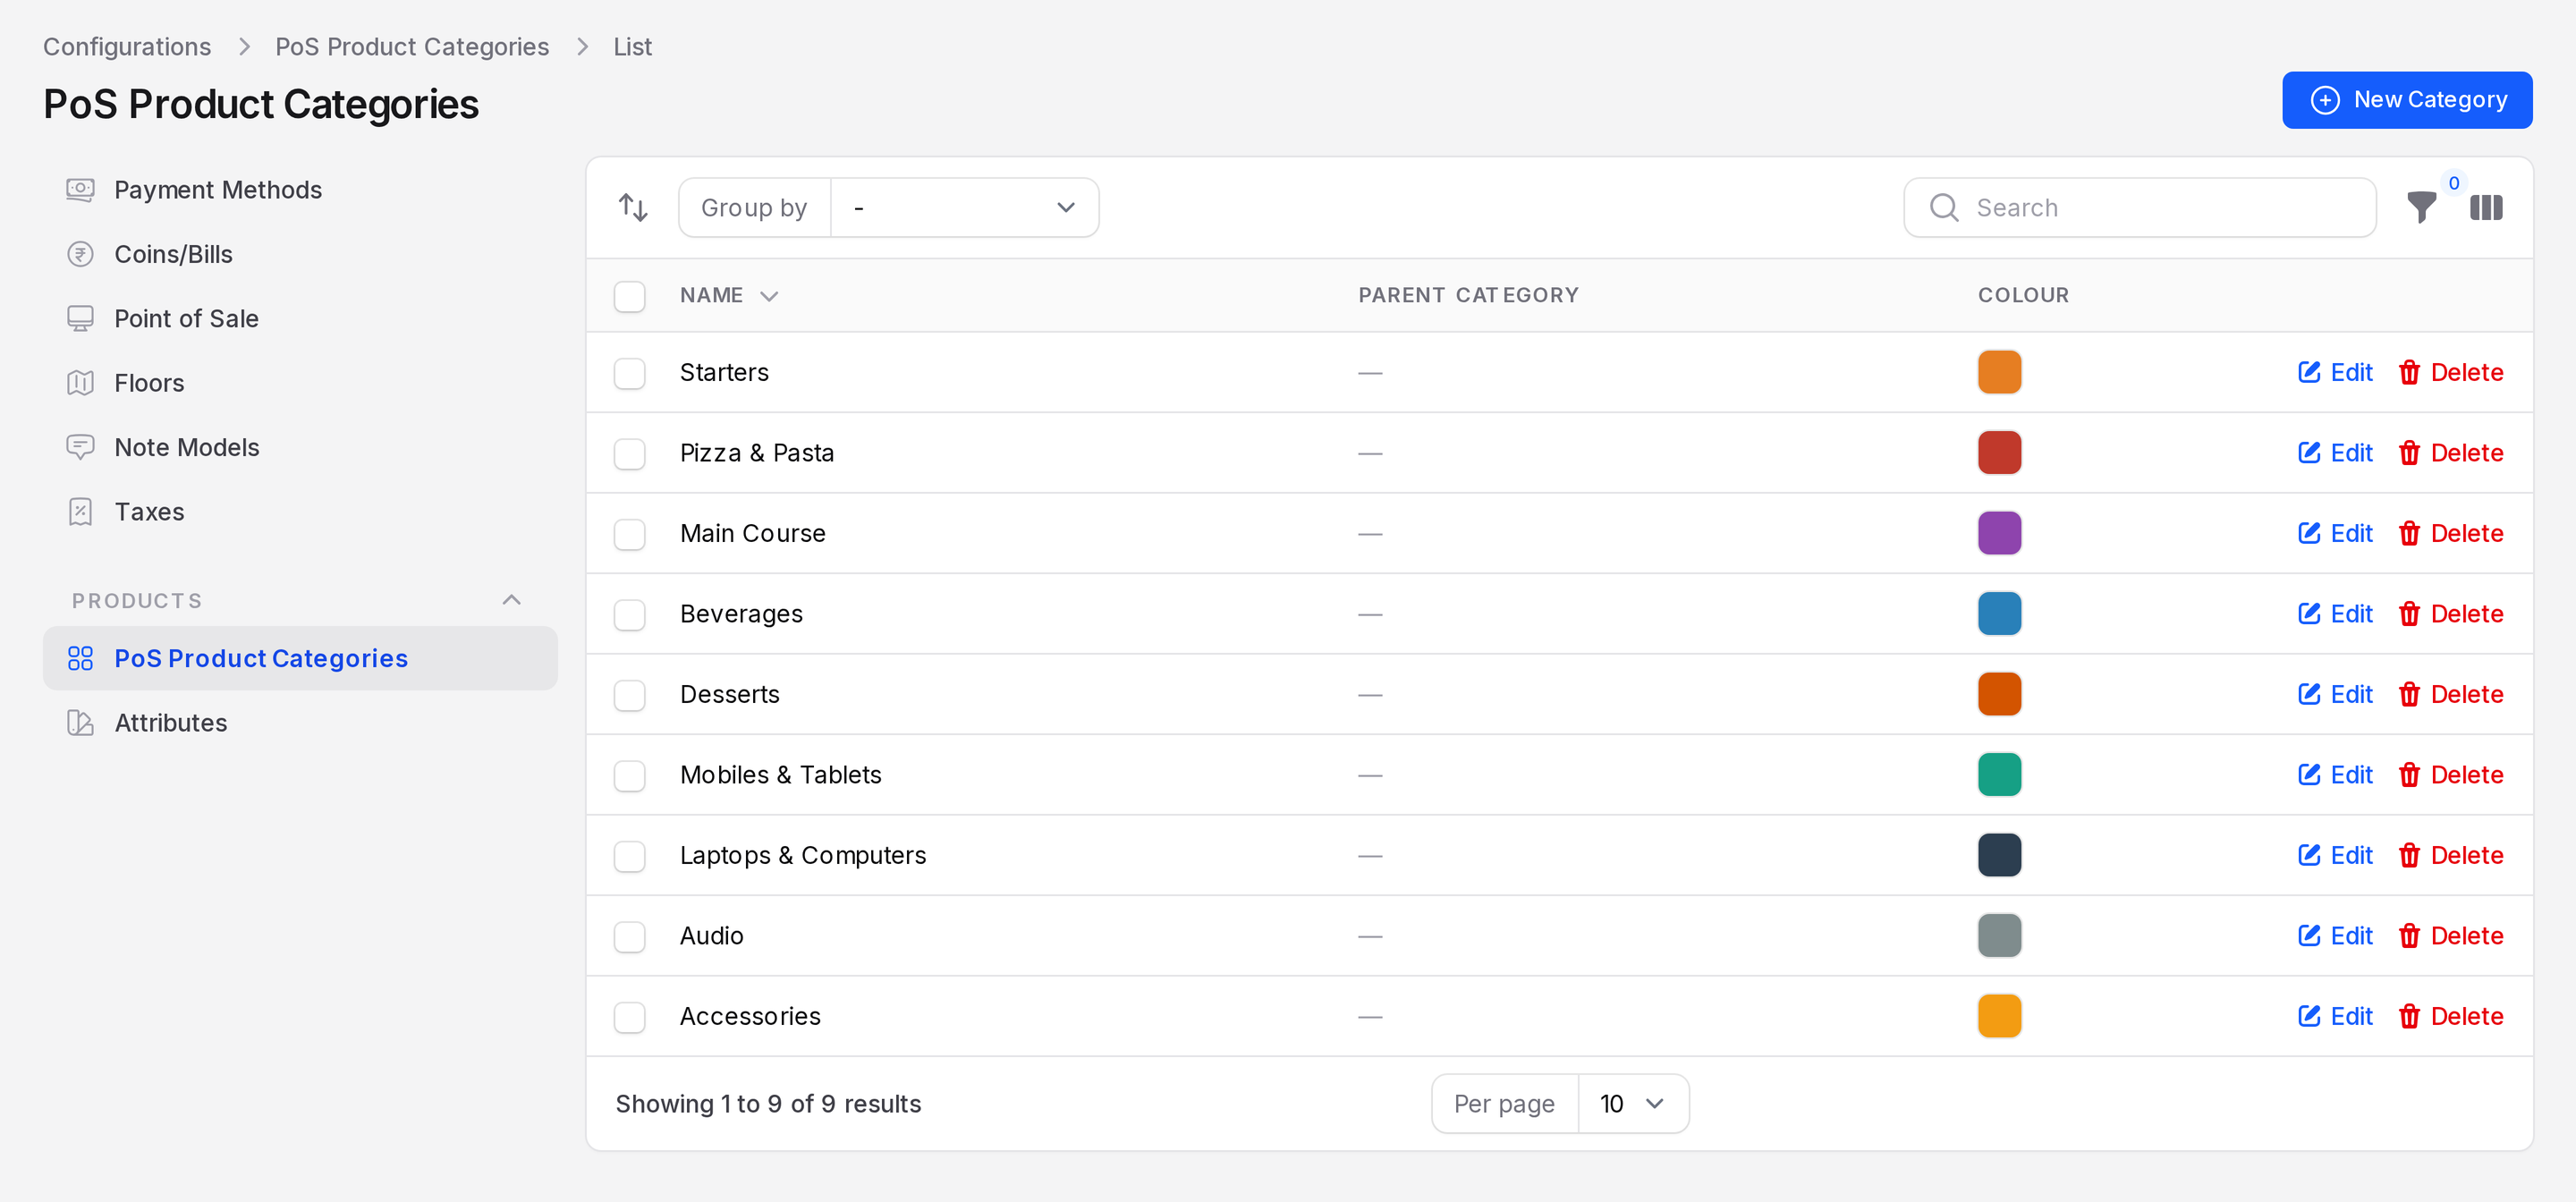
The list shows Name, Parent Category and Colour. Use Group by to group by Parent Category.
Create a category
Go to
Point of Sale → Configurations → PoS Product Categories.Click New Category.
Fill in the General section.
- Name: Required. For example Mobiles & Tablets.
- Parent Category: Pick a parent to make a sub category. Leave it empty for a top tile.
- Colour: Pick a colour for the tile.
- Image: Upload a picture for the tile.
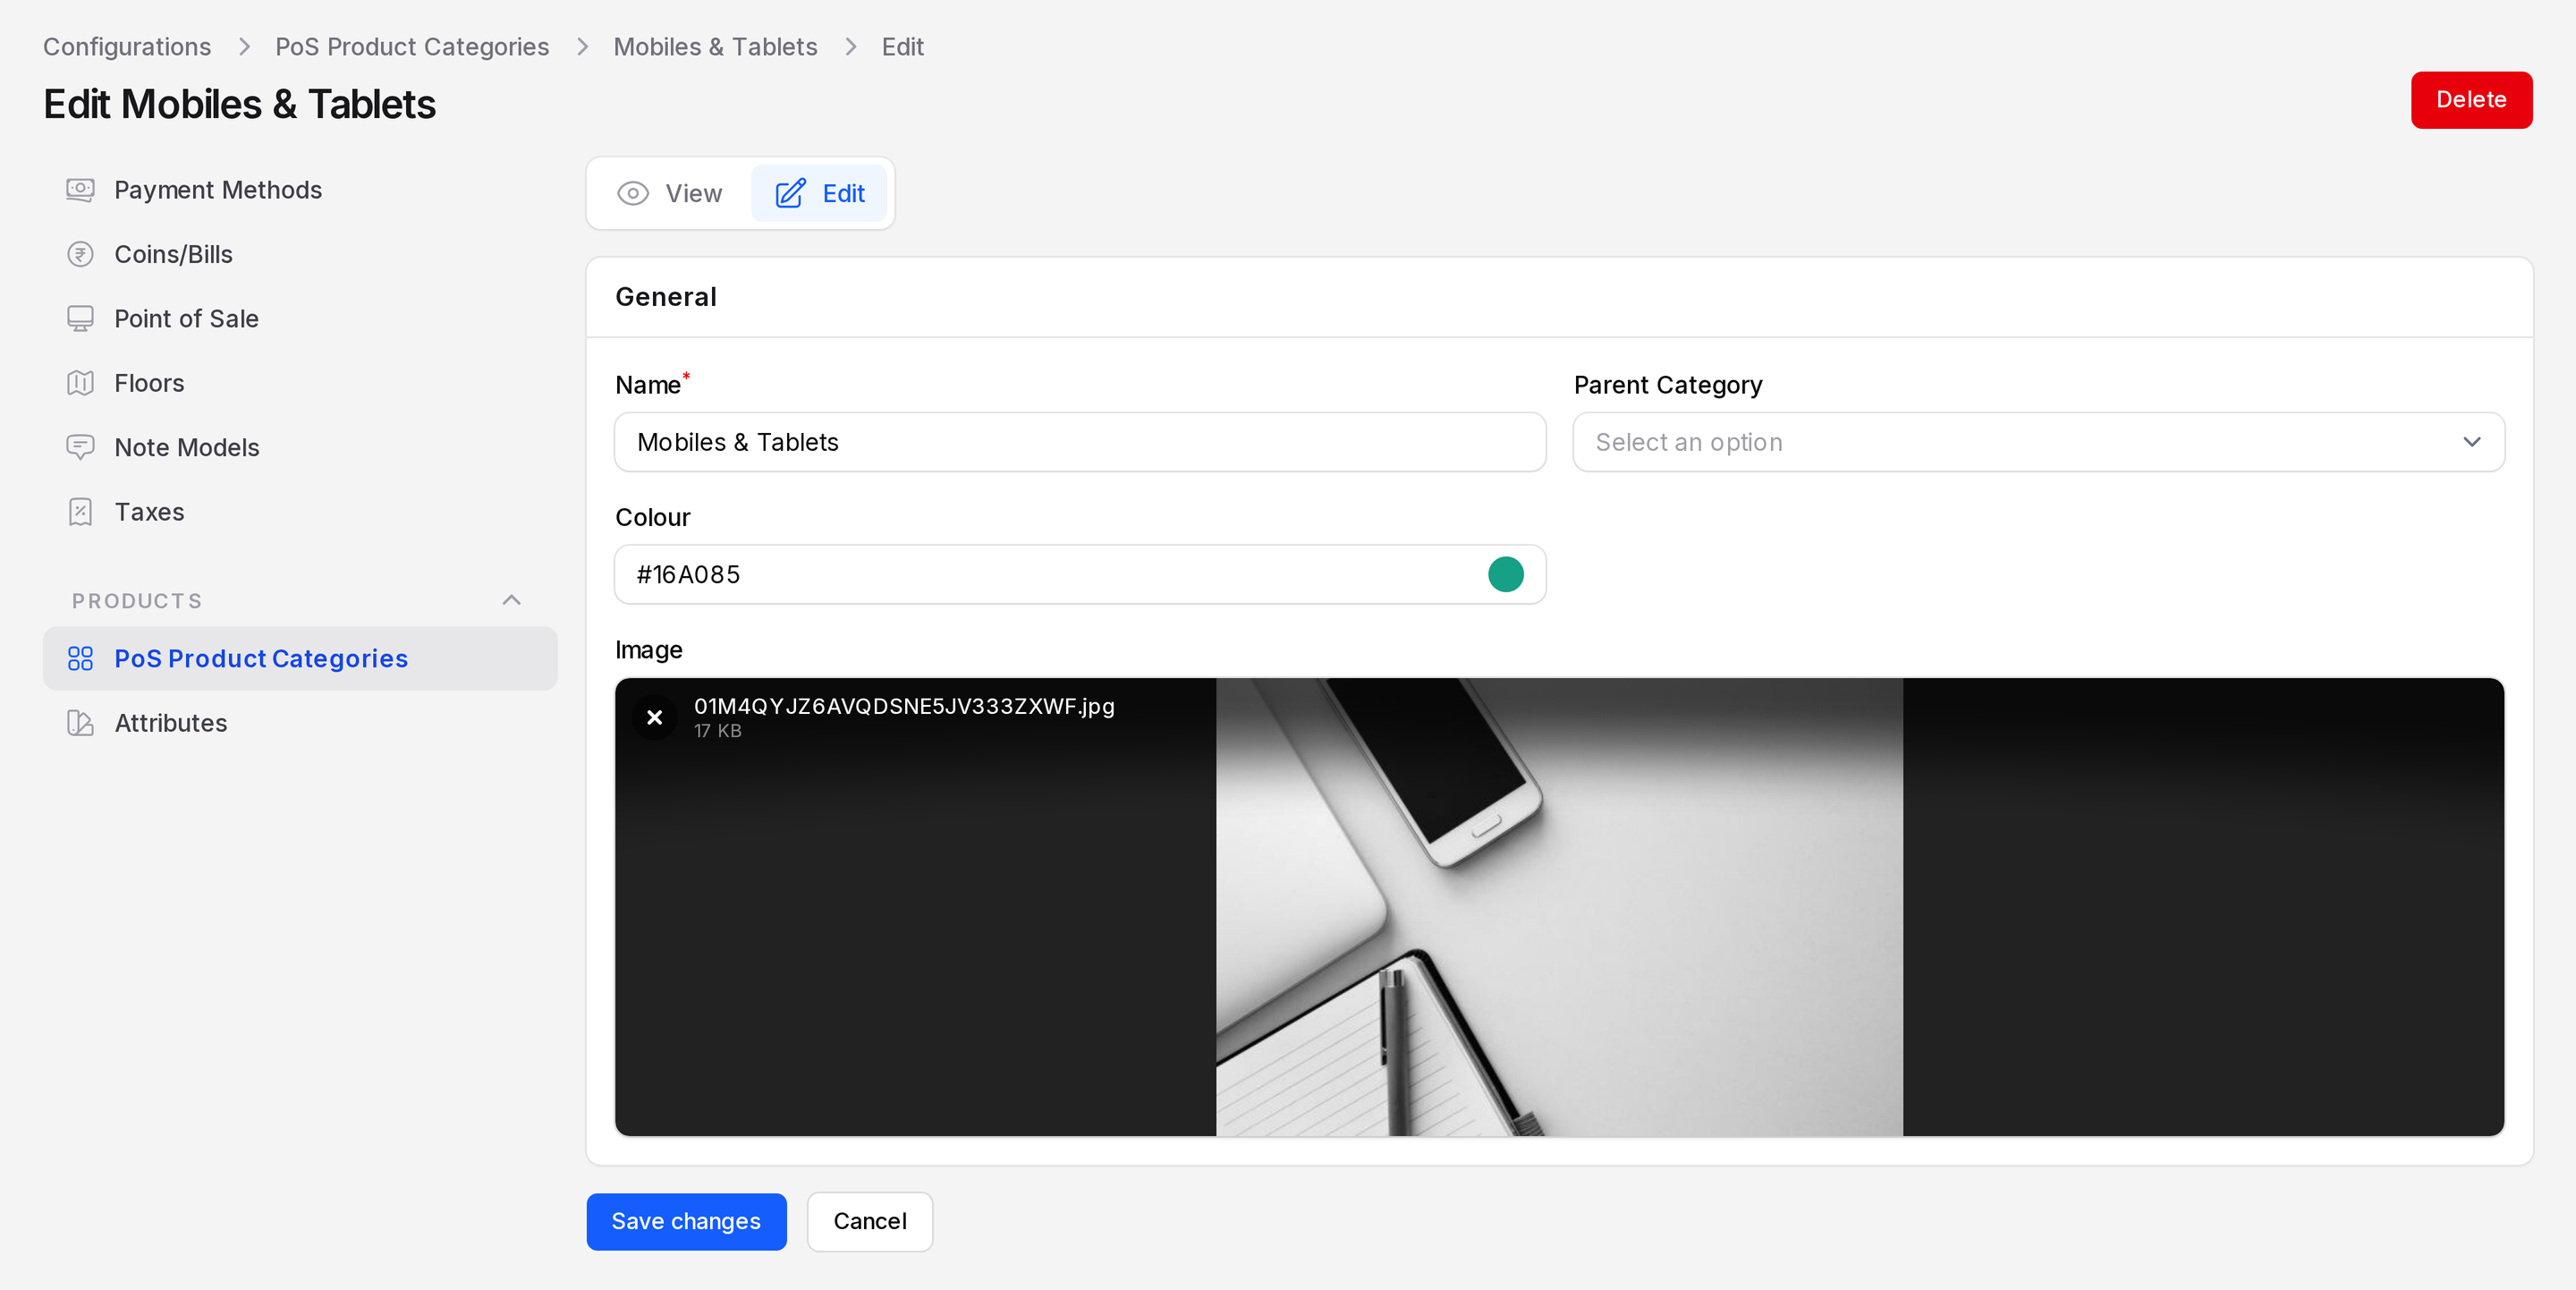
Click Create. Click Create & create another to add more.
Use Edit on a row to change a category. Use Delete to remove it.
Where categories show
- Restaurant example: Spice Route Kitchen & Bar uses Starters, Pizza & Pasta, Main Course, Beverages and Desserts.
- Retail example: TechNest Electronics uses Mobiles & Tablets, Laptops & Computers, Audio and Accessories.
The register decides how they show. In Point of Sale → Configurations → Point of Sale, open a register. On the PoS Interface tab, use Show category images to show pictures on tiles. On the Product & PoS categories tab, use Restrict Categories and Available PoS Product Categories to limit which tiles the register shows.
Preparation printers also use categories. See Preparation printers.
Attributes
An attribute is a property with a list of values, such as Size with Small, Medium and Large.
Overview
Go to Point of Sale → Configurations → Attributes.
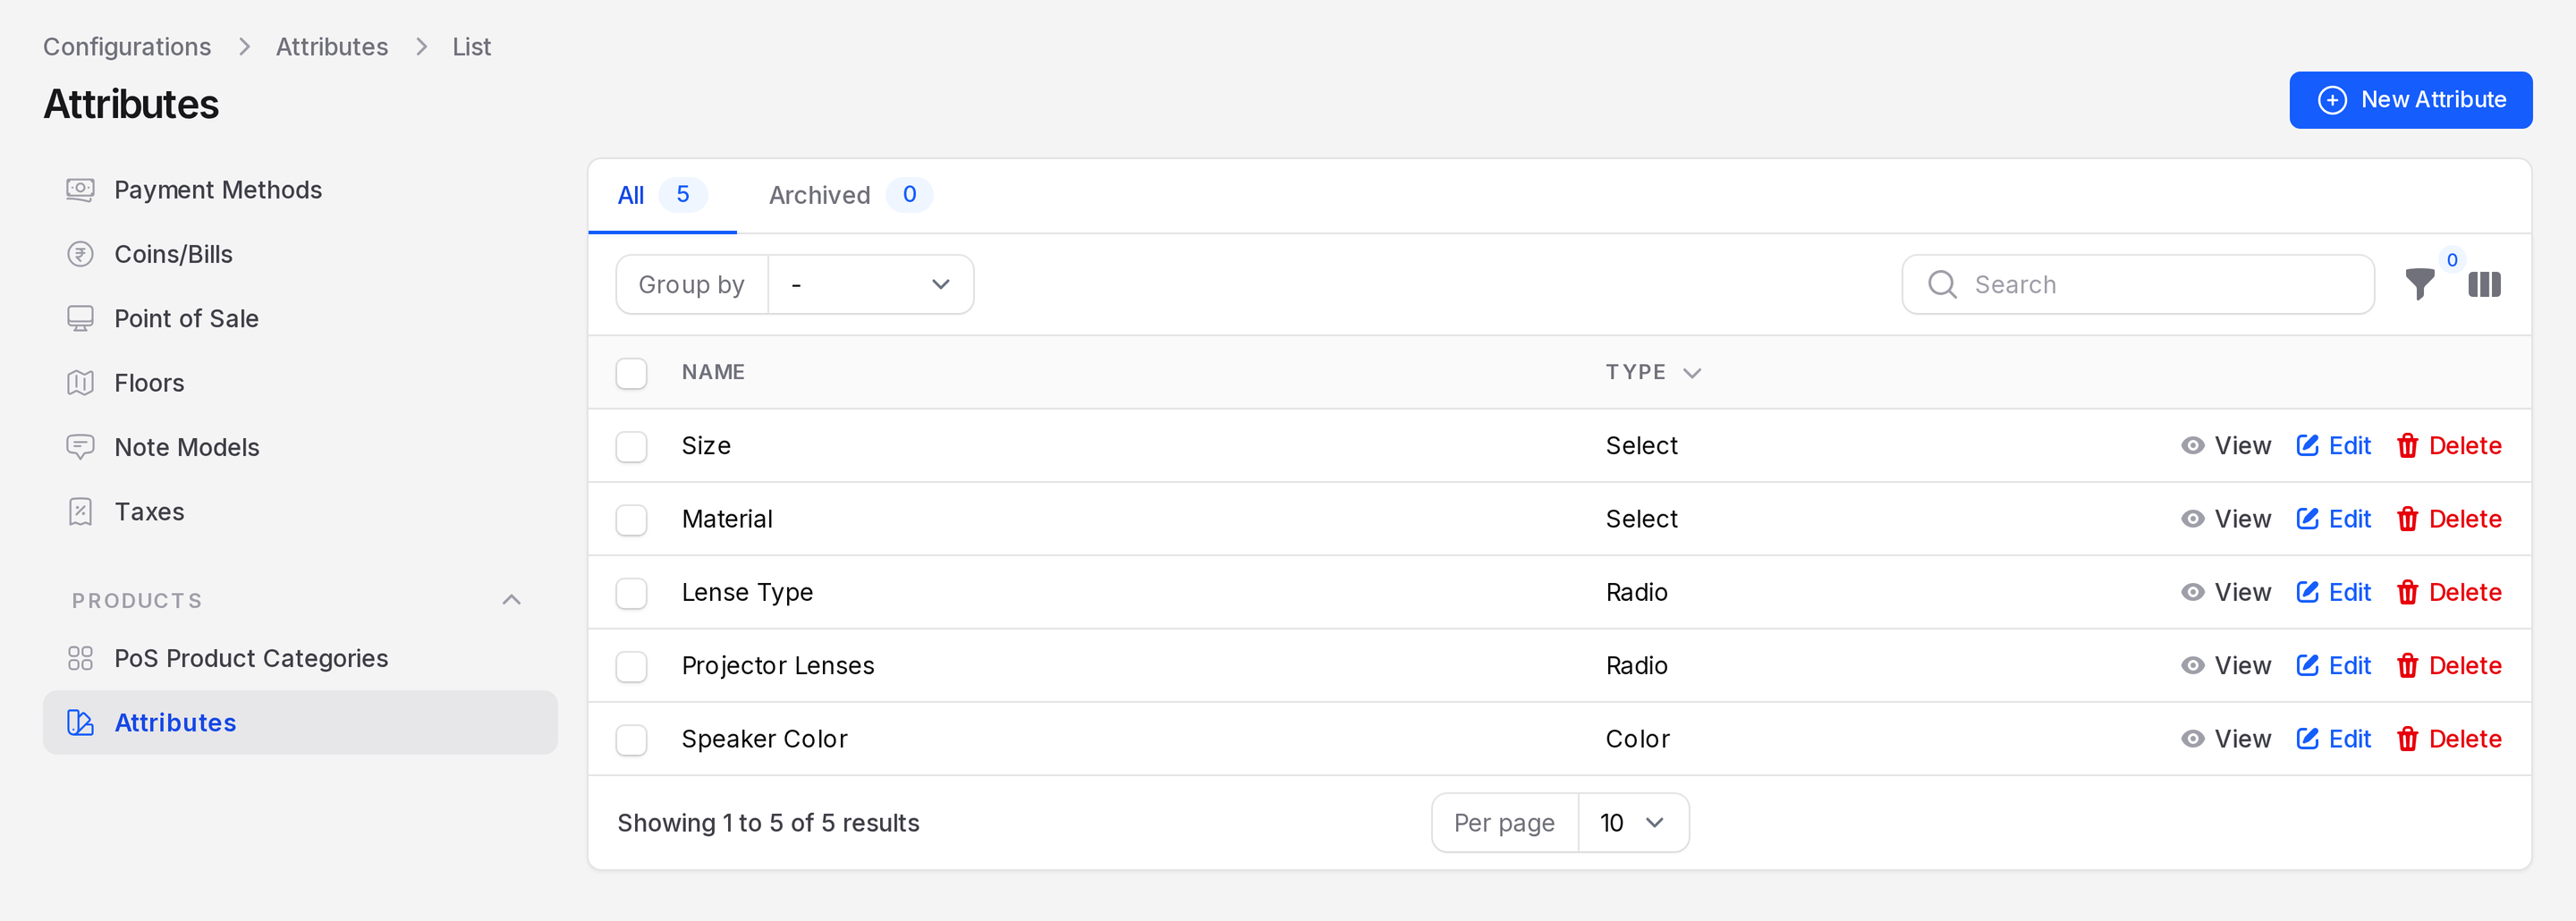
The tabs are All and Archived. Columns are Name and Type. Filter or group by Type, Created At or Updated At.
Create an attribute
Go to
Point of Sale → Configurations → Attributes.Click New Attribute.
Fill in the General section.
- Name: Required. For example Size.
- Type: Required. Choose Radio, Select or Color. This sets how the choice looks.
In Options, enter an Option Name* and an Extra Price*. Click Add to options for each value.
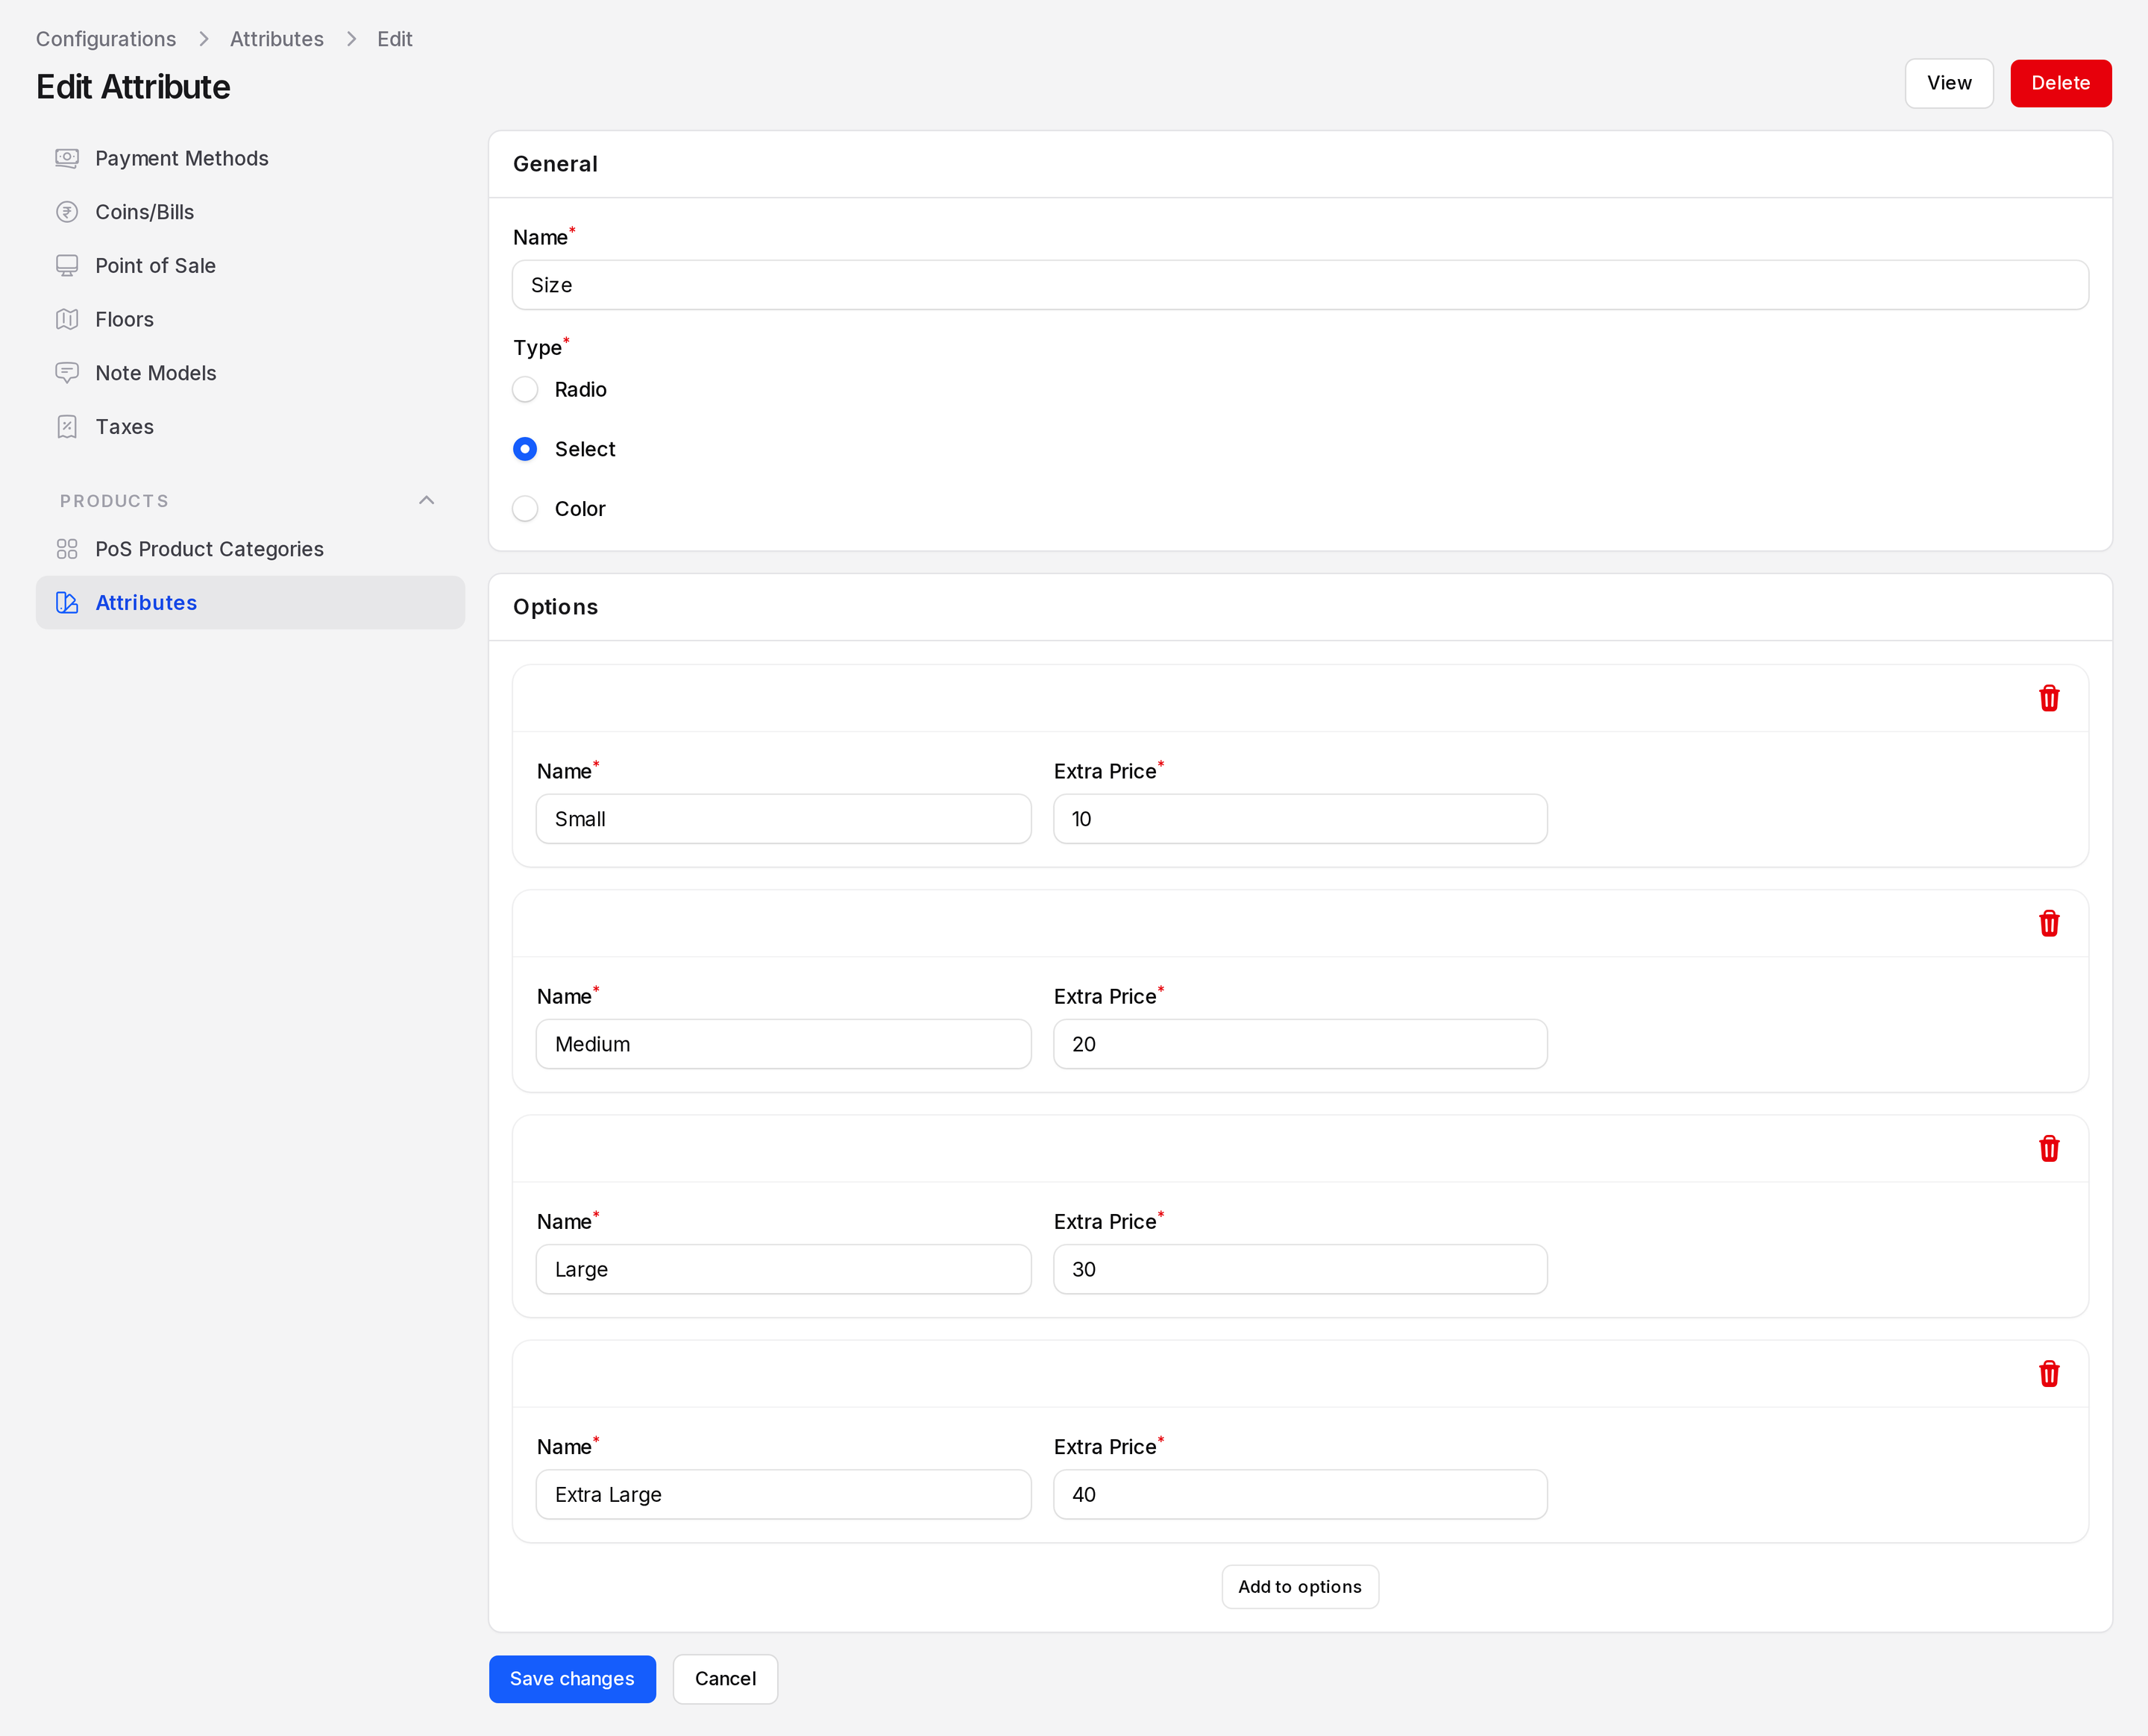
Click Create.
Row actions are View, Edit and Delete.
TIP
Use Extra Price for options that cost more, such as an extra large size. Use 0 for no change.