

First steps with Manufacturing
This tutorial follows one build from start to end. You check the recipe, create a manufacturing order, confirm it, plan it, run the work orders and produce the finished goods. Each step links to a deeper page.
In simple words: Check the recipe, order a build, plan it, do the work, produce.
BoM → MO (Draft) → Confirm → Plan → Work orders → Produce All → DoneThe example builds the Business Laptop. Work Orders is on, so the recipe has two operations. The components are in stock.
Before you start
This tutorial needs a product, its components in stock, a bill of materials with two operations and two work centers. Create them first in Basic setup and Work centers. Turn on Work Orders in Manufacturing settings. Use your own products if the names differ.
Step 1: Check the bill of materials
The bill of materials (BoM) is the recipe. It lists what one laptop needs.
- Go to
Manufacturing → Products → Bills of Materials. - Open BOM-MC-LAPTOP.
- Check the Components tab: Motherboard, RAM 16GB (2), SSD 512GB, Laptop Battery, LCD Screen 14-inch and Laptop Chassis.
- Open the Operations tab: Assemble Components at Assembly Station, then Test & Pack at Quality & Packing.
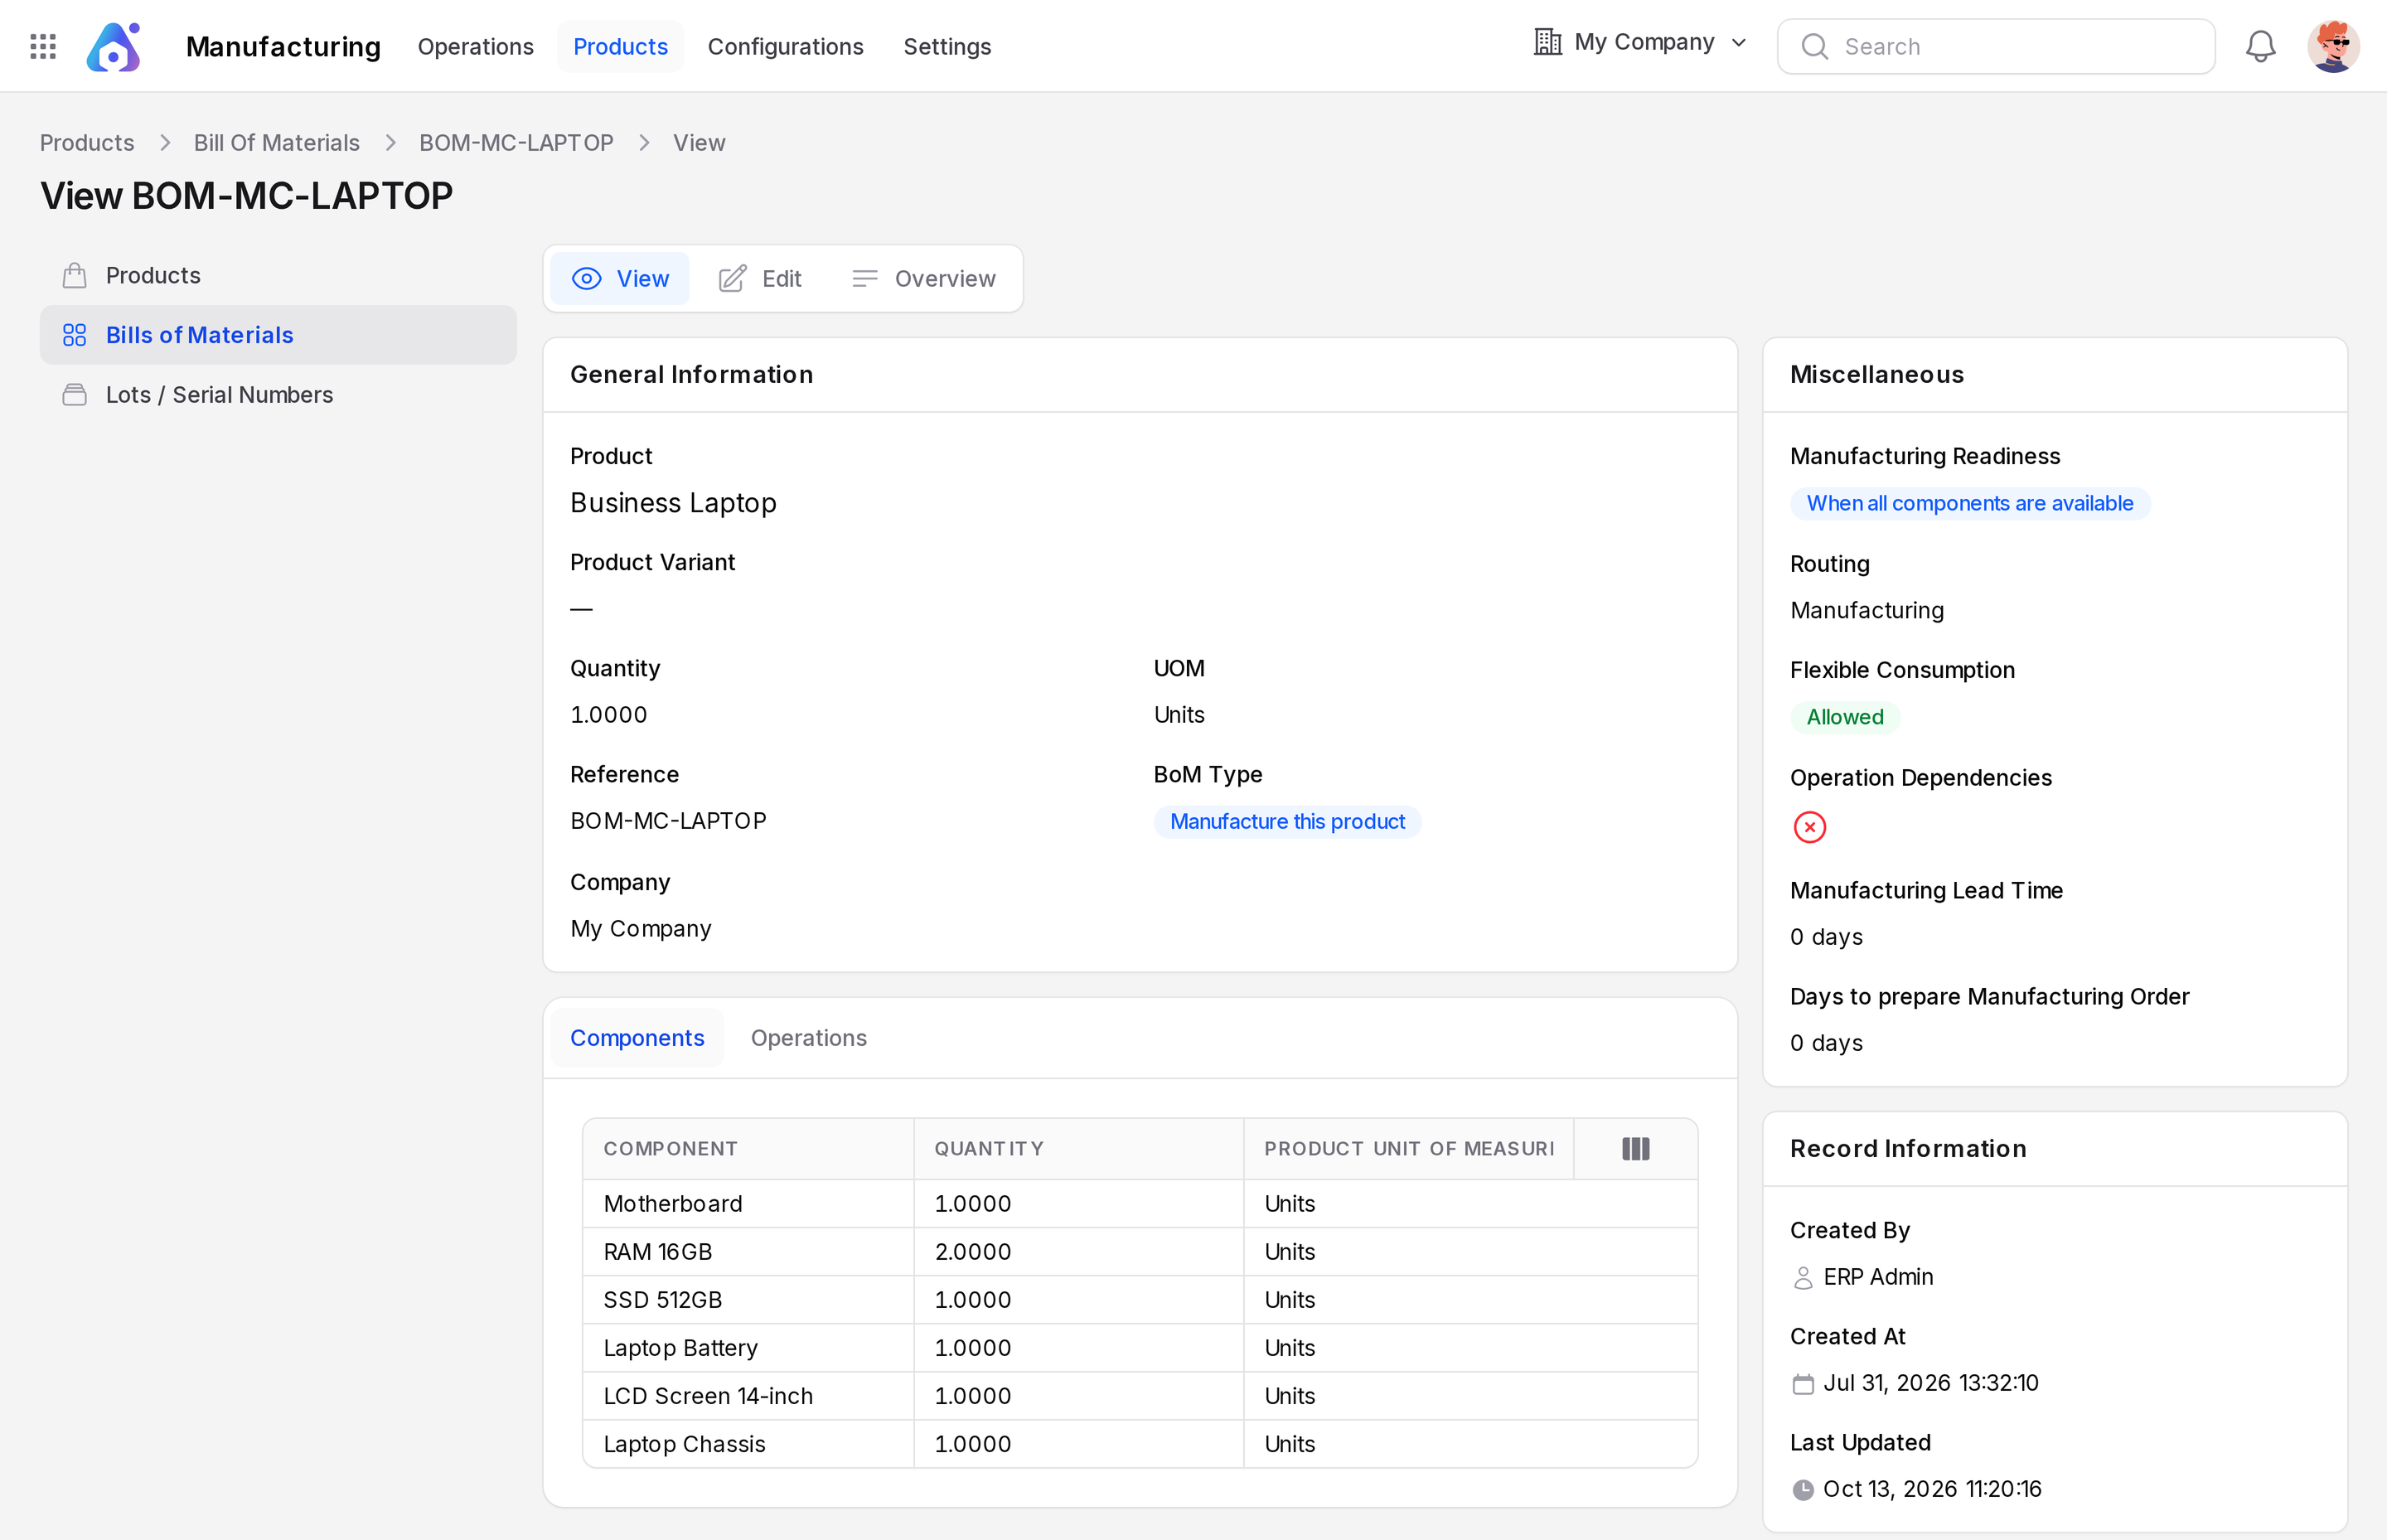
See Bill of materials.
Step 2: Create the manufacturing order
- Go to
Manufacturing → Operations → Manufacturing Ordersand click Create Manufacturing Order. - Choose Product Business Laptop. The Bill of Material fills in.
- Enter Quantity 5. Check Scheduled Date.
- Look at the Components tab. It lists the parts for 5 laptops. The Work Orders tab lists the two operations.
- Click Create.
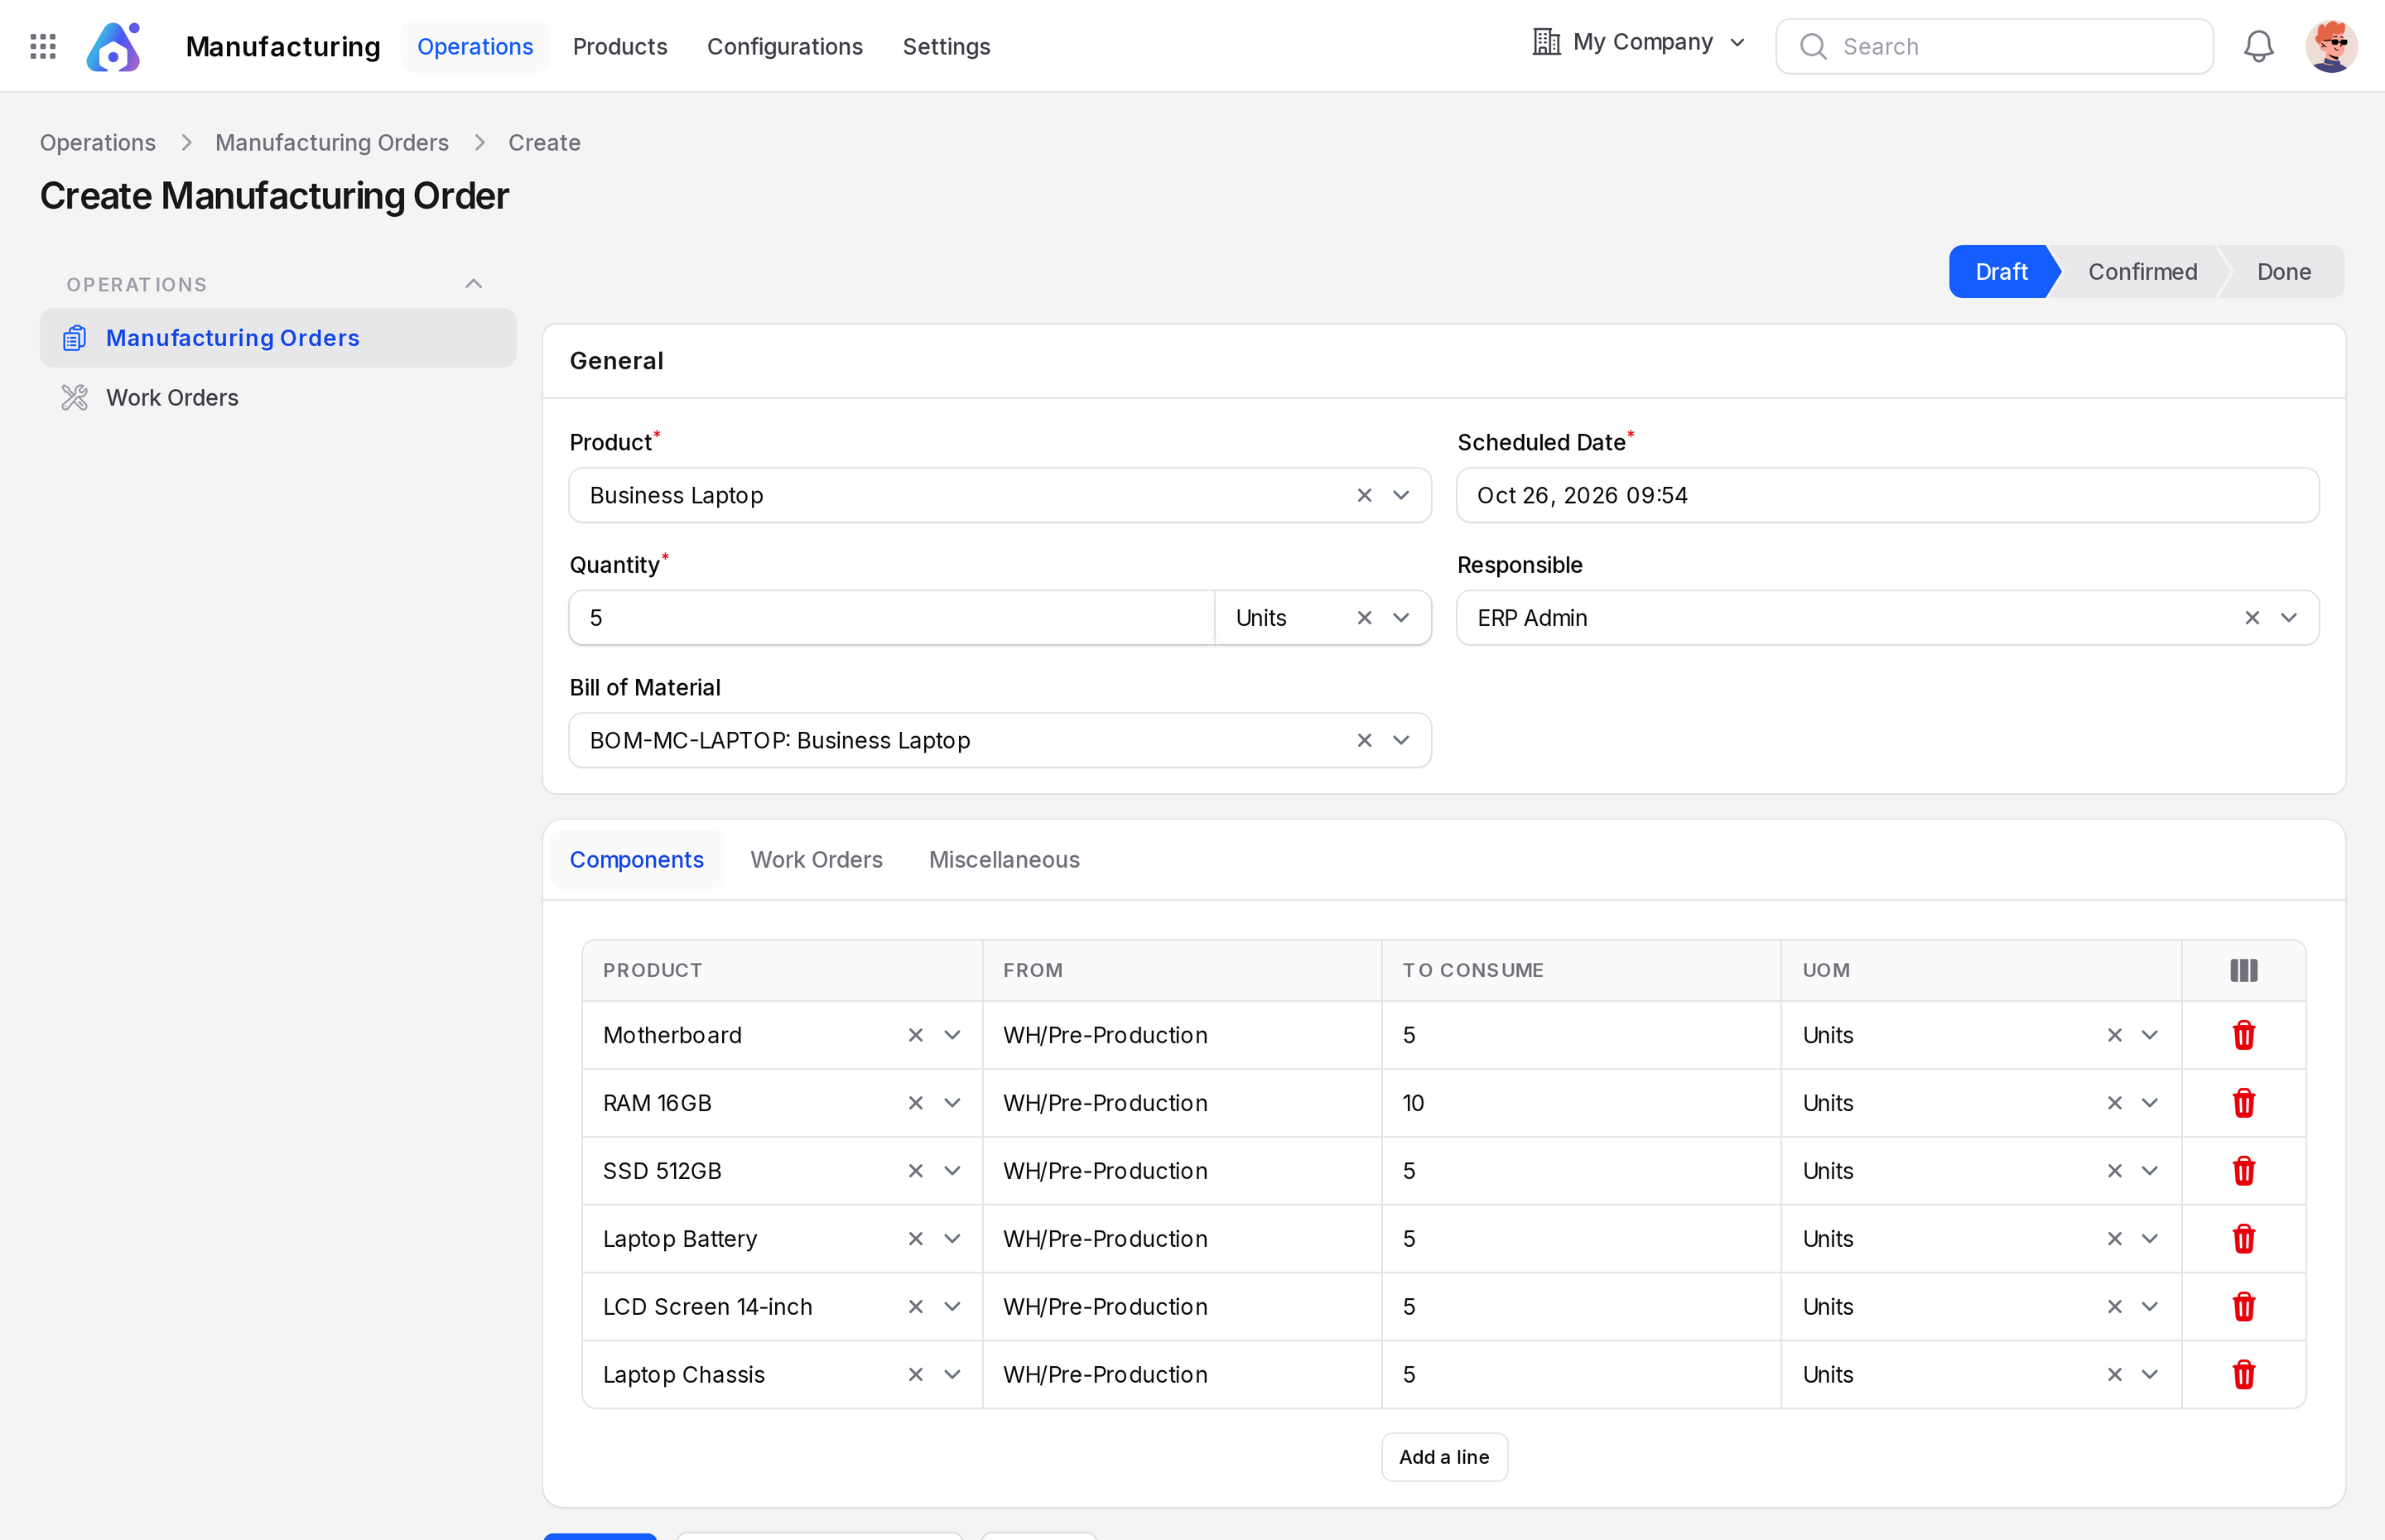
The order gets a number like MO/1 and the state Draft. See Manufacturing orders.
Step 3: Confirm
- Click Confirm in the header and accept the prompt.
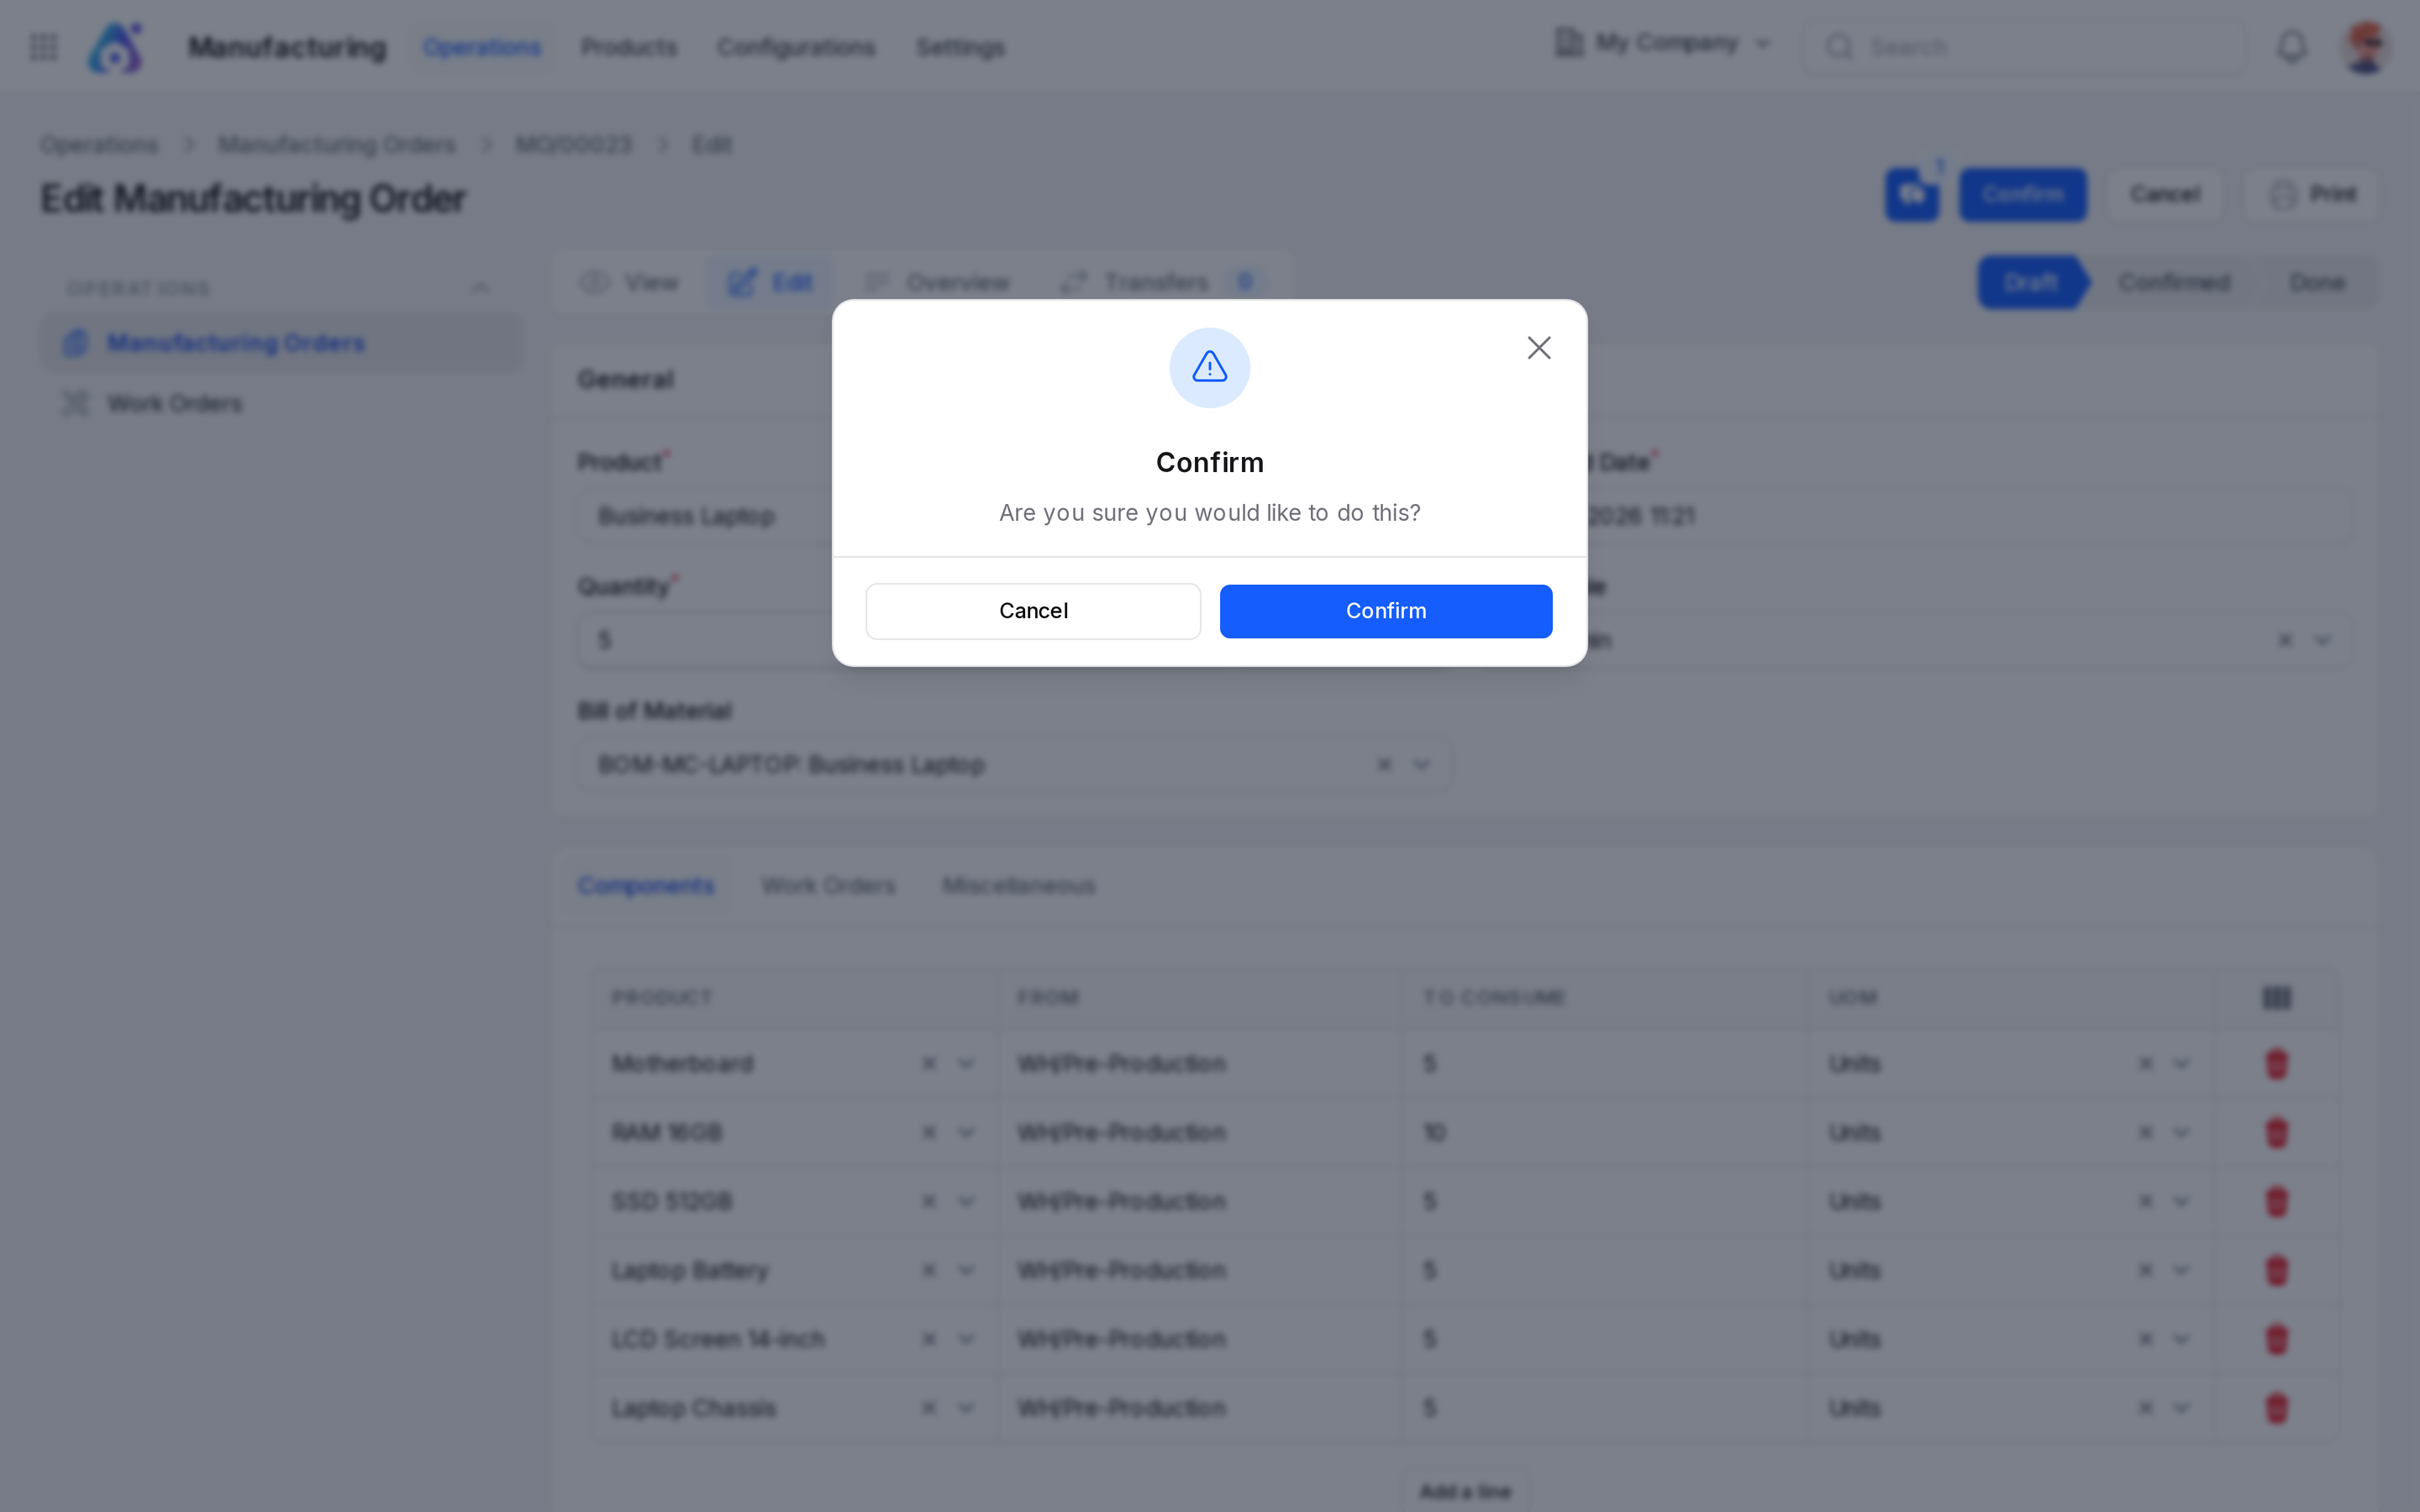
You see "Manufacturing order confirmed". The state becomes Confirmed and the components are reserved. The MO Readiness shows Ready when everything is in stock.
Step 4: Plan
Planning gives each work order a start and end time on its work center.
- Click Plan.
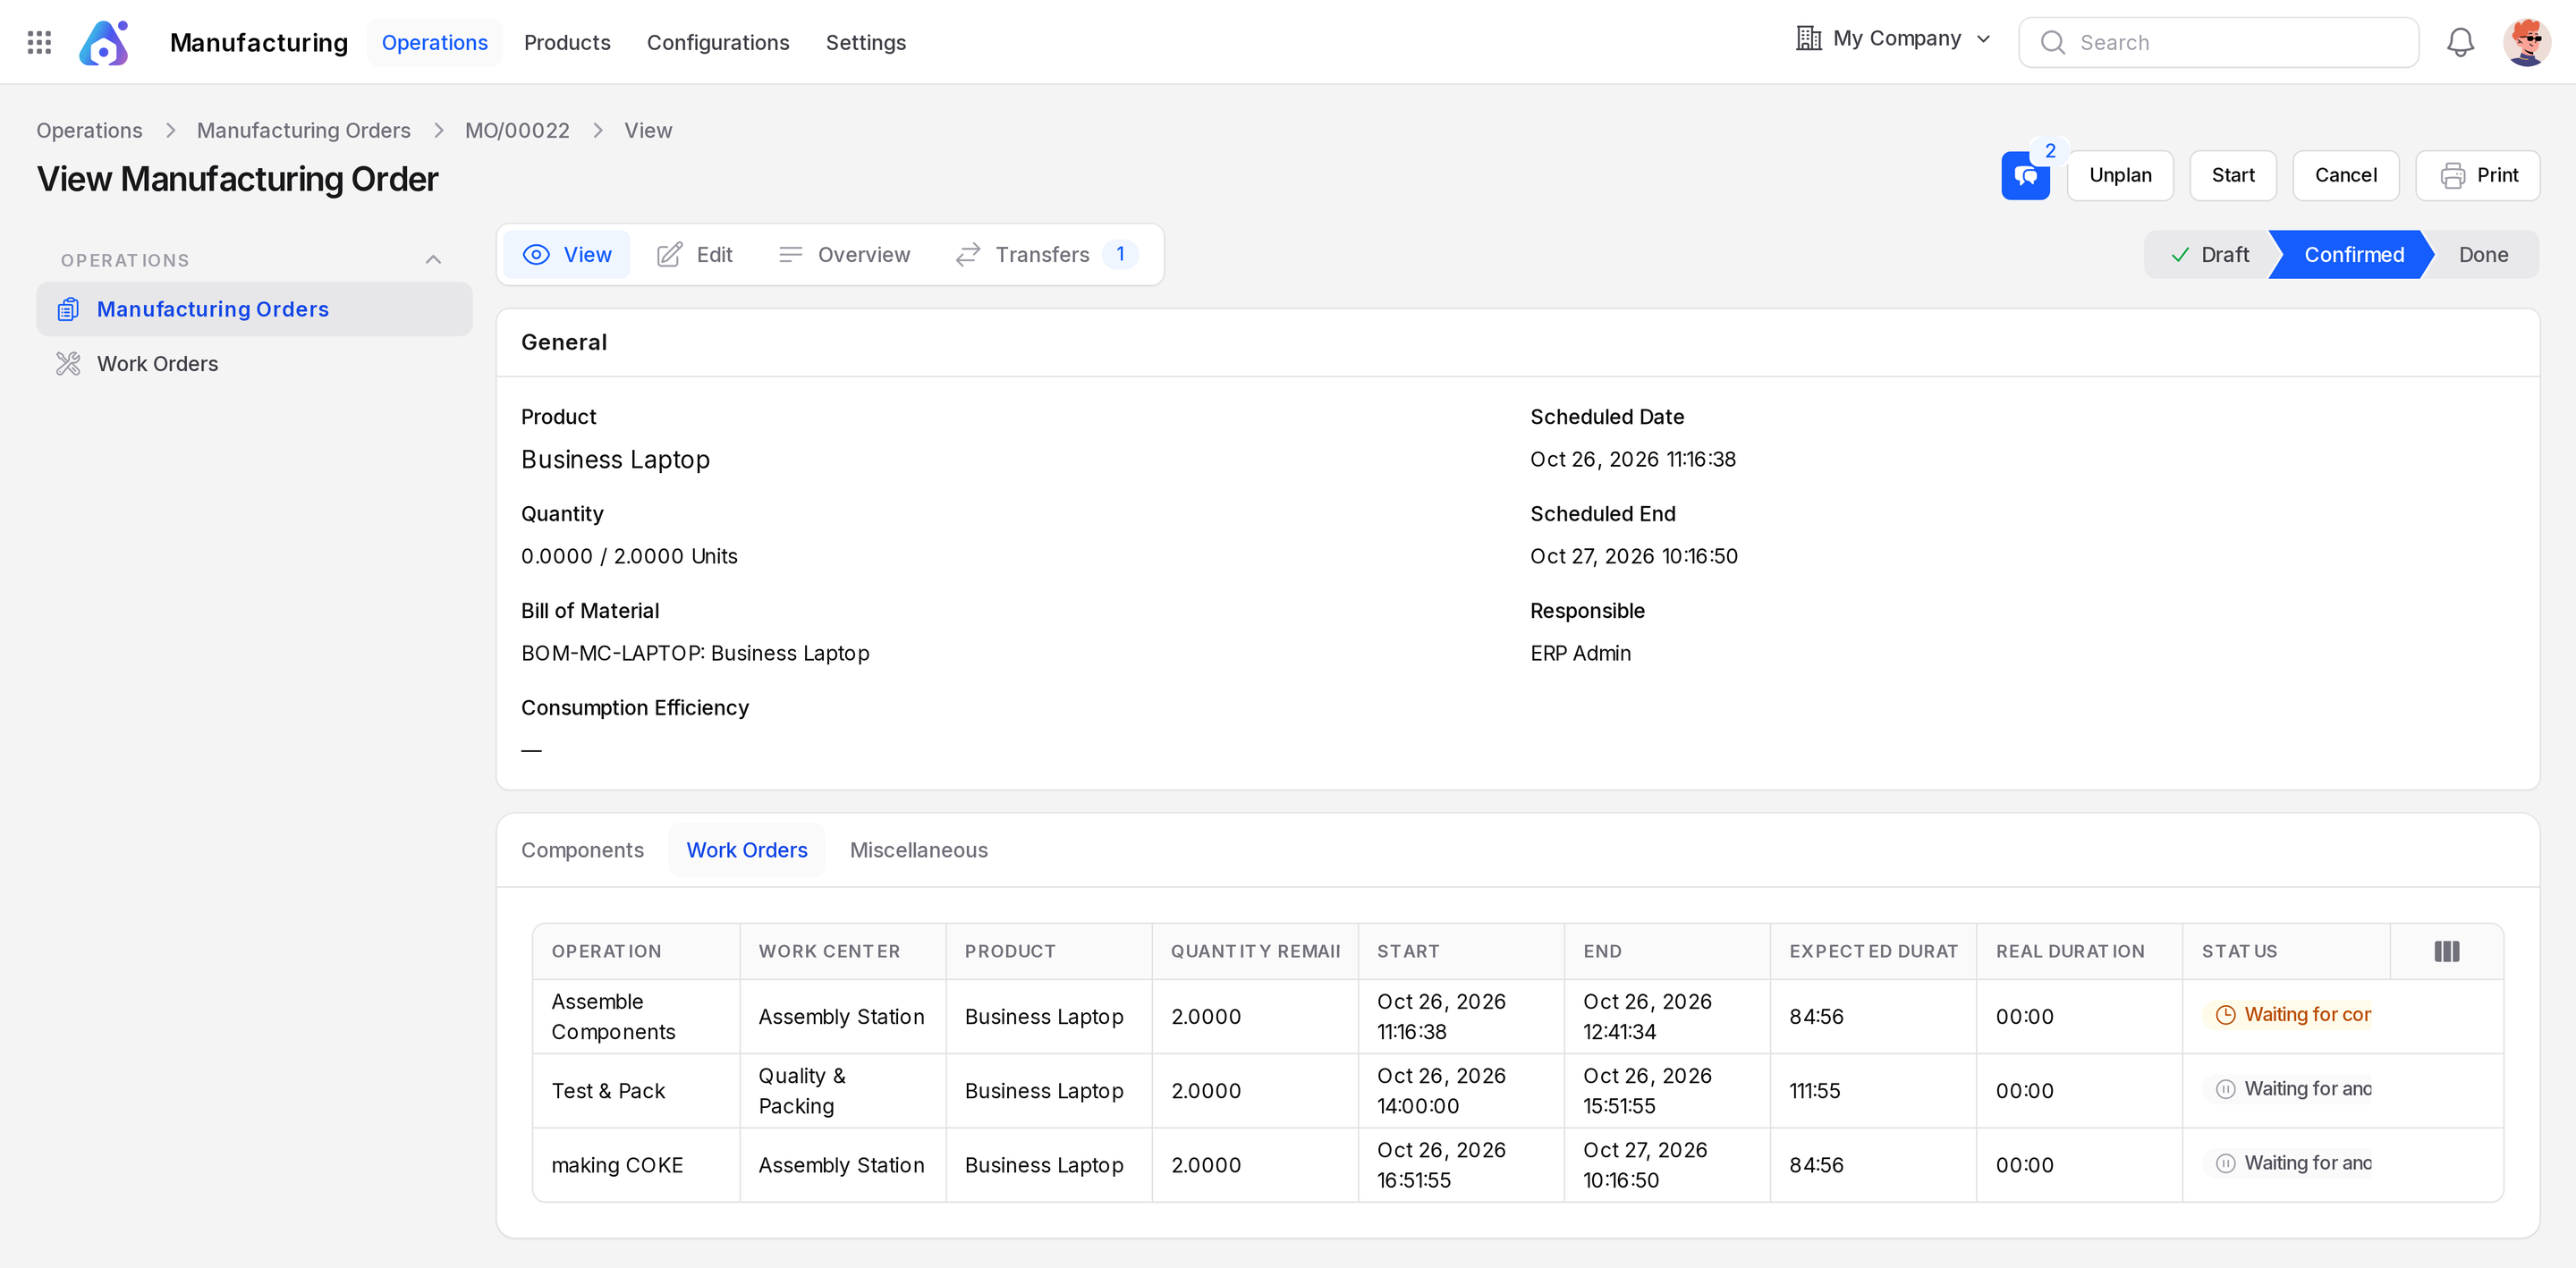
You see "Manufacturing order planned". Open the Work Orders tab to read the dates. Click Unplan to undo. See Plan and schedule.
Step 5: Run the work orders
- Go to
Manufacturing → Operations → Work Orders. - Find Assemble Components for the order. Click the start icon.
- Click the done icon when it is finished.
- Do the same for Test & Pack.
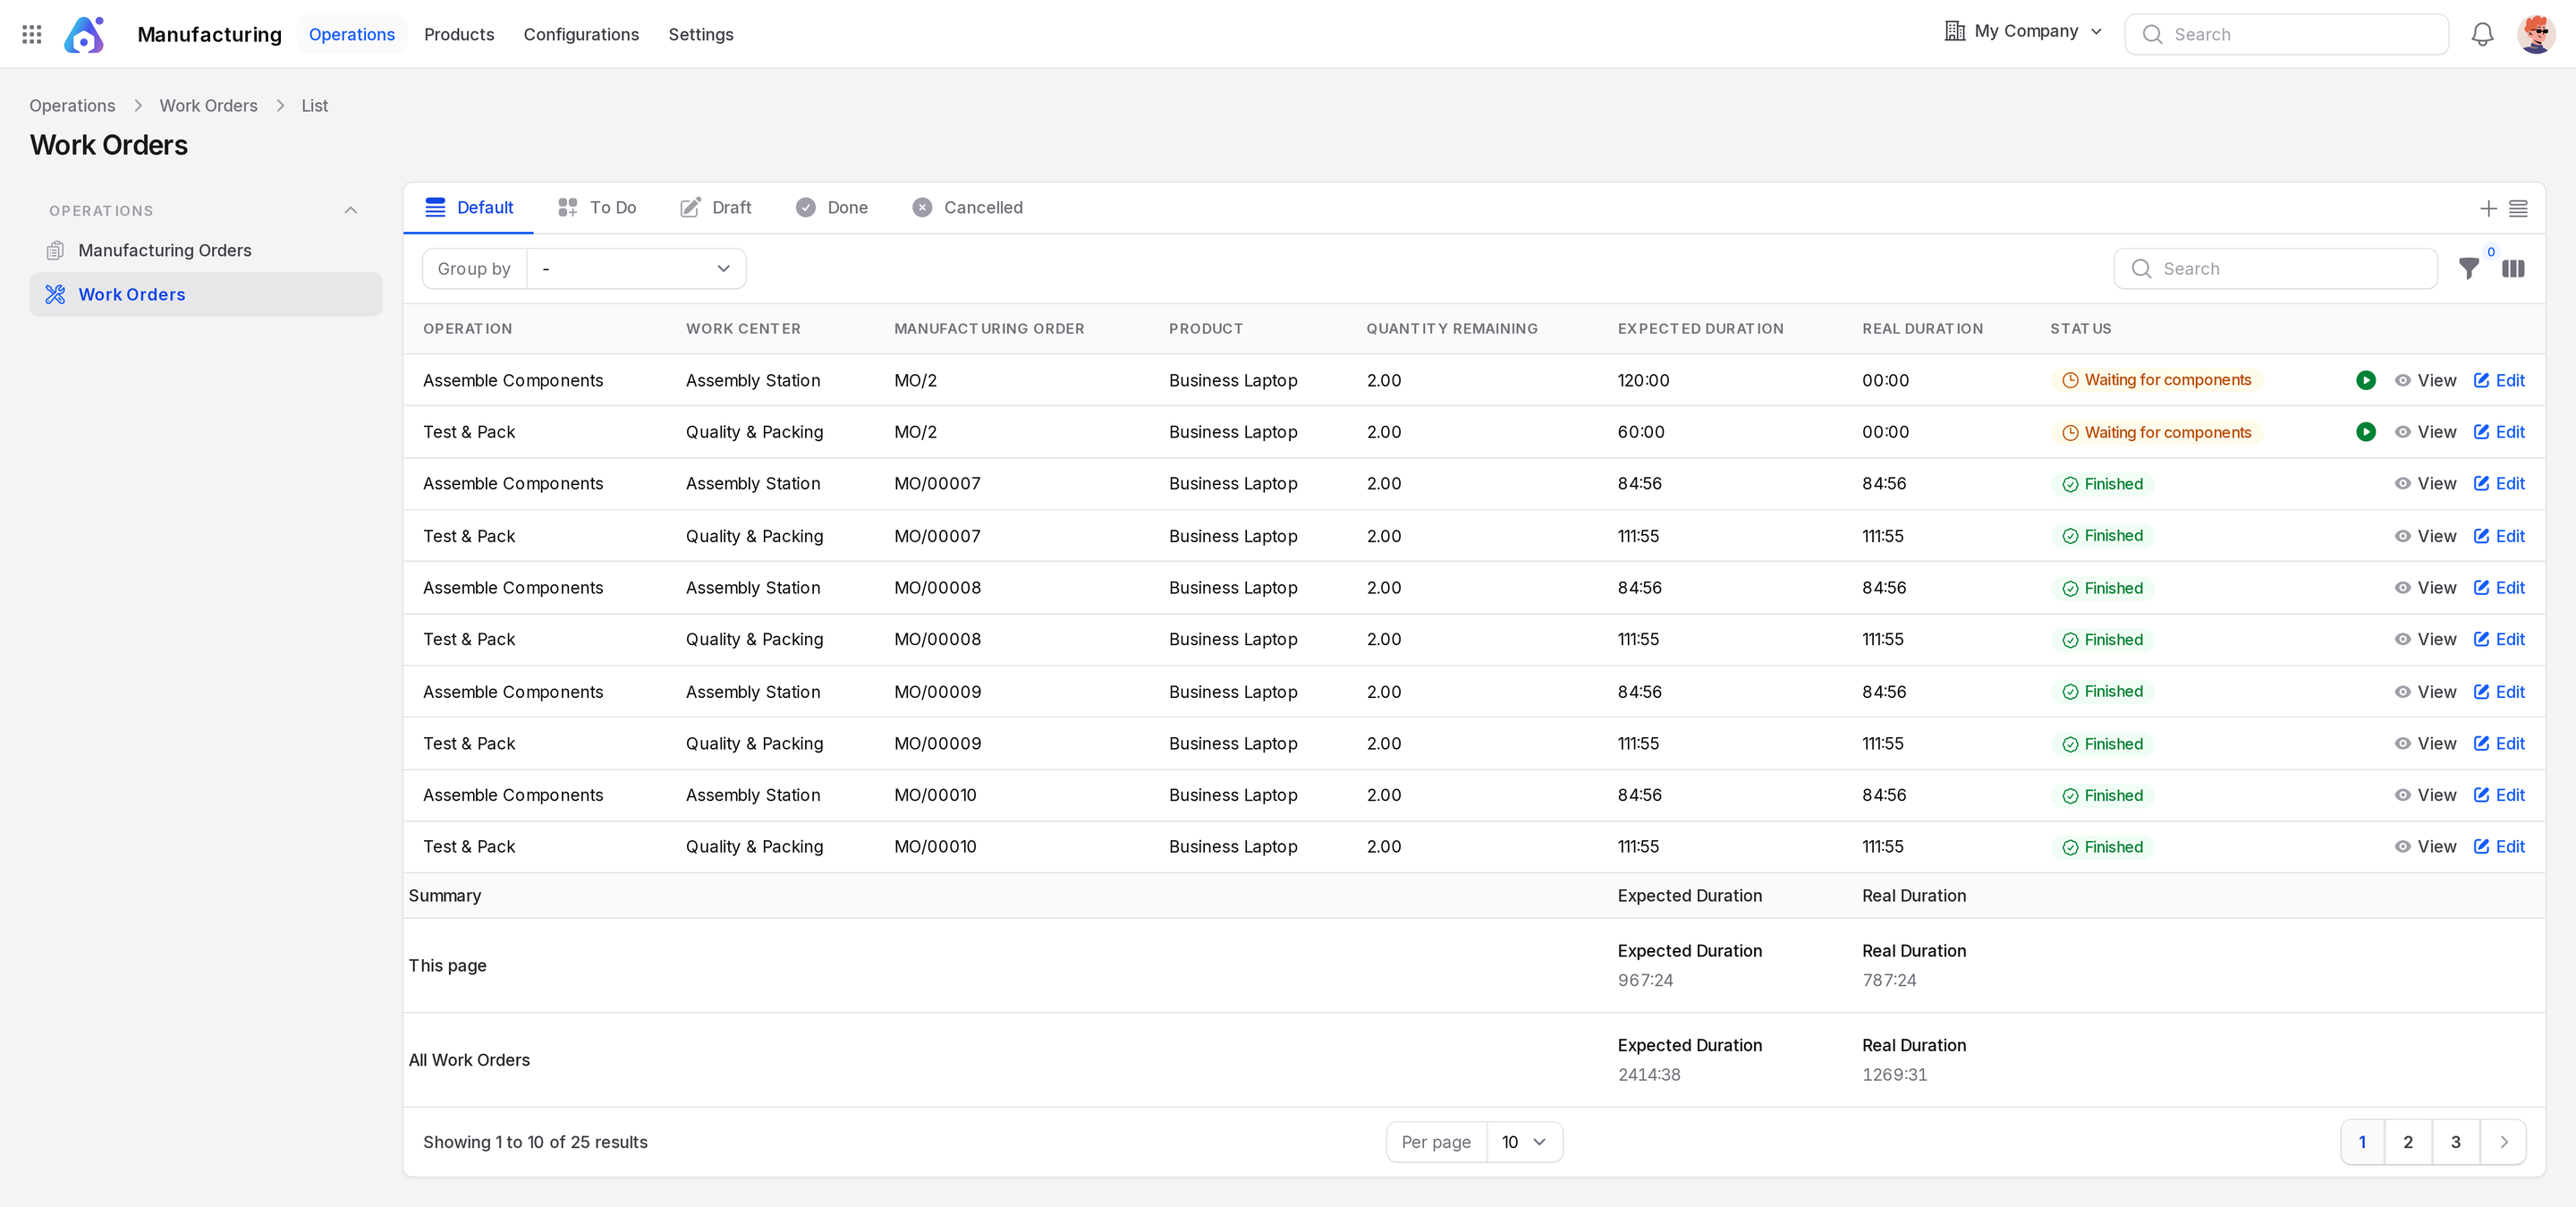
The order moves to In Progress after the first start. See Work orders.
Step 6: Produce
- Open the order and click Produce All.
- If a Consumption Warning appears, check the quantities and click Confirm.
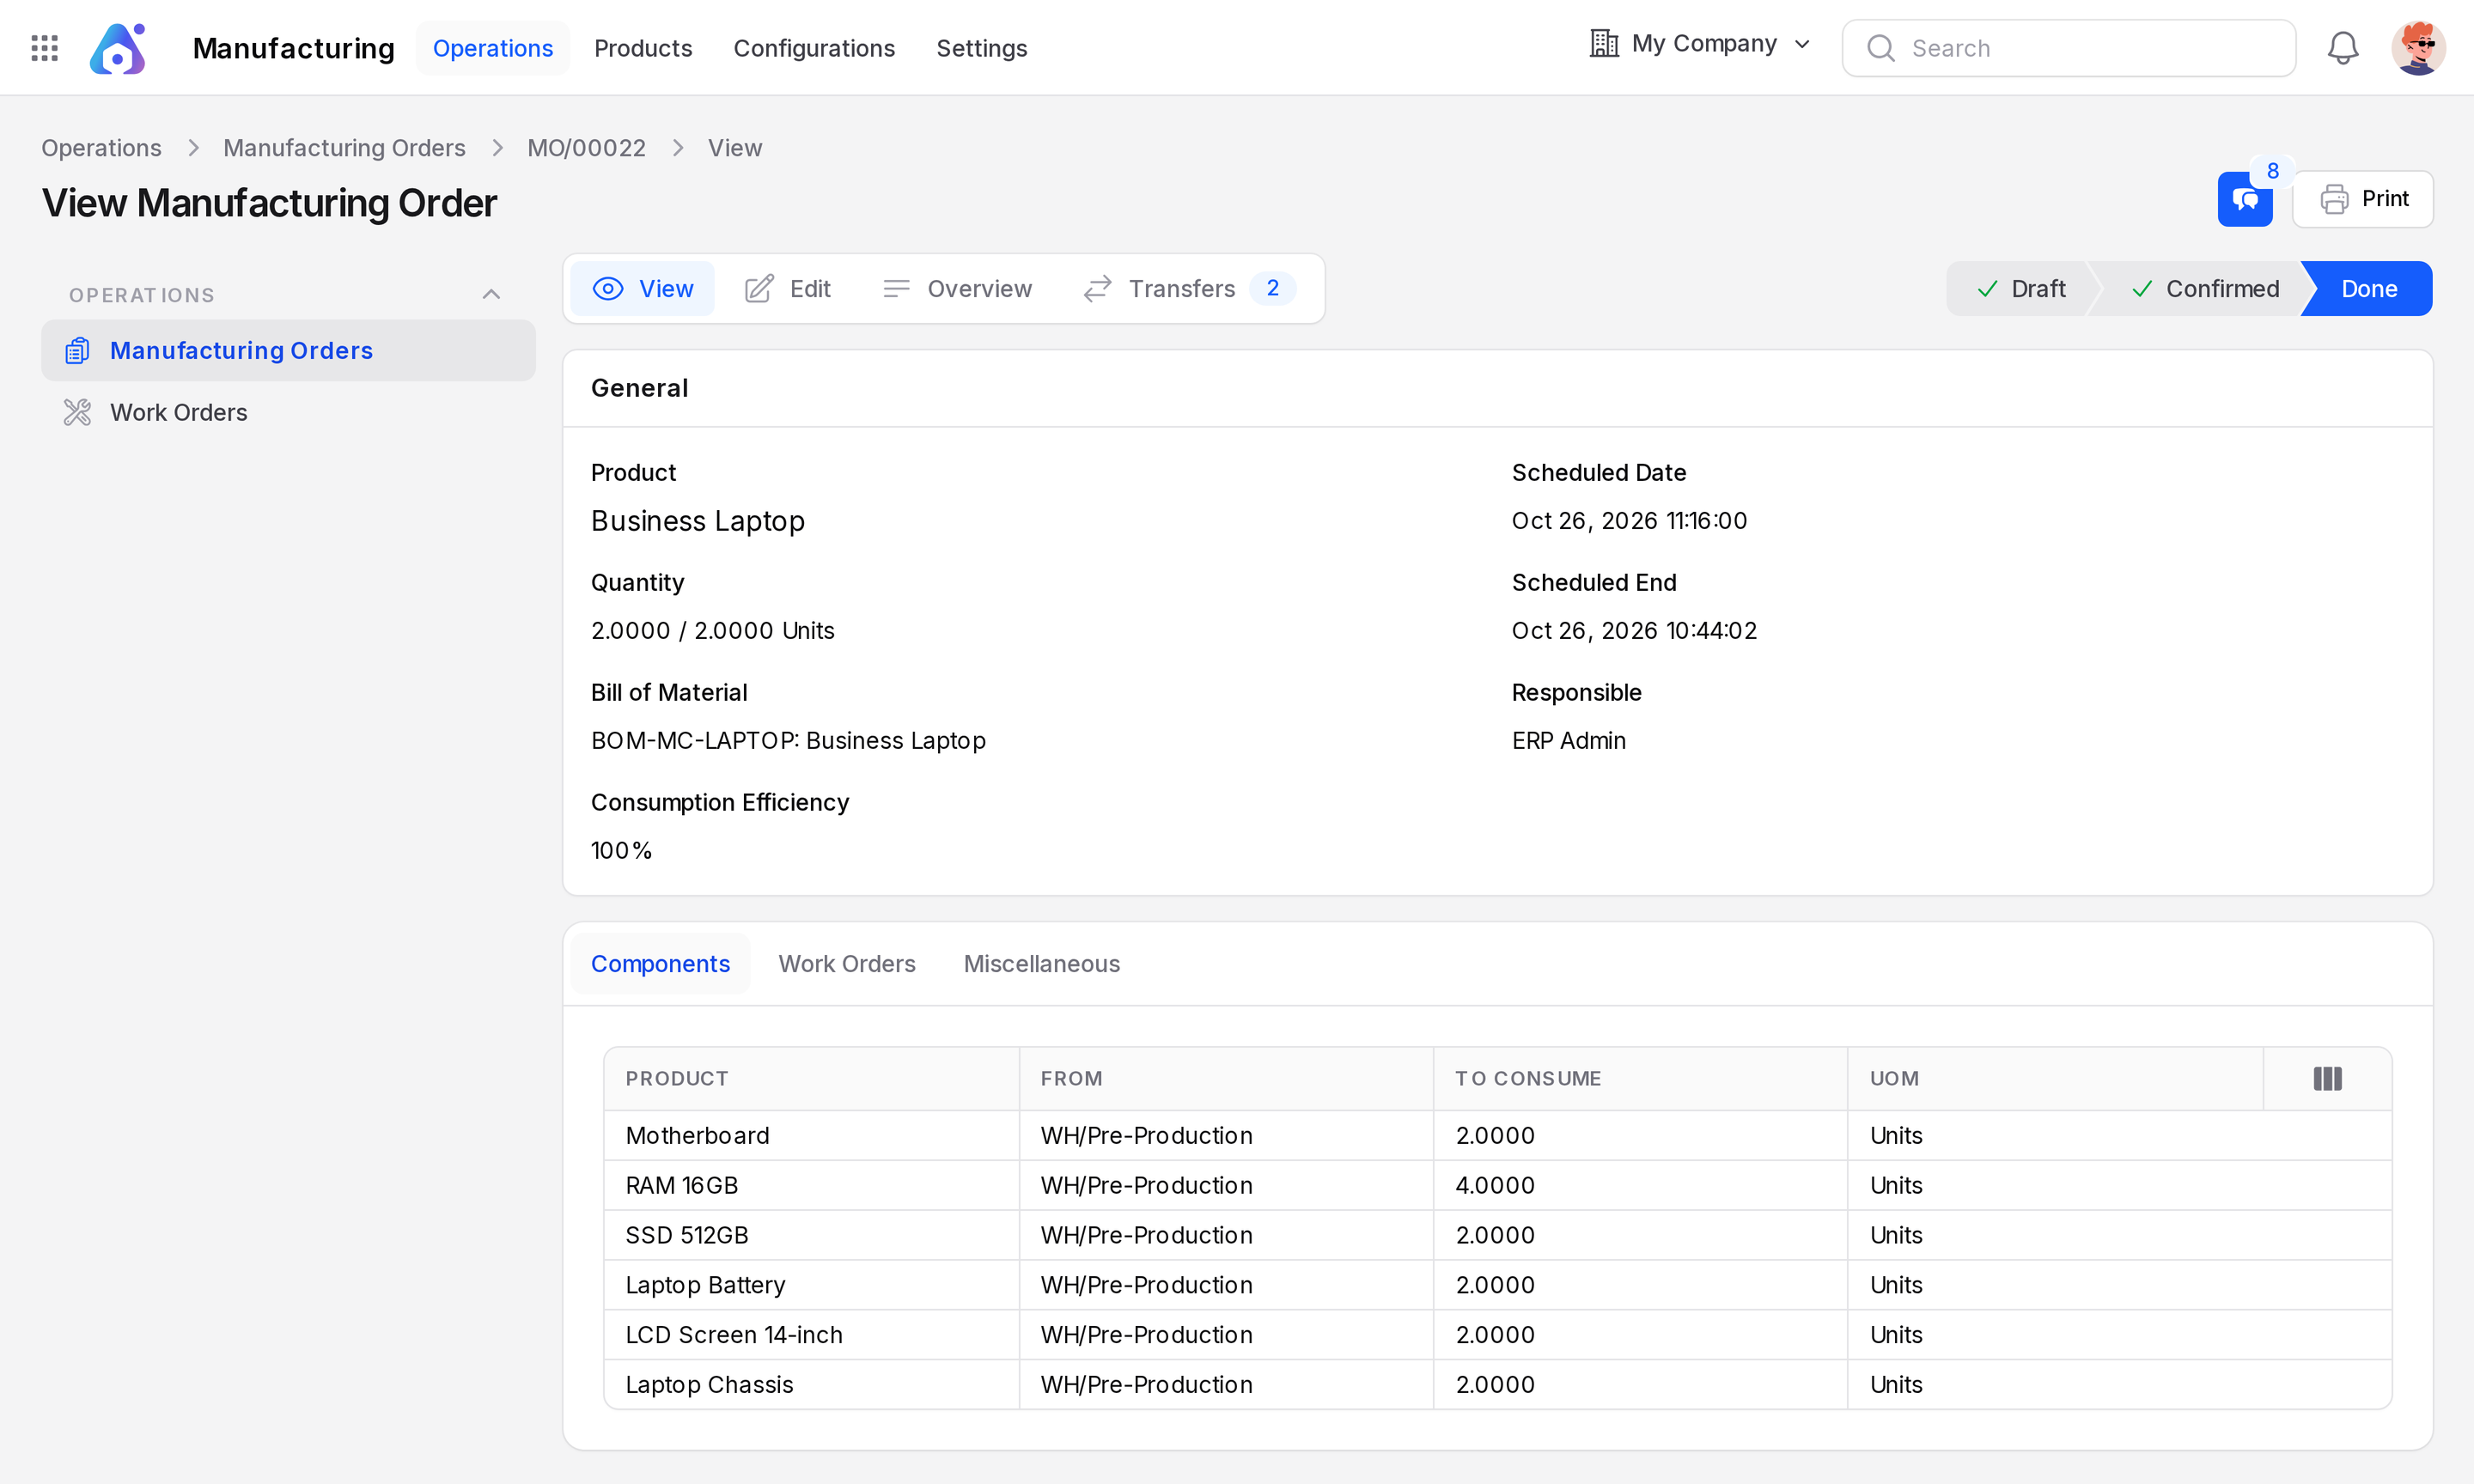
You see "Manufacturing order completed". The state becomes Done. Components are used up and 5 Business Laptops are in stock. See Produce and consume.
Behind the scenes
| Action | Effect |
|---|---|
| Confirm | Stock moves are created for each component. A pick transfer such as WH/PC/16 can appear |
| Plan | Work orders get dates from the work center Working Hours |
| Produce All | Components go from Stock through Pre-Production to Production. Finished goods enter stock |
What you learned
| Step | Result |
|---|---|
| Check BoM | You know the recipe |
| Create | Draft order MO/1 |
| Confirm | Confirmed, components reserved |
| Plan | Dates on work orders |
| Work | In Progress |
| Produce All | Done |