

Users
A user is a person who can sign in to Aureus ERP. Each user has a login, one or more roles, an optional set of teams and a list of companies they can work in. You manage users from the Users tab of the Settings app.
In simple words: A user is a login account. Roles and teams decide what that person can see and do.
Settings
Two options in Settings → Settings → General → Manage Users change what you see on this page.
- Enable User Invitation: Shows the Invite User button on the user list.
- Enable Reset Password: Shows the Change Password button on the edit page.
You must also set a Default Company on that page before you can send an invitation. See Manage users.
Overview
Open Settings → Users to see the list of users.
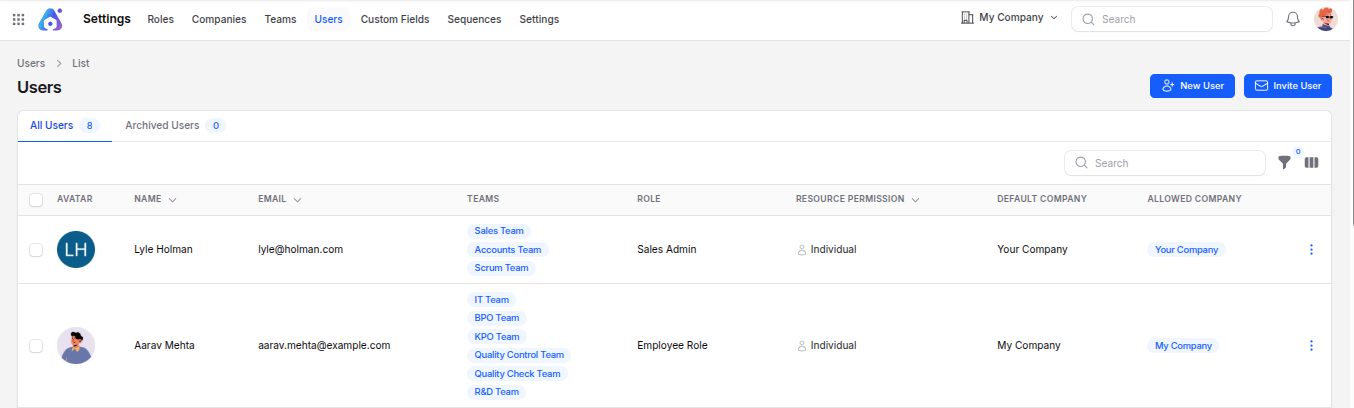
The list has two tabs:
- All Users: Active users, with a count badge.
- Archived Users: Deleted users that you can restore, with a count badge.
The list shows these columns:
- Avatar: The user's picture.
- Name: The user's full name.
- Email: The login email.
- Teams: The teams the user belongs to.
- Role: The roles assigned to the user.
- Resource Permission: The data access level of the user.
- Default Company: The company the user works in first.
- Allowed Company: All companies the user may open.
- Created By, Created At, Updated At: Hidden at first. Show them from the column menu.
Use the filters Resource Permission, Teams, Roles, Default Company and Allowed Companies to narrow the list. The newest users appear first.
Create a user
Go to
Settings → Users.Click New User.
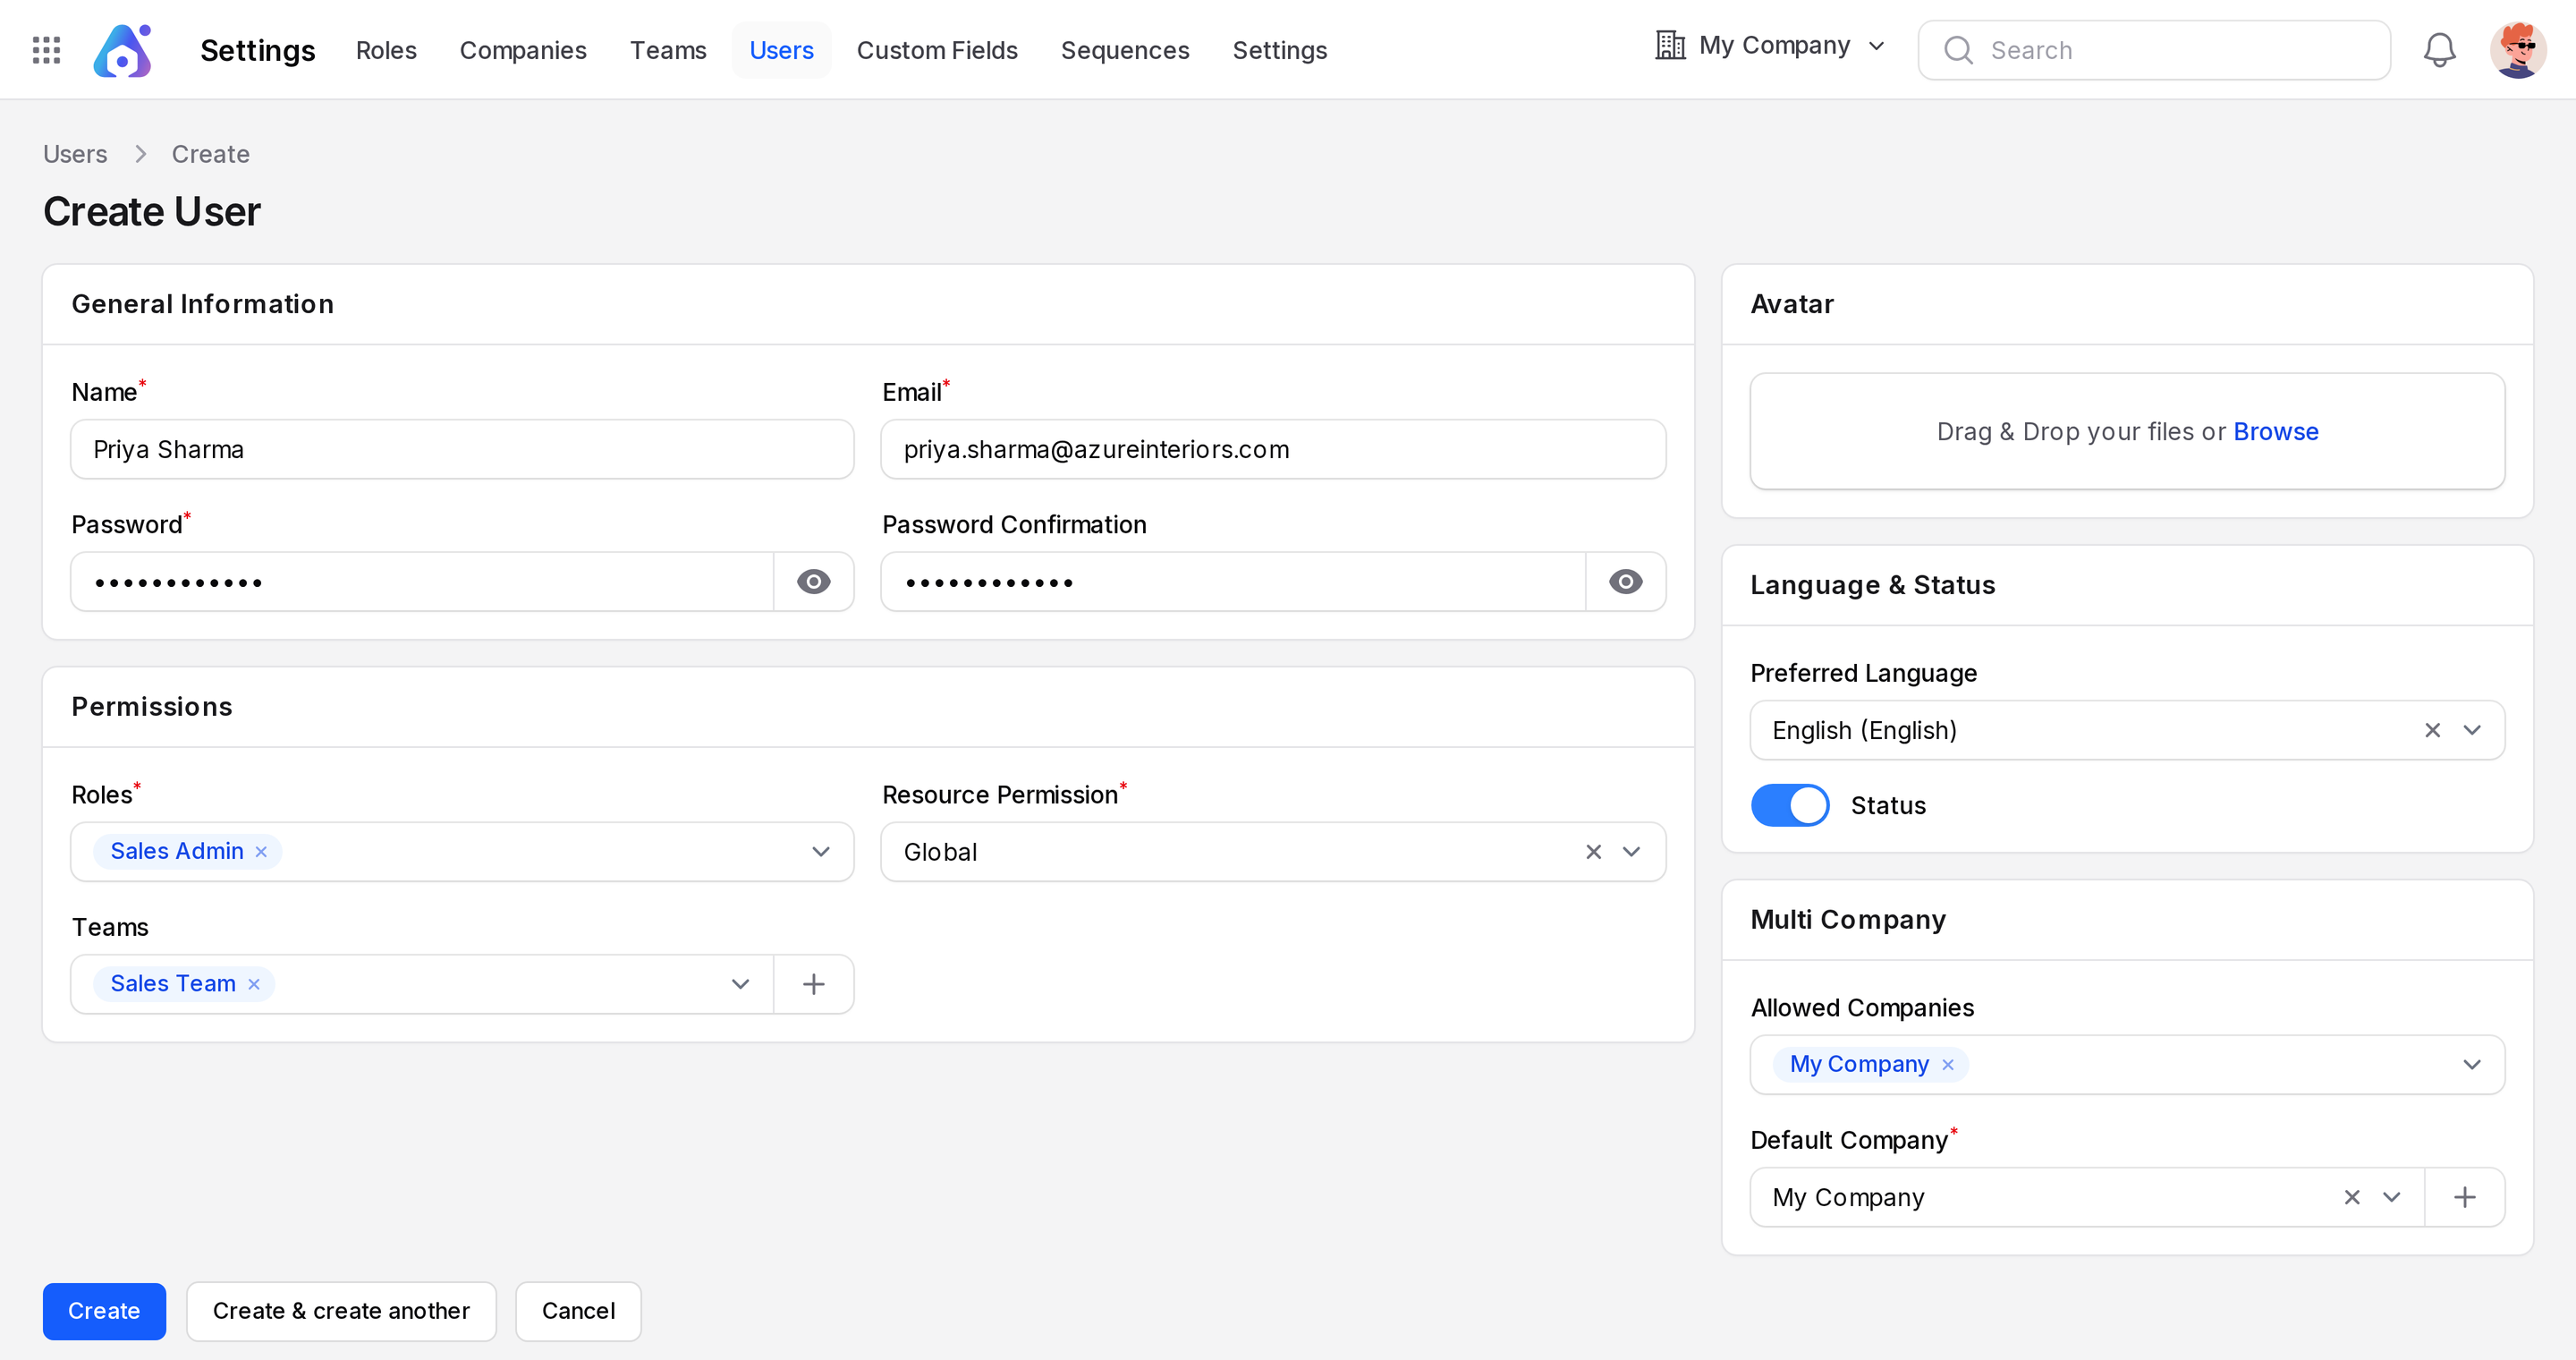
Fill in the form as described below.
Click Create. A User created message appears.
General Information
- Name: The user's full name. Required.
- Email: The login email. It must be unique. Required.
- Password: At least 8 characters. Required. You can reveal the text with the eye icon.
- Password Confirmation: Type the same password again.
INFO
The password fields show only when you create a user. To change a password later, see Change a password.
Permissions
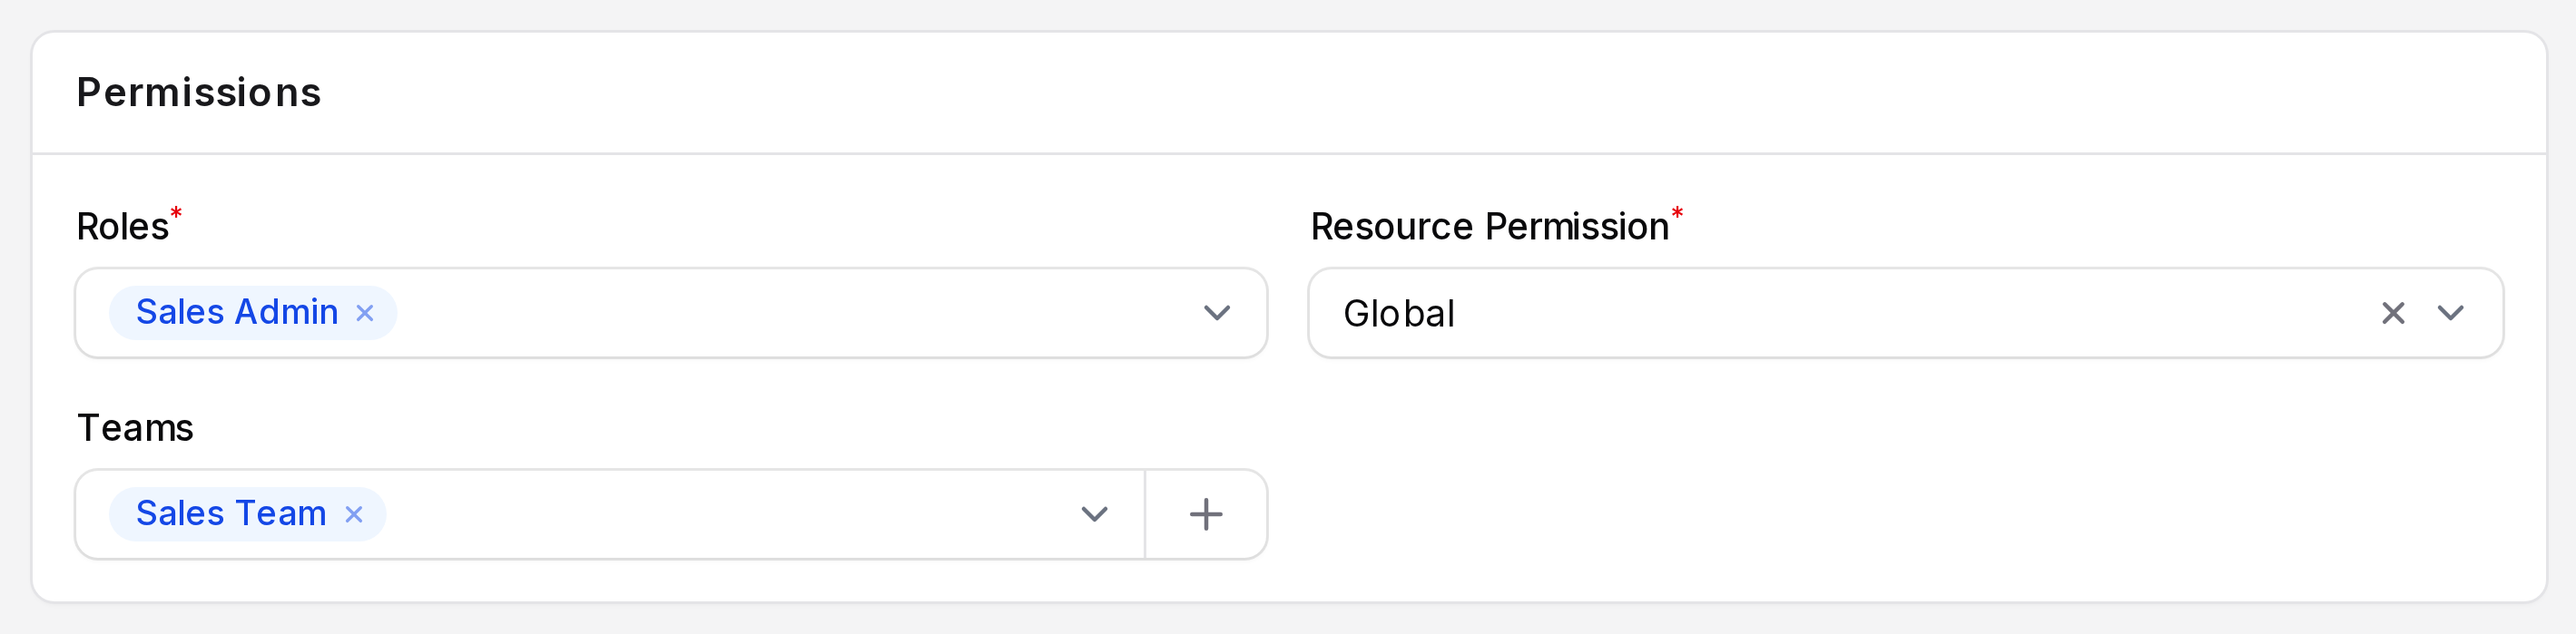
- Roles: Choose one or more roles. Required. See Roles.
- Resource Permission: Choose how much data the user can reach. Required. The options are Global, Group and Individual. The default is Global.
- Teams: Choose one or more teams. Required only when Resource Permission is Group. See Teams.
What each Resource Permission means:
- Global: The user can reach records of all users.
- Group: The user can reach their own records and records of users who share a team with them.
- Individual: The user can reach only their own records.
TIP
You can create a new team without leaving the form. Use the plus icon next to Teams.
Avatar
- Avatar: Upload a picture. You can crop it with the image editor.
Language & Status
- Preferred Language: The language of the interface for this user. It starts with the system language.
- Status: A switch that is on by default. It marks the user as active.
Multi Company
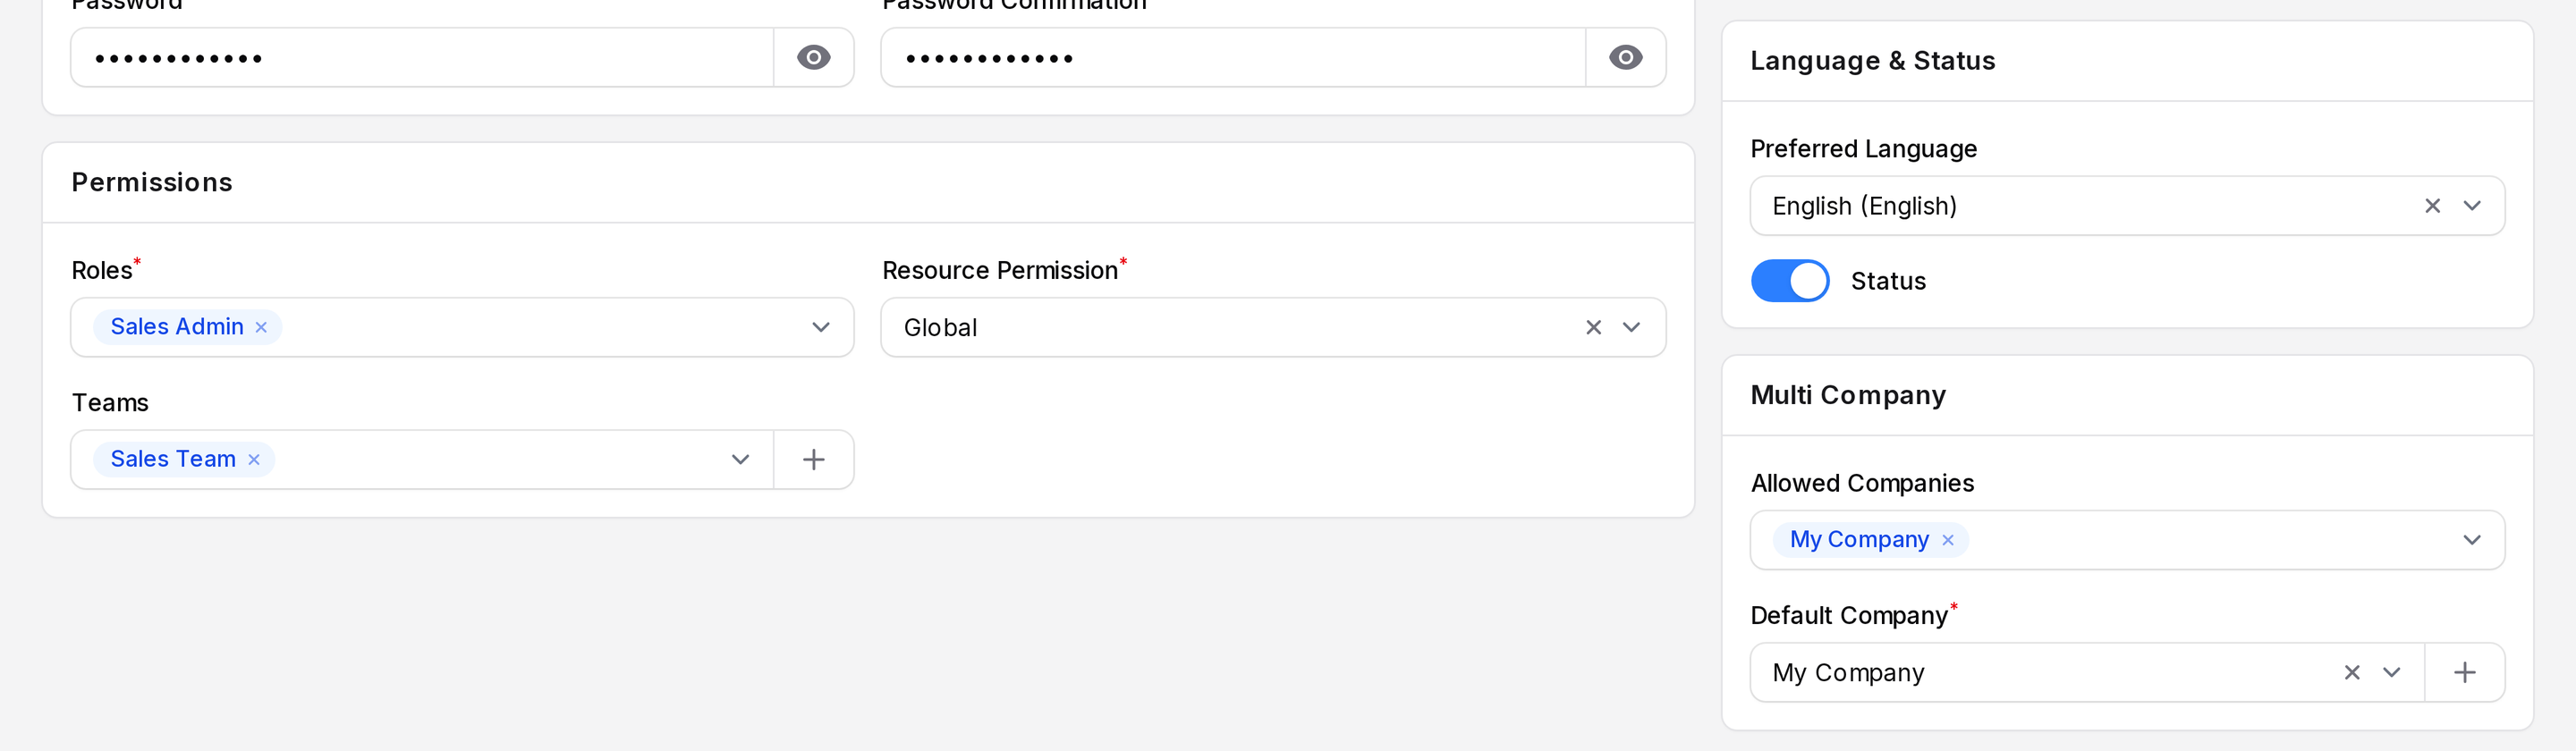
- Allowed Companies: Choose every company the user may work in. See Companies.
- Default Company: The company that opens first. Required. It must be one of the allowed companies.
WARNING
If the default company is not in Allowed Companies, the form shows an error and does not save.
Invite a user
Use an invitation when you want the person to choose their own password.
Go to
Settings → Users.Click Invite User.
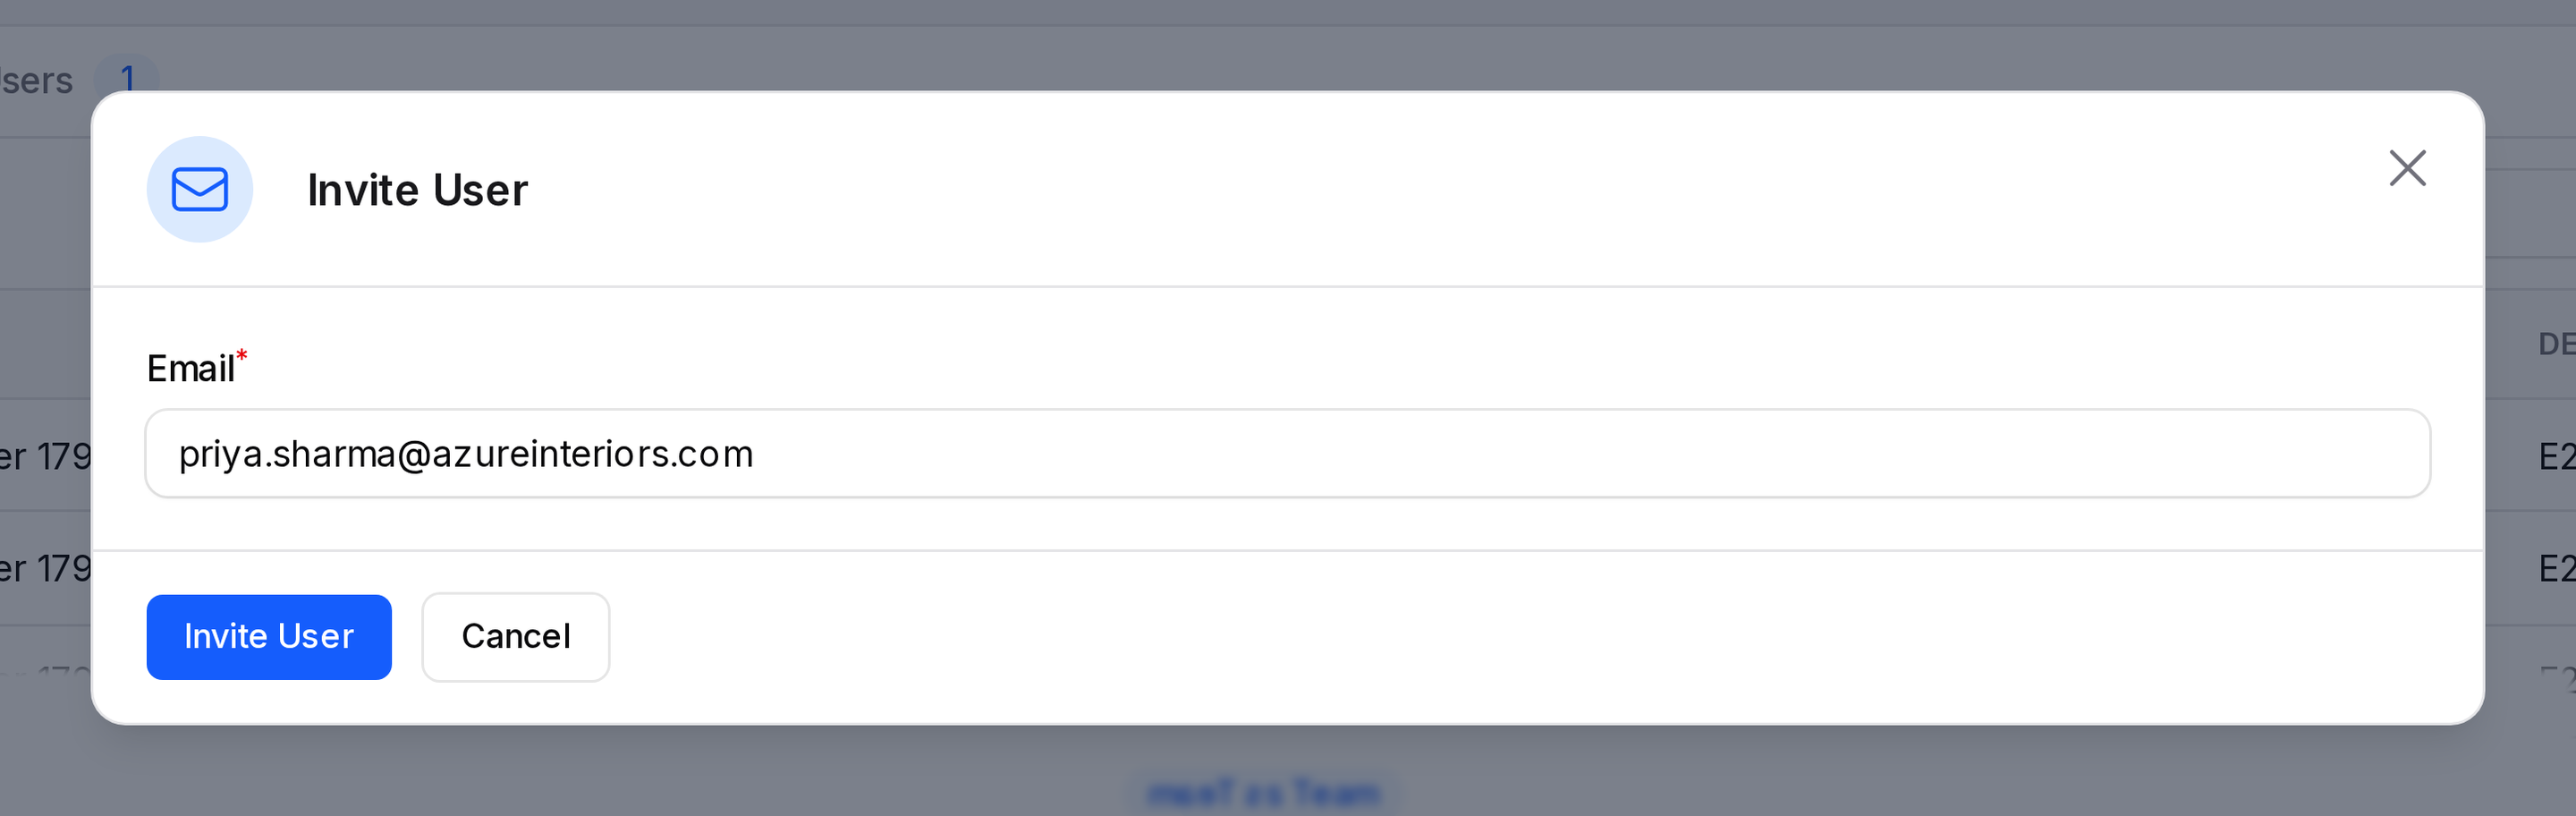
Enter the Email of the person.
Click Invite User.
A User invited message appears. The person gets an email, and on the sign-up page they enter their name and password. The page title there is Sign up.
WARNING
If you see Default Company Not Set, open Settings → Settings → General → Manage Users and choose a Default Company. Then invite again.
INFO
The Invite User button shows only when Enable User Invitation is on.
Edit a user
- Go to
Settings → Users. - Click the three dots on the row, then Edit.
- Change the fields. The form is the same as for a new user, without the password fields.
- Click Save changes. A User updated message appears.
WARNING
The system protects administrators. You cannot remove the admin role from the last admin. The first user must always keep an admin role.
INFO
You cannot change your own Resource Permission. Ask another administrator to do it.
Change a password
- Open the user in edit mode.
- Click Change Password at the top.
- Enter New Password and Confirm New Password.
- Confirm the form.
A Password changed message appears. The button shows only when Enable Reset Password is on.
Actions and statuses
Click the three dots on a row to open these actions:
- View: Opens a read-only page with the same sections as the form.
- Edit: Opens the edit form.
- Delete: Moves the user to Archived Users.
- Restore: Shown on archived users. Brings the user back.
For several users at once, tick the rows and use the bulk menu: Delete, Force delete and Restore. Force delete removes the user for good. It fails if the user is used in other records.
WARNING
You cannot delete a default user or yourself. The system shows User Cannot Be Deleted.
The Status switch controls whether the user is active. A deleted user appears only under Archived Users.
Your own profile
Every user edits their own photo, name, language and password on the Profile page. See Your profile.