

POS overview
Point of Sale has an admin side for managers and a terminal side for cashiers. This page is a map of both. You learn what each menu does, how retail and restaurant registers differ, and which numbers POS creates for sessions, orders and receipts.
In simple words: Managers set things up in the admin app. Cashiers sell on the terminal. Both read the same data.
The admin app
Open the Point of Sale app. The top menu has six entries.

Dashboard
The Dashboard shows one card for each register. A card tells you the register name, its type (restaurant or retail) and whether a session is open. Click Continue Selling to go back to an open session. Click Open Register to start a new one.
A second screen shows filters (Terminals, Date Range, Products, POS Categories, Salespersons, Customers), the figures Open Sessions, Orders, Revenue and Failed Operations, and a Top Products chart. See Dashboard.
Orders
The Orders menu groups five pages:
- Orders: Every POS order, with tabs Default, Settled, Ongoing and Refunds. See Orders.
- Sessions: Every shift, with tabs Default, Open, Closing Control and Closed. You can run Cash In/Out and Close Session here. See Sessions.
- Payments: Every payment taken at the till. See Payments.
- Preparation Printers: Printers that send kitchen or bar tickets. See Preparation printers.
- Customers: The people who bought at your registers. See Customers.
Products
The Products page lists items you can sell at the till. Tabs include Goods, Services, Favorites, Archived, Inventory Management, Components and POS. See Products.
Reporting
Reporting holds three reports: Orders, Sales Details and Session Report. See Reporting.
Configurations
Configurations is where you build the setup:
- Payment Methods, Coins/Bills, Point of Sale (your registers), Floors, Note Models.
- Taxes.
- Products: PoS Product Categories and Attributes.
Settings
Settings holds module-wide rules on three pages: Manage Accounts, Manage Products and Manage Inventory. See POS settings.
The cashier terminal
The terminal is a separate full-screen app with three pages in its top bar.
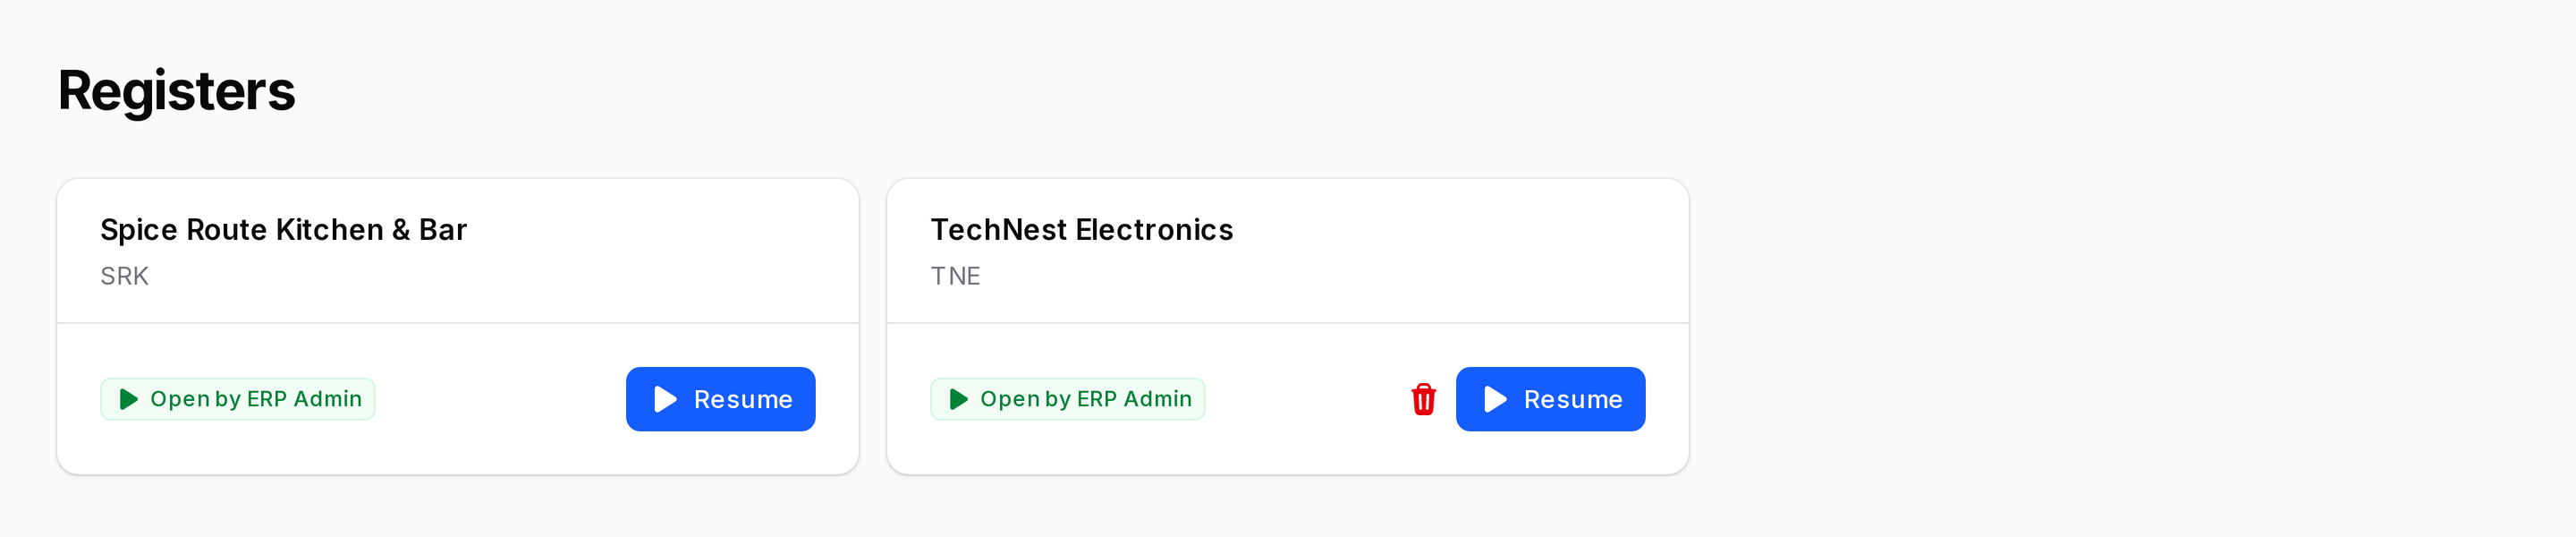
- Registers: Lists your registers. Each one shows its name, short code and state. Click Resume on an open register or Open register on a closed one.
- Home: The start page of one register. A restaurant register shows the floor plan.
- Orders: All active orders of this register, with their status. You refund, invoice and reprint receipts here.
Retail and restaurant mode
Each register is either retail or restaurant. You choose this with the Is a Bar/Restaurant toggle on the register form.
| Retail | Restaurant | |
|---|---|---|
| Example | TechNest Electronics | Spice Route Kitchen & Bar |
| Start screen | Order screen with product grid | Floor plan with tables |
| Tables | No | Yes, grouped by floor |
| Split bill, early receipt, eat in or take out | No | Optional |
| Actions button | Cancel order | Guests, Transfer / Merge, Cancel order |
See Set up a register for each option.
Numbers POS creates
POS numbers things for you.
- Short code: The prefix you type on the register form, for example TNE.
- Session number: Short code plus
SESSIONplus five digits, such asTNE/SESSION/00002. - Order number: Short code plus five digits, such as
TNE/00001. A refund order shows the original number with REFUND. - Receipt number: Three groups, such as
00004-009-0001. They are the register number, the session number and the order number inside that session. - Tracking number: A short number on the order. Cashiers use it to call out an order.
TIP
Search orders on the terminal by order number, receipt number or customer name.