

Point of Sale
Point of Sale (POS) is the module you use at the till. It lets a cashier ring up a sale, take payment, print a receipt and close the day with a cash count. Every sale feeds your stock and your accounts, so the shop and the back office always agree. Use it for a retail shop, a café or a full restaurant with tables.
In simple words: POS is your cash register. You set it up once, open it each day, sell, and close it at night.
Words used in this guide
| Word | Meaning |
|---|---|
| Point of Sale (POS) | The module as a whole. |
| Register | One till, with its own rules. Also called a terminal. |
| Session | One shift of selling on a register. |
| Cashier terminal | The till screen where the cashier sells. |
Amounts in this guide have no currency sign. They use the register currency.
The two parts of POS
POS has two screens that work together.
- The admin app. Open the Point of Sale app from the main menu. Here you set up registers, payment methods, floors and prices. You also watch sessions, orders, payments and reports.
- The cashier terminal. This is the till screen. It has its own pages: Registers, Home and Orders. Cashiers add products, pick customers, take payments and print receipts here.
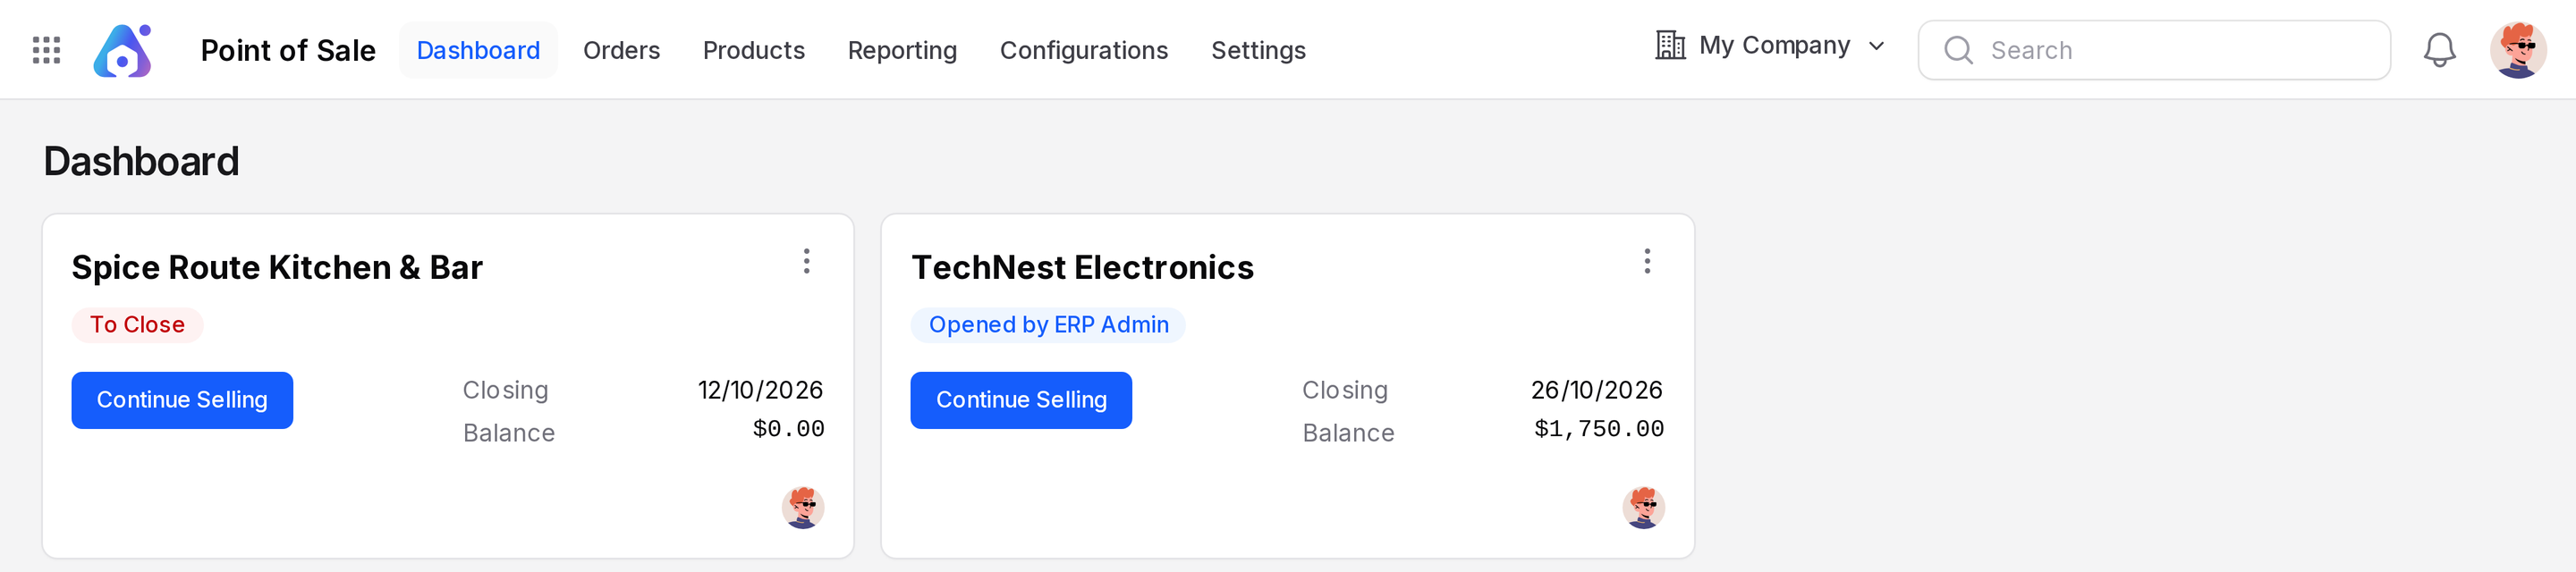
You open the terminal from the admin Dashboard. Click Open Register on a closed register, or Continue Selling on an open one.
The full flow
Follow these stages in order. Each one has its own page.
- Set up a register. First create payment methods and coins and bills, and make your products available. See Payments setup and Products and pricing. Then create the register, choose its payment methods, journals, prices and receipt text. See Set up a register.
- Open a session. A session is one shift of selling. Count the cash in the drawer and start. See Open a register.
- Sell. Add products to an order, pick a customer, add notes. In a restaurant, start from a table. See Take an order.
- Pay and print the receipt. Choose a payment method, enter the amount and validate. See Pay and receipt.
- Refund or invoice. Return products from a paid order, or create a customer invoice for it. See Refunds and Invoice a POS order.
- Move cash in or out. Record money put into or taken out of the drawer during the shift. See Cash in and out.
- Close the session. Count the cash, compare it with the expected balance and post the entries. See Close a session.
- Check reports. Review orders, sales details and sessions. See Reporting.
What the groups contain
| Group | What you find there |
|---|---|
| Get started | Tour of the module, register set-up, module settings |
| Sessions | Open, cash in and out, close |
| Selling | The terminal, orders, tables, payment, refunds, invoices |
| Orders and payments | Admin lists of orders, payments and customers |
| Products and pricing | Products, POS categories, attributes, prices and taxes |
| Payments setup | Payment methods, coins and bills, preparation printers |
| Reporting | Dashboard and the three reports |
Example used in this guide
The pages use two sample shops.
- TechNest Electronics (short code TNE) is a retail shop. It sells items such as the Glide Wireless Mouse and BudsAir Wireless Earbuds to customers like Sofia Rossi and Tom Baker.
- Spice Route Kitchen & Bar (short code SRK) is a restaurant. It has two floors, Ground Floor and Rooftop Lounge, with tables T1 to T8.
TIP
New to POS? Read POS overview first, then Set up a register.