

Branding
The Branding page lets you replace the default logos, favicon and theme colors. The changes apply across the admin and customer panels. Use it to make the application match your company identity.
In simple words: Upload your logo and pick your colors, and the application looks like yours.
Open the page
- Go to
Settings → Settings. - In the left menu, under General, click Branding.
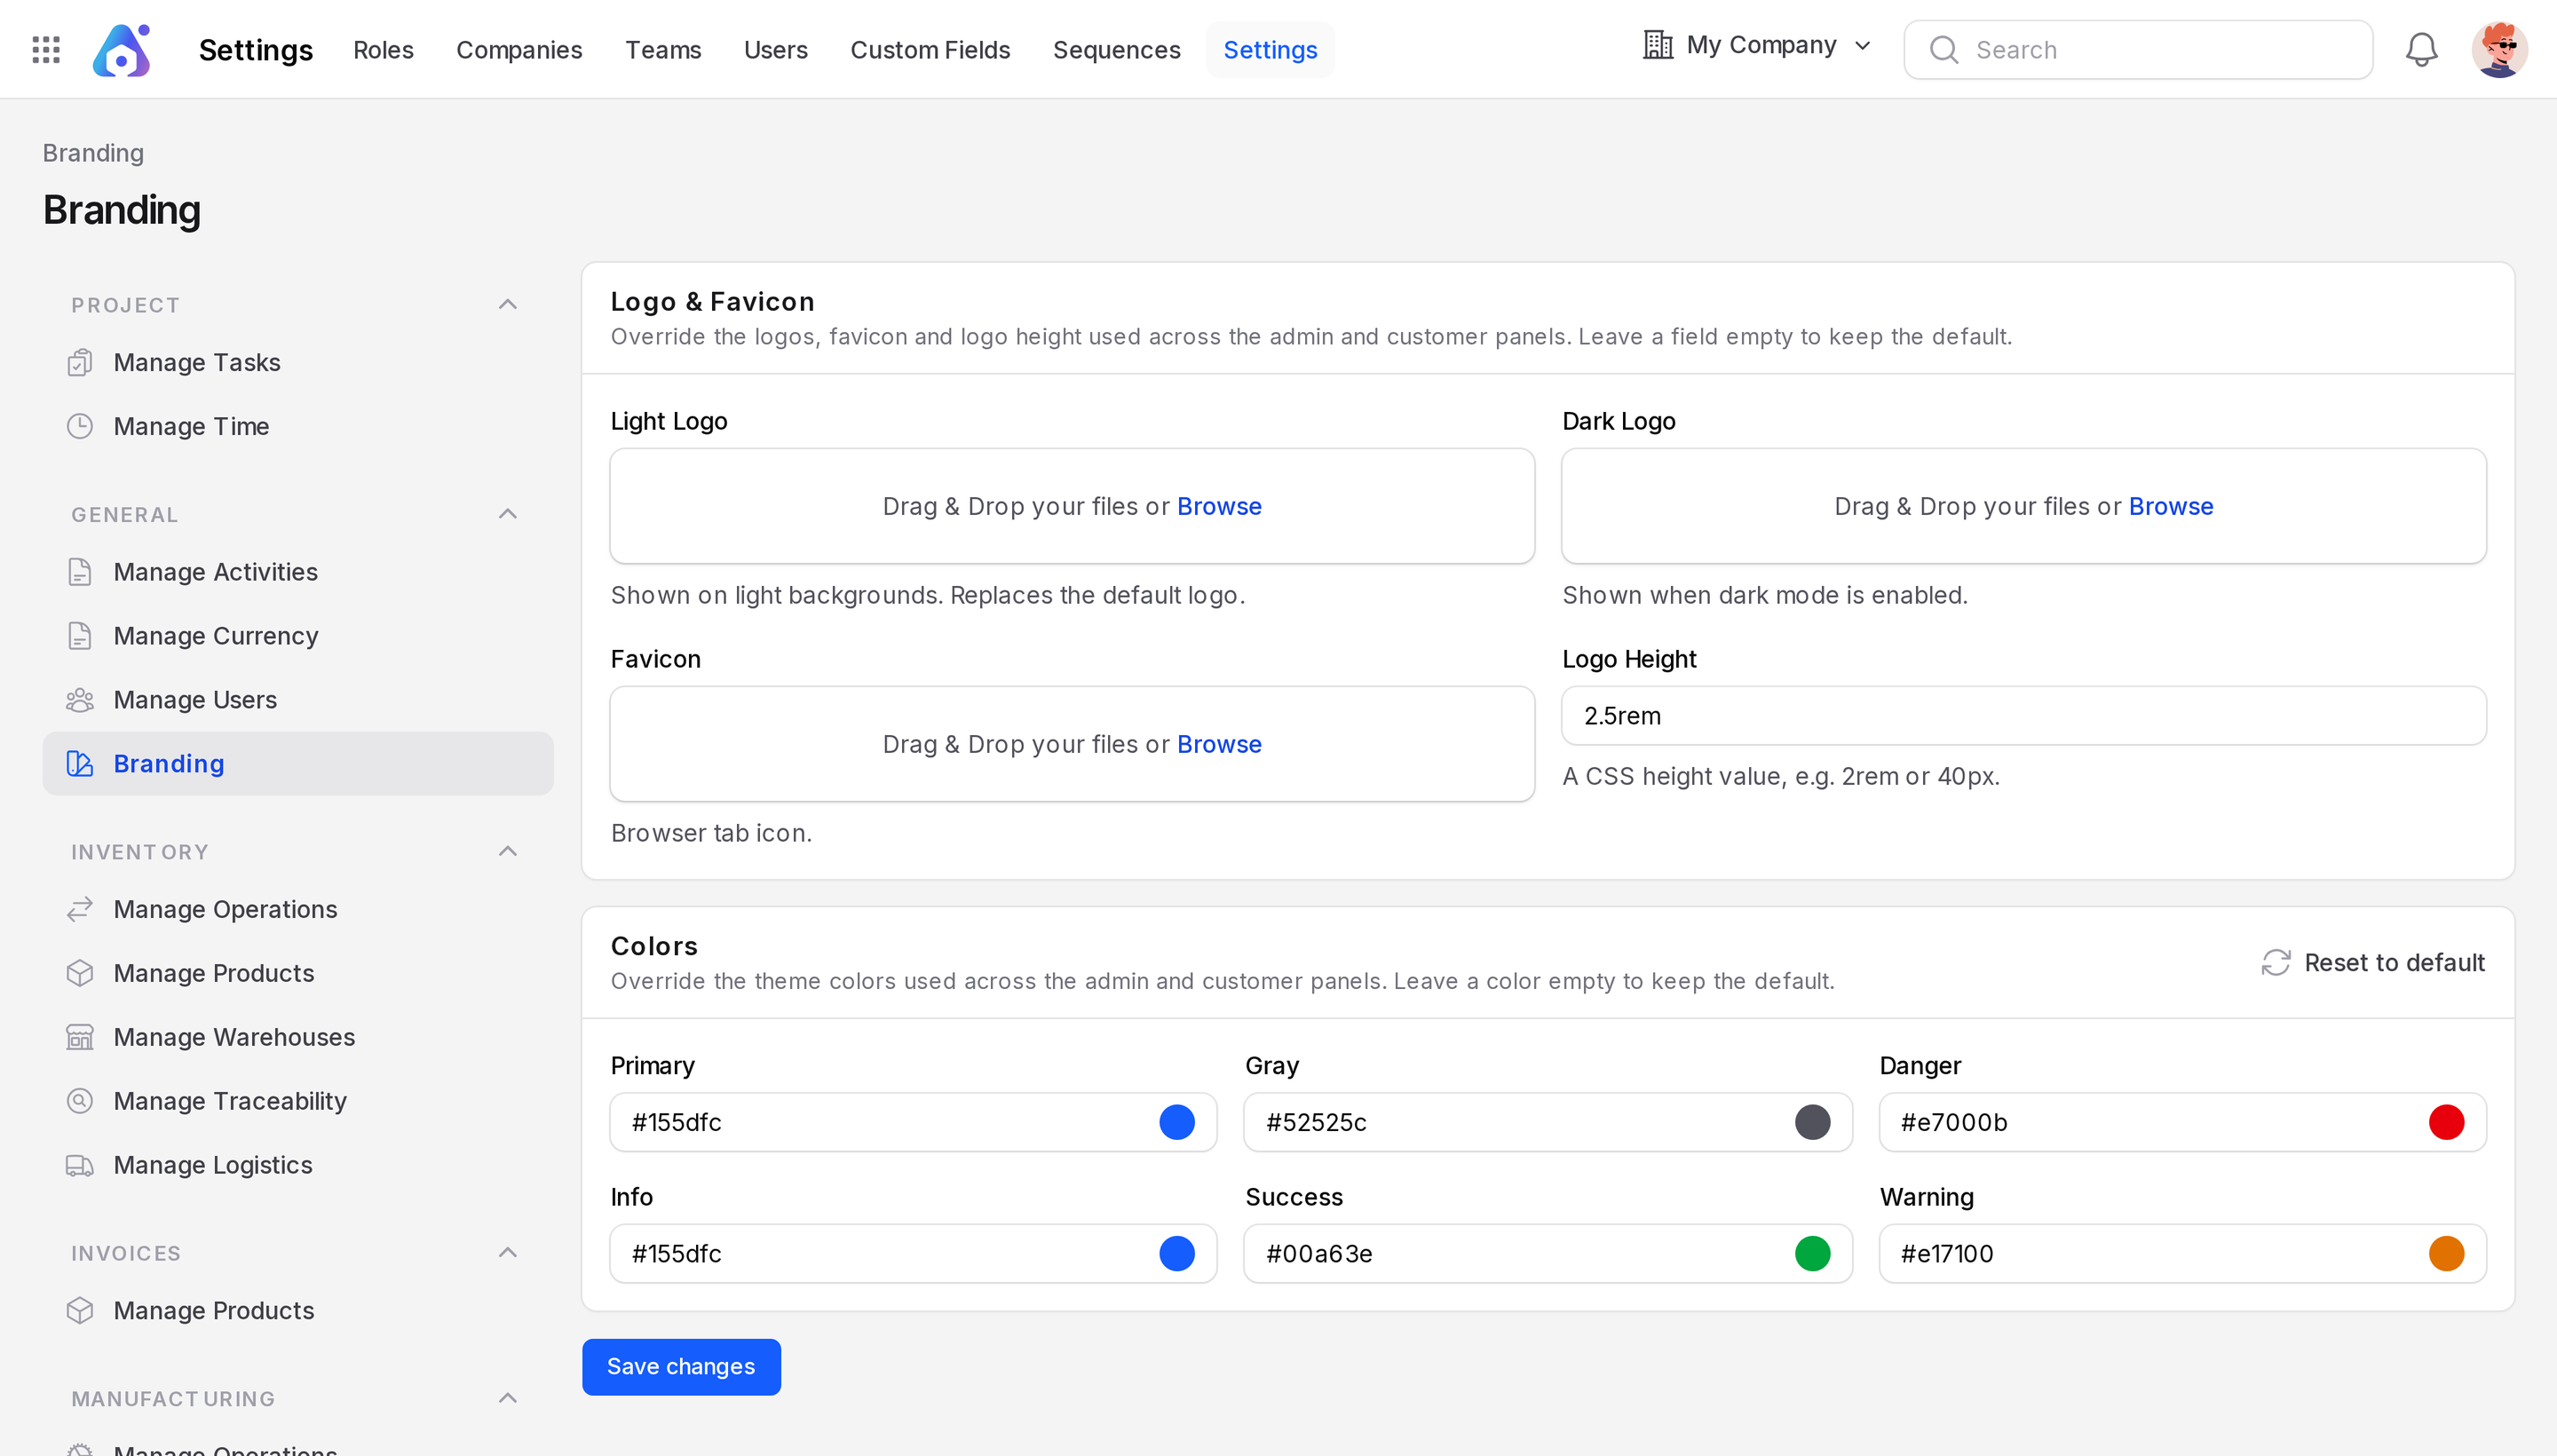
Change logos and favicon
The Logo & Favicon section has these fields. Leave a field empty to keep the default.
- Light Logo: Shown on light backgrounds. It replaces the default logo.
- Dark Logo: Shown when dark mode is on.
- Favicon: The icon in the browser tab.
- Logo Height: A size such as
40px. A larger number makes the logo taller.
Each upload accepts image files only.
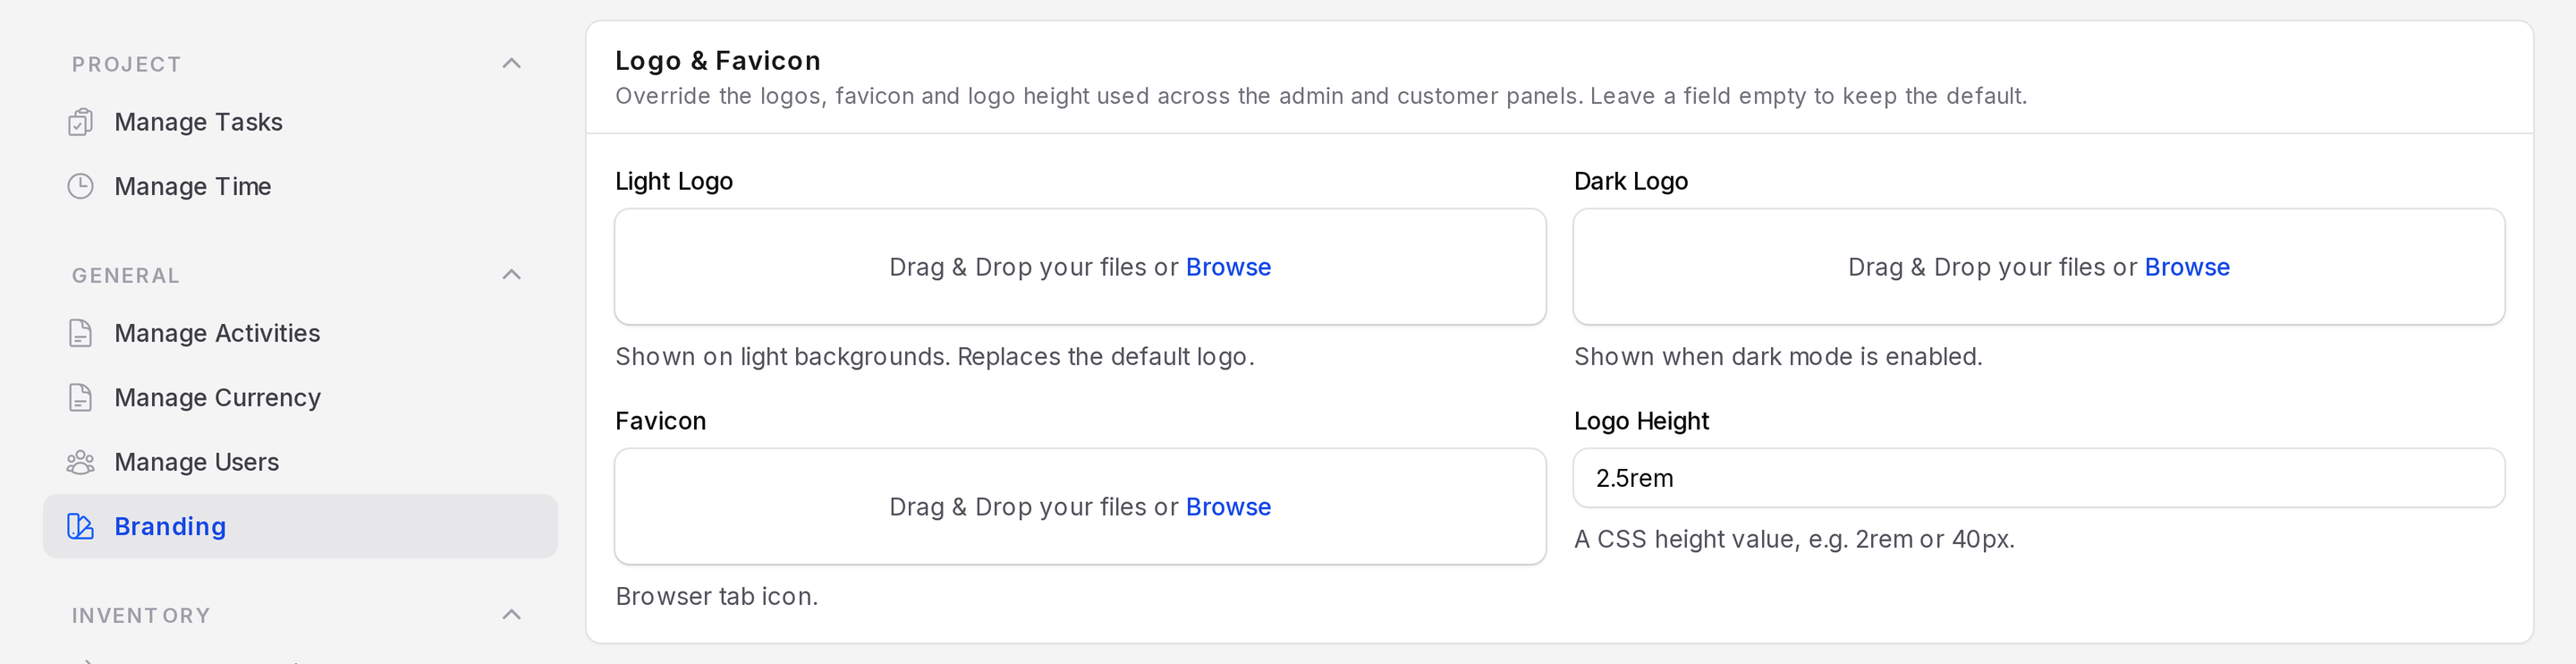
Change colors
The Colors section has six color pickers. Leave one empty to keep the default.
- Primary: The main color. Default is a blue.
- Gray: Neutral tones. Default is a zinc gray.
- Danger: Errors and delete actions. Default is red.
- Info: Information messages. Default is blue.
- Success: Success messages. Default is green.
- Warning: Warnings. Default is amber.
Enter the color as a hex code, for example #2563eb, or use the picker.

To go back to the default colors, click Reset to default in the section header. Confirm the prompt. Then click Save changes.
INFO
Reset to default fills in the default colors. They are not stored until you click Save changes. It does not reset the logos.
Save
Click Save changes to apply your branding.