

Process an applicant
The applicant page is where you do the hiring work. You move the person through stages, rate them, assign people to the application, record salary and notes, and finally hire them. Everything happens on one page, in the View Applicant and Edit Applicant modes.
In simple words: Open the applicant, fill in the details, click the stages as the person progresses, and create the employee when they sign.
Open Recruitments → Applications → Applicants and click an applicant. View shows the record. Click Edit to change it, then Save changes.
Before you start
- The applicant exists. See Add an applicant.
- The job position, stages, tags and degrees and sources and mediums you want to choose are created.
Worked example
Rahul Verma applies for Warehouse Supervisor. You follow him from New to hired.
Details you fill in
- Open Rahul's applicant page in edit mode. The stage bar shows the current stage in blue.
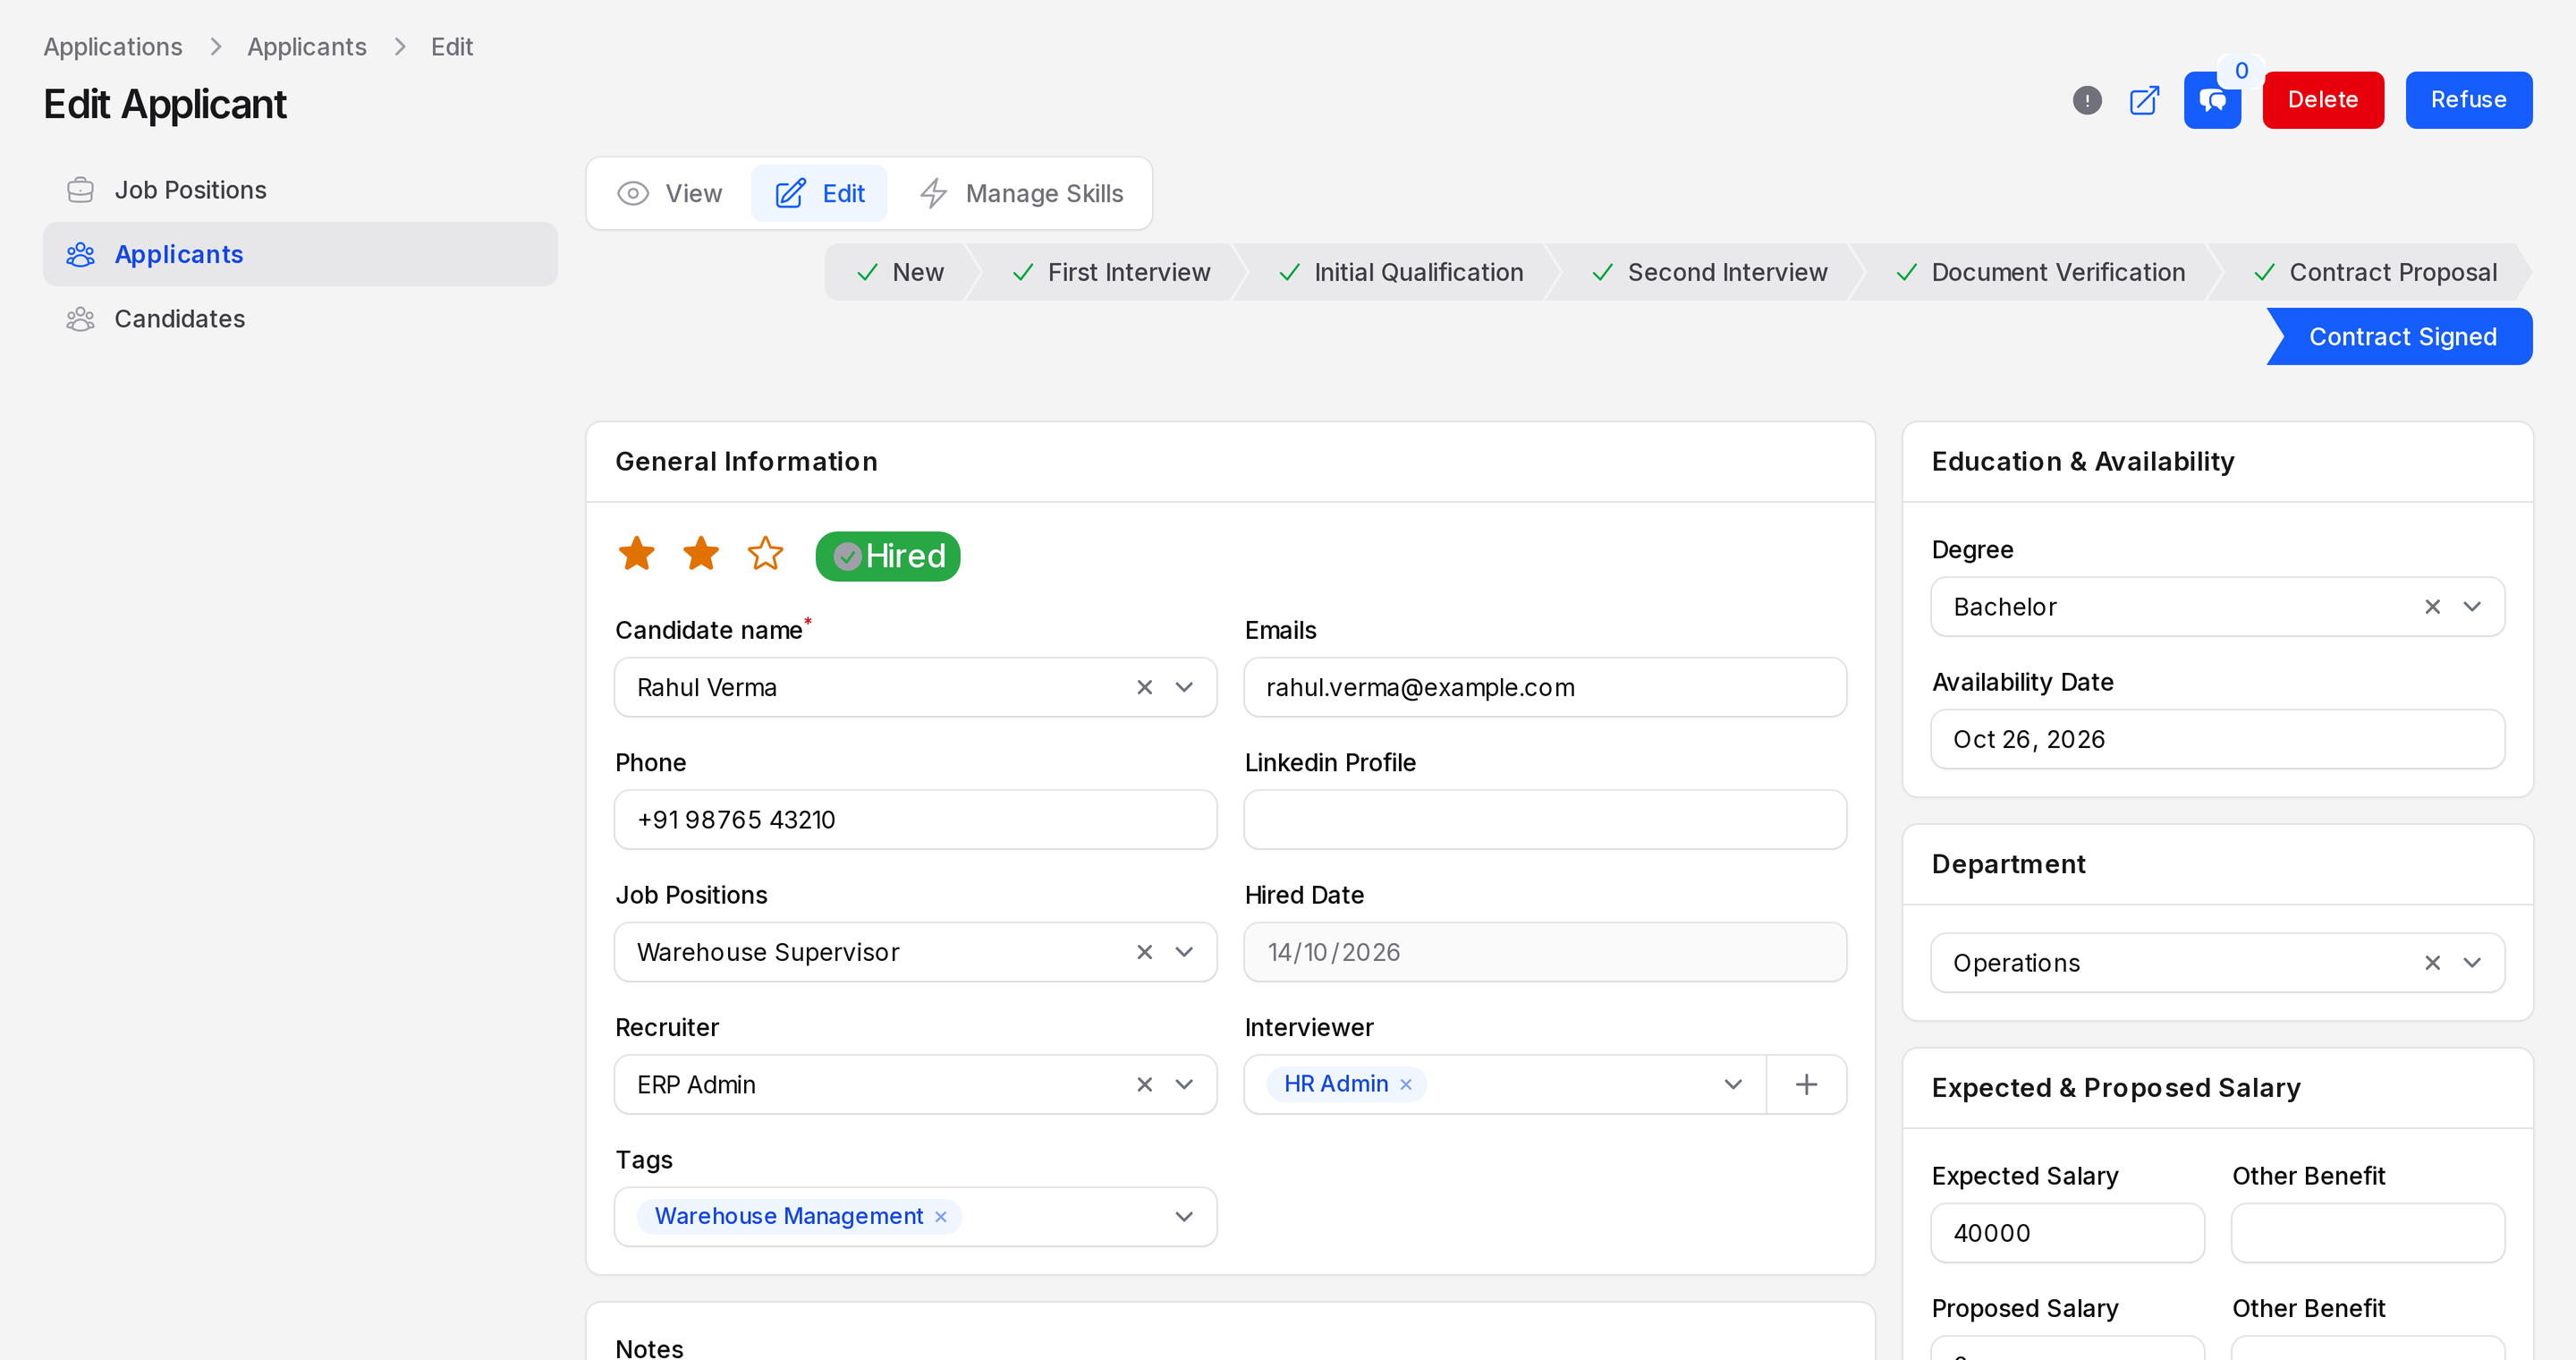
- In General Information, choose Warehouse Supervisor in Job Positions.
- Set Recruiter to ERP Admin. Add one or more Tags. You can also pick an Interviewer.
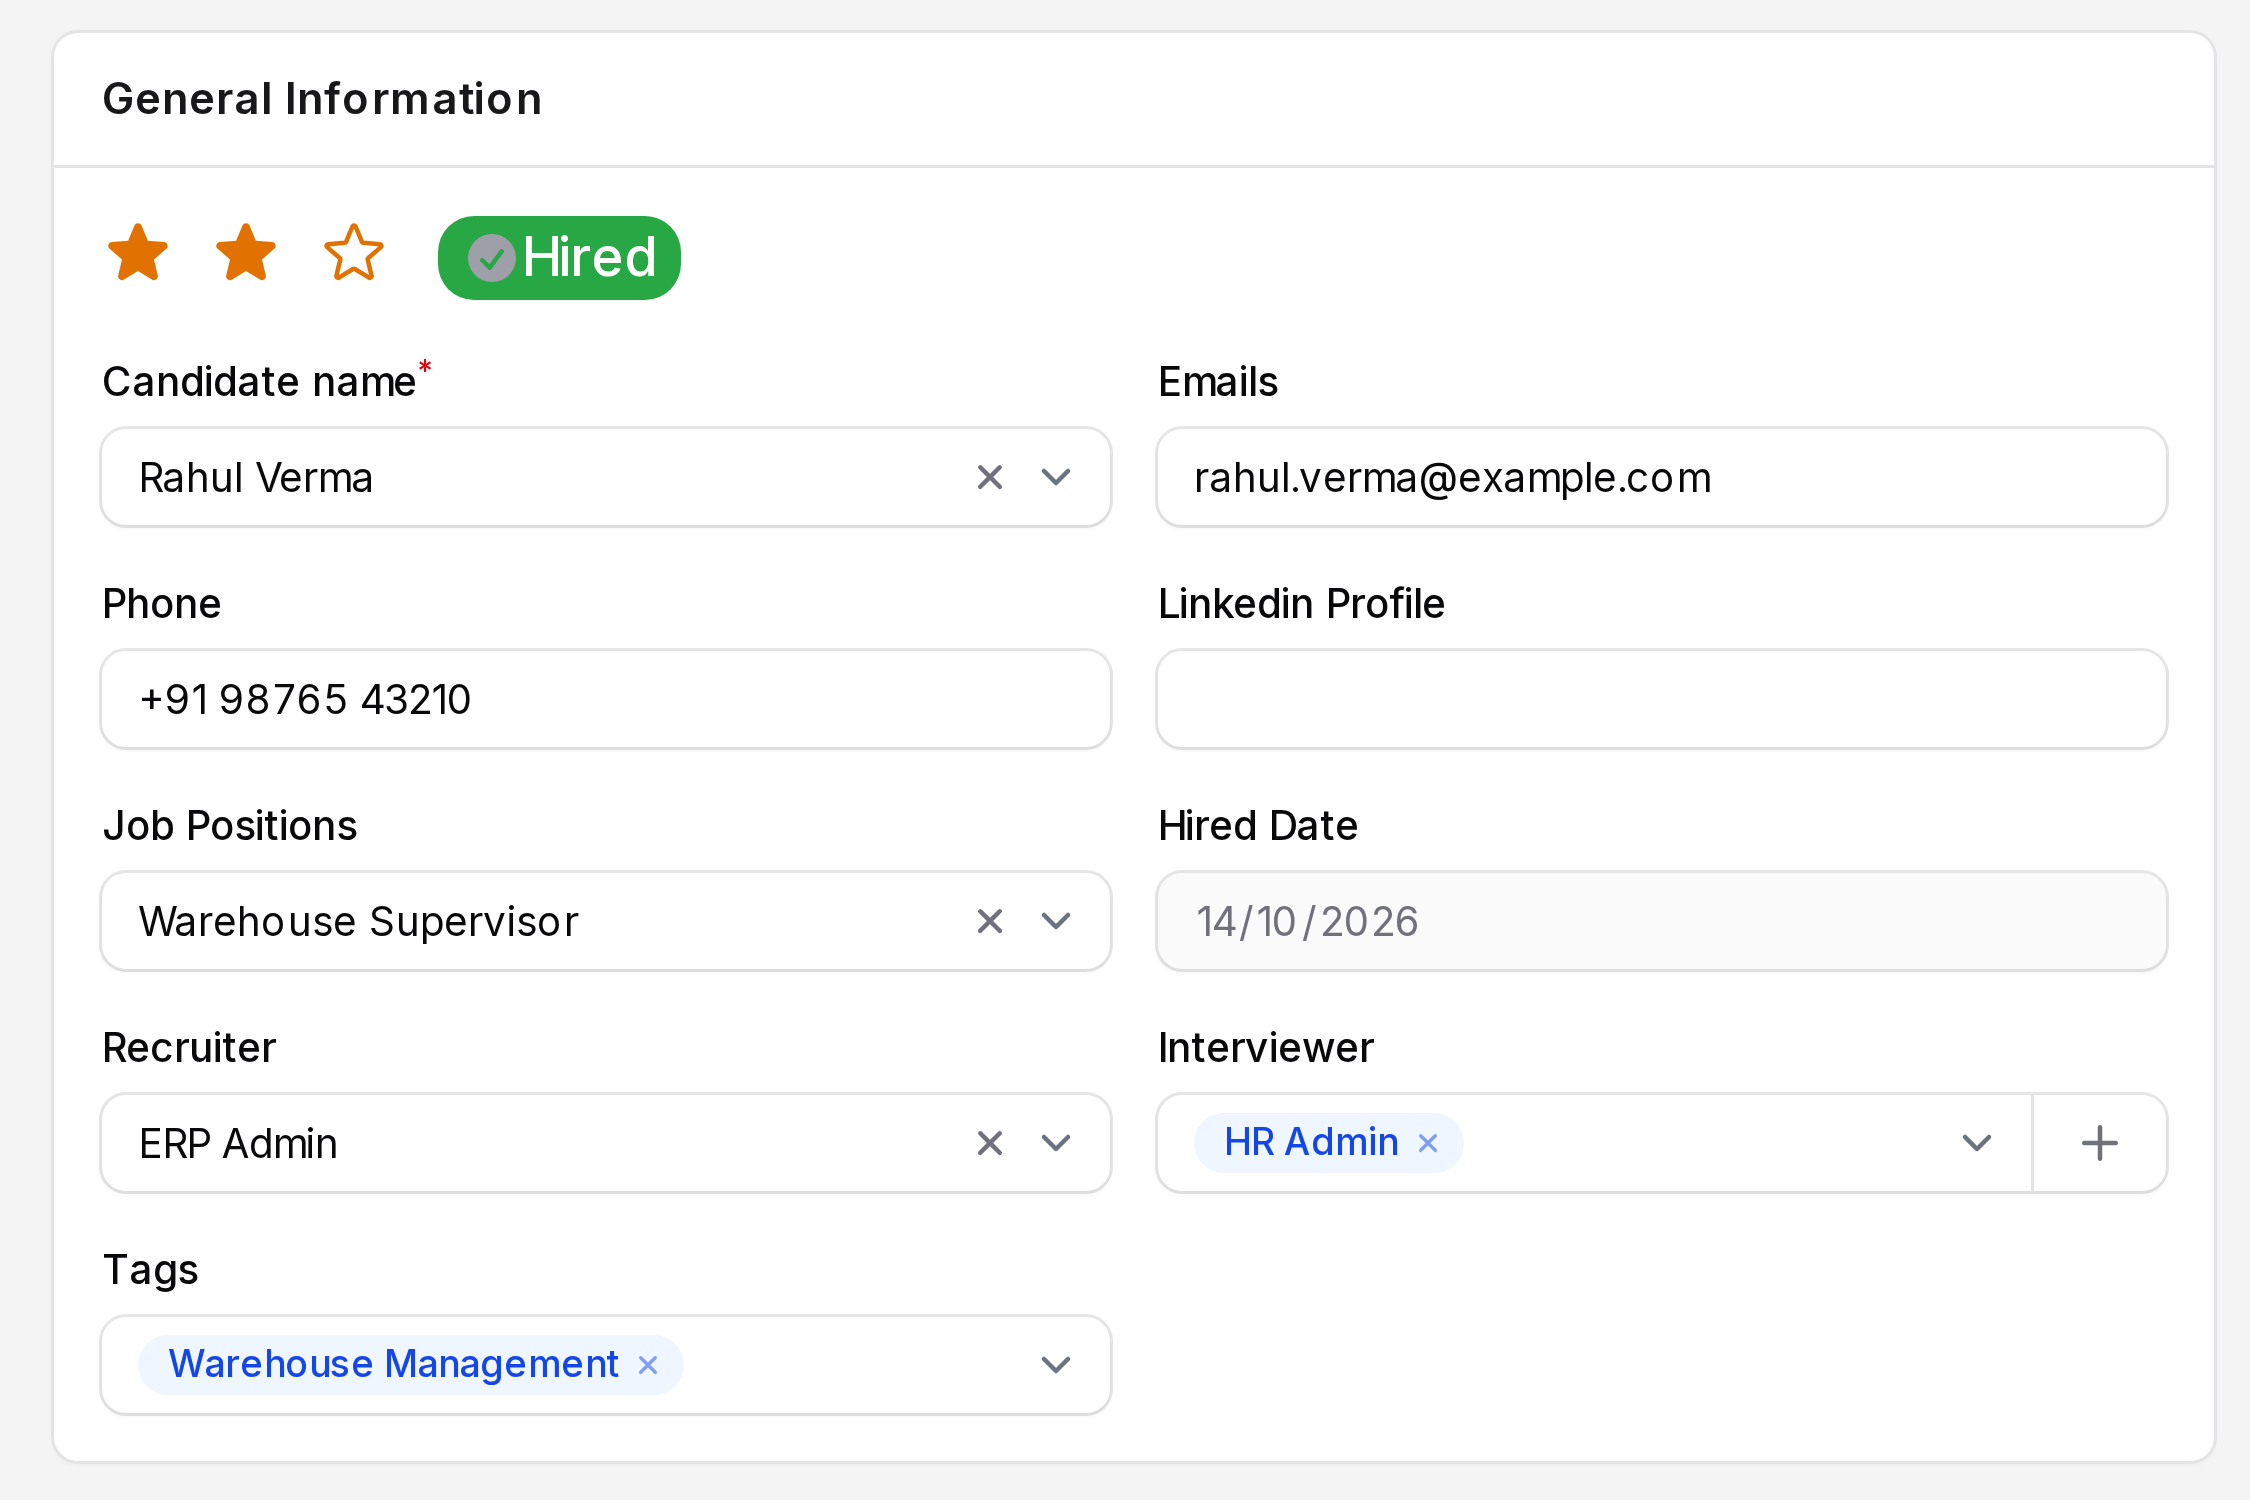
- Candidate name: Required. Choose the candidate. Emails, Phone and Linkedin Profile load from the candidate.
- Job Positions: The job applied for. The first time you choose one, Aureus puts the applicant in the first default stage. Later changes copy the recruiter, interviewers and department from the position. This replaces values you typed before.
- Hired Date: Read only. It appears once the applicant is hired.
- Recruiter: The person who owns this application.
- Interviewer: One or more users who interview the person. The + button beside the field creates a user.
- Tags: Labels such as skills or areas. If you leave it empty, Aureus shows the candidate's tags.
- Notes: A text box for your own remarks.
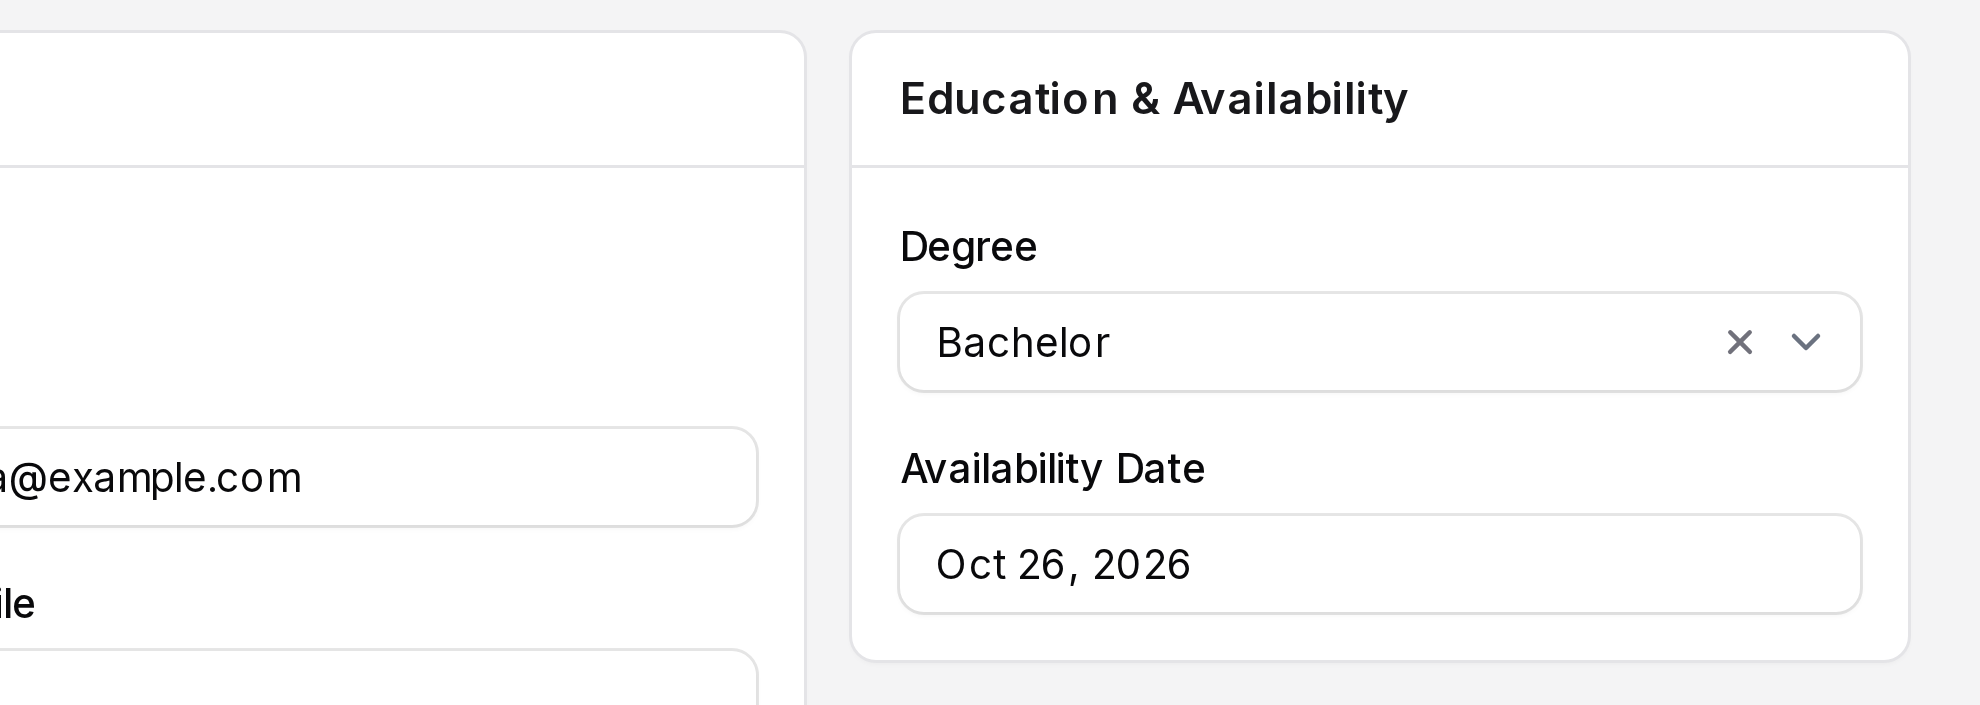
- Use the right column. Choose a Degree and an Availability Date under Education & Availability. Set Department, for example Operations.
- Under Expected & Proposed Salary, type
40000in Expected Salary. Fill Proposed Salary when you make an offer. Each salary has an Other Benefit field for extras. All values are numbers from 0.

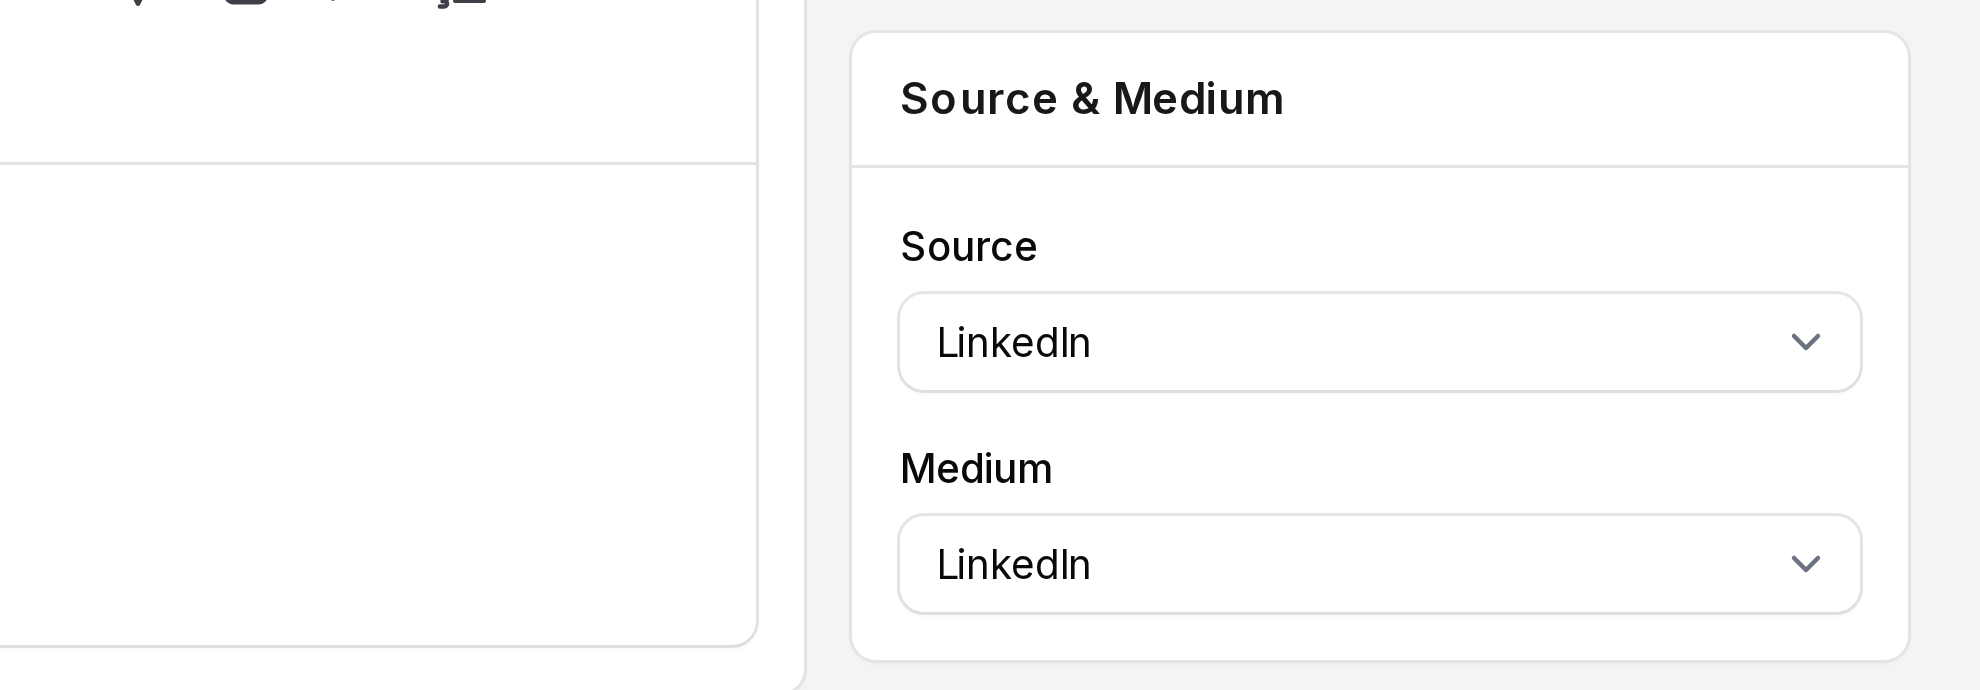
- Under Source & Medium, choose where the application came from, for example LinkedIn as Source. Choose how it reached you in Medium.
- Click Save changes.
TIP
Degree and Availability Date are saved on the candidate. They show on every application of that person.
Rate the applicant
- Click a star at the top of General Information. Hover over a star to see its rating, for example Evaluation: Very Good. The rating saves at once. Click the active star again to clear it.

Move through the stages
- Click the next stage on the bar, for example First Interview. The change saves at once, without Save changes. You can click any stage, forward or back.

- Click the round State icon button in the header. Its tooltip shows the current state. Choose In Progress, Ready for next stage or Blocked, then click Submit. A notification says Applicant state updated.
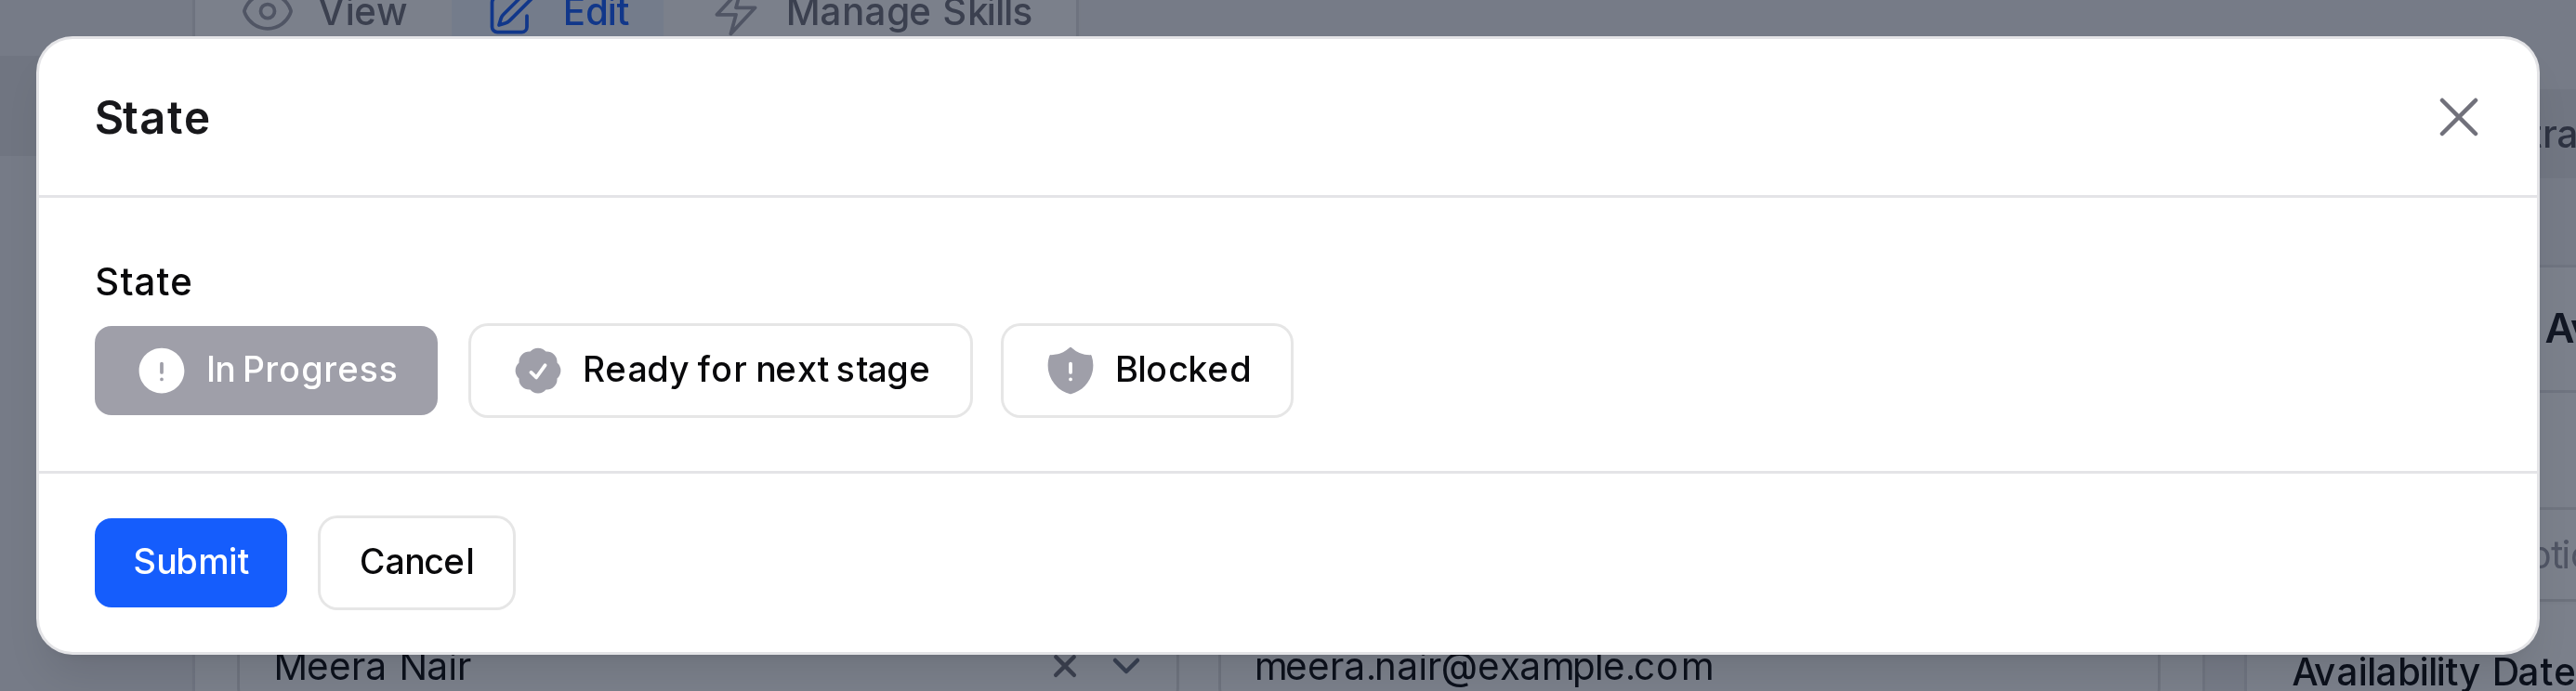
When you click another stage, the state goes back to In Progress.
WARNING
A Blocked applicant disappears from the applicant list. Set the state back to In Progress to bring the applicant back. See Applicant list.
Hire the applicant
- Click Contract Signed on the stage bar. This stage is a Hired Stage. Aureus sets the Application status to Hired. On the Edit page a read only Hired Date appears beside it.
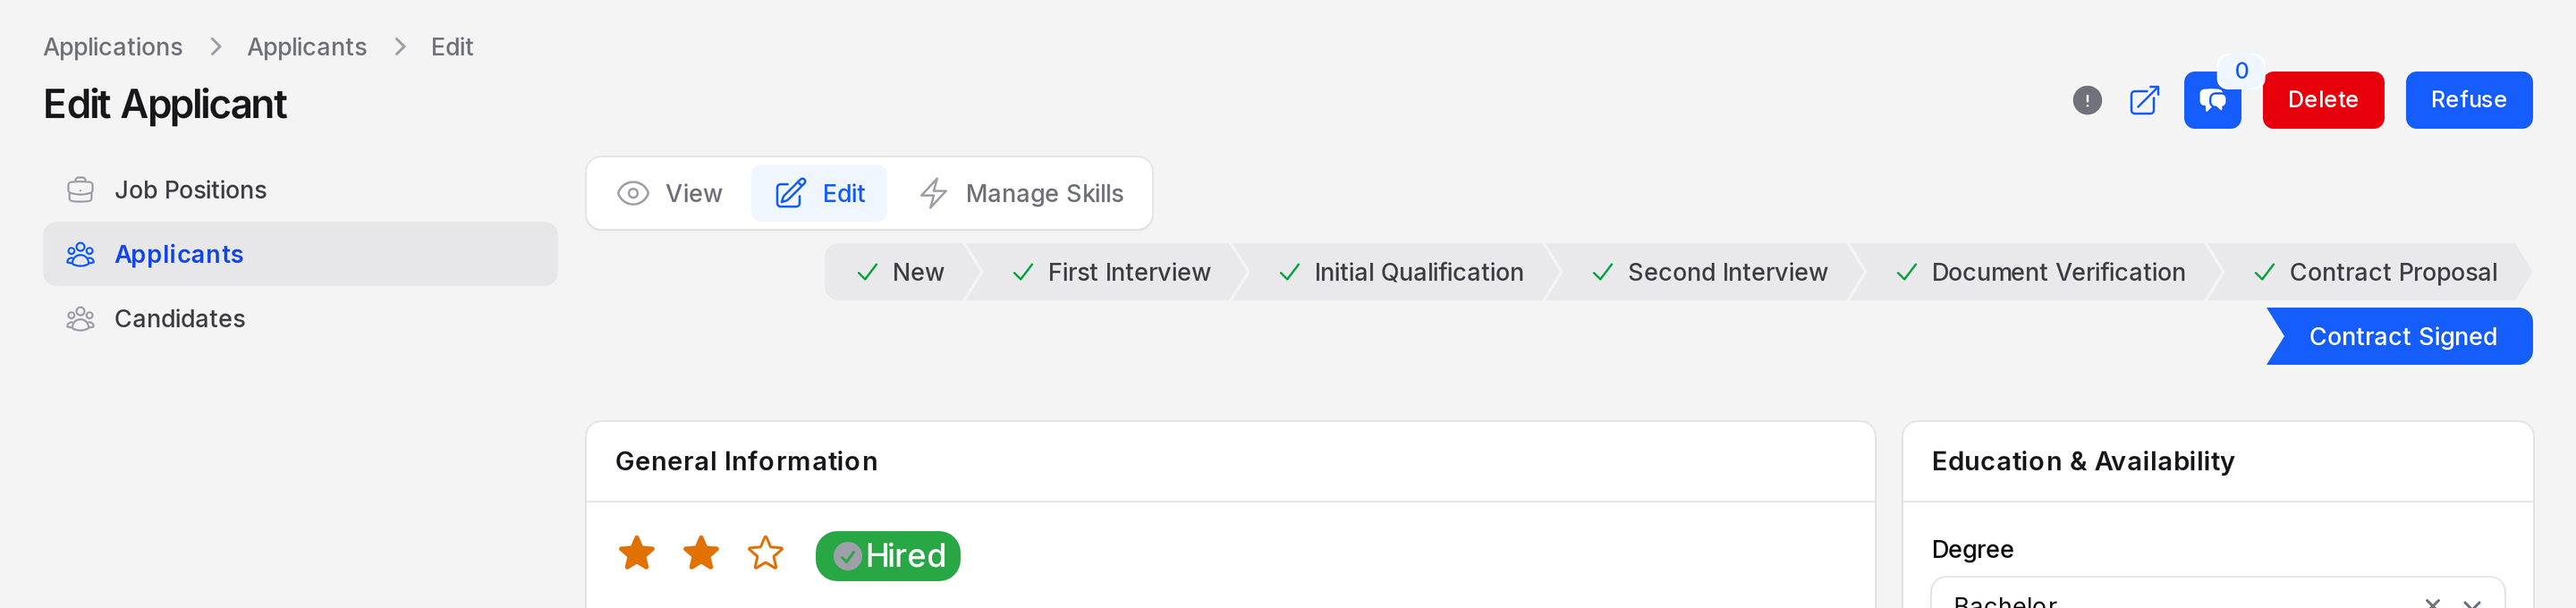
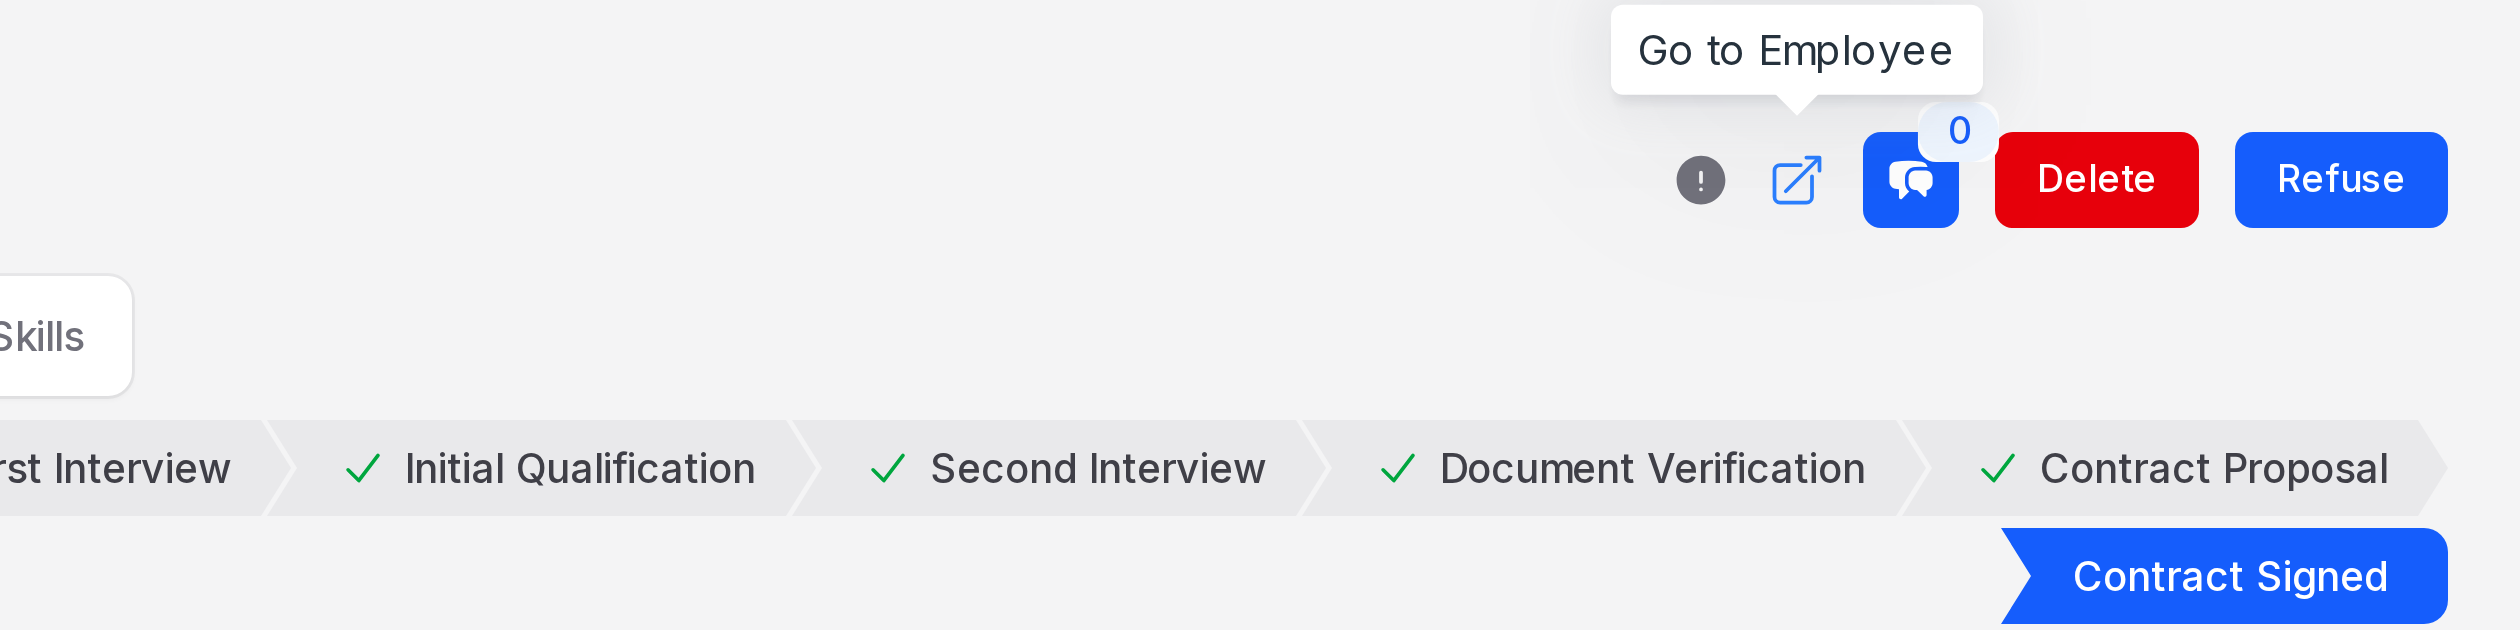
- While the applicant is not hired and has no employee, the header shows Create Employee. Click it to create the employee from the applicant. Once the applicant is hired, Create Employee is hidden and the Go to Employee icon takes its place.

- Click the Go to Employee icon. The employee profile opens. It already holds the work email, the work mobile and the job position of the applicant. Add the rest on the employee. See Add an employee.
If you click another stage that is not a hired stage, the applicant is no longer hired.
Actions and statuses
- Create Employee: creates an employee from the applicant. It is hidden once the applicant is hired or linked to an employee.
- Go to Employee: opens the linked employee. It replaces Create Employee.
- Refuse: turns the applicant down. See Refuse and reopen.
- Restore: brings a refused applicant back.
- Delete: removes the applicant. Use Refuse to keep the record and the reason.
| Application status | When it shows |
|---|---|
| Hired | The applicant reached a hired stage. |
| Refused | You refused the applicant with a reason. |
| Archived | The applicant is inactive. A tab in the list shows these. |
An ongoing applicant shows no status.
Chatter and activities
The chatter button in the header opens Chatter with Send Message, Log Note and Schedule Activity. Use it for talks with the team and follow-up tasks. The clock icon on a list row opens the same activity action. See Chatter, Log a note and Schedule an activity.
Skills
The Skills table at the bottom of the View page lists the skills of the person. They come from the candidate. See Candidates.