First steps: hire your first employee
This tutorial follows one applicant from first contact to employee. You check the setup, add the applicant, move him through the stages and create his employee profile. Then you refuse a second applicant and bring her back. The example is a hire for the job position Warehouse Supervisor.
In simple words: You move each applicant through stages until you hire or refuse them.
Two words matter here. A candidate is the person, with name and contact details. An applicant is that person applying for one job. You create the candidate first.
Prerequisite
The stages exist in the sample data. The job position Warehouse Supervisor exists if you followed First steps with Employees. If not, create it in Job positions. You need a user to act as recruiter. This tutorial uses ERP Admin, or use any user in your system.
Step 1: Check the stages
Stages are the steps every applicant passes through.
- Open
Recruitments → Configuration → Stages. - Read the Stage Name column. The list may show the stages in a different order. The stage bar on an applicant uses this order:
- New
- First Interview
- Initial Qualification
- Second Interview
- Document Verification
- Contract Proposal
- Contract Signed
- Find Contract Signed. Its Hired Stage column shows a green tick. An applicant who reaches this stage counts as hired.
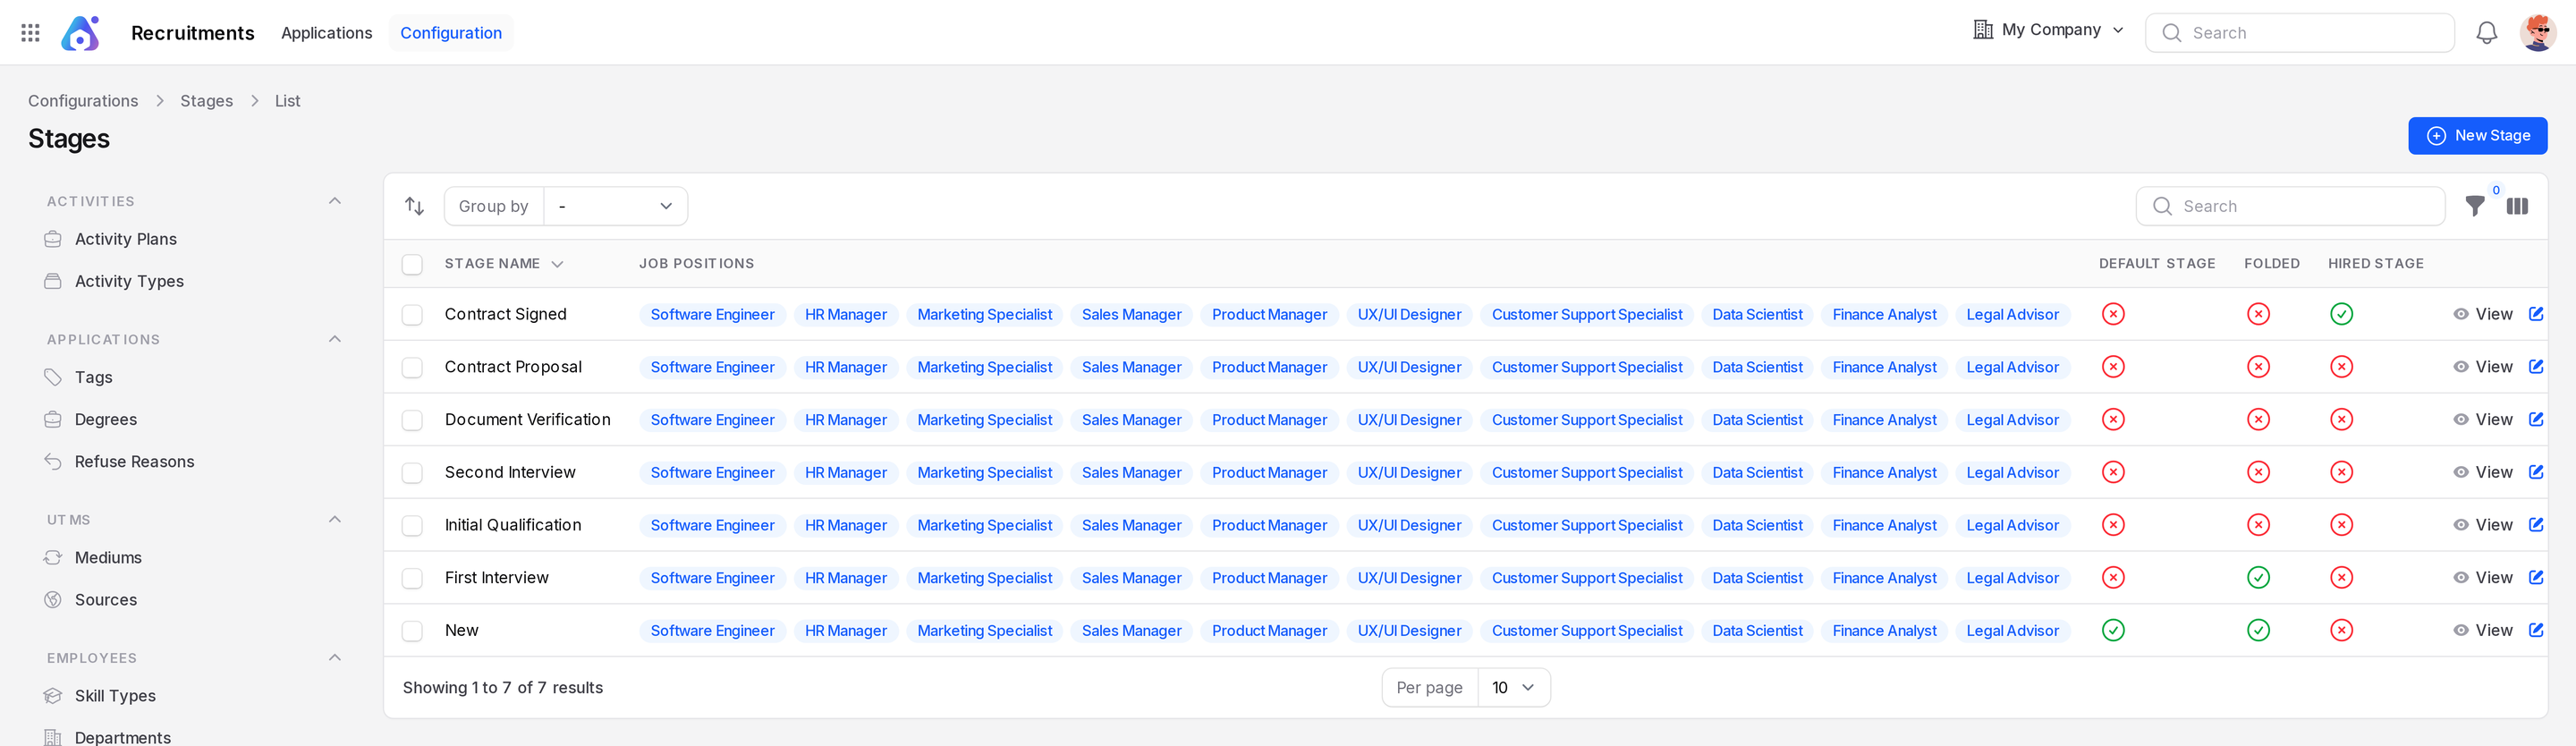
See Stages to add or change them.
Step 2: Check the job position
- Open
Recruitments → Applications → Job Positions. - Type Warehouse Supervisor in the search box.
- Read the card. The blue button shows how many applicants are in the New stage. The three dots menu shows To Recruitment and Applications.
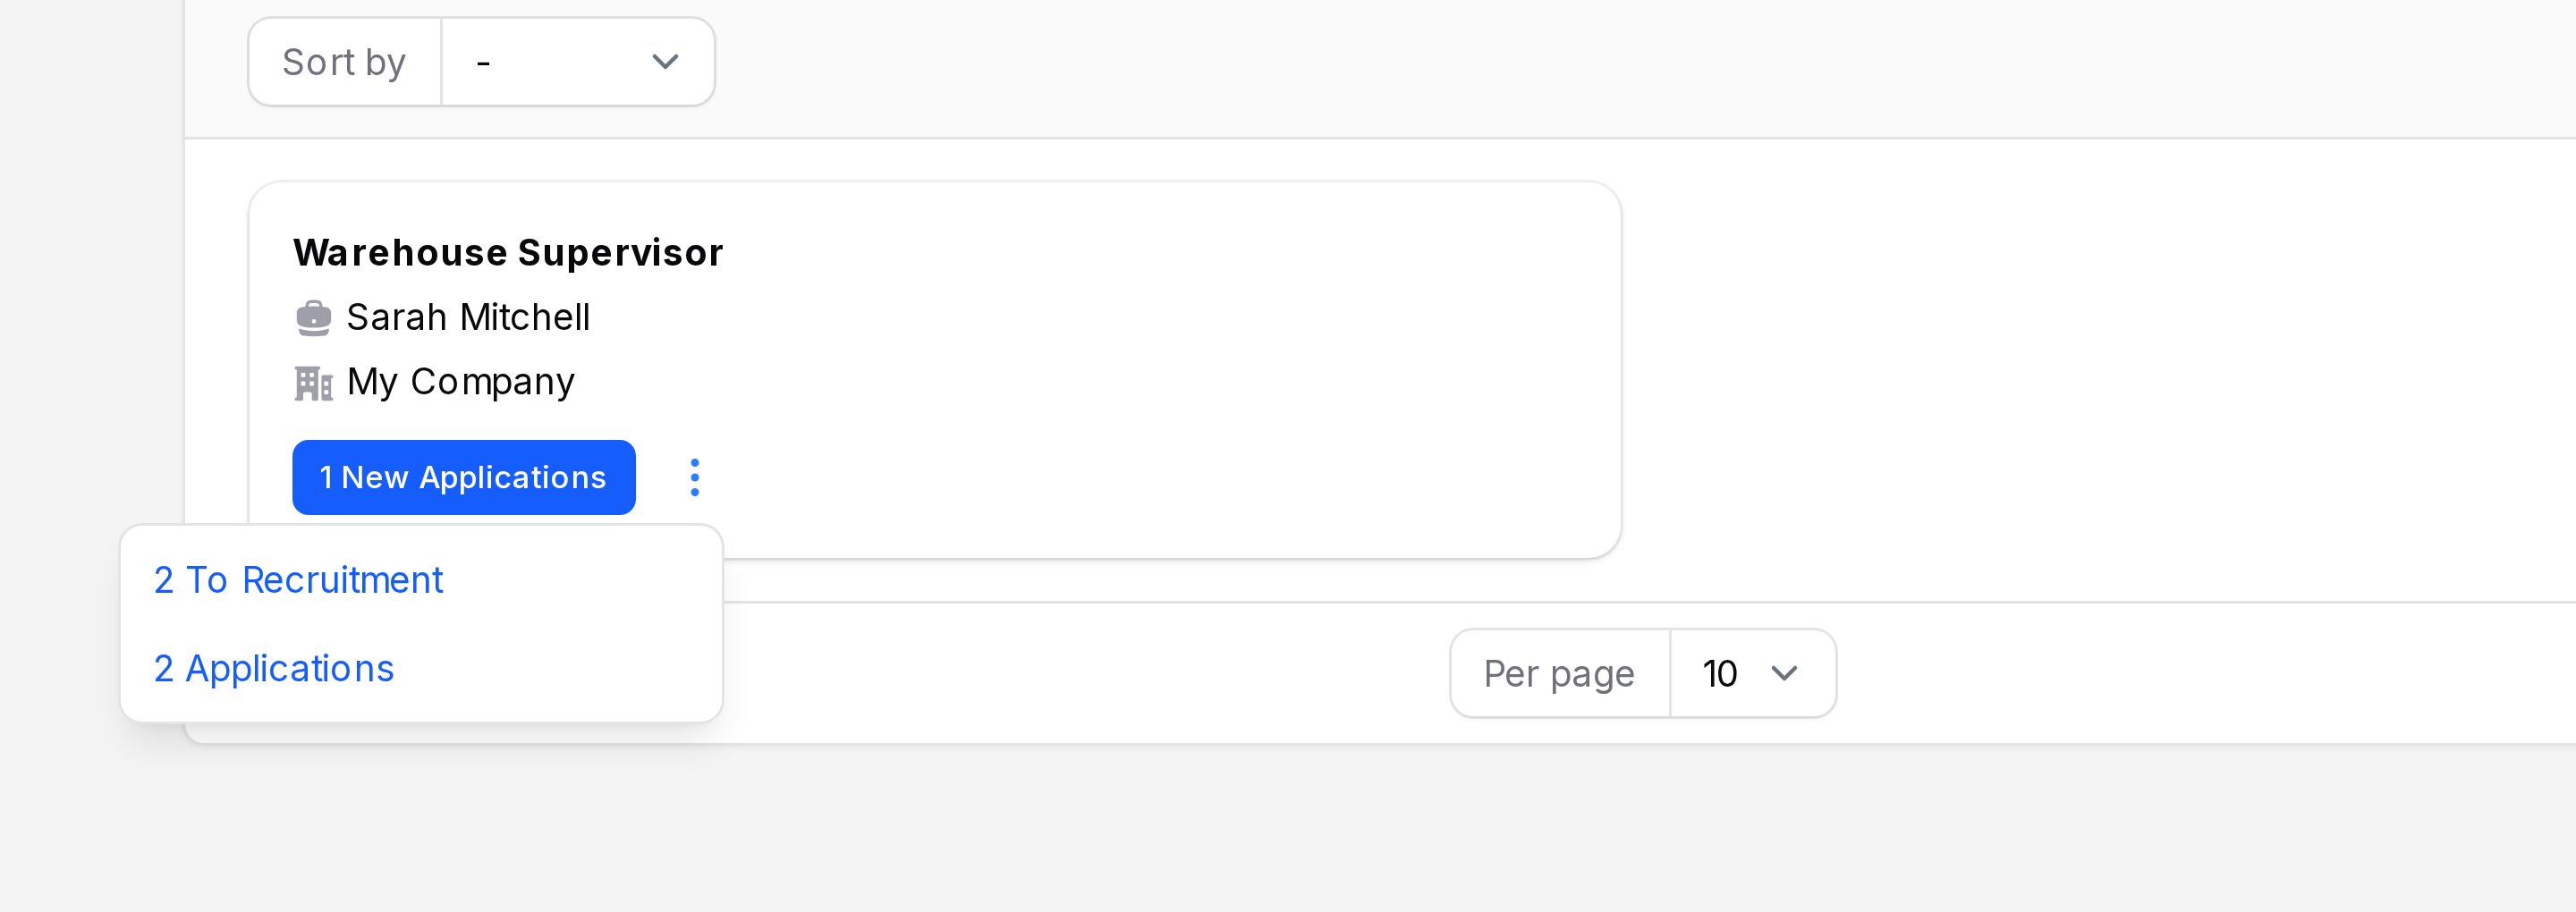
See Job positions for the card details.
Step 3: Add the applicant
- Open
Recruitments → Applications → Applicants. - Click New Applicant. A Create Applicant window opens.
- Click the + button beside the Candidate field to add a new person.
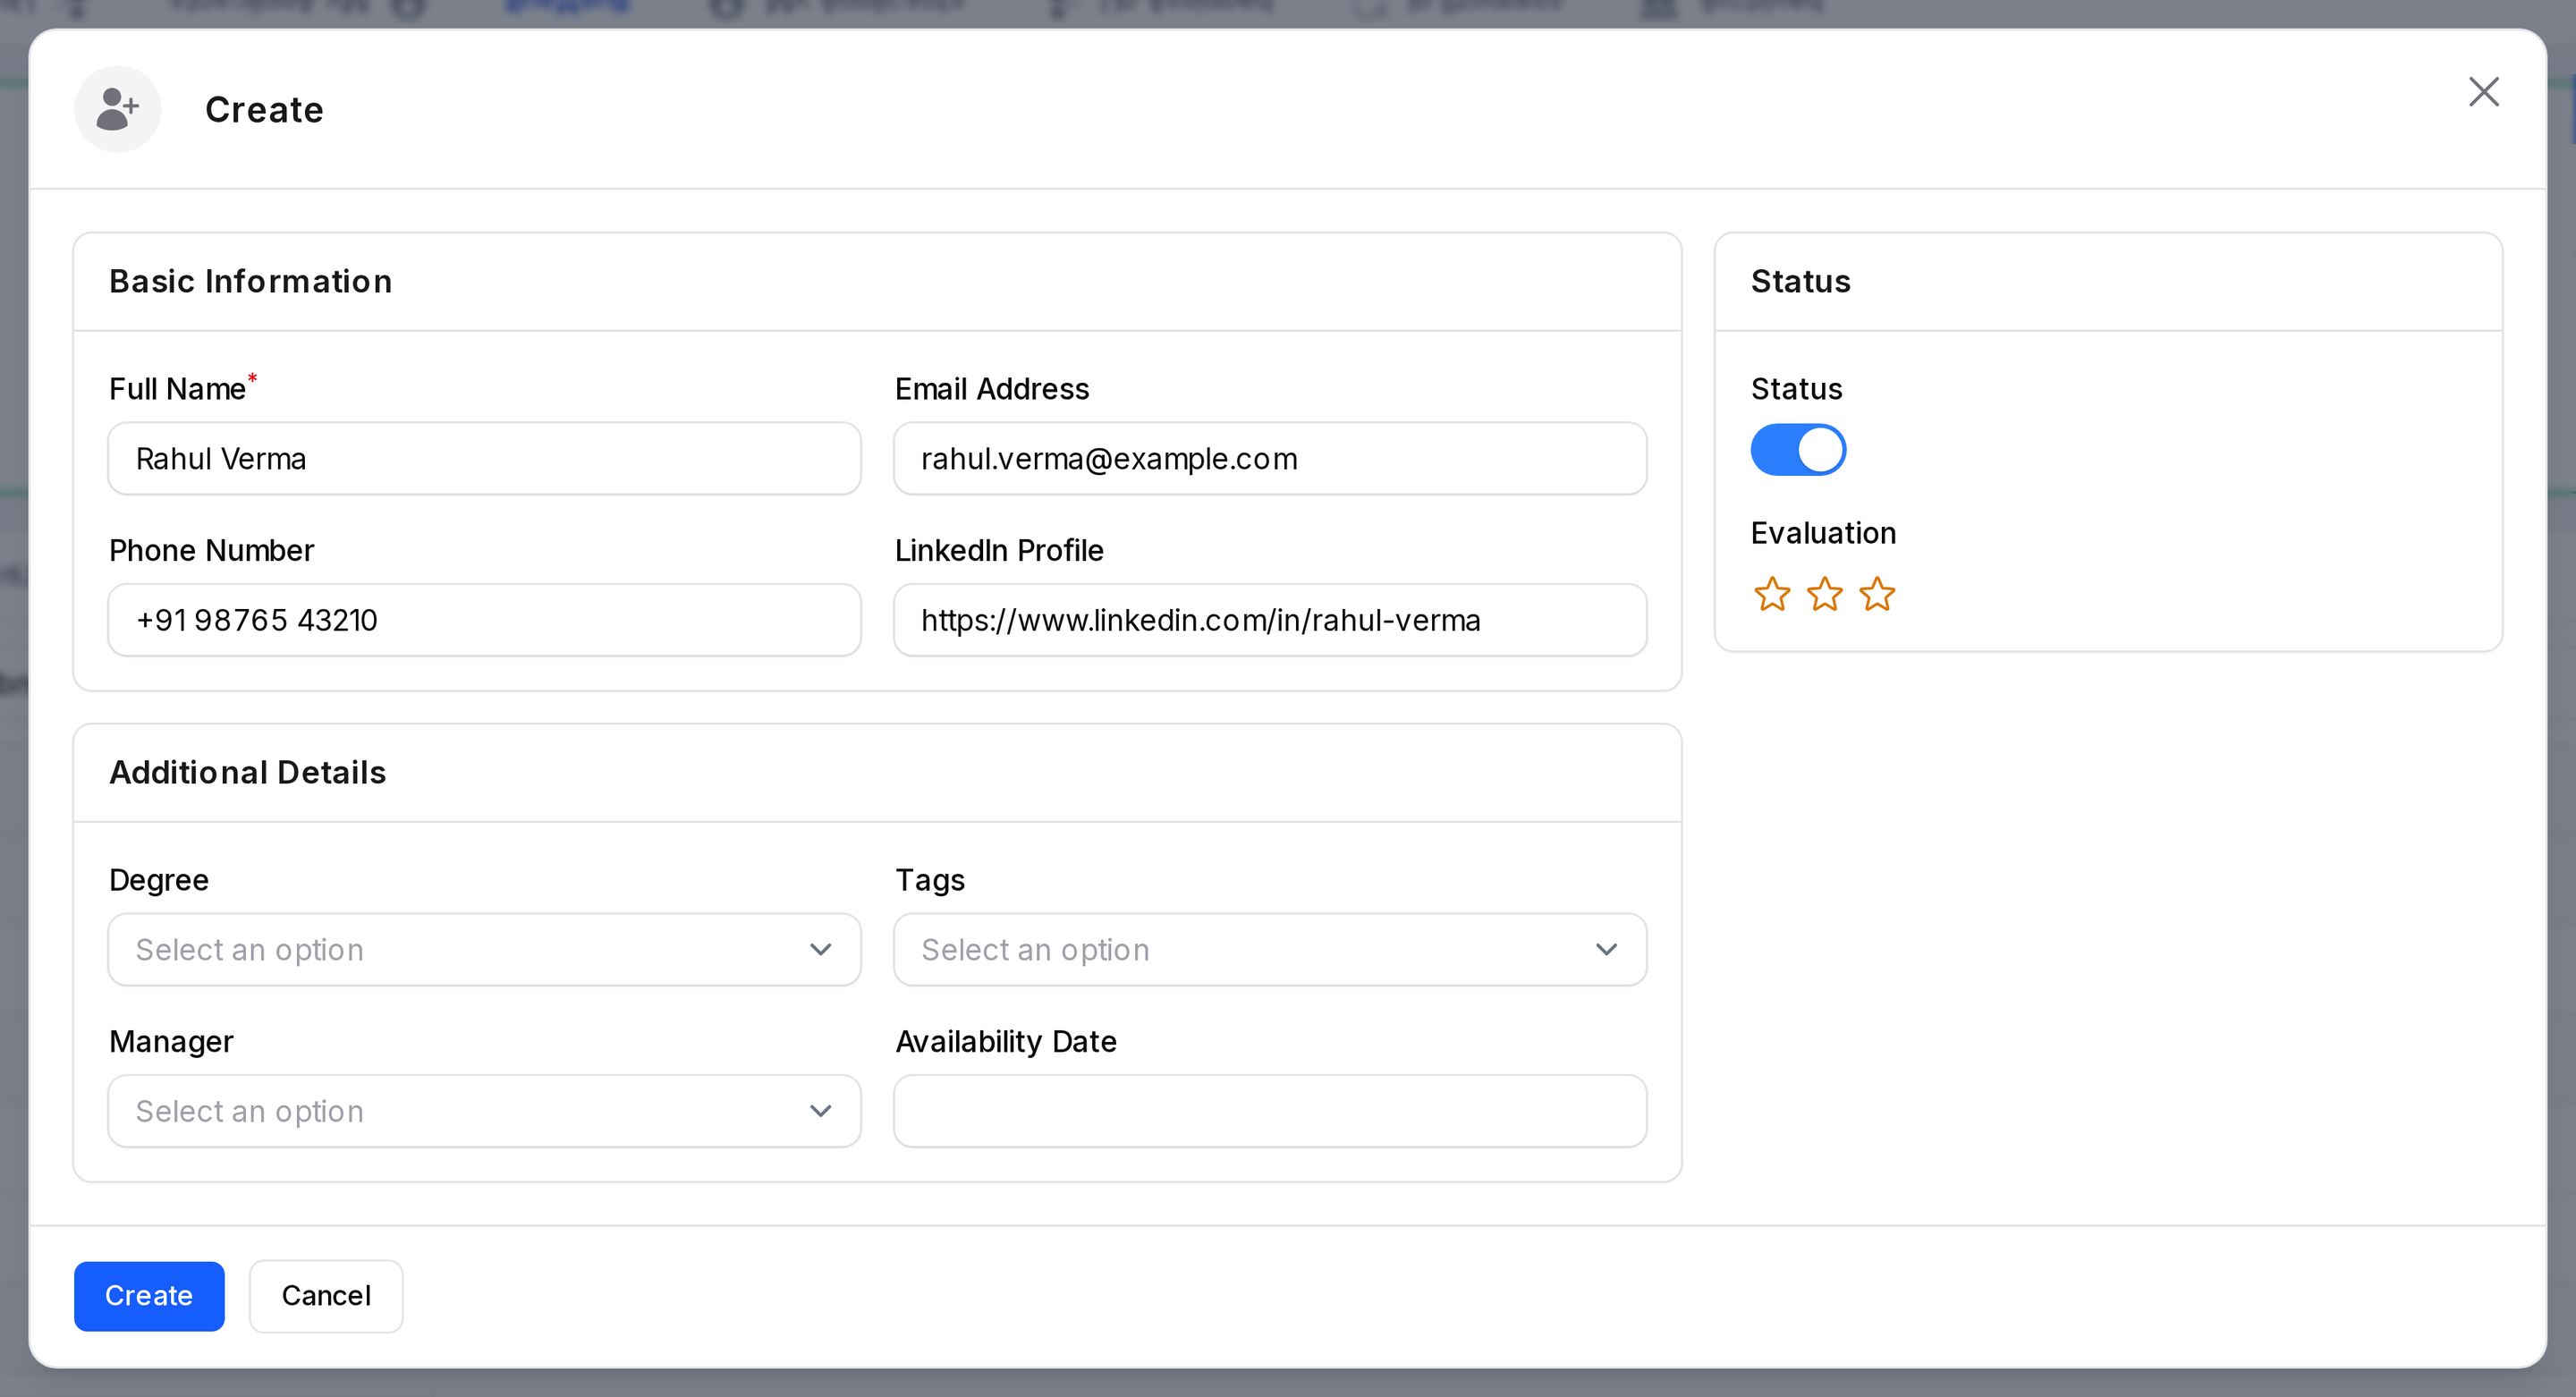
- Type Rahul Verma as Full Name. Add the email rahul.verma@example.com and a phone number.
- Click Create in the candidate form. Choose Rahul Verma in the Candidate field, then click Create.
The edit page of the applicant opens. The applicant starts in the stage New, because that stage is the default.

Step 4: Fill in the applicant
- Set Job Positions to Warehouse Supervisor.
- Set Recruiter to ERP Admin. You can also pick an Interviewer.
- Add a Tags value such as
Warehouse Management, a Degree such asBachelor, an Availability Date two weeks from today and the DepartmentOperations. - Enter Expected Salary 40000.
- Choose Source
Referraland MediumEmail, or any pair from your lists. - Click Save changes. Then click the stars to rate the applicant. The rating saves at once.
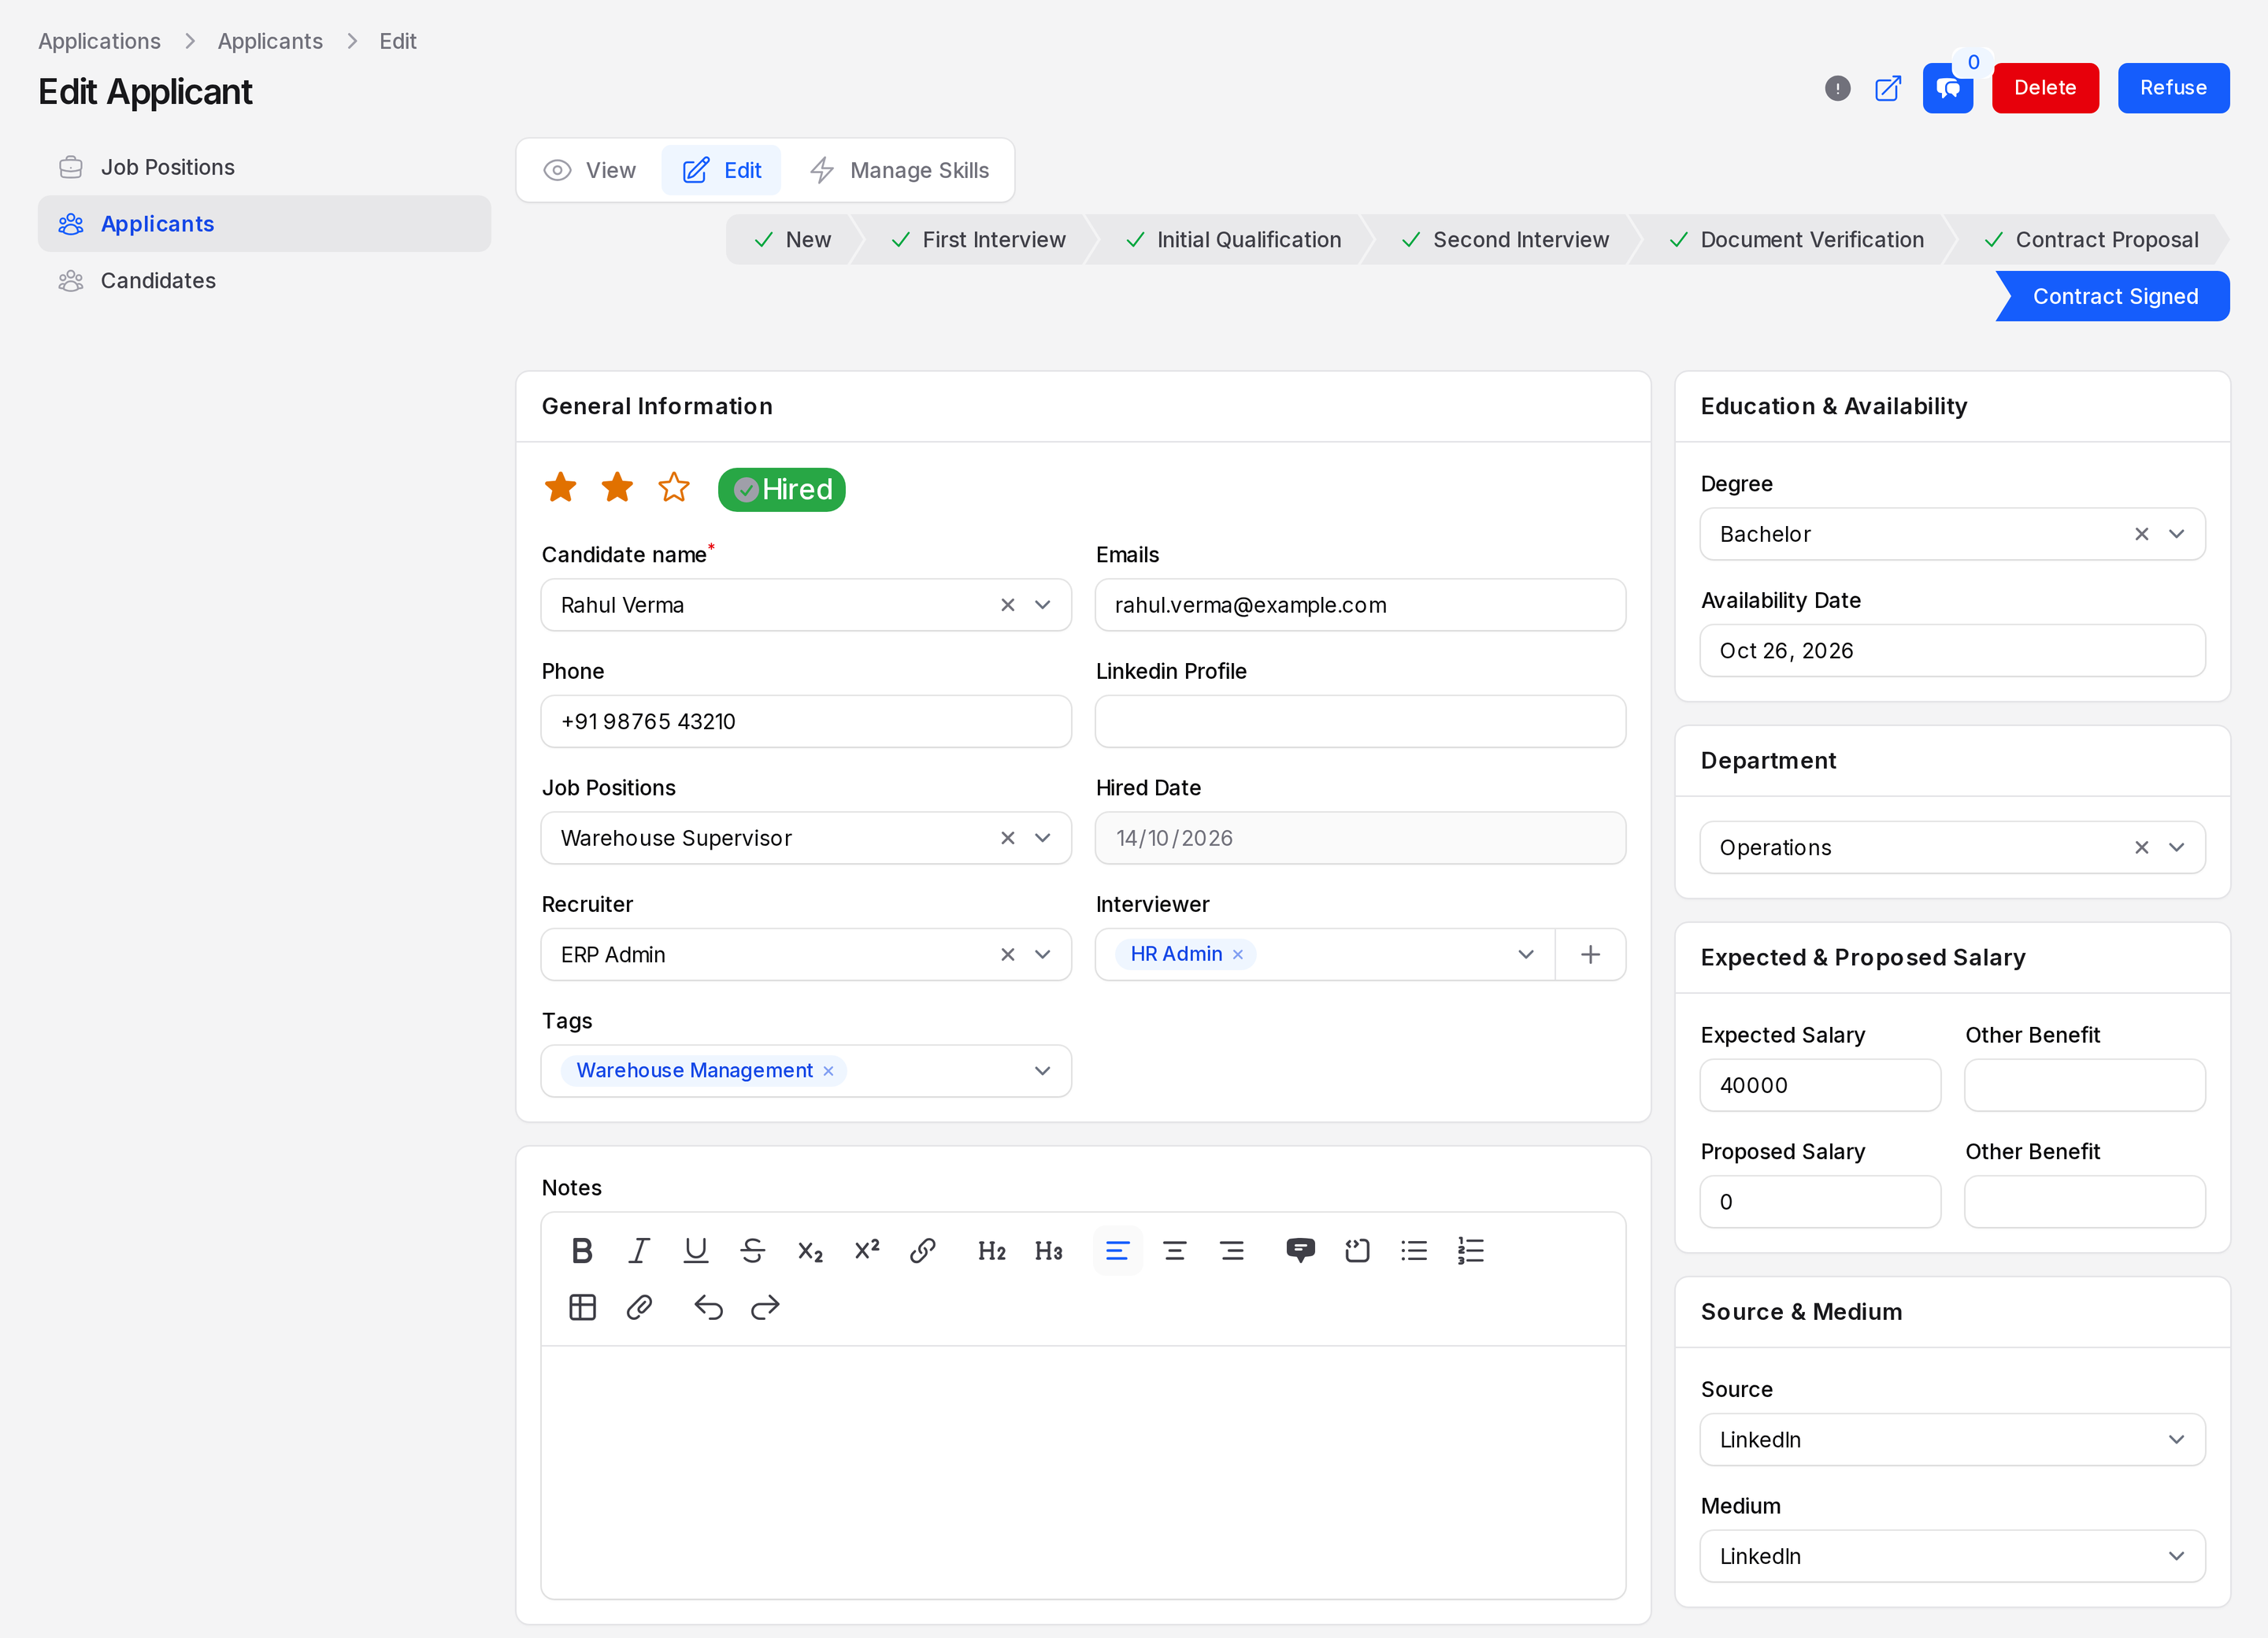
Each field is explained in Add an applicant.
Step 5: Set the state and move through the stages
The state tells your team how an applicant is doing inside a stage.
- Click the round State icon button in the page header.
- Choose Ready for next stage and click Submit.
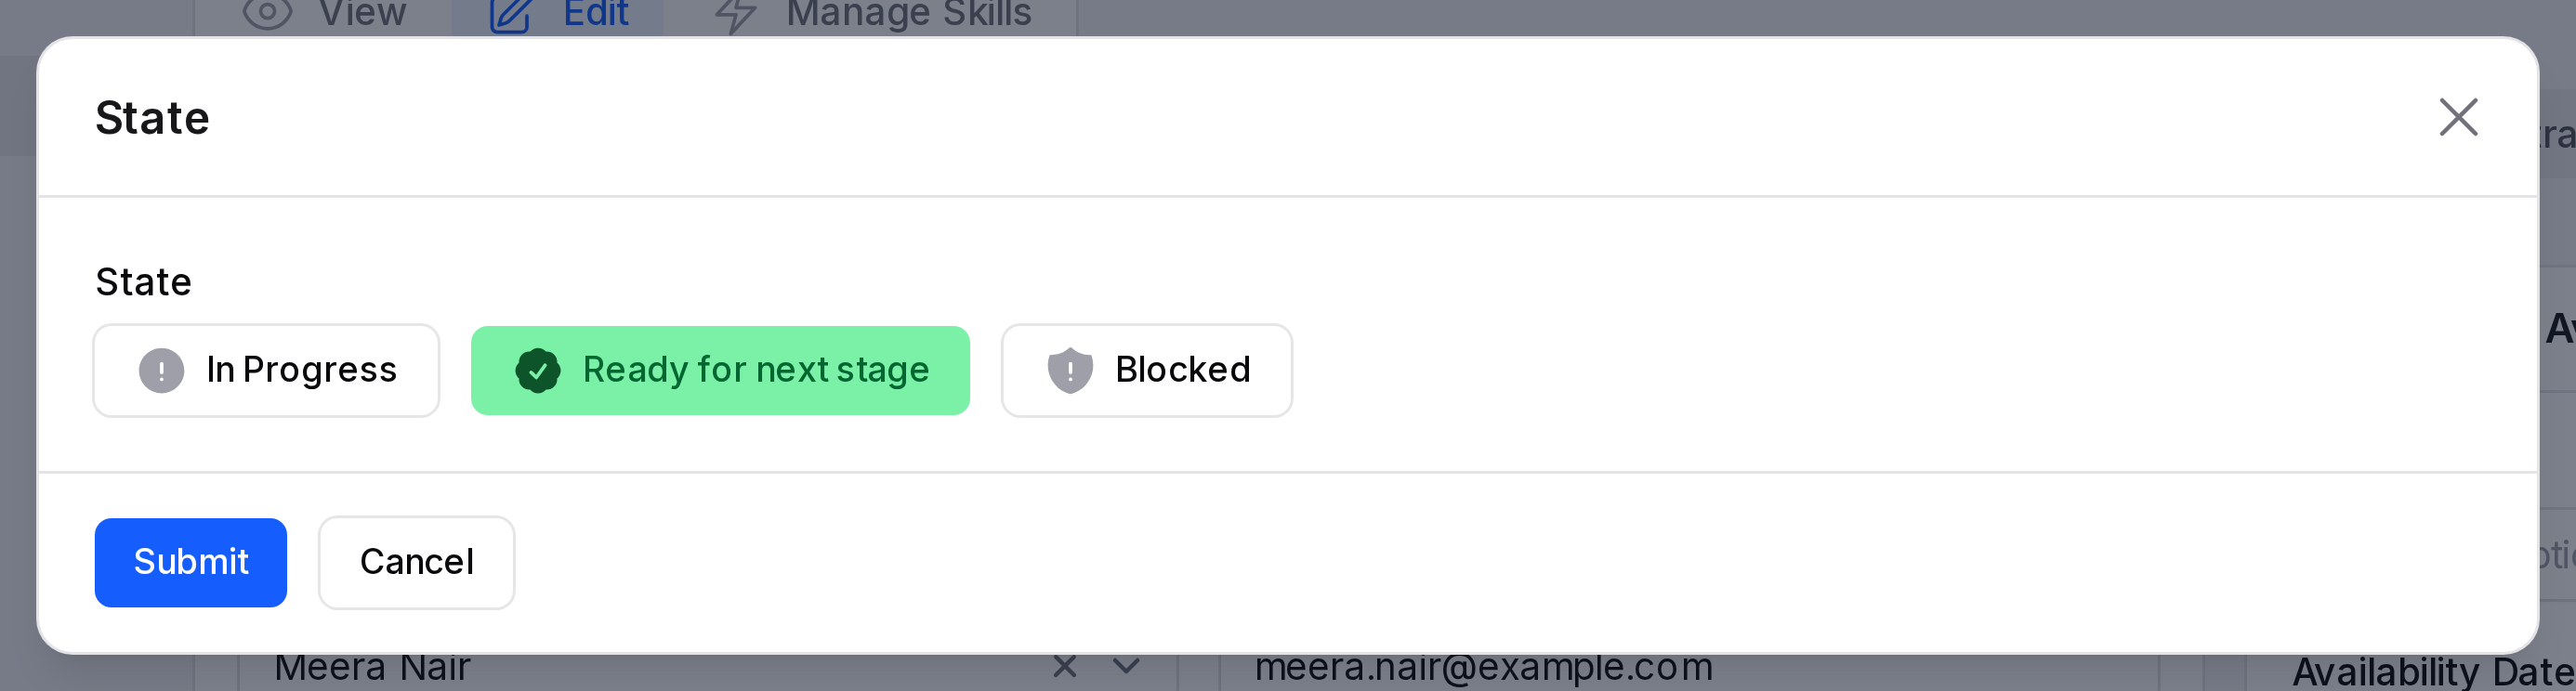
- Click First Interview in the stage bar. The stage saves at once.
- Keep clicking the next stage as the hiring goes on, up to Contract Proposal.

TIP
Clicking another stage resets the state to In Progress.
A stage is a step of hiring. The state is how the applicant is doing inside that step. The status is the end result: Hired or Refused.
Step 6: Hire the applicant
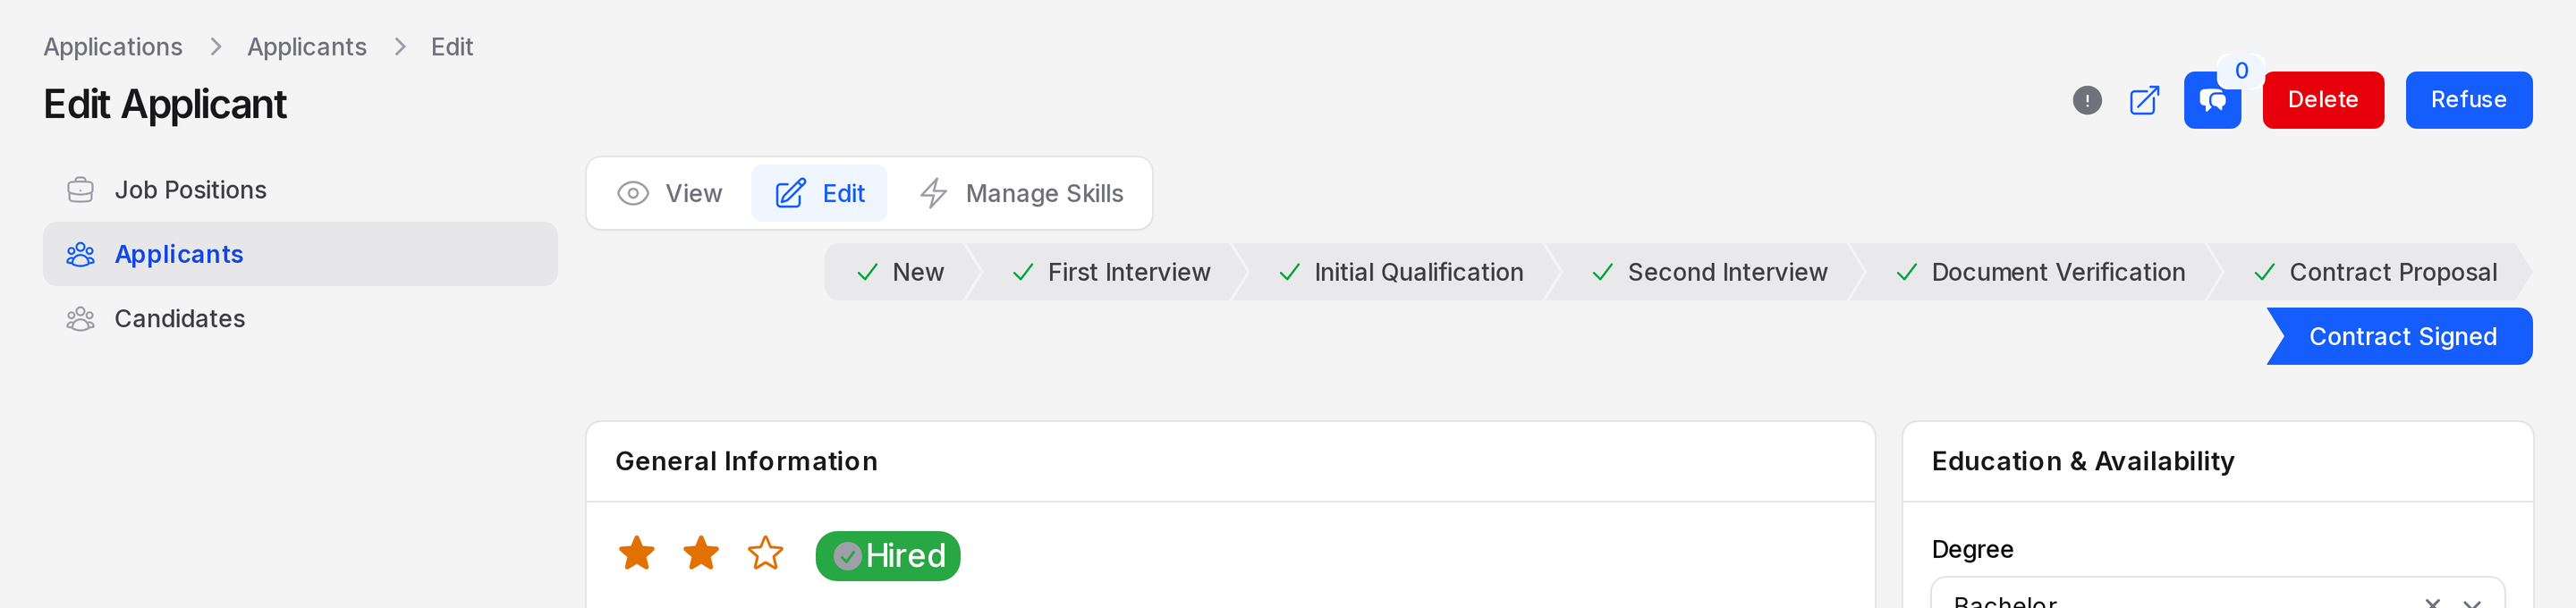
- Click Contract Signed in the stage bar.
- Check the Application status pill. It now says Hired. The Edit page also shows a read only Hired Date.
Step 7: Open the employee
- Look at the page header. Create Employee is hidden for a hired applicant. The Go to Employee icon button takes its place.
- Click Go to Employee. The employee profile of Rahul opens. It holds his work email, work mobile and job position.
- Add the rest of the details on the employee.
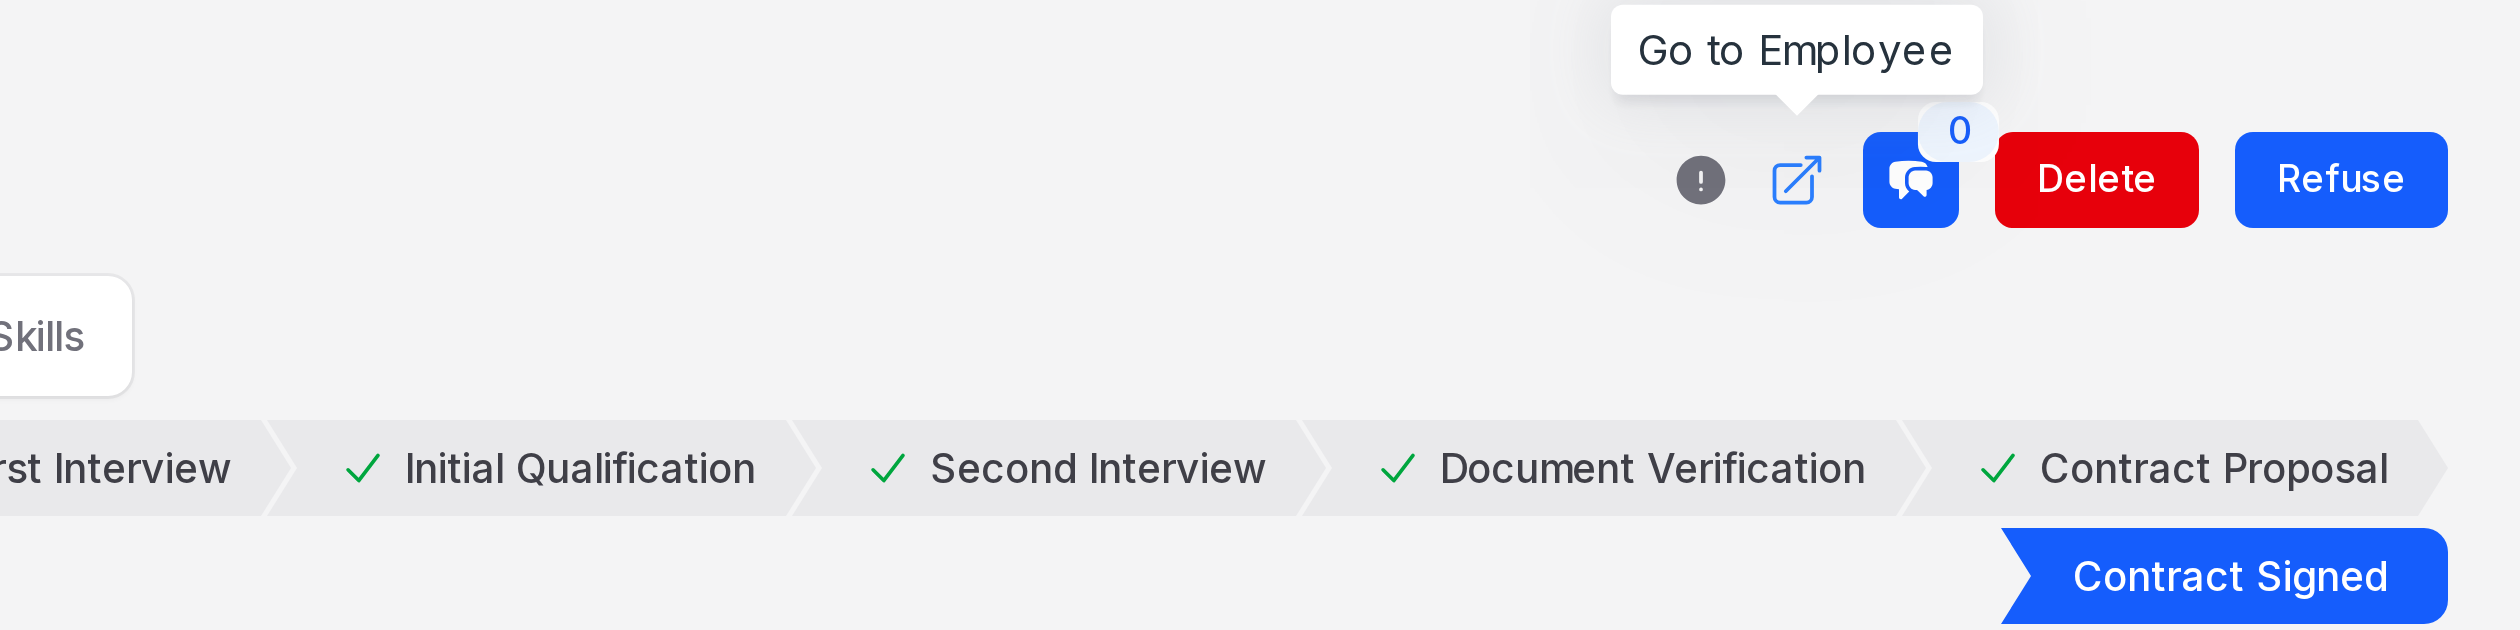
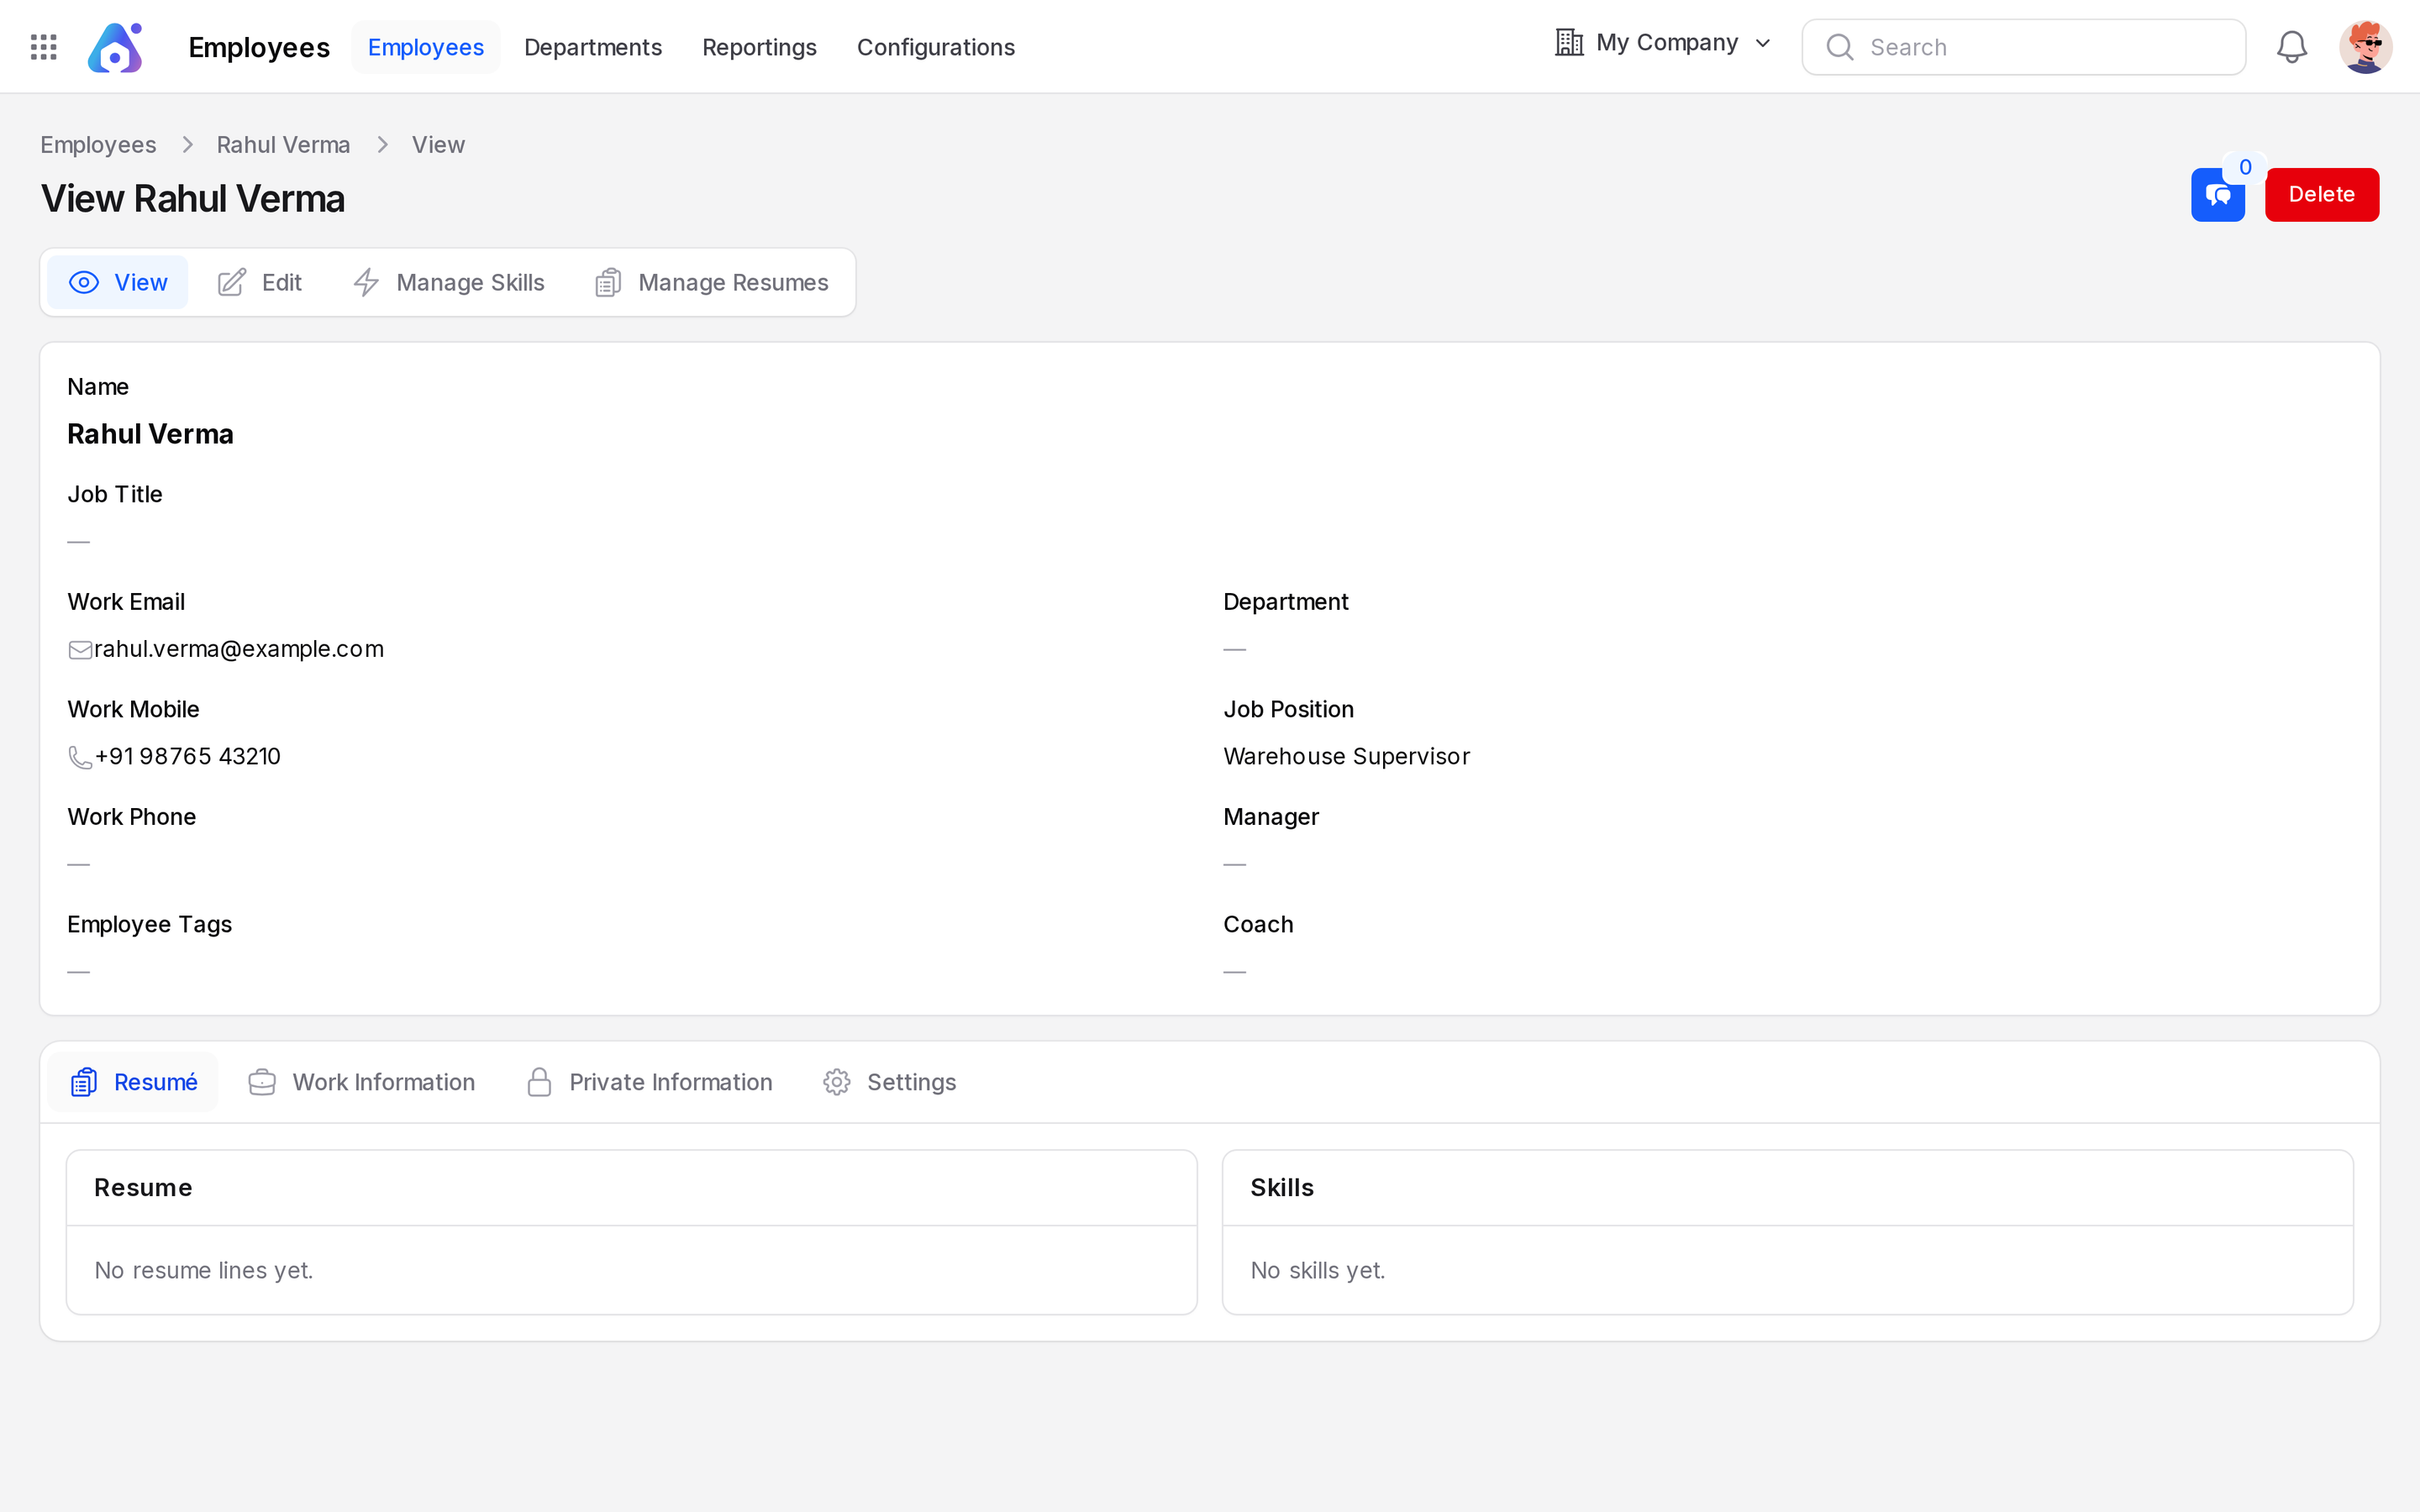
Before an applicant is hired, the header shows Create Employee. Use it to create the employee early.

See Employee profile for what to fill in next.
Step 8: Refuse and restore an applicant
Add a second applicant the same way. Use the full name Meera Nair, the email meera.nair@example.com and the job position Warehouse Supervisor.
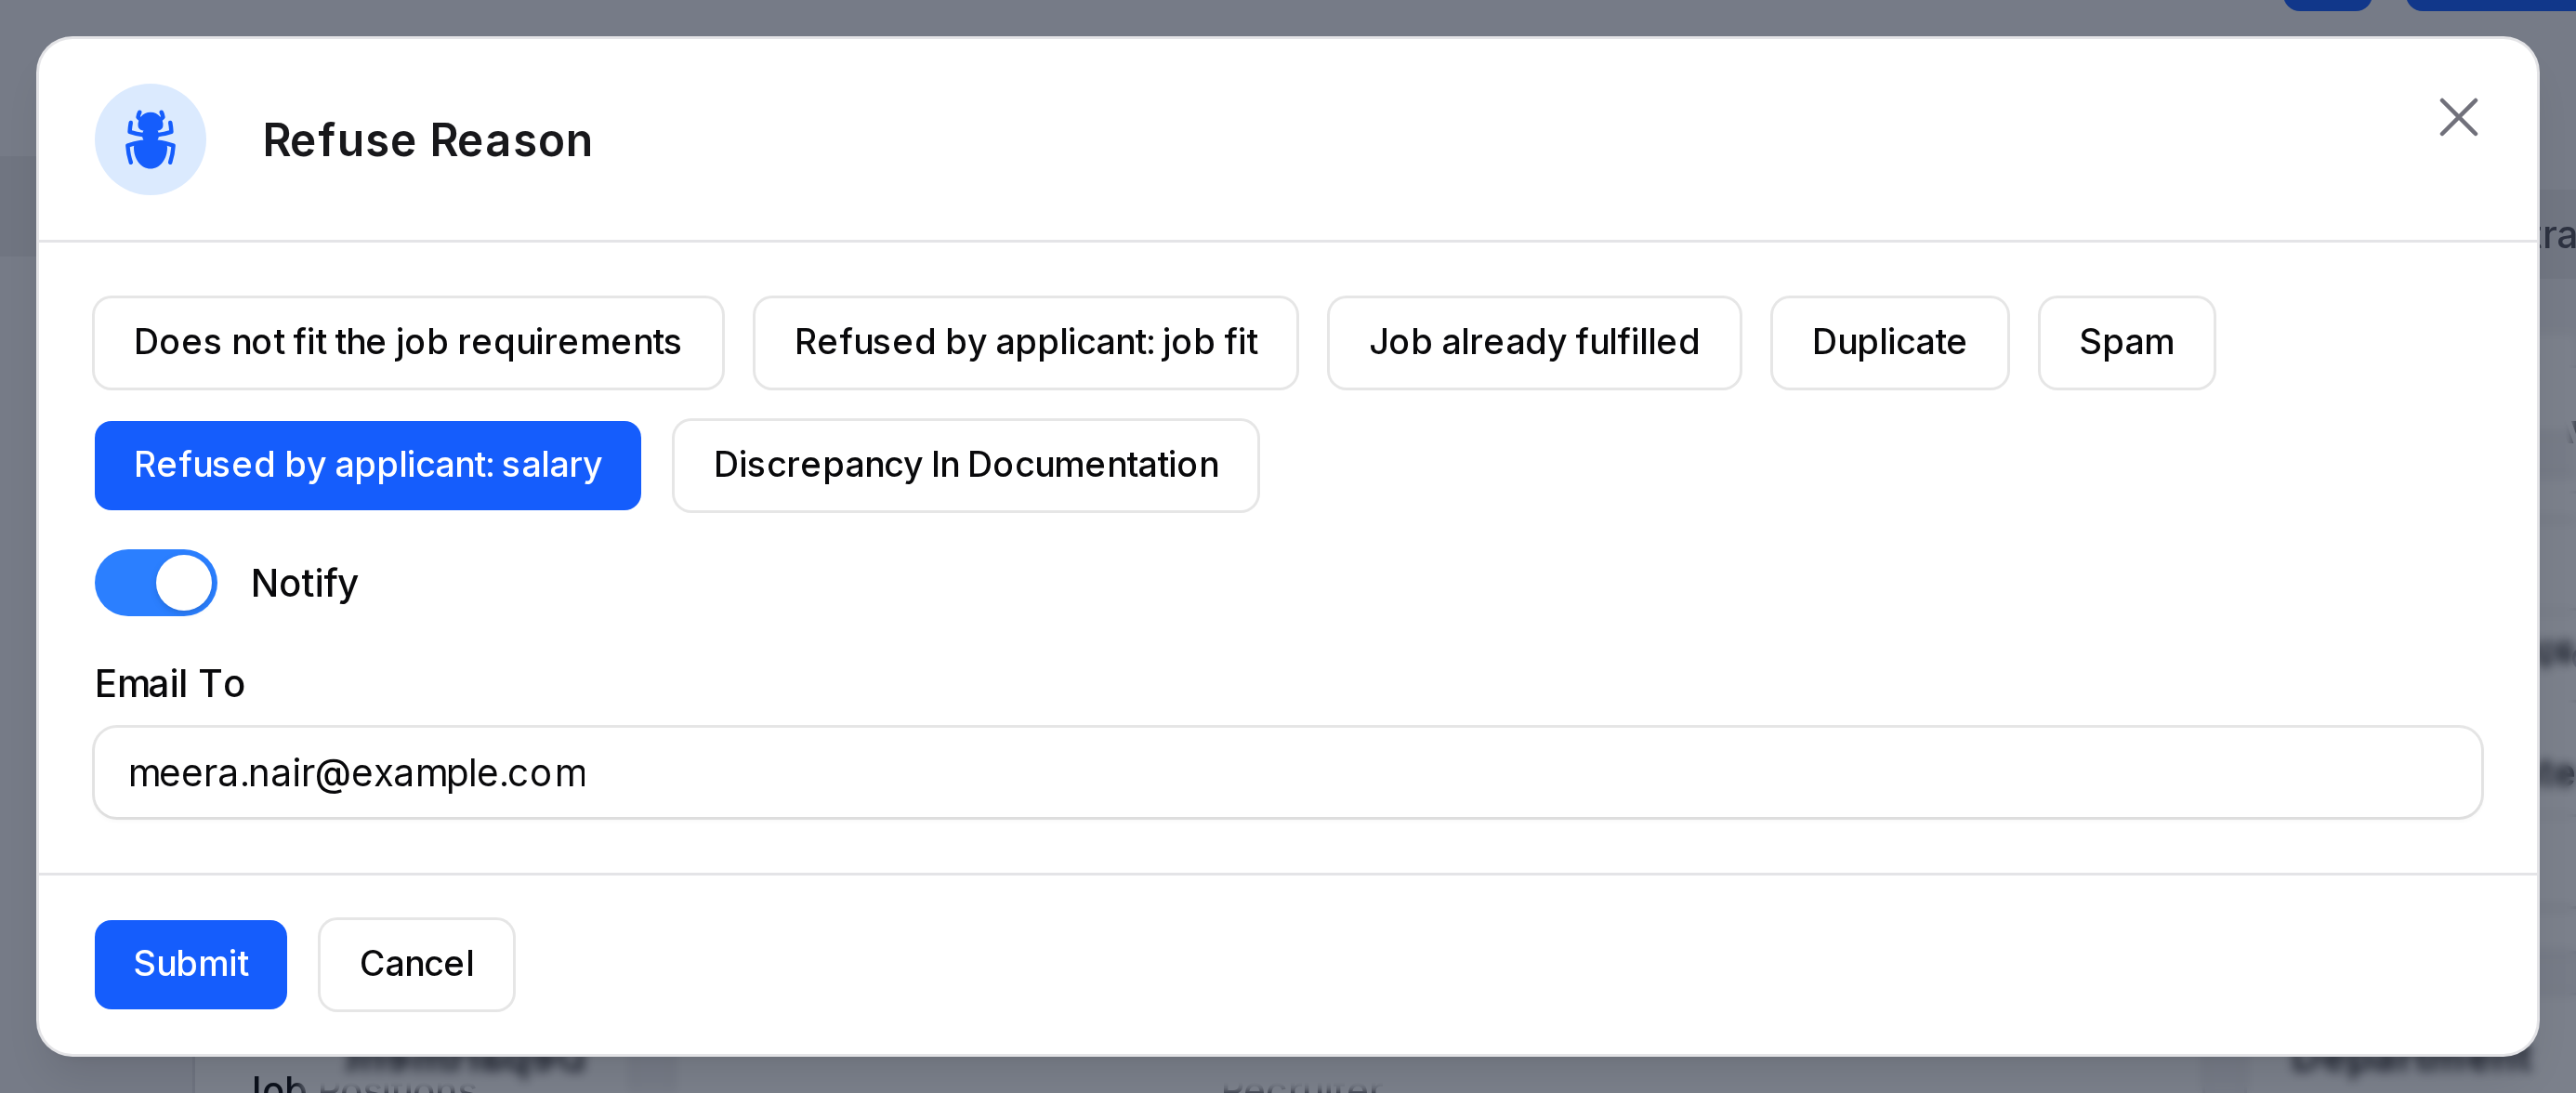
- Open Meera's applicant page and click Refuse.
- Click the reason Refused by applicant: salary.
- Leave Notify on. Email To shows her email address. Click Submit.
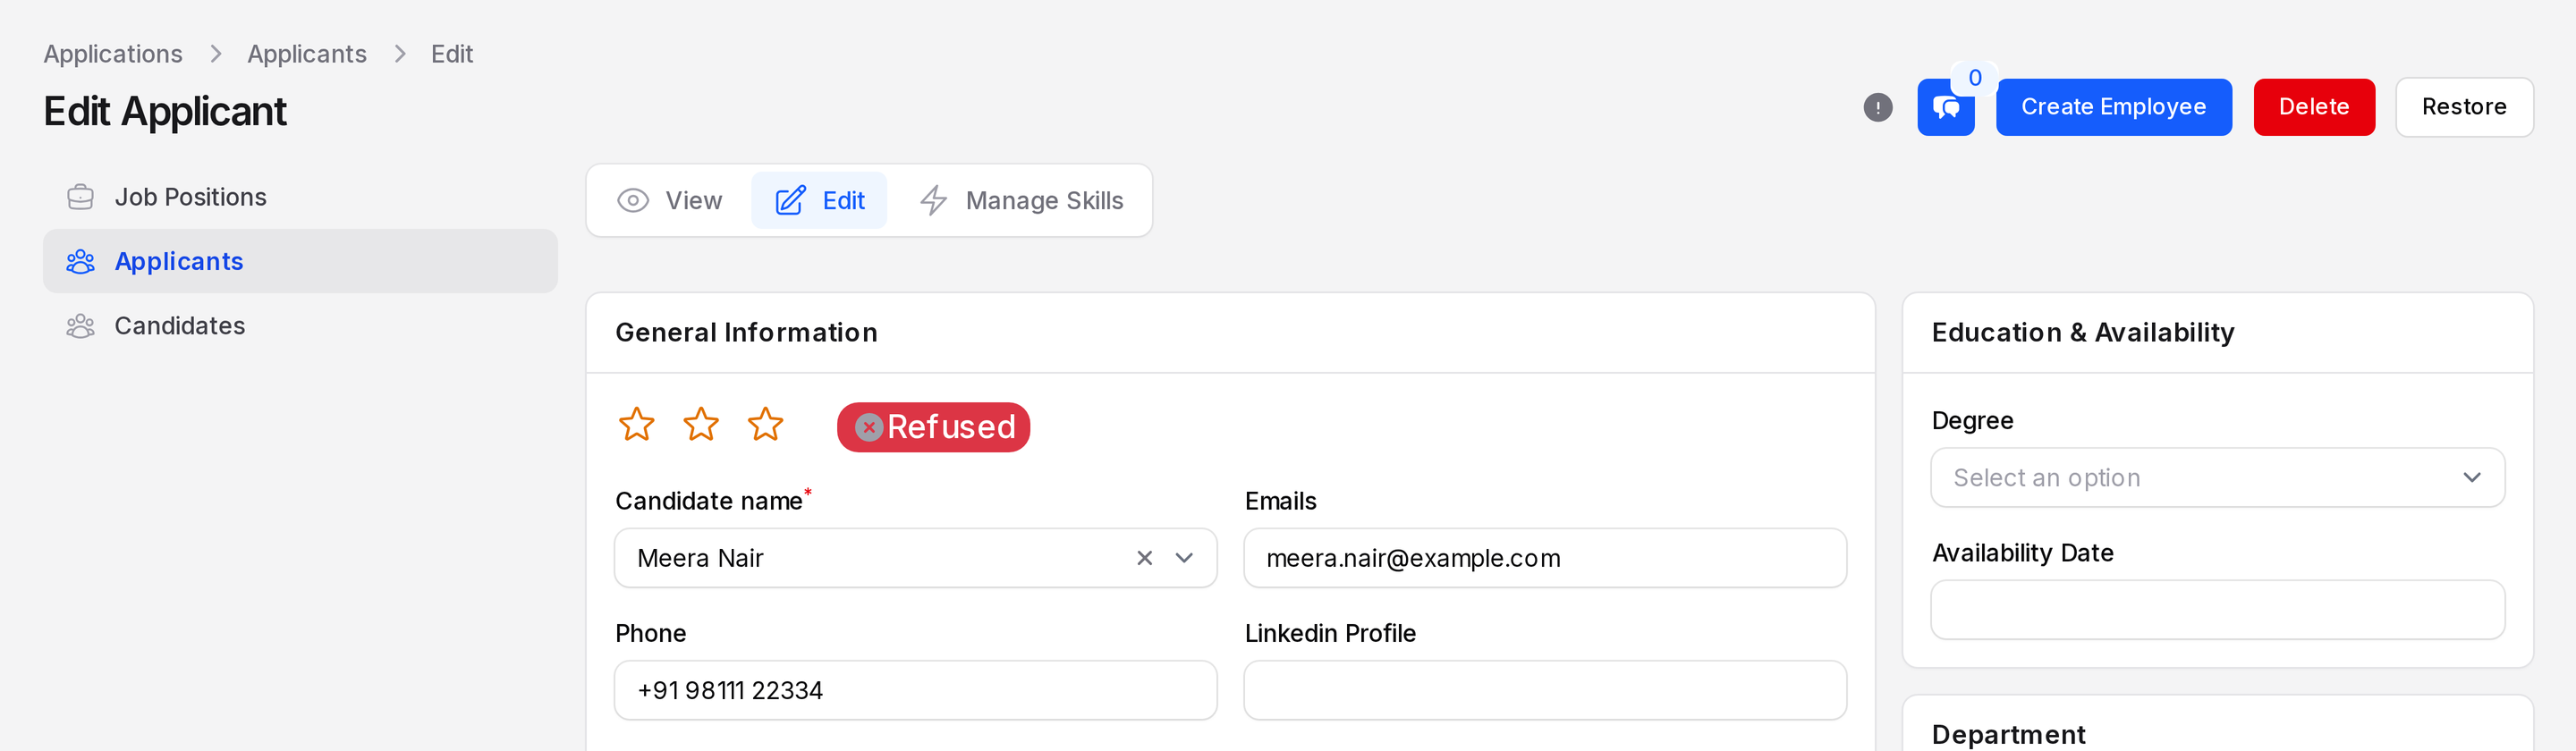
- Check the applicant. The status is Refused, the stage bar is hidden and the header shows Restore.
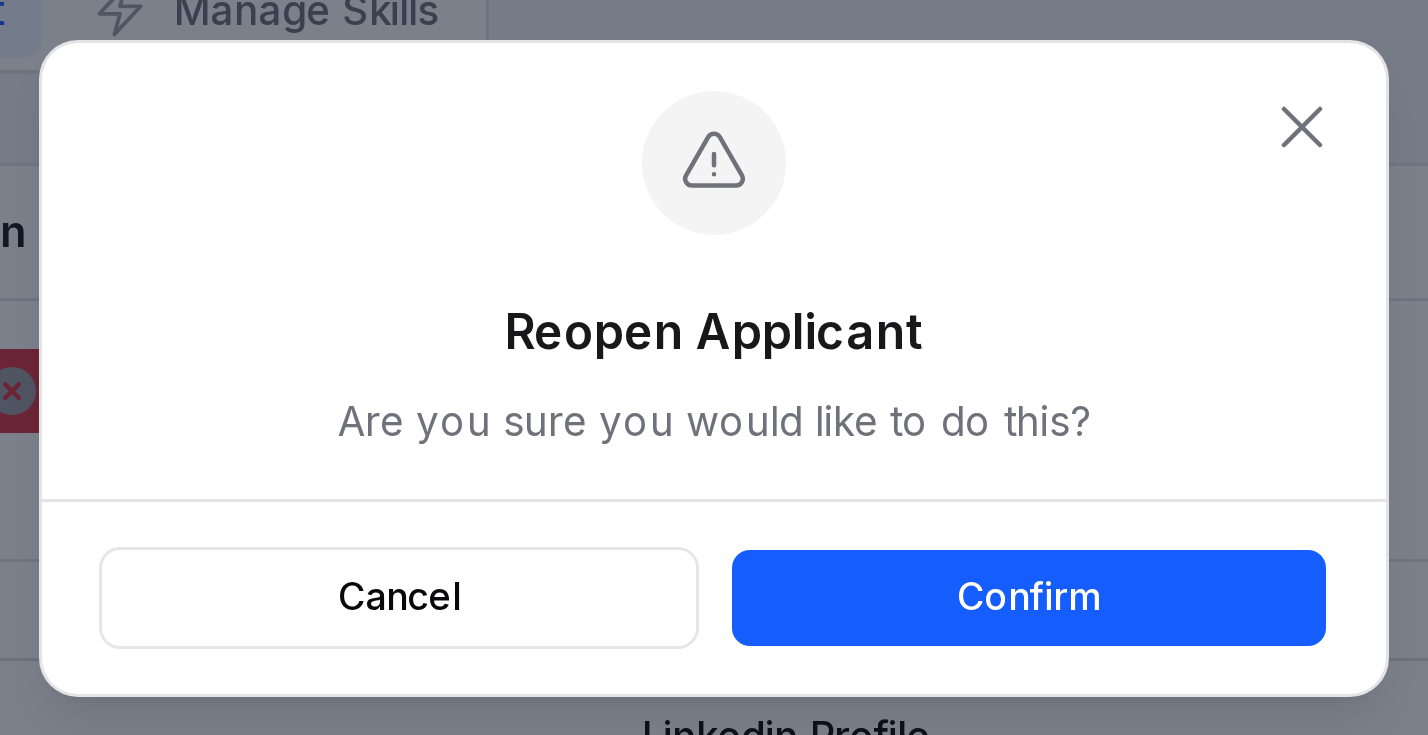
- To bring her back, click Restore and click Confirm.
See Refuse and reopen for the details.
Step 9: Find the applicants on the list
- Open
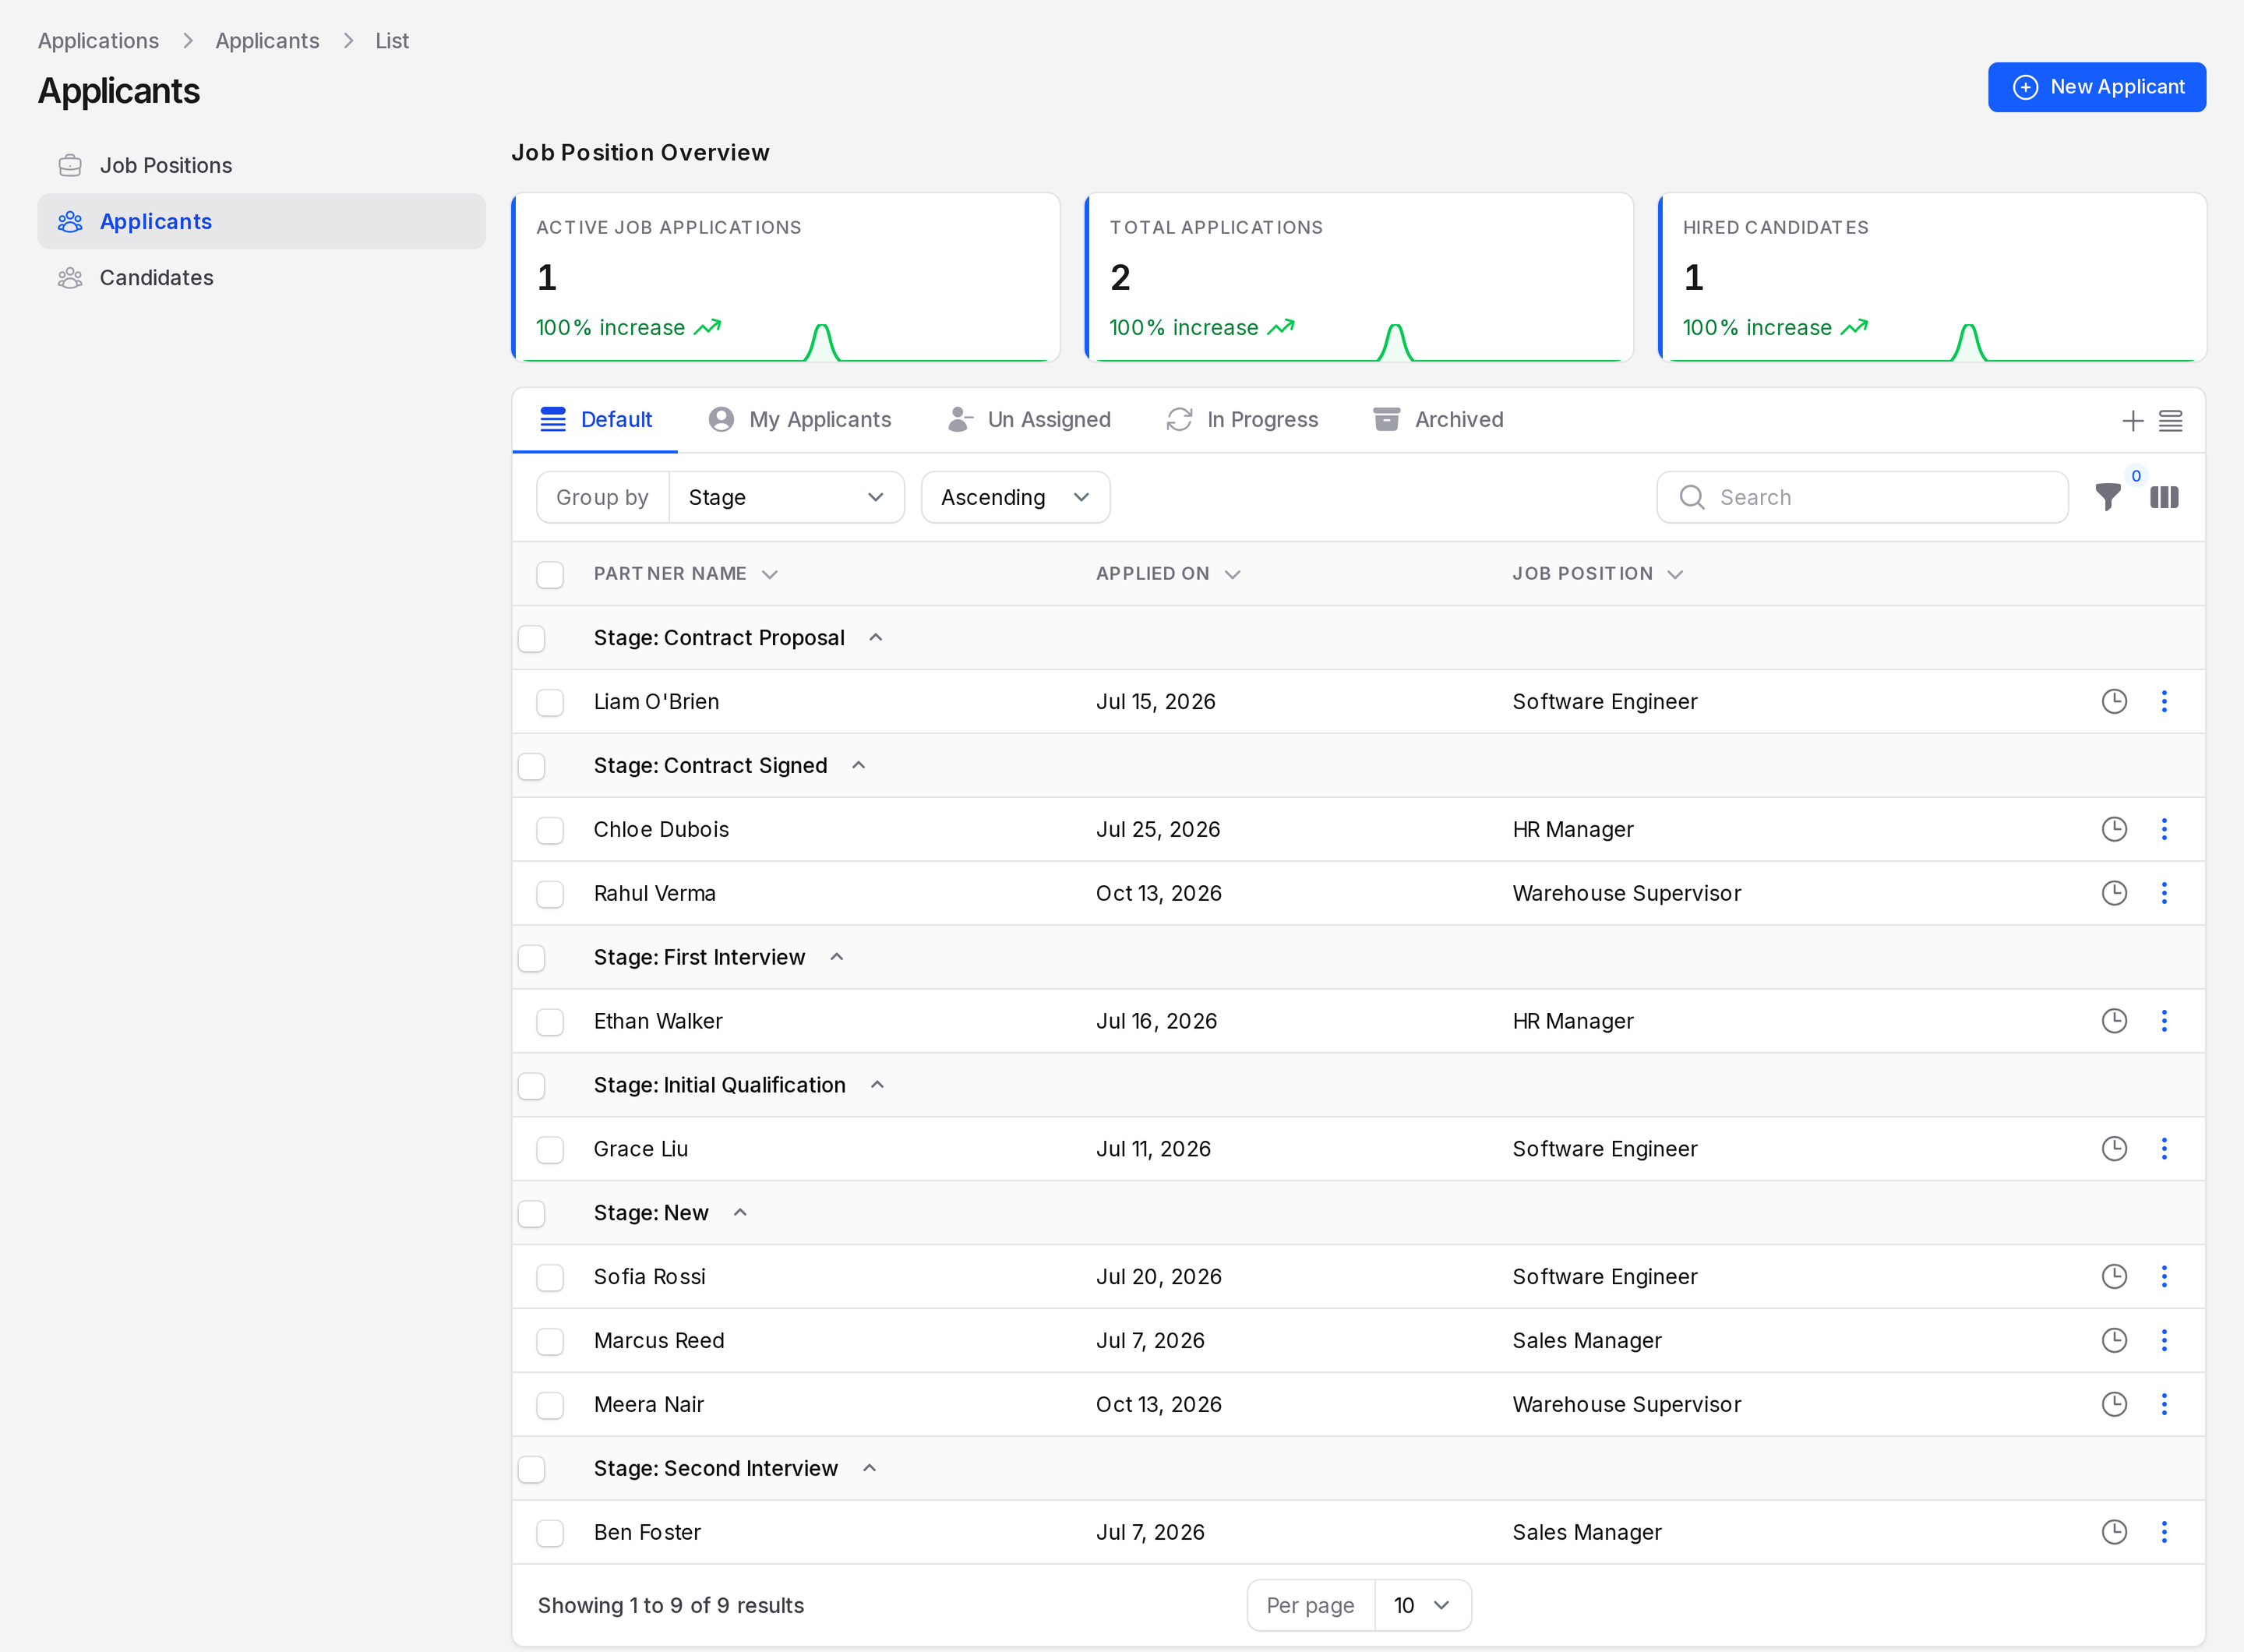
Recruitments → Applications → Applicants. - The list is grouped by stage. Find the group of each applicant.
- Open the three dots menu and apply the Hired view to see hired people.