

CRM settings
CRM settings are the switches that decide which features your CRM shows. Some switches add a menu or extra fields. Others change how leads are handed to your team. Set them once, before your team starts to work.
In simple words: Settings turn parts of the CRM on or off, and each switch reveals the screens that belong to it.
Open CRM → Settings → Manage CRM. The settings area has three pages: Manage CRM, Manage Lead Scoring and Manage Lead Generation. This page covers Manage CRM.
The Manage CRM page
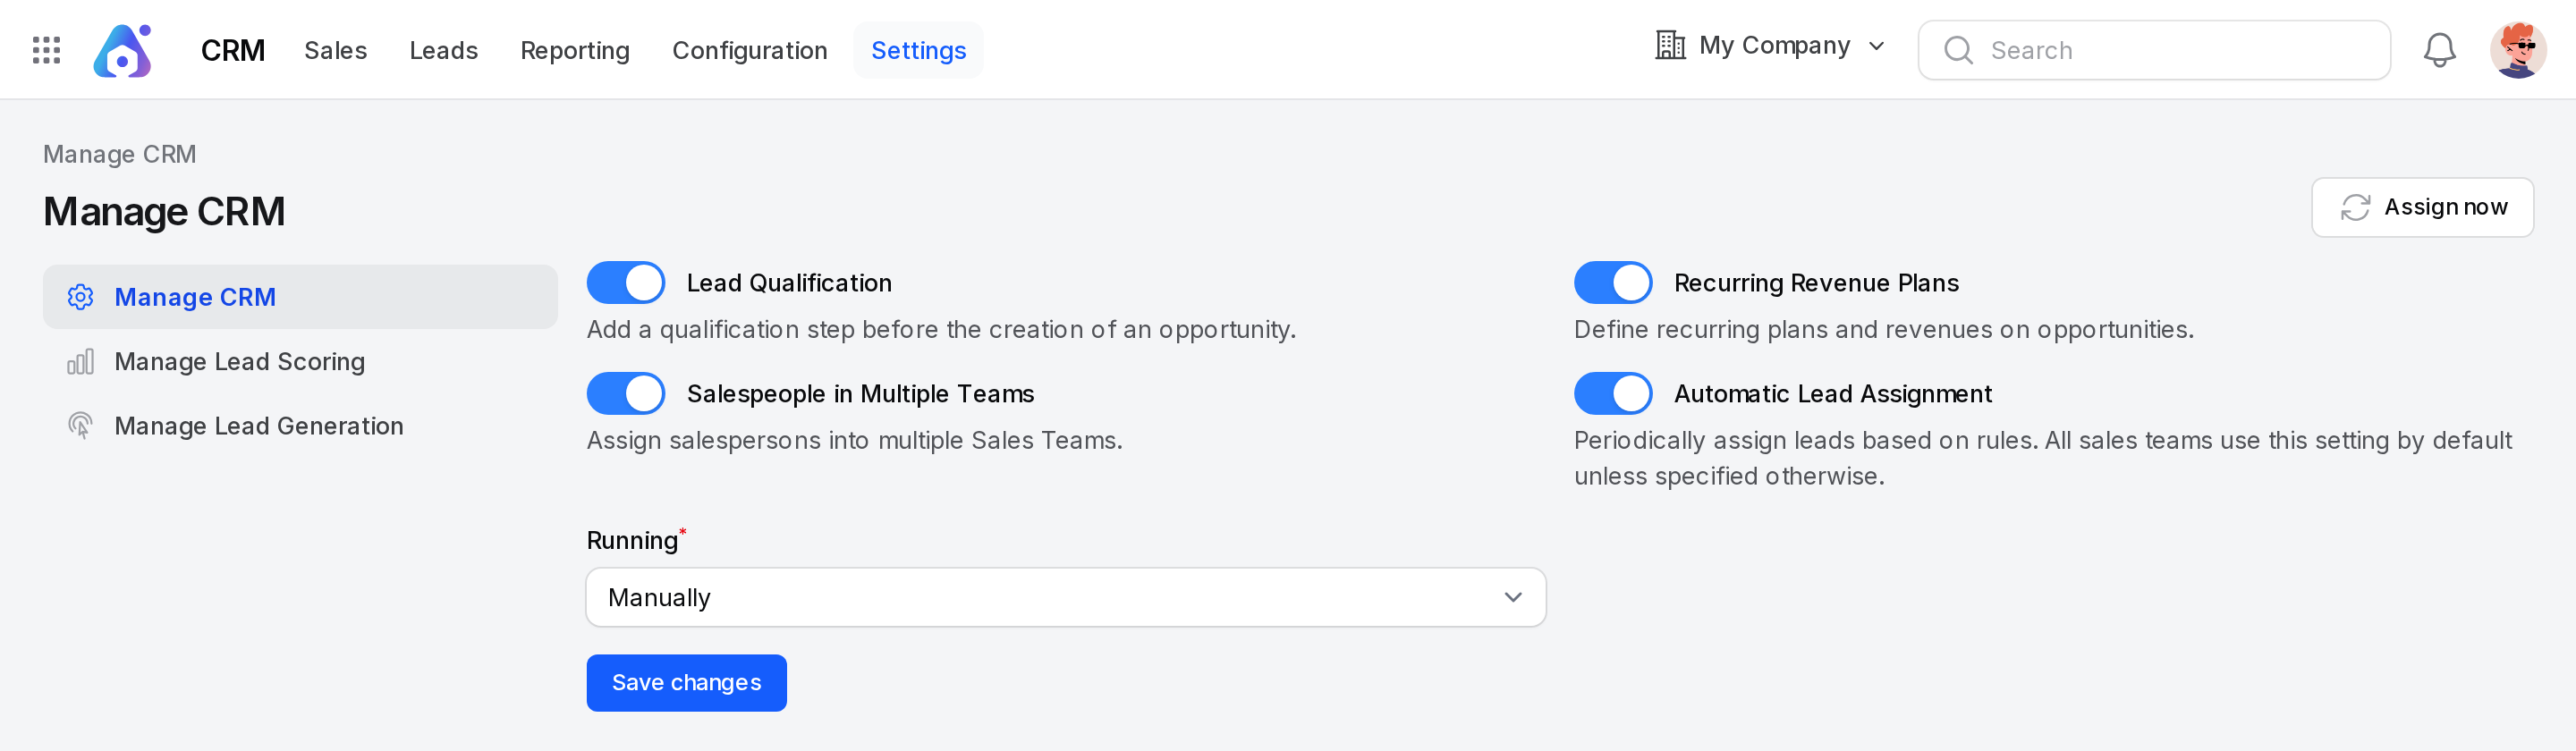
The page has four switches. Turn a switch on or off, then click Save changes.
- Lead Qualification: Adds a qualification step before an opportunity exists. Helper text: add a qualification step before the creation of an opportunity.
- Recurring Revenue Plans: Lets you define recurring plans and revenues on opportunities.
- Salespeople in Multiple Teams: Lets one salesperson be a member of more than one sales team.
- Automatic Lead Assignment: Periodically assigns leads by rules. All sales teams use it by default unless a team says otherwise.
What each switch reveals
| Switch | Off | On |
|---|---|---|
| Lead Qualification | The Leads menu is hidden. New records start as opportunities. | The Leads menu shows. Records start as leads and you convert them. The lead type choice also appears on lead generation rules. |
| Recurring Revenue Plans | The Recurring Plans menu and the recurring fields are hidden. | Recurring Plans shows under CRM → Configuration → Members. Opportunities get Recurring Revenue and Recurring Plan. |
| Salespeople in Multiple Teams | A salesperson belongs to one team. | A salesperson can be added to several teams. |
| Automatic Lead Assignment | Leads are assigned by hand. | The Running choice shows, the Assign now button shows, and teams get assignment settings. |
Example: You want a qualification step. Turn on Lead Qualification and click Save changes. The Leads menu appears next to Sales.
Set up automatic lead assignment
Turn on Automatic Lead Assignment.
In Running, choose how the assignment runs. This field is required.
- Manually: Leads are assigned only when you click Assign now.
- Repeatedly: Leads are assigned on a schedule.
For Repeatedly, fill in two more fields.
- Repeat every: A whole number, at least 1. Required.
- Unit: Choose Minutes, Hours, Days or Weeks. Required.
Click Save changes.
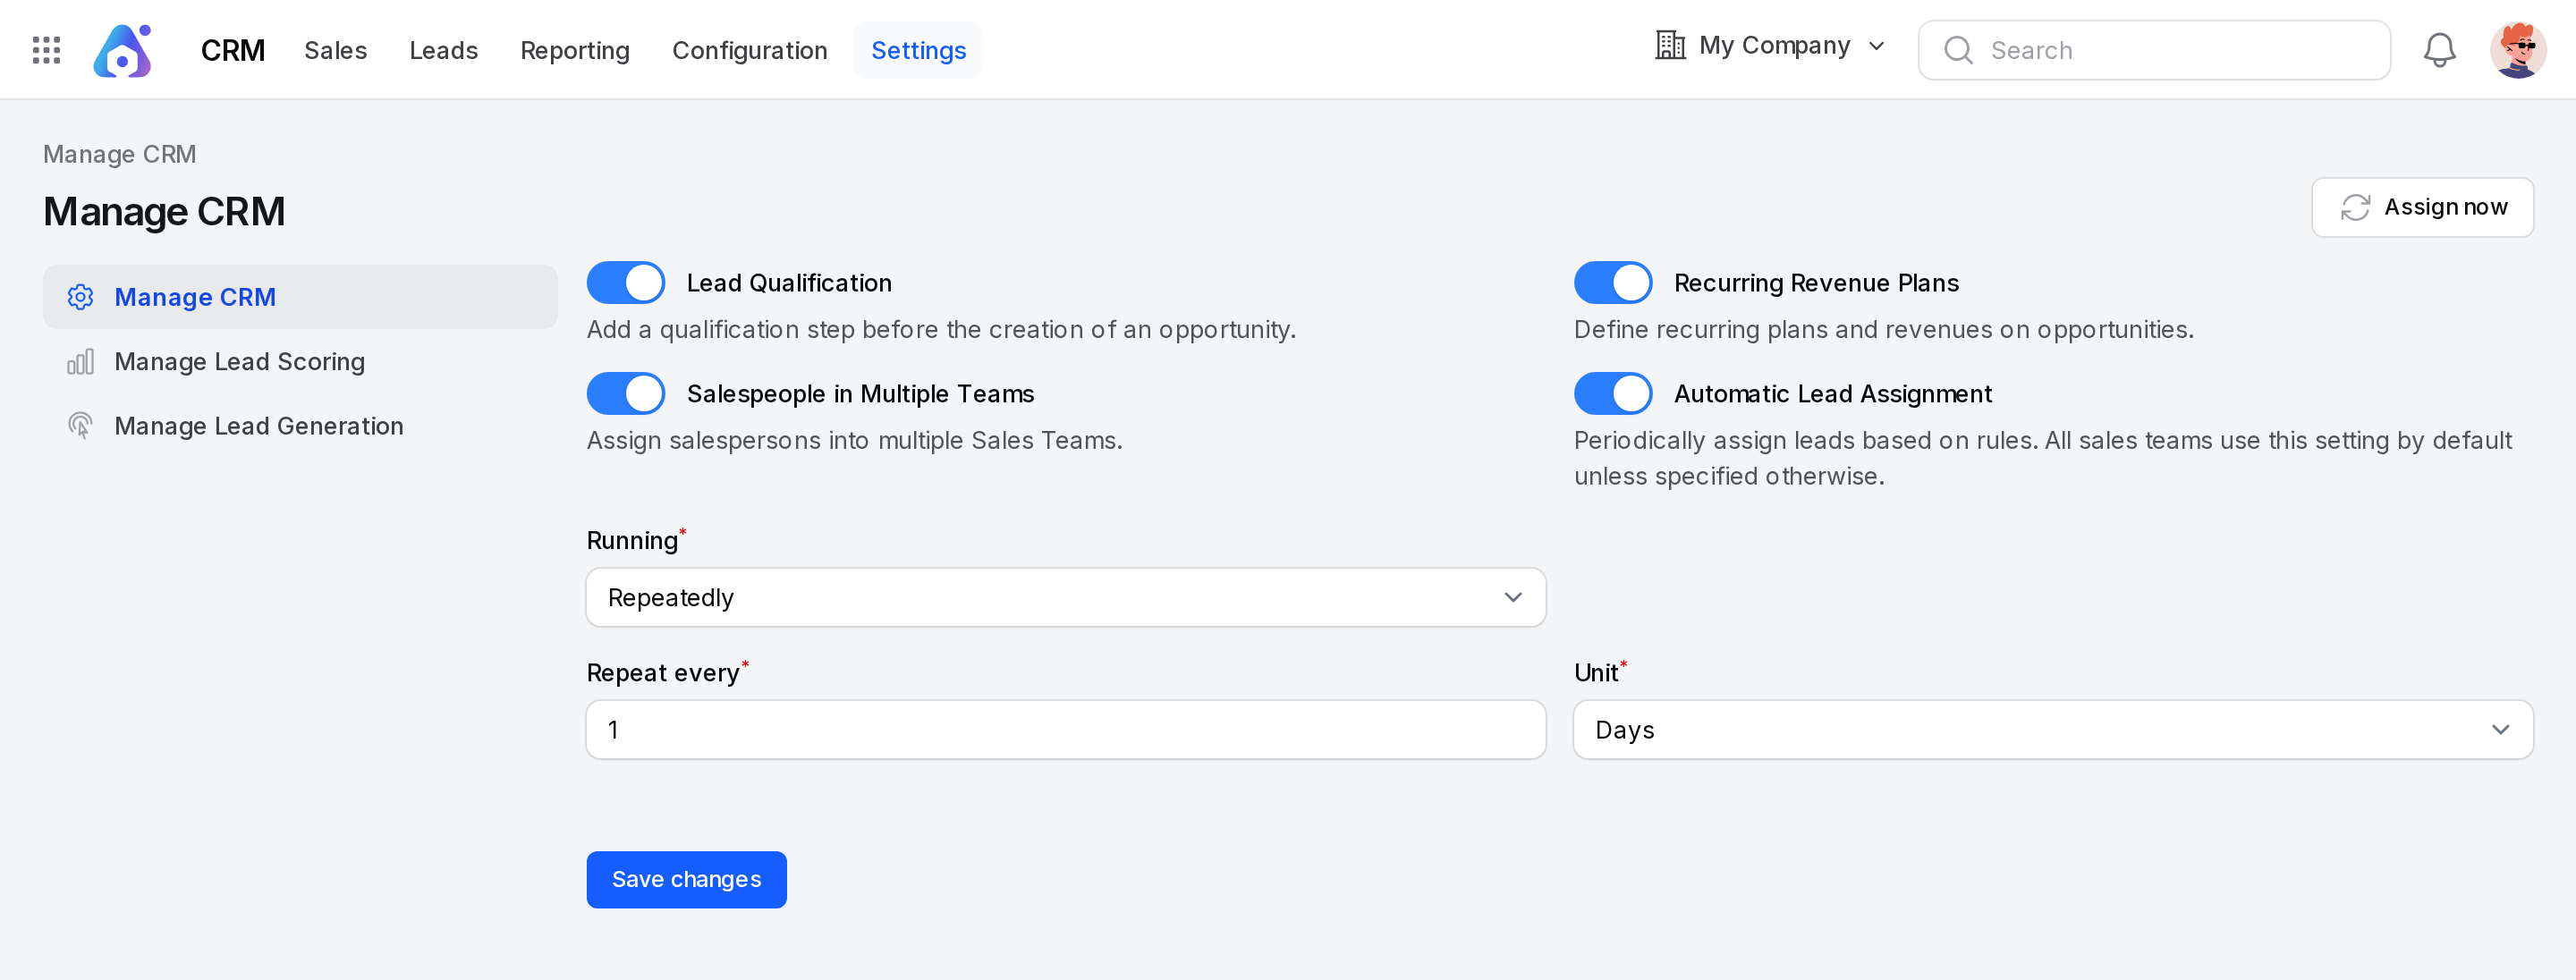
Example: Choose Repeatedly, enter 1 and choose Days. Aureus assigns new leads every day.
Assign now
Assign now is a button in the page header. It shows only while Automatic Lead Assignment is on.
- Click Assign now.
- Read the message: it assigns unassigned leads to sales teams and salespeople now, using the assignment rules.
- Confirm.
A notice then reports the result, for example: Assigned 3 lead(s) to sales teams and 2 to salespeople.
INFO
Assignment follows the rules you set on each sales team. See Manage sales teams.
Other settings pages
Use the page links at the top of the settings area.
- Manage Lead Scoring: Sets how win probability is calculated. See Lead scoring.
- Manage Lead Generation: Turns on leads from website visits and opens the rules. See Lead generation.
Behind the scenes
- Settings are company wide. Every user sees the same menus after you save.
- Turning Lead Qualification off does not delete leads. It hides the menu and changes how new records start.
- Turning Recurring Revenue Plans off hides the fields. Values already saved on opportunities stay.
- The scheduled assignment runs on the interval you saved. Assign now runs the same job at once.
WARNING
Check with your team before you turn Lead Qualification off. Staff lose the menu where they work on leads.