

Terminal tour
The terminal is where you sell. It has a product area on the left and the current order on the right. This page names every part of the screen, so you know where to click before your first sale.
In simple words: Products on the left, the order on the right, buttons and the number pad underneath.
Open the terminal
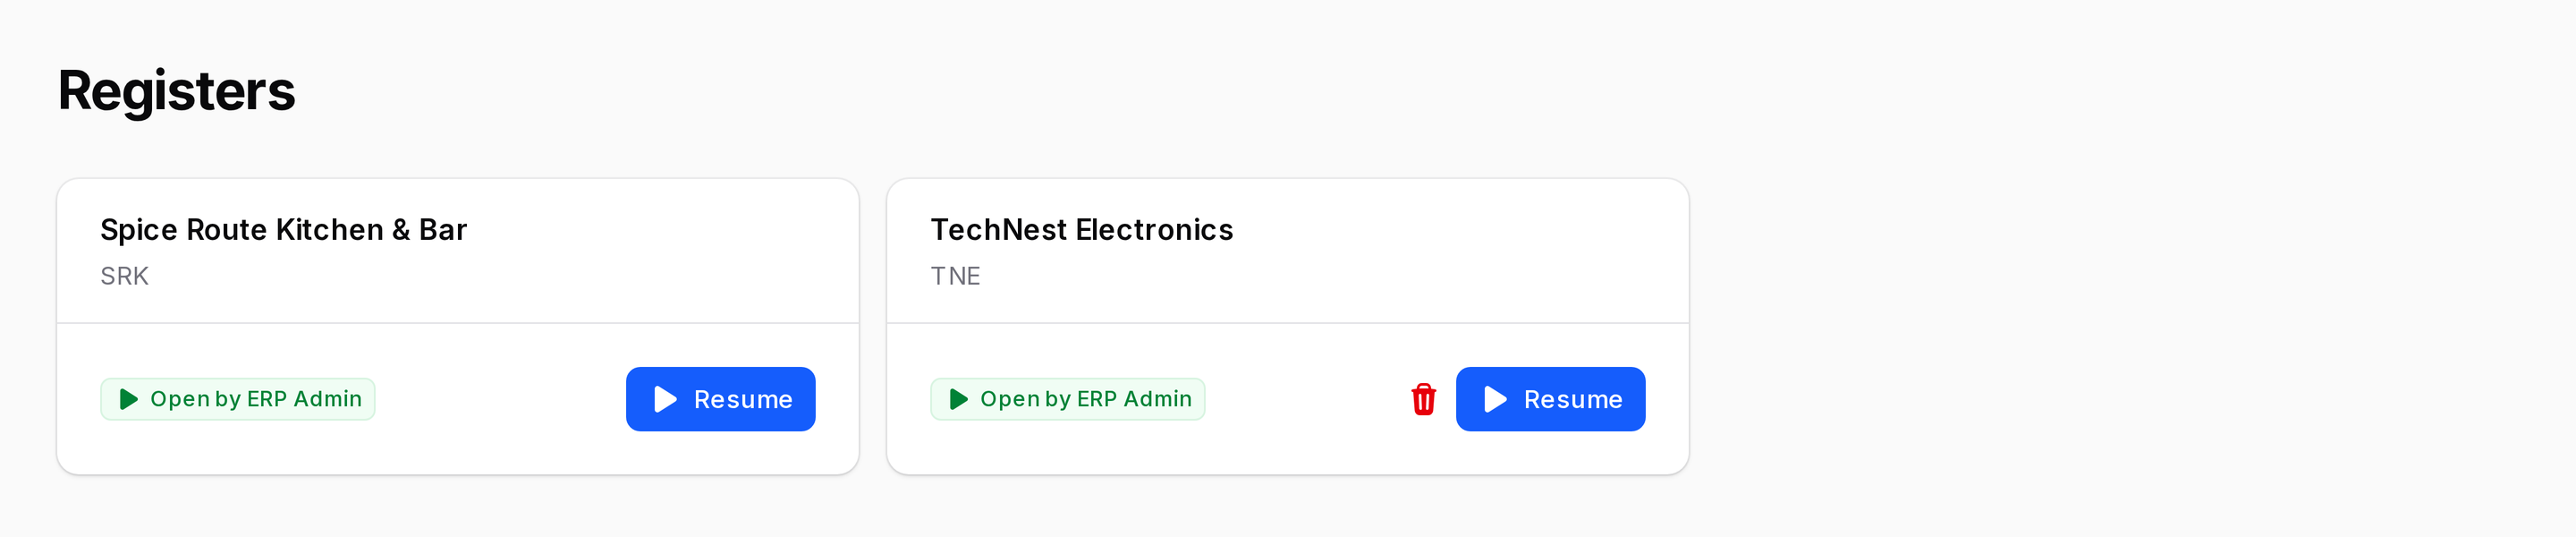
Open /pos/registers in your browser, or click Open Register or Continue Selling on the back office Dashboard. Pick your register. The terminal opens on the Home page.
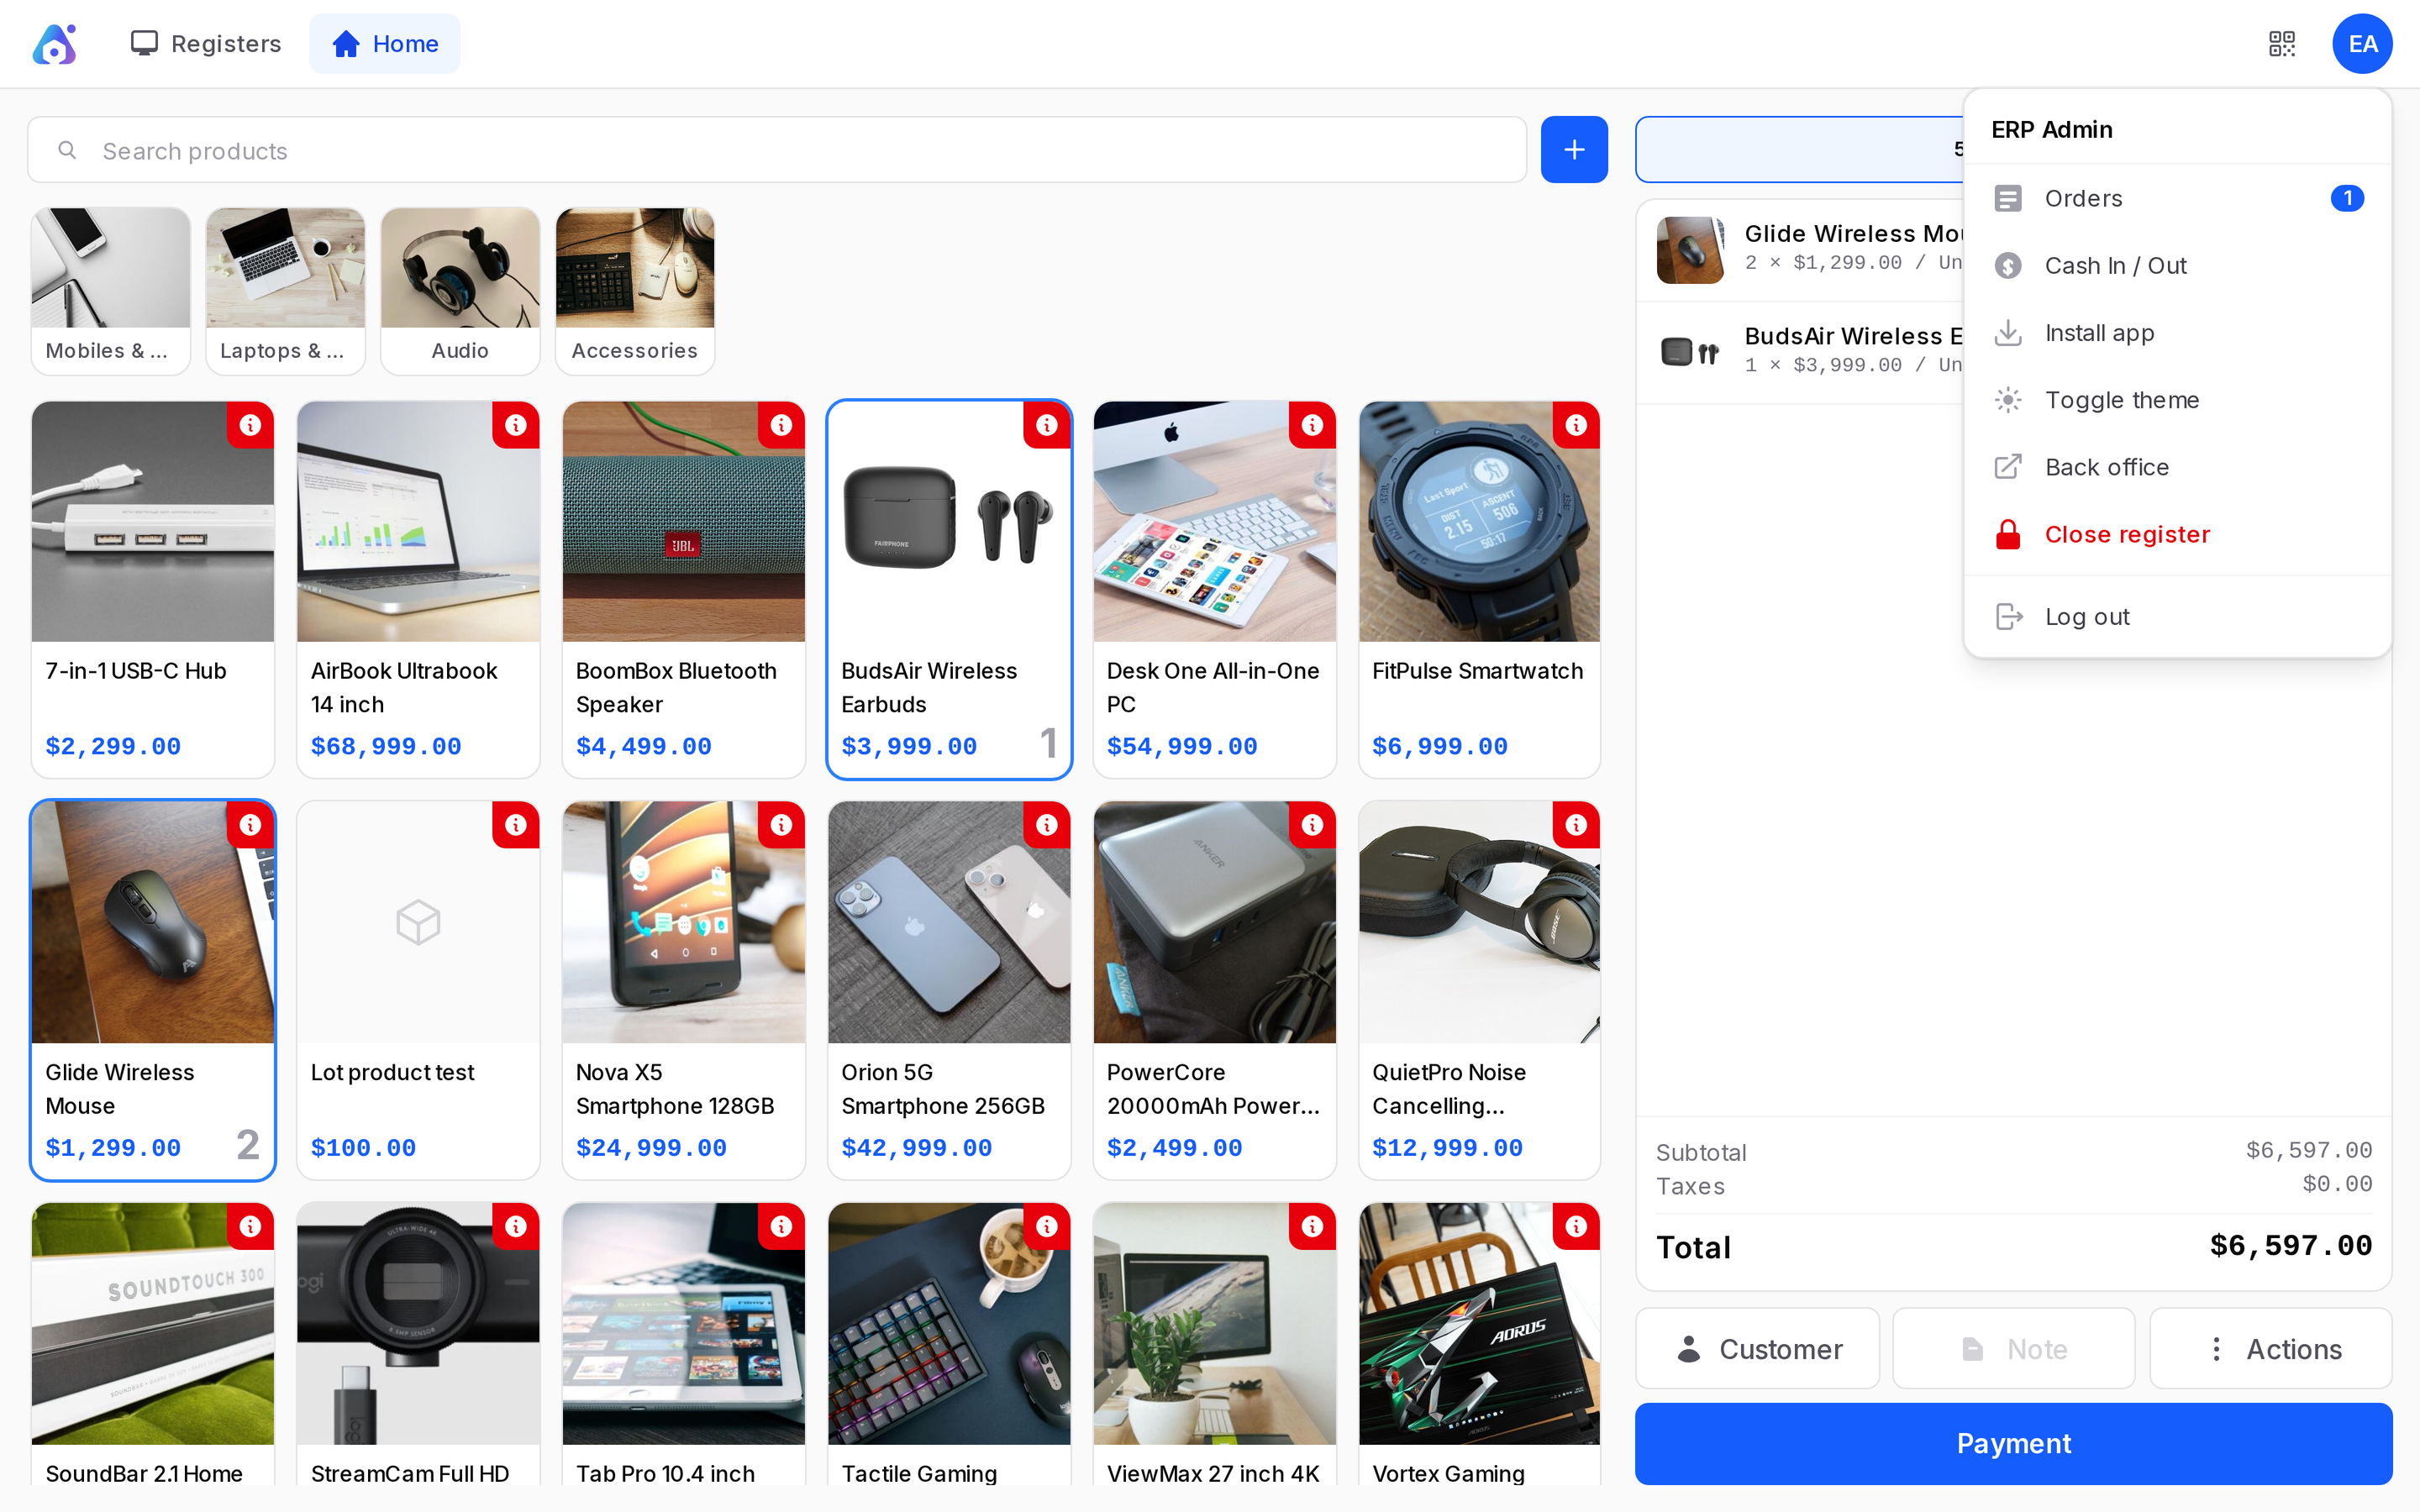
The top bar
- Registers: Goes back to the list of registers.
- Home: The selling screen. In a restaurant this is the floor plan first.
- Your initials: Opens the menu with Orders (past and open orders, see Refunds), Cash In / Out, Install app, Toggle theme, Back office, Close register and Log out.
The product area
- Use Search products to find a product by name.
- Click a category tile, such as Audio or Accessories, to show only that category.
- Click a product tile to add one unit to the order. Click it again to add more.
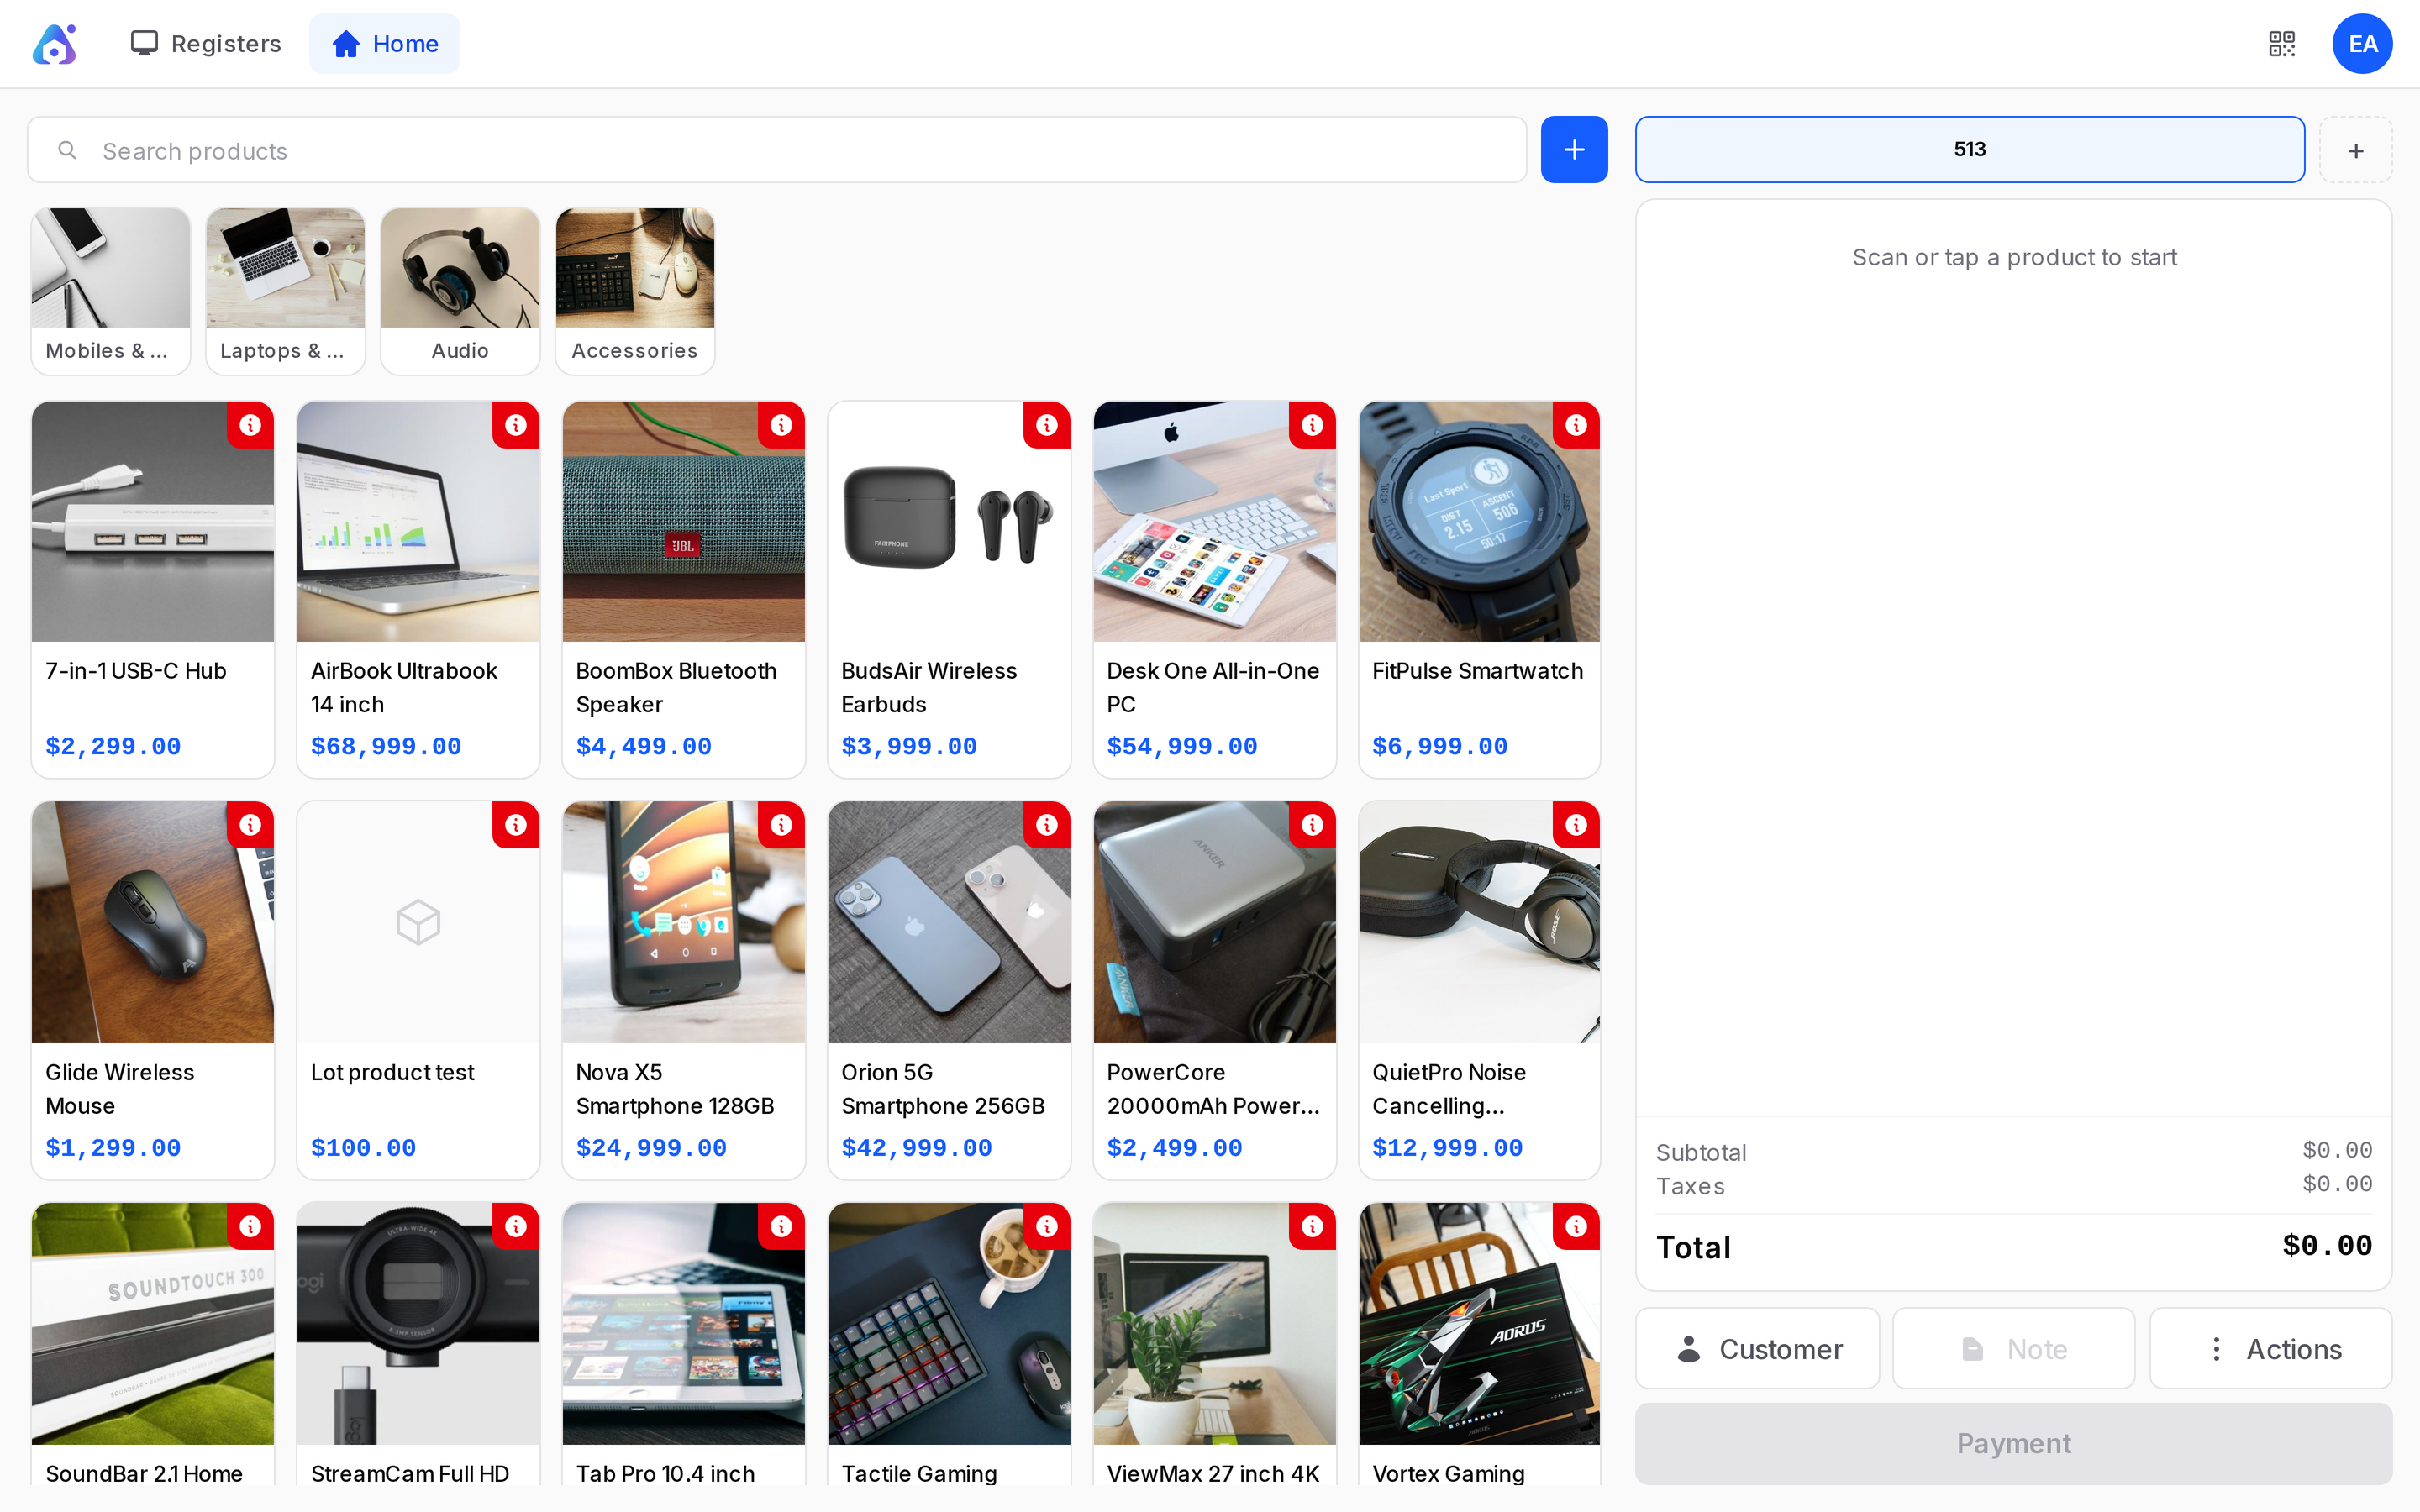
Each tile shows the name, the price and, if it is already on the order, the quantity in the corner. The red i icon opens the product information with stock, price, cost and margin.
The blue + button next to the search box creates a new product on the spot.
The order tabs
At the top right of the product area you see the order tabs.
- The chip with a number, such as 401, is the tracking number of the order. It is also printed on the receipt.
- The hamburger icon lists all open orders.
- The + icon starts a new order. Orders you set aside stay open until you come back.
The order panel
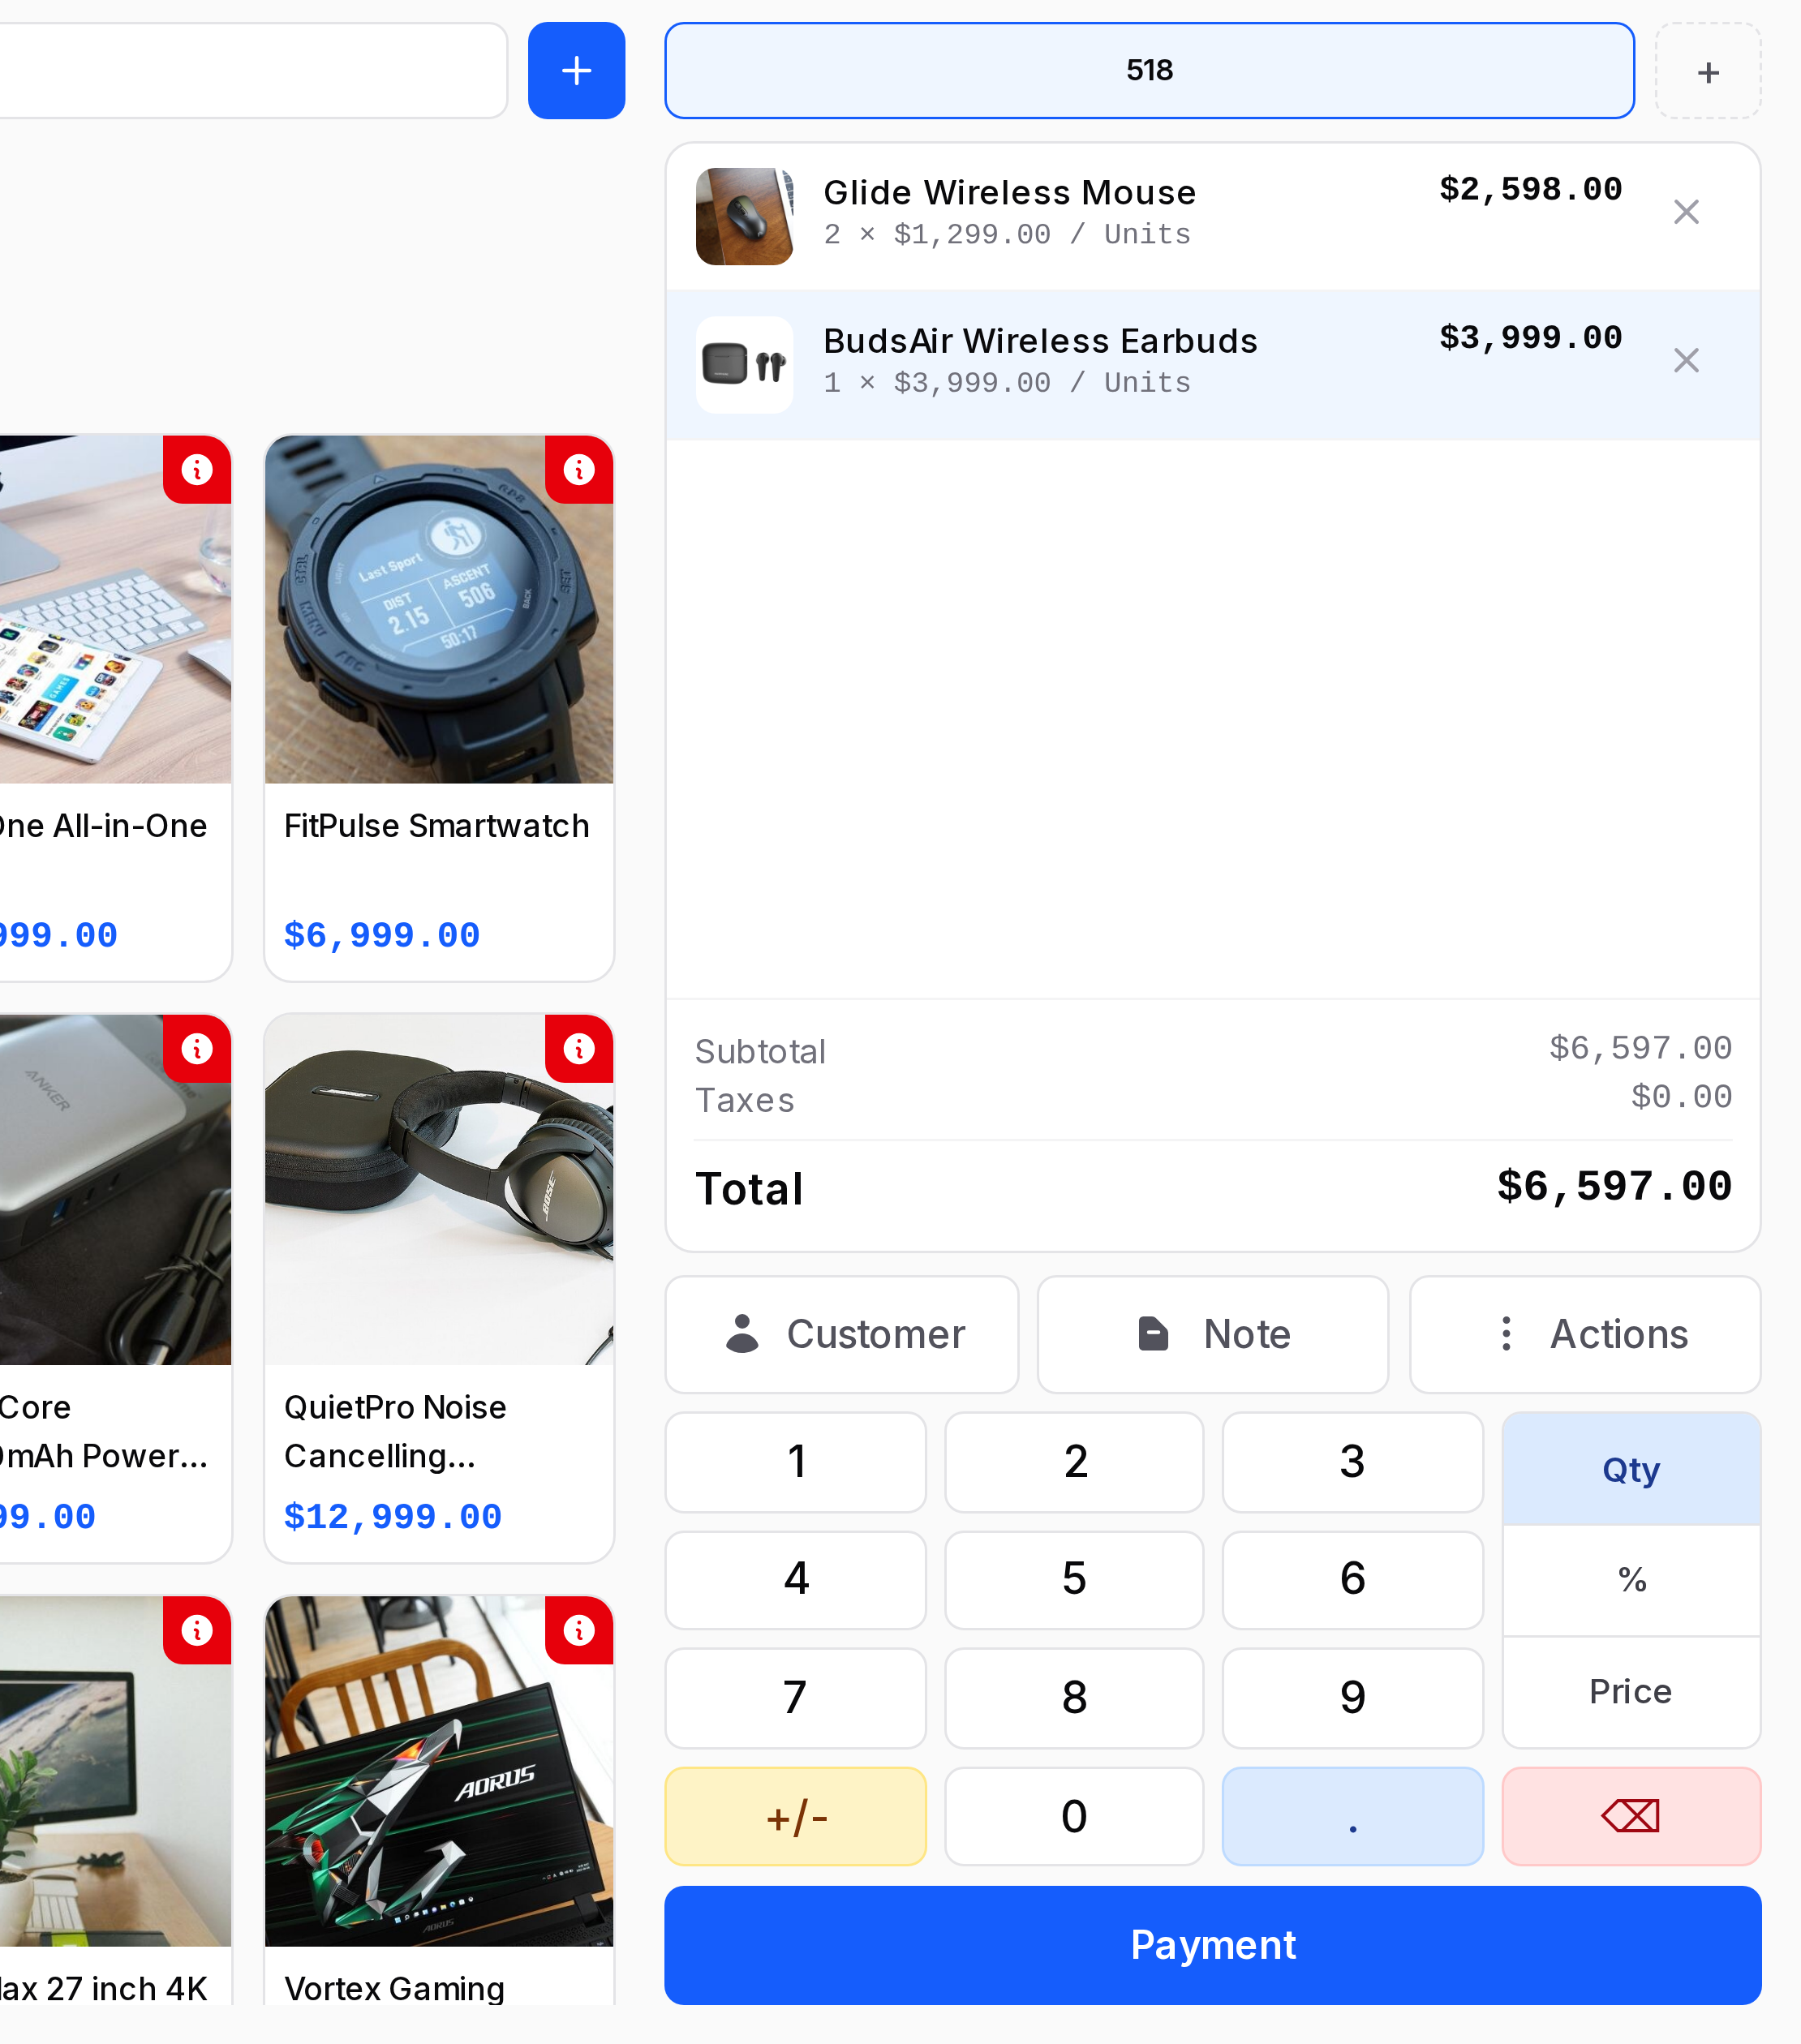
The right side shows the current order.
- Lines: Product, quantity x price and the line total. Click X to remove a line.
- Subtotal, Taxes, Total: The running amounts.
- Customer: Picks the customer. See Notes and customers.
- Note: Adds a note to the selected line.
- Actions: More options for the order, such as Cancel order. In a restaurant it also holds Guests and Transfer / Merge.
- Payment: Goes to the payment screen. See Pay and receipt.
The number pad
The pad changes the selected line. Click a line first, then choose a mode.
- Qty: Types the quantity. Enter 3 to make the quantity 3.
- %: Types a discount percentage for the line. The mode is active only when line discounts are on.
- Price: Types a new unit price for the line. It works only when price changes are allowed.
- +/-: Switches the sign of the number.
- Backspace: Deletes the last digit.
The Orders page
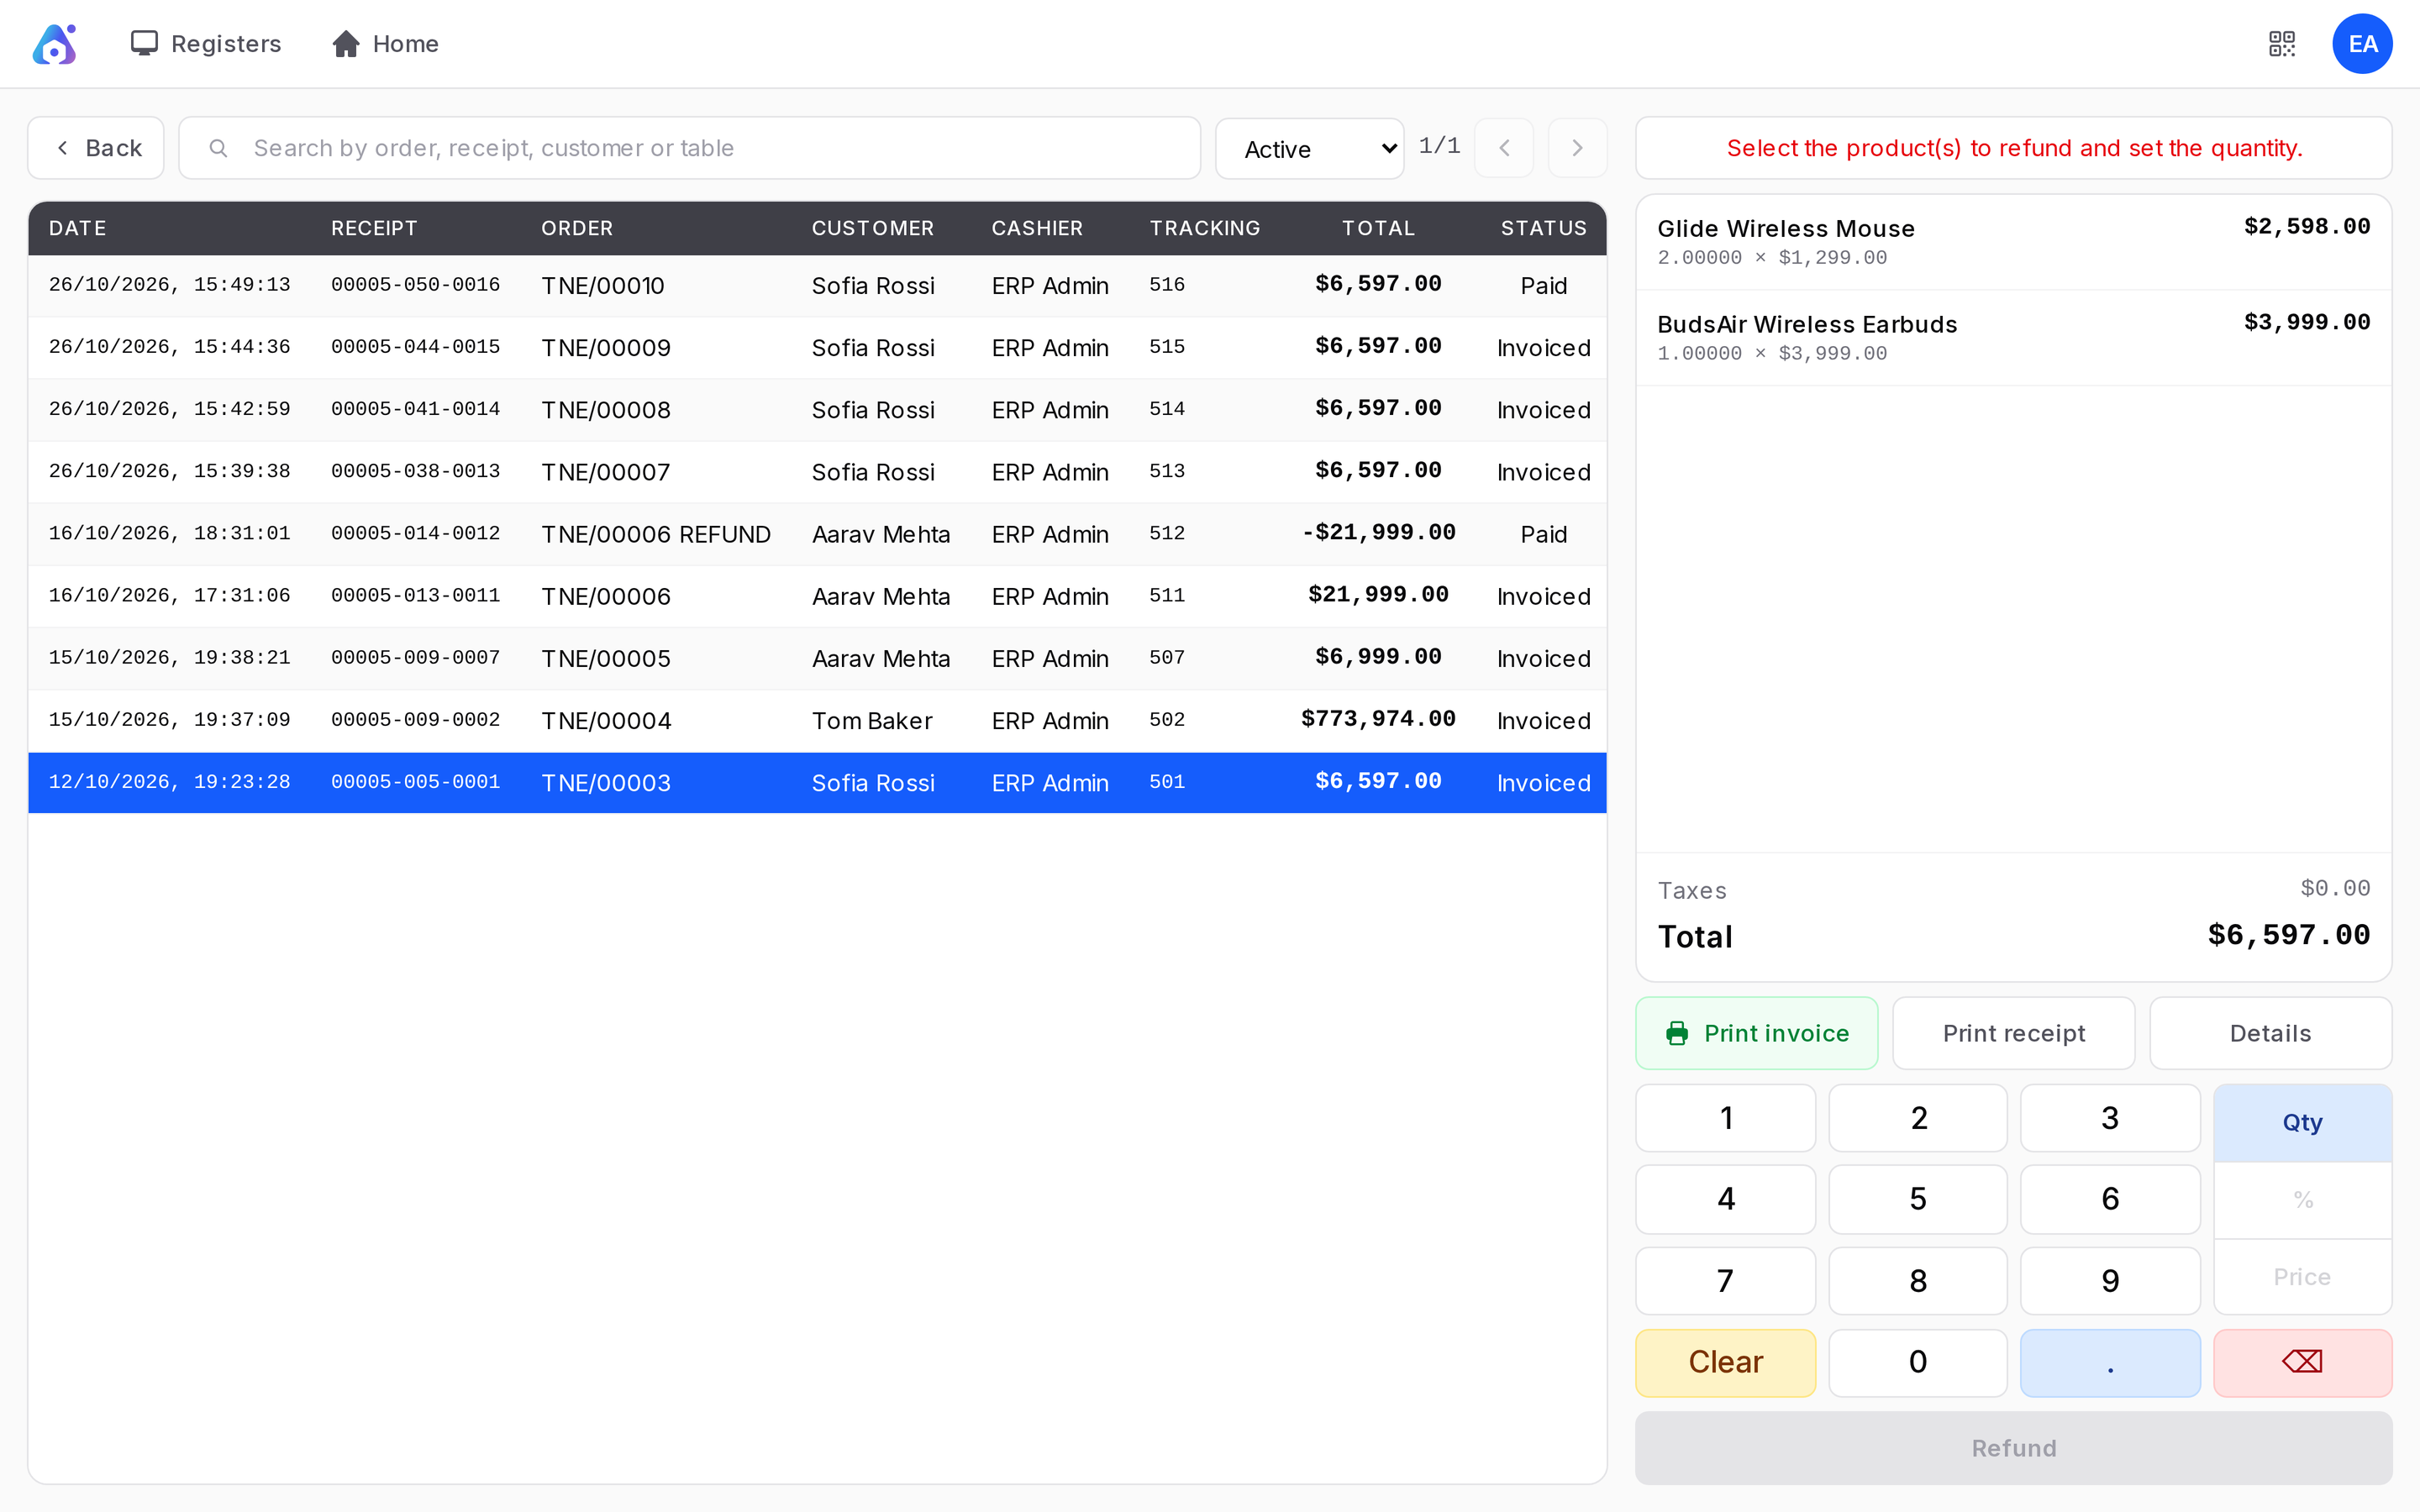
Click Orders in the menu to see orders of this register. You can filter by status, search and select an order. Use it for refunds and invoices.
TIP
A barcode scanner works anywhere on the till. Scan a product and it goes to the order.