

Moves history
Moves History lists every product movement as one line: what moved, from where, to where, how many and when. Receipts, deliveries, scraps, adjustments and manufacturing all leave lines here. It is your audit trail.
In simple words: A diary of every product movement.
Open it from Inventory → Reporting → Moves History. The page title is Move Lines.
Tabs
| Tab | Shows |
|---|---|
| Default | All lines. The page opens on Done. |
| To Do | Lines not yet done |
| Done | Completed movements |
| Incoming | Receipts |
| Outgoing | Deliveries |
| Internal | Movements inside the warehouse |
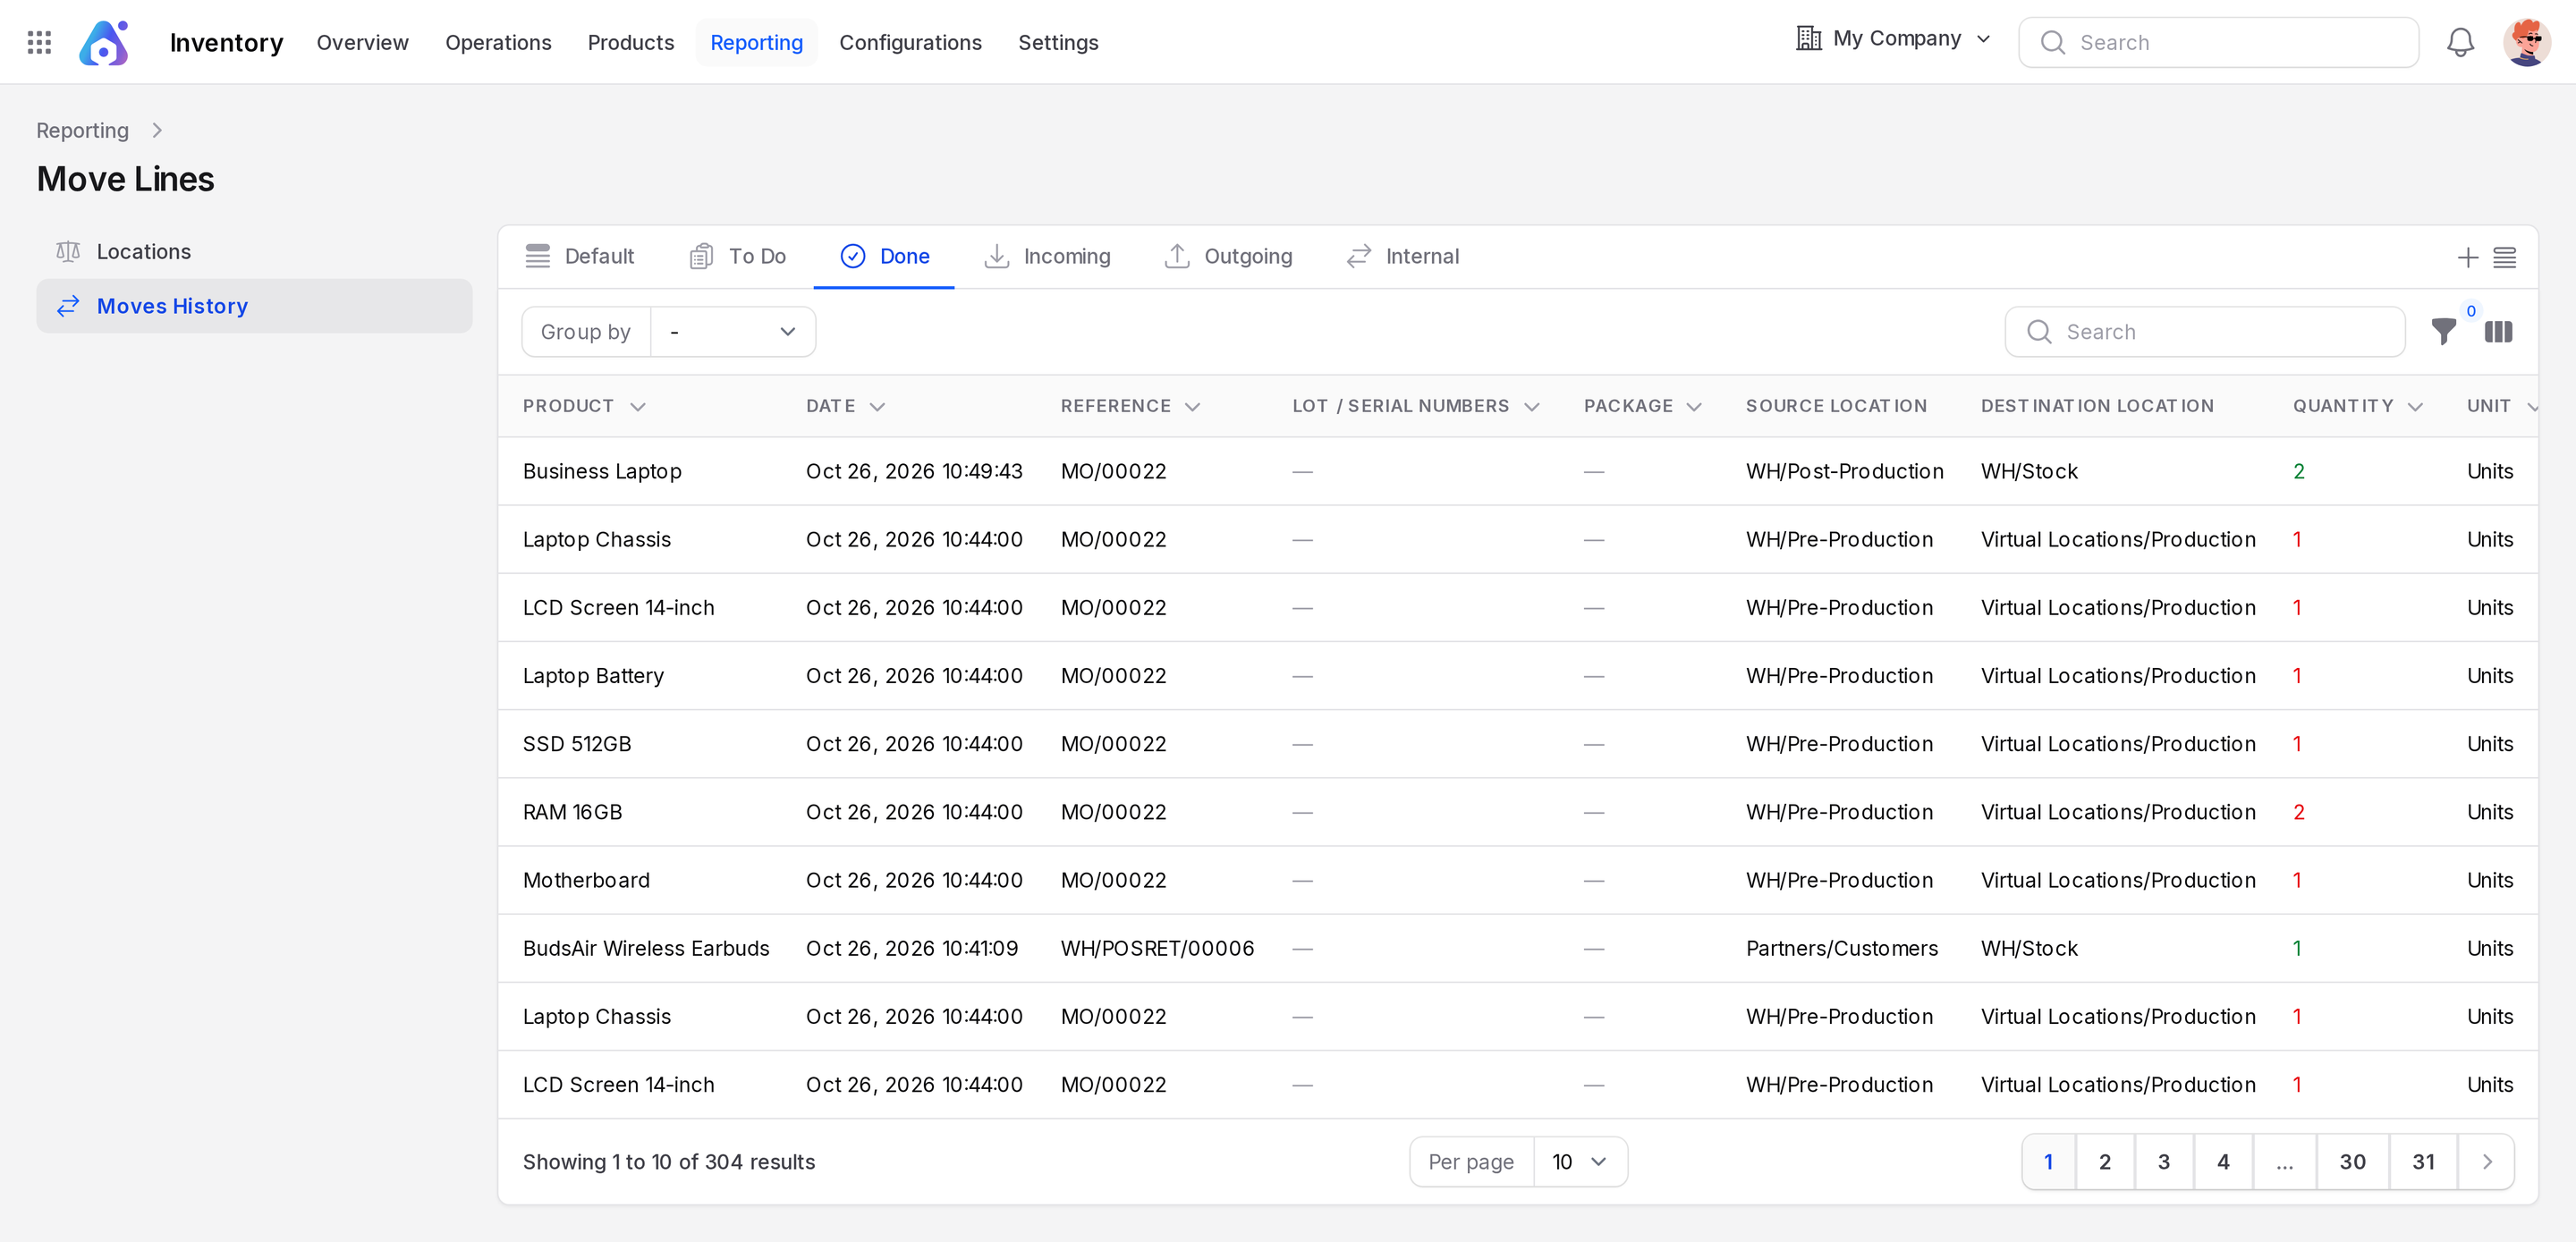
Columns
- Product: the item moved.
- Date: when it moved.
- Reference: the document, for example WH/IN/12.
- Lot / Serial Numbers and Package: shown when those settings are on.
- Source Location and Destination Location: the two ends of the move.
- Quantity and Unit: how much.
- Done By: who validated it.
- Delete: a red button at the end of each line.
WARNING
Deleting a line removes a record of a real movement. Do not delete lines unless you are sure.
Group by
Choose Group by for Product, Status, Date, Operation, Location or Category. Grouping by Product shows one block per item.
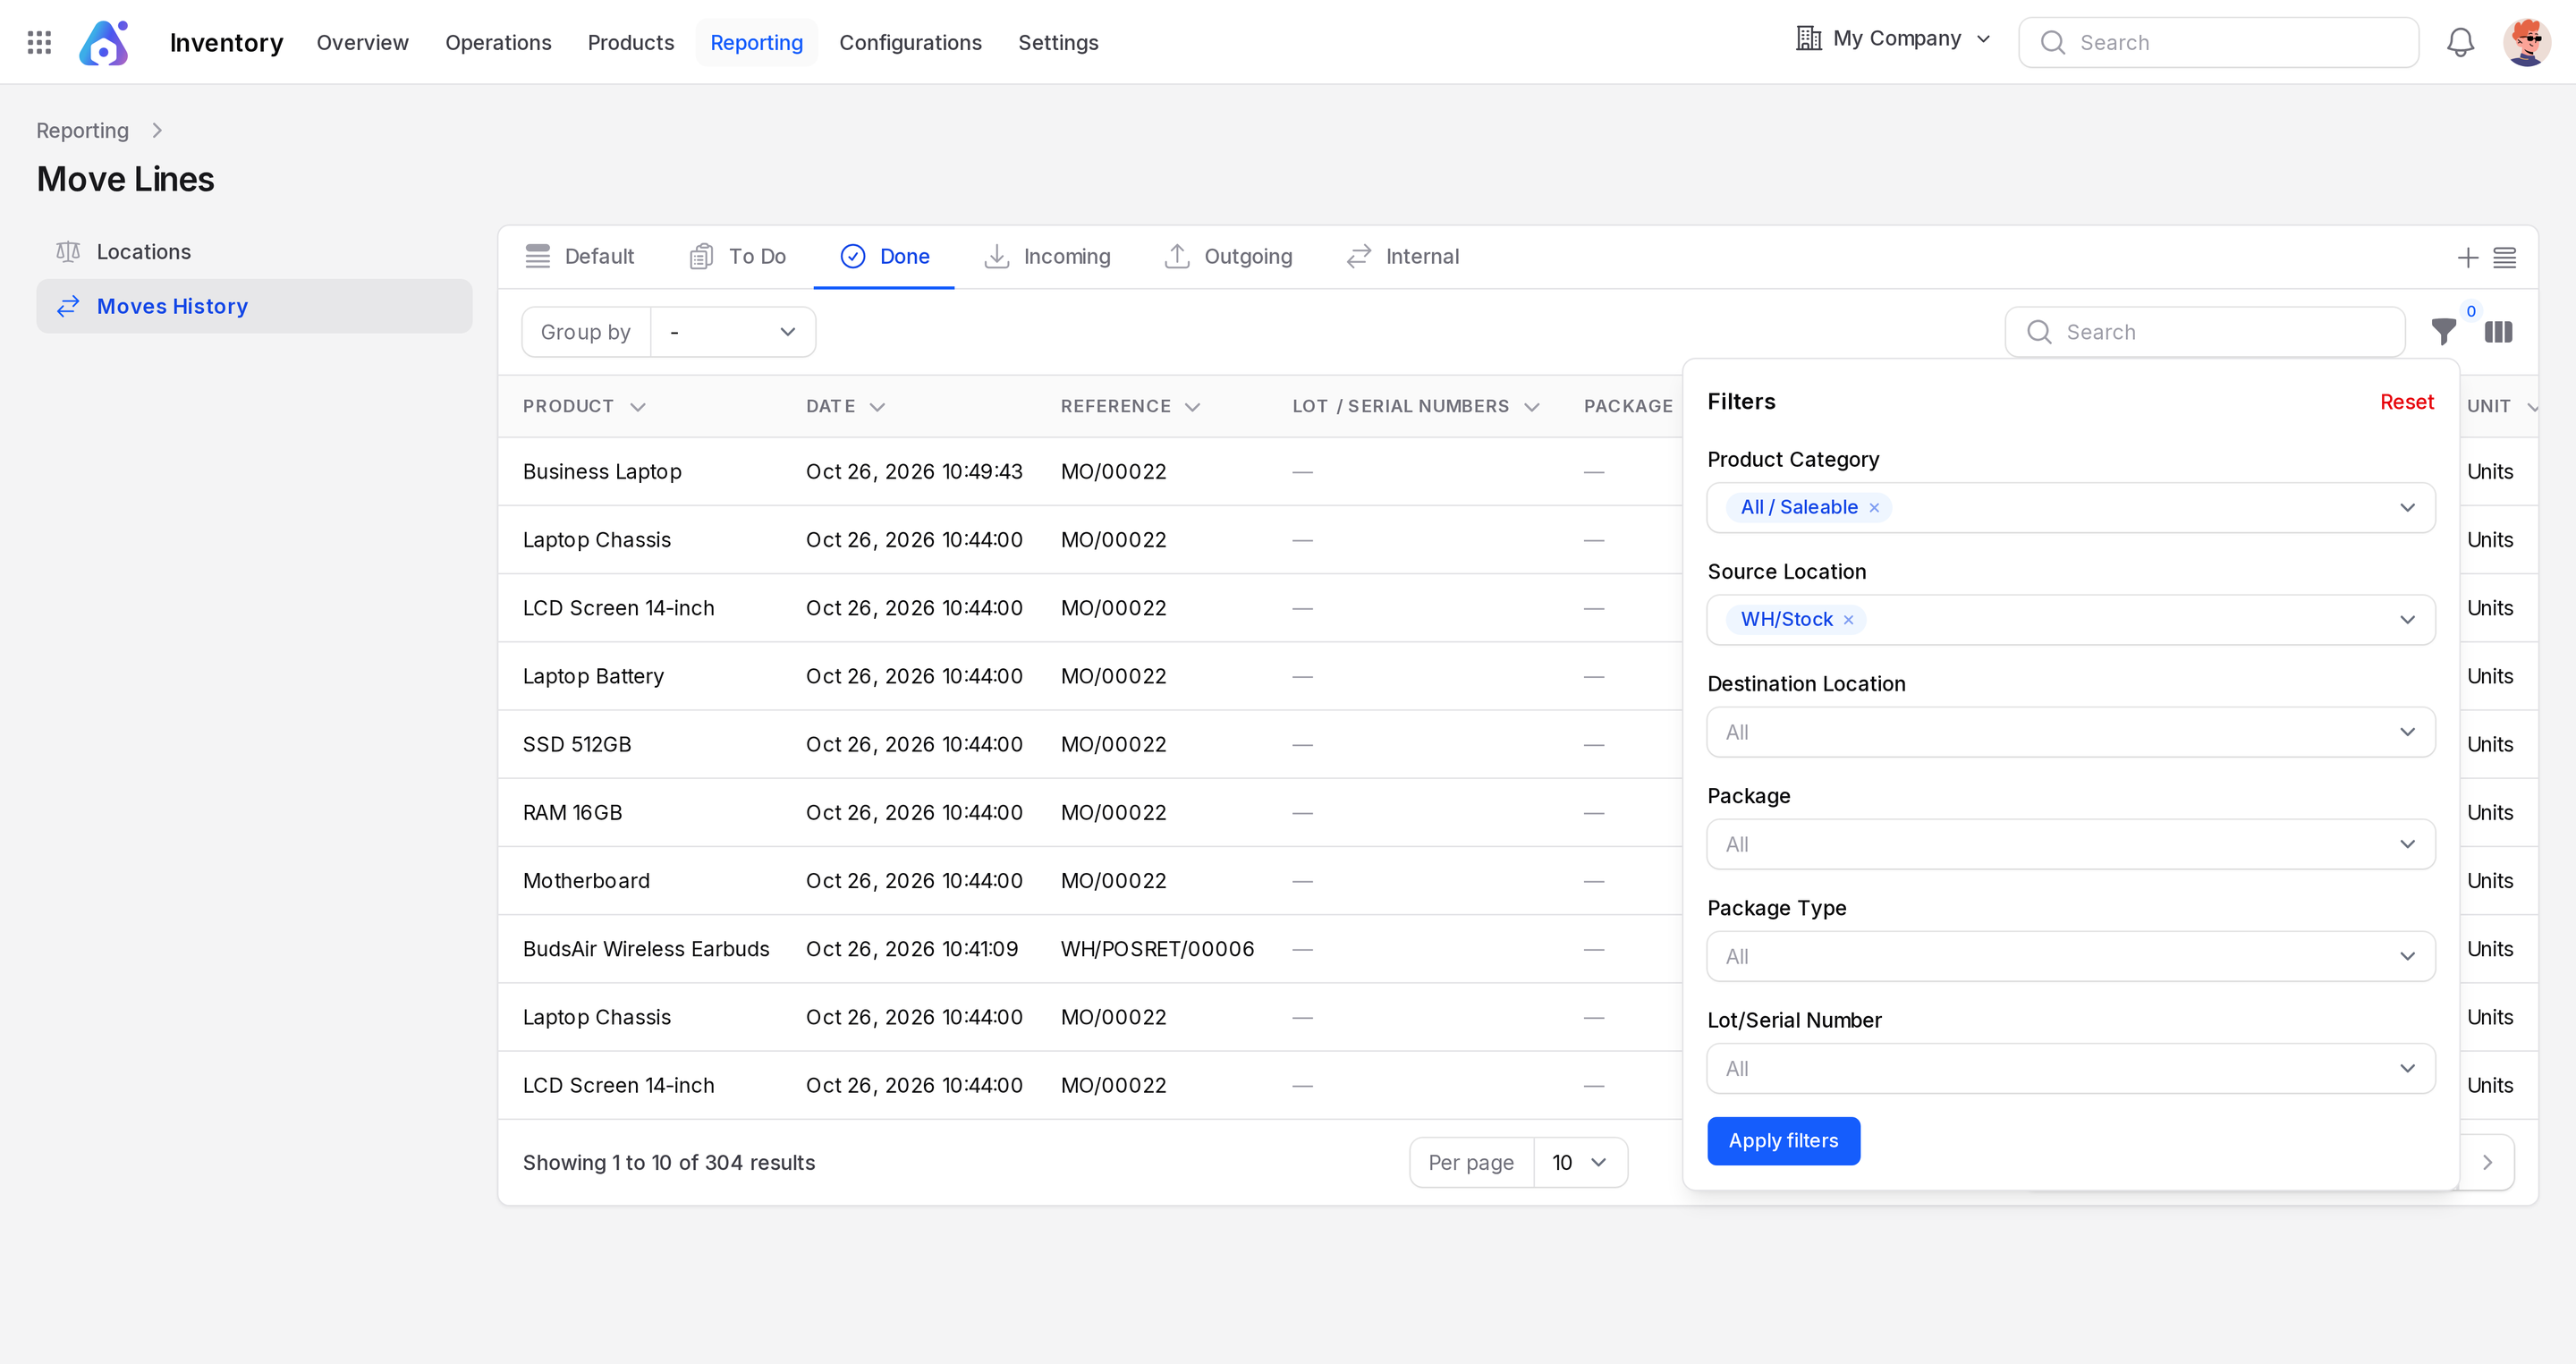
Filters
Open Filters to narrow by Product Category, Source Location, Destination Location, Package, Package Type or Lot/Serial Number. Click Apply filters, or Reset to clear.
Trace a product
Example: where did the Laptop Chassis go?
- Open
Inventory → Reporting → Moves History. - Search for Laptop Chassis.
- Click the Done tab.
- Read the list from the bottom up. The newest line is at the top.
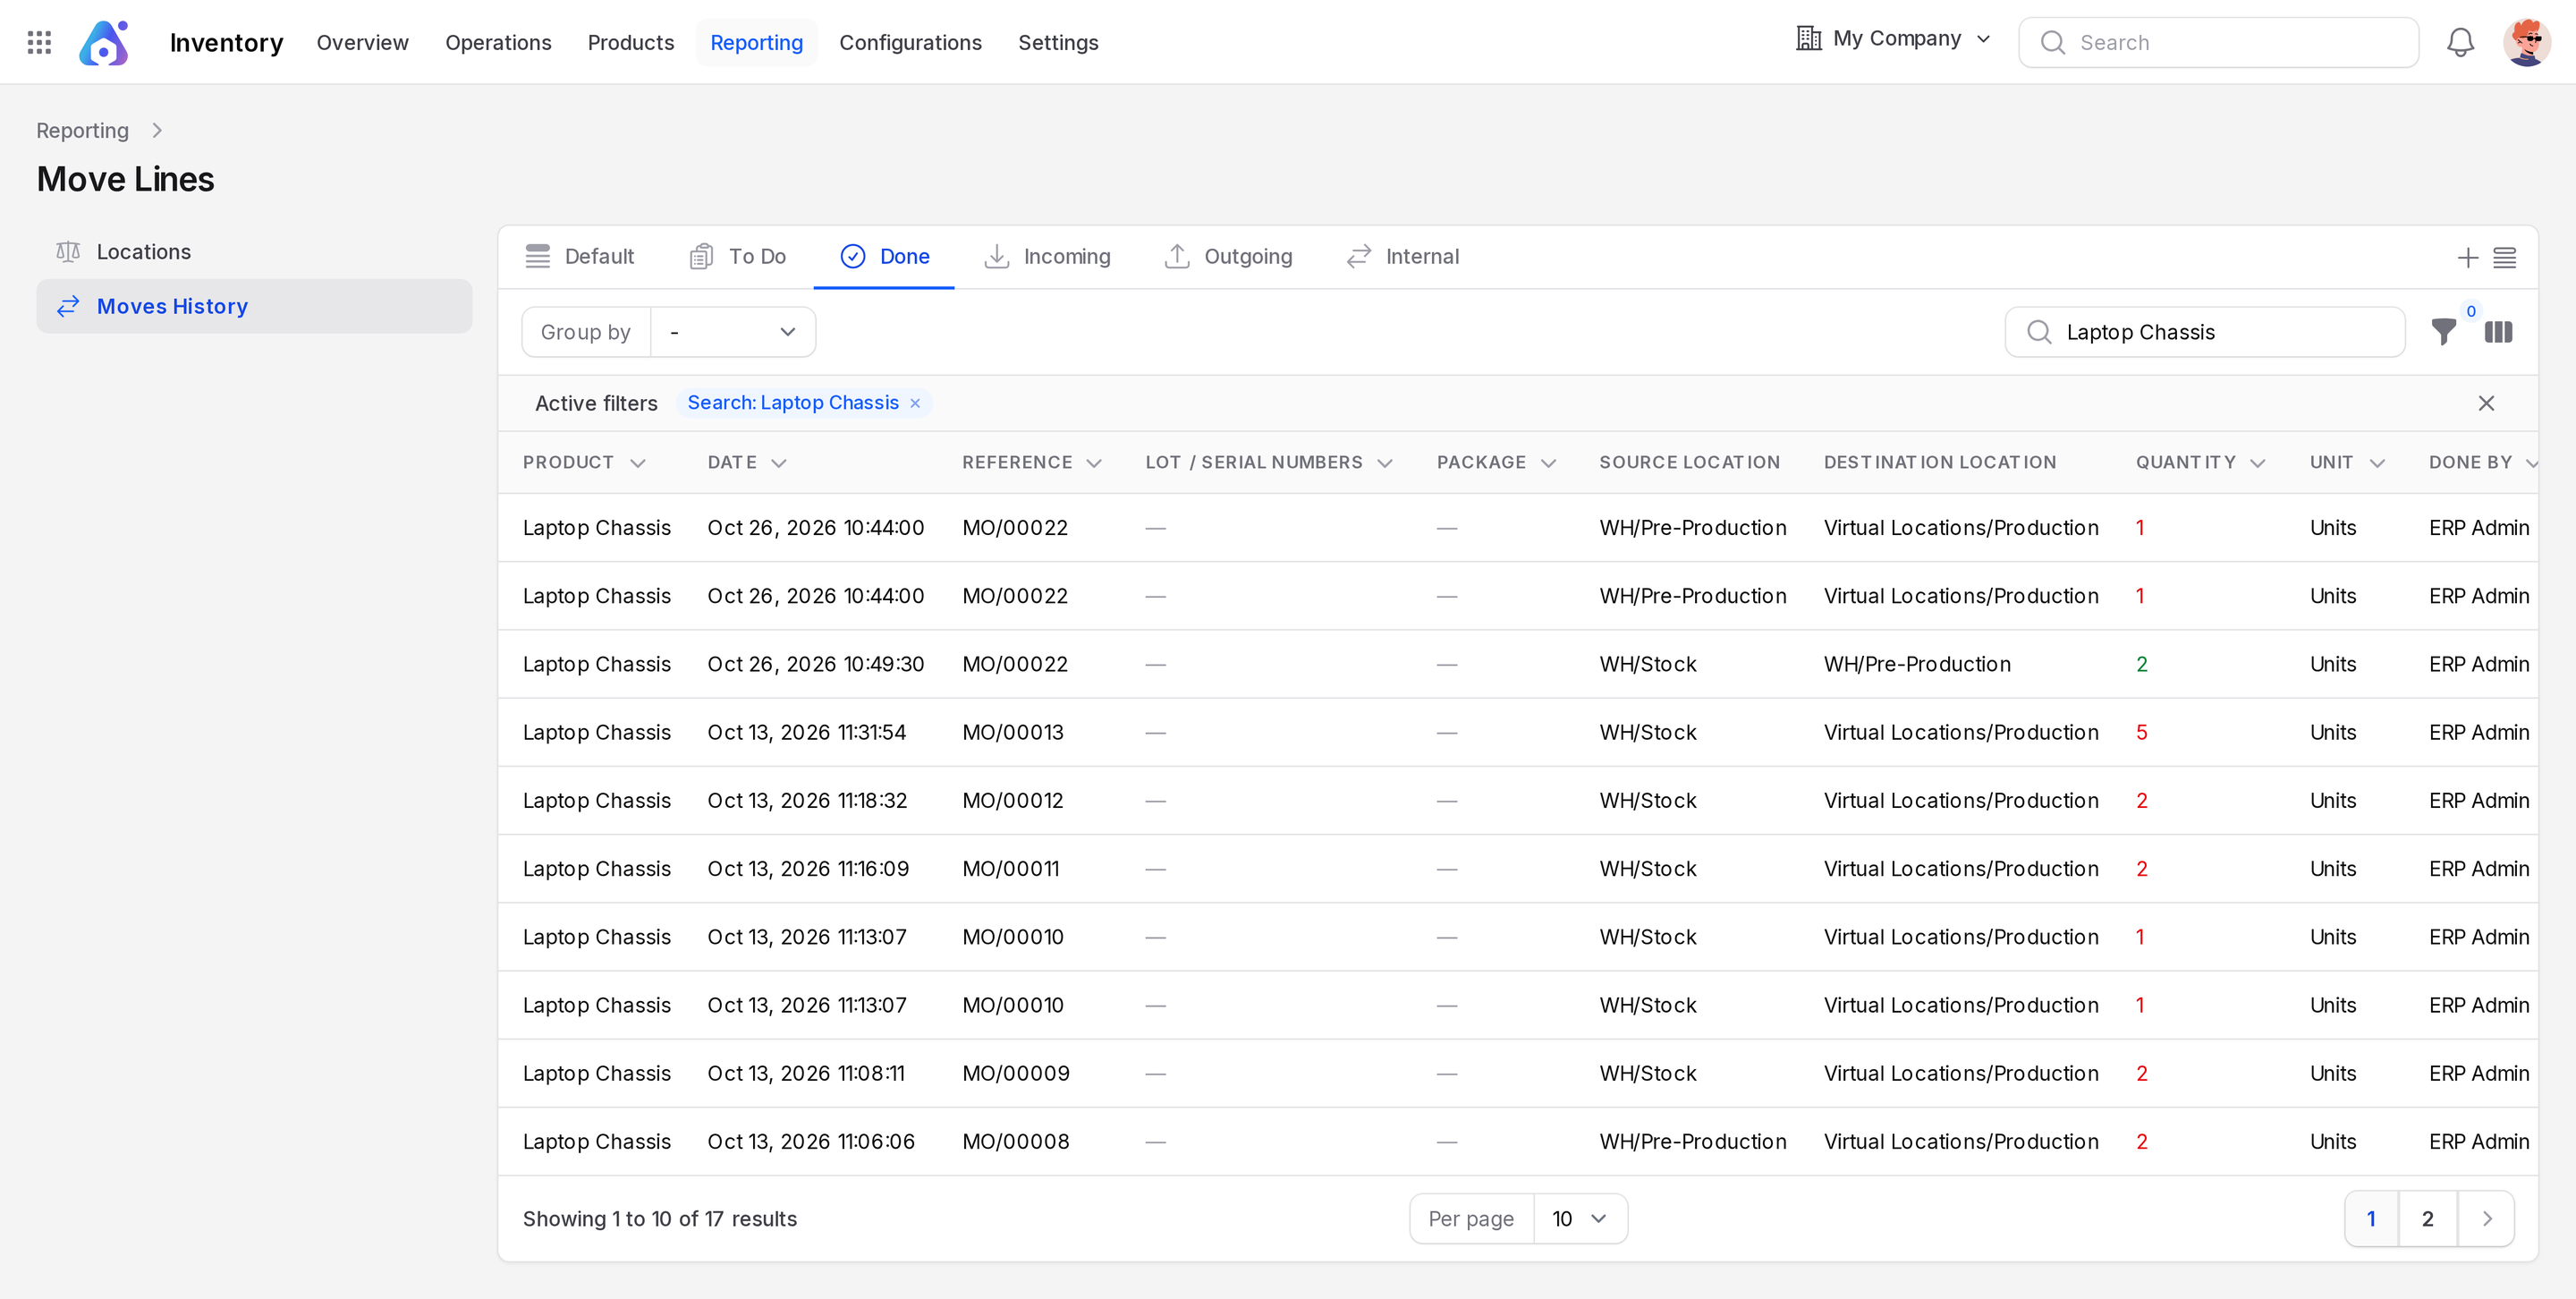
From the oldest line to the newest you may see: Virtual Locations/Inventory Adjustment → WH/Stock (an opening stock correction), then Partners/Vendors → WH/Input (reference PO/4), then WH/Input → WH/Quality Control, then WH/Quality Control → WH/Stock. The last three lines belong to the same purchase order, so they show the three steps of the receipt.
TIP
Adjustments appear with Virtual Locations/Inventory Adjustment as an end. Scraps use Virtual Locations/Scrap.