Configuration
This document explains the Configuration section of the Recruitment Plugin in AureusERP. Configuration is crucial for setting up the hiring process, including job positions, applicants, and candidate evaluation. Below is a detailed explanation of each configurable item
Activity Plans
Why it's used: Activity Plans help in planning and organizing steps in the recruitment process, such as initial screening, interviews, etc.
Activity Plan Creation
Navigate to
Recruitments → Configuration → Activities → Activity Plansas shown in the below image.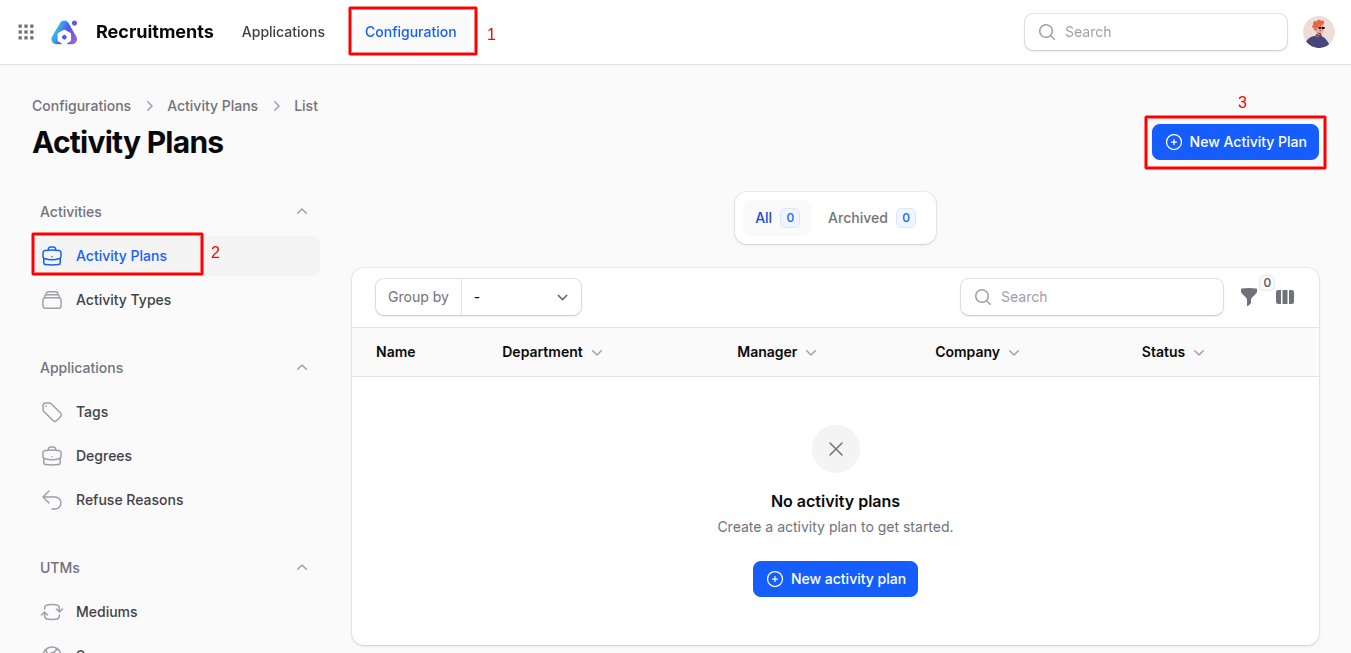
Fill in:
- Name: Title of the activity plan (e.g., Initial Interview Plan)
- Department: The department for which this plan is applicable
- Company: The company where the recruitment is taking place
- Status: Set whether the activity plan is active
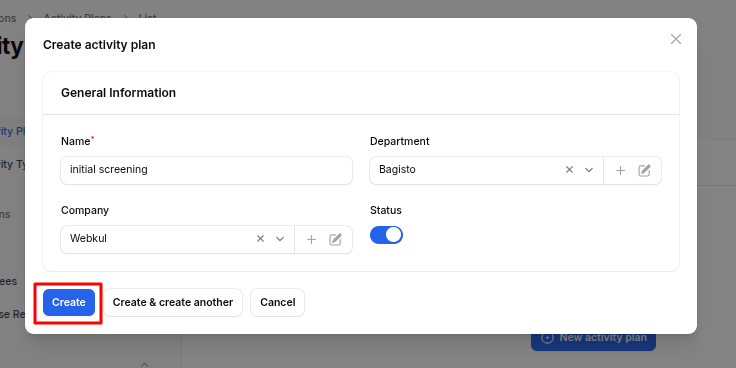
Action Buttons
- Create: Save and create the activity plan.
- Create & Create Another: Save and open a new form to add another activity
- Cancel: Exit without saving.
Activity Types
Why it's used: Activity Types Define specific types of recruitment actions (e.g., phone call, meeting, upload documents).
Activity Type Creation
Navigate to
Recruitments → Configuration → Activities → Activity Typesas shown in the below image.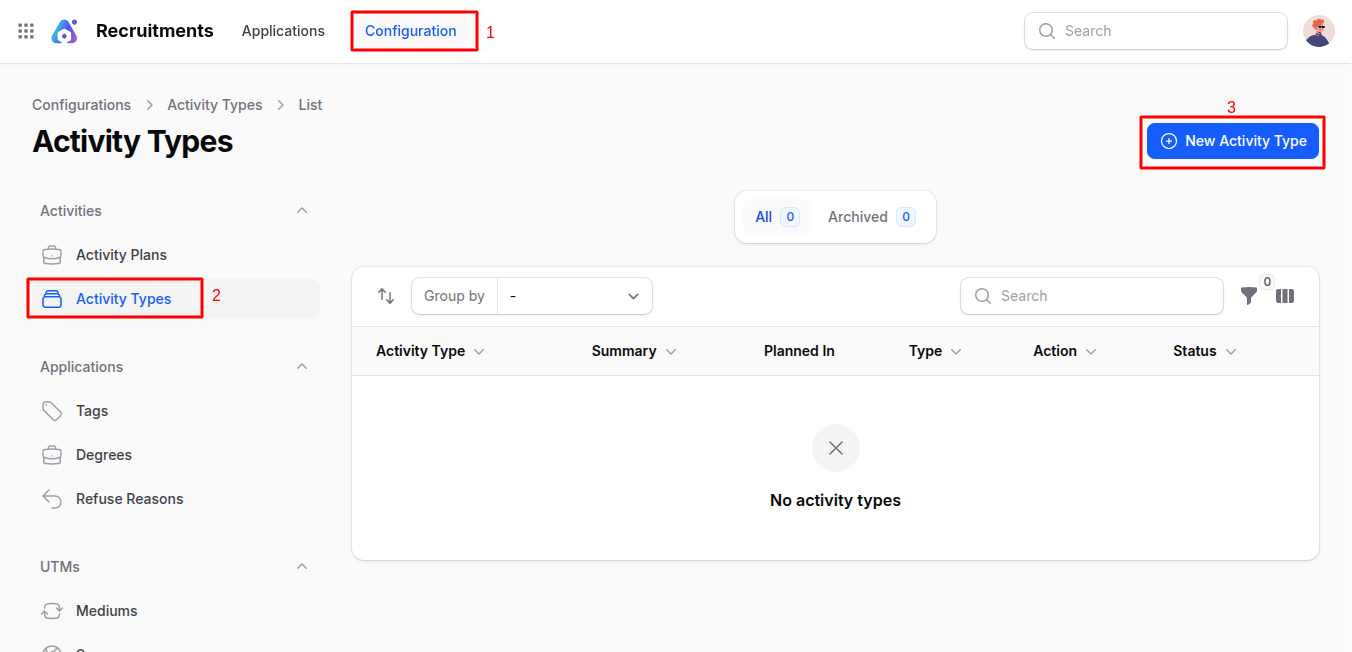
Fill in:
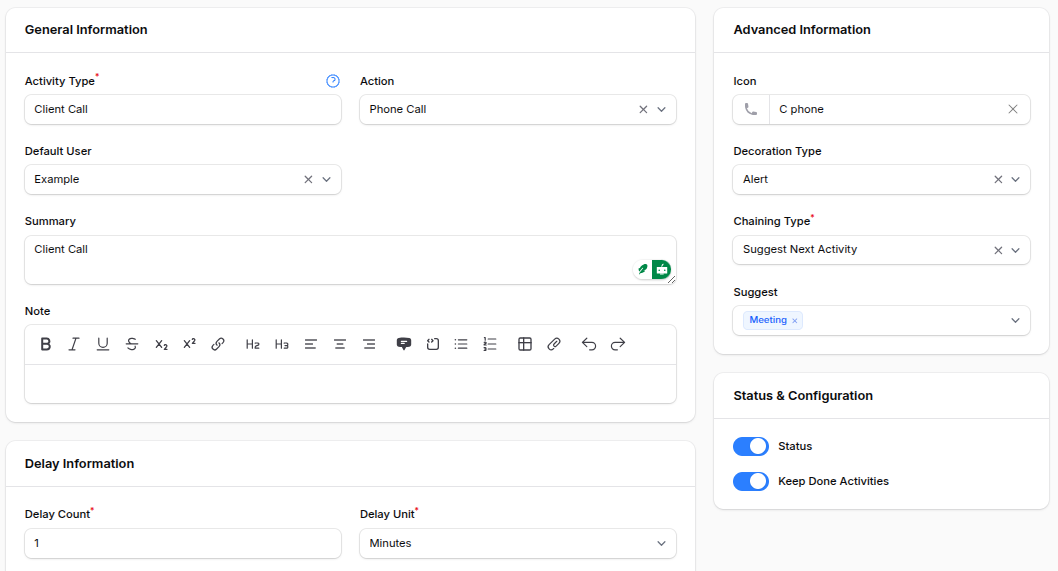
General Information:
- Activity Type: Select from existing types or define new
- Action: Specify what action will be triggered (e.g., Open Form, Upload File)
- Default User: Person assigned to handle this activity by default
- Summary: Short description
- Note: Additional details
Advanced Information:
- Icon: Visual icon to represent this activity
- Decoration Type: Alert type (Alert/Error)
- Chaining Type: Whether to suggest or trigger next activity automatically
- Suggest/Trigger: Choose the next activity based on chaining type
Status & Configuration:
- Status: Whether this activity type is active
- Keep Done Activities: Whether to keep record of completed ones
Delay Information:
- Delay Count and Unit: Set delays (e.g., 2 Days)
- Delay From: Choose between previous deadline or completion date
Action Buttons
- Create: Save and create the activity type.
- Create & Create Another: Save and open a new form to add another activity type.
- Cancel: Exit without saving.
Tags
Why it's used: Tags help categorize applications (e.g., Urgent, Skilled, Fresher)
Tag Creation
Navigate to
Recruitments → Configuration → Applications → Tagsas shown in the below image.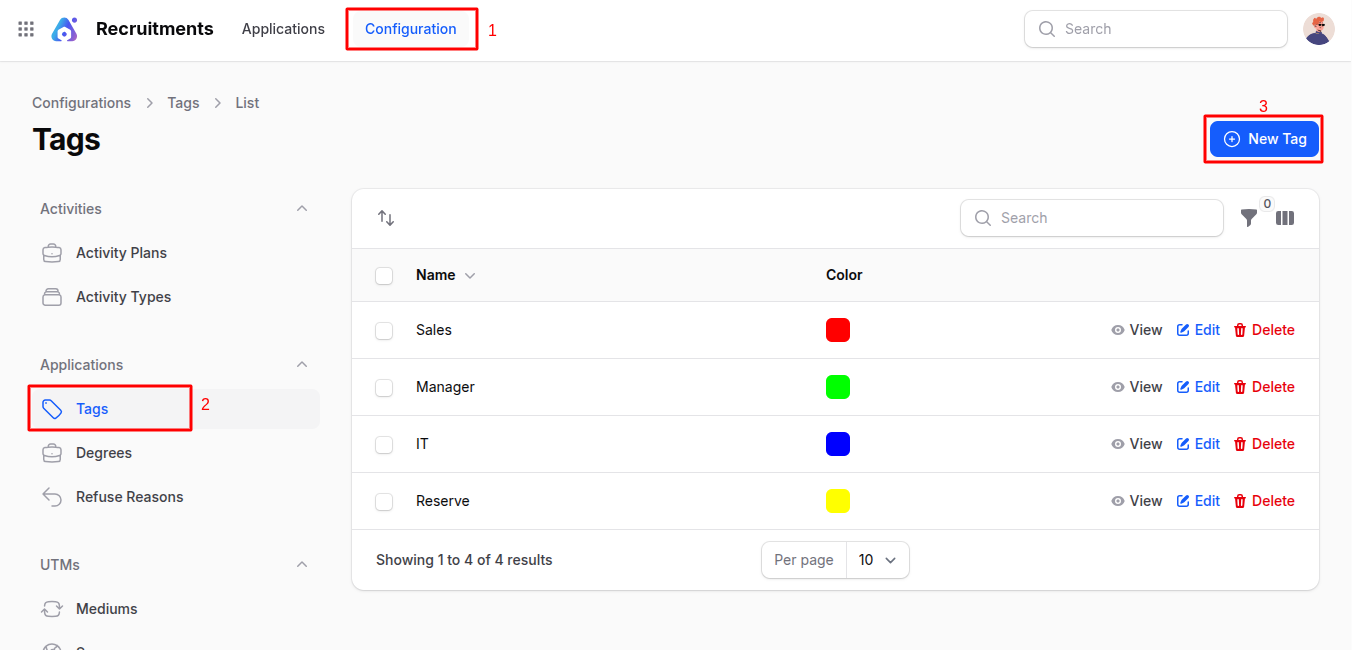
Fill in:
- Name:
- Color: (for easy identification)
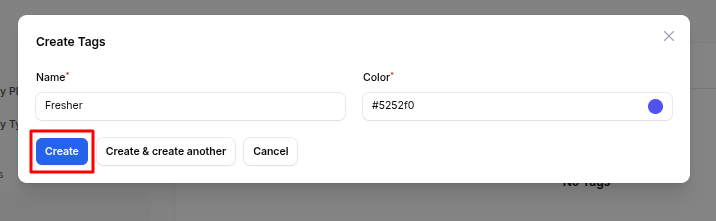
Action Buttons
- Create: Save and create the tag.
- Create & Create Another: Save and open a new form to add another tag.
- Cancel: Exit without saving.
Degrees
Why it's used: Define the academic qualifications applicable for a position.
Degree Creation
Navigate to
Recruitments → Configuration → Applications → Degreesas shown in the below image.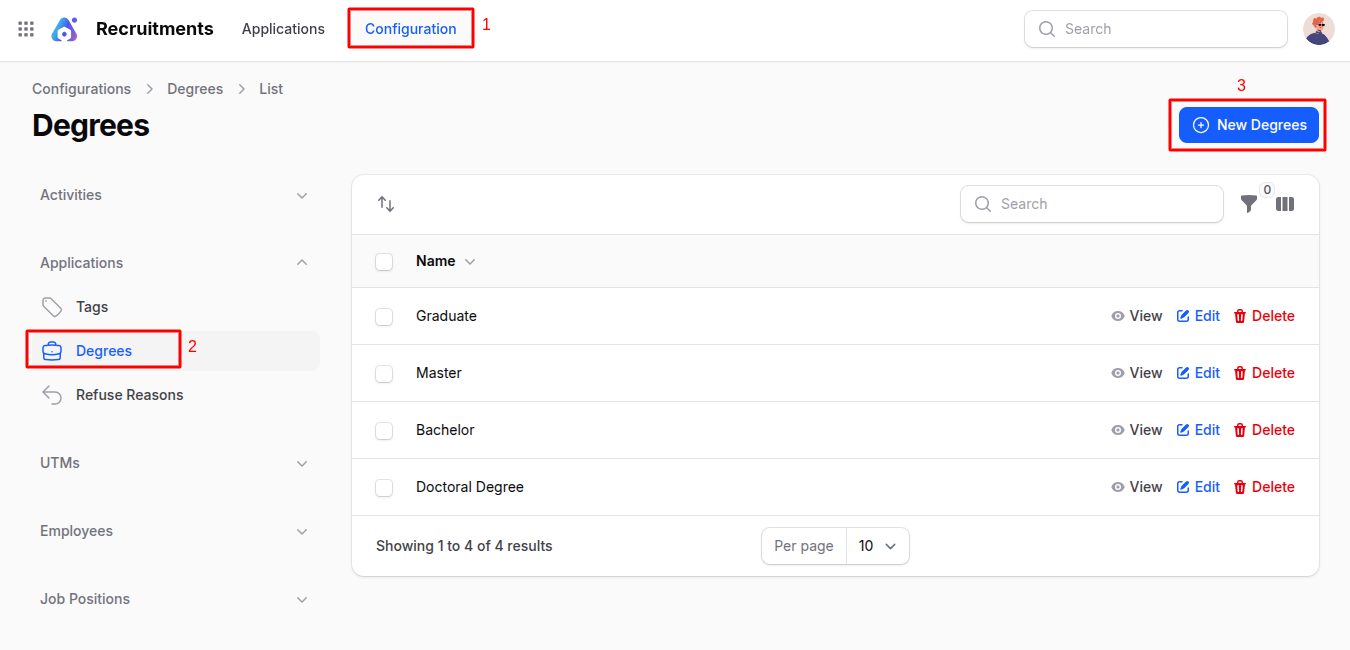
Enter the Name: (e.g., MBA, B.Tech)
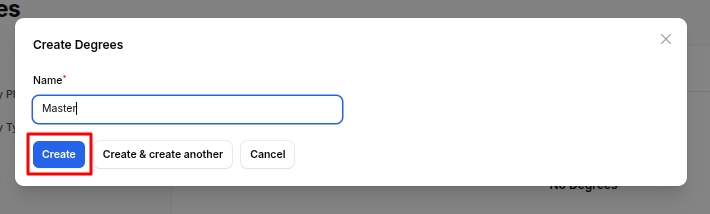
Action Buttons
- Create: Save and create the degree.
- Create & Create Another: Save and open a new form to add another degree.
- Cancel: Exit without saving.
Refuse Reasons
Why it's used: Set predefined reasons for rejecting applicants.
Refuse Reason Creation
Navigate to
Recruitments → Configuration → Applications → Refuse Reasonsas shown in the below image.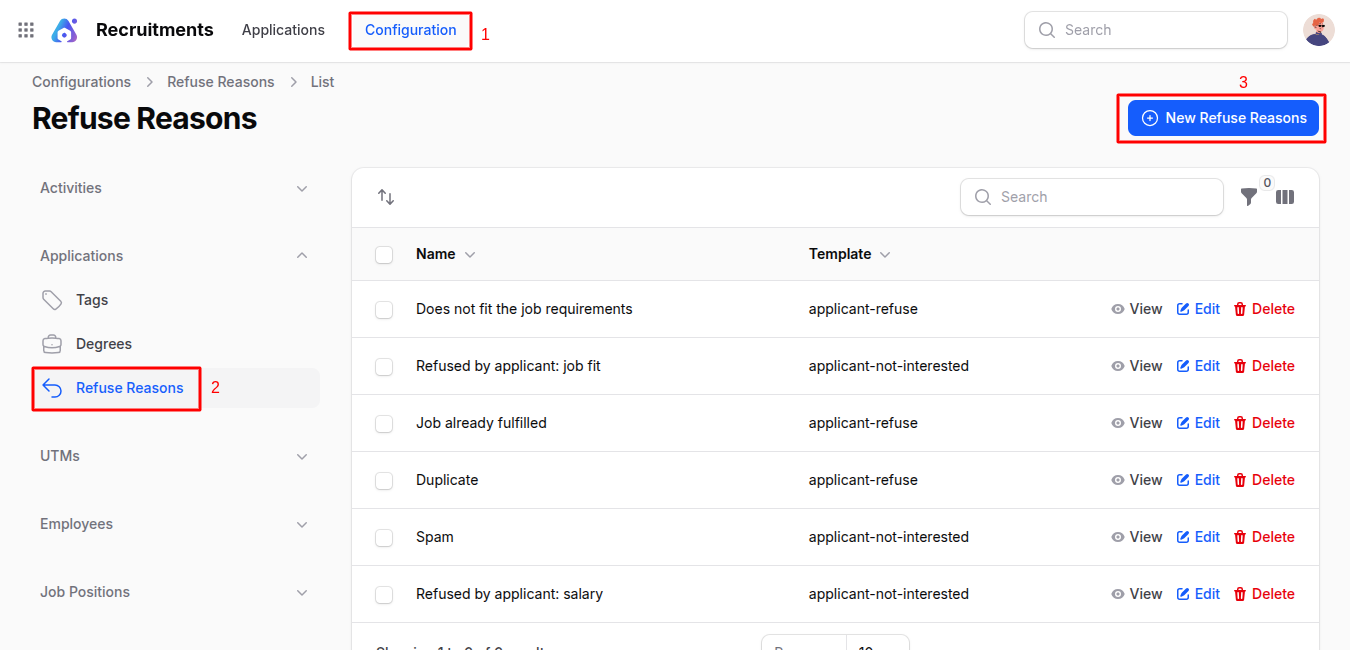
Fill in:
- Name: Reason (e.g., Lack of Experience)
- Template: Select appropriate template (e.g., Applicant Refused, Not Interested)
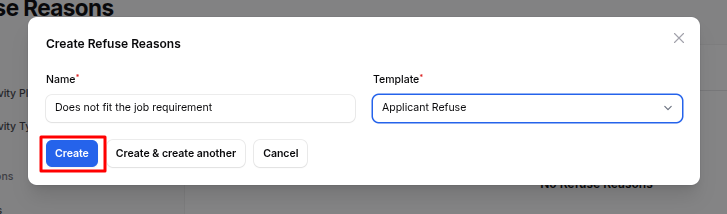
Action Buttons
- Create: Save and create the refuse reason.
- Create & Create Another: Save and open a new form to add another refuse reason.
- Cancel: Exit without saving.
Mediums
Why it's used: Define marketing or application mediums (e.g., Social Media, Job Portal).
Medium Creation
Navigate to
Recruitments → Configuration → UTMs → Mediumsas shown in the below image.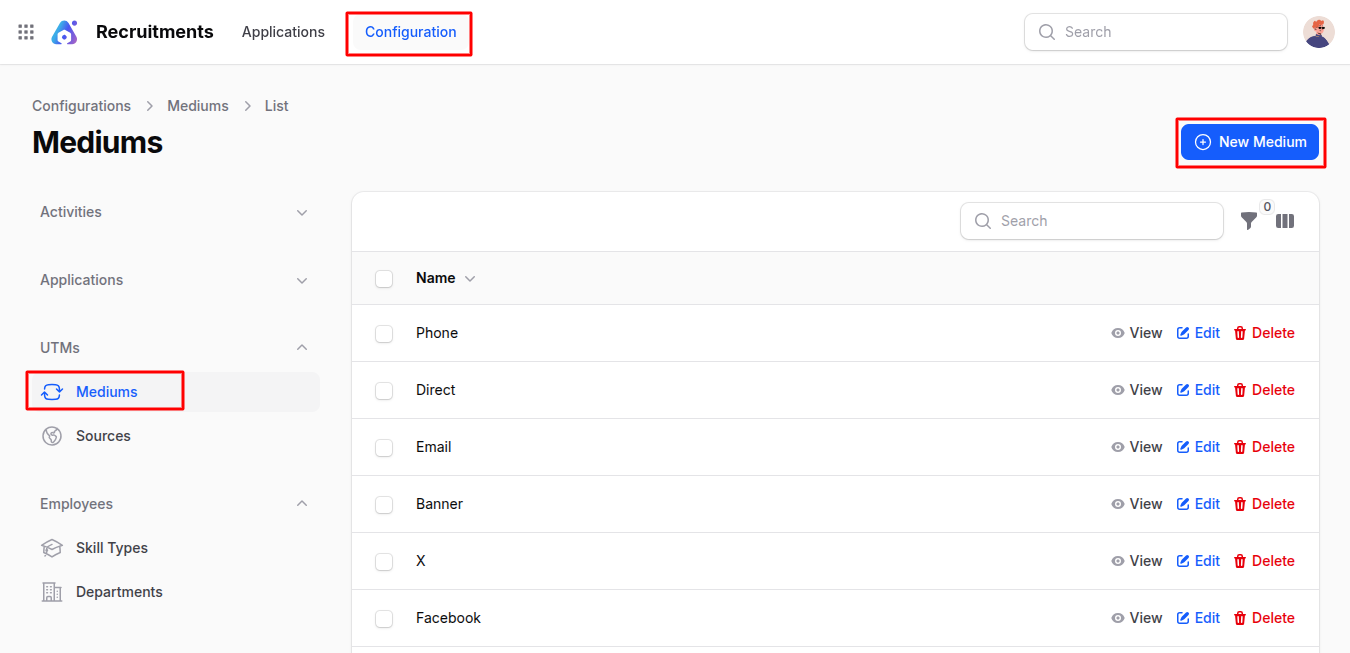
Enter Name: (e.g., LinkedIn, Indeed)
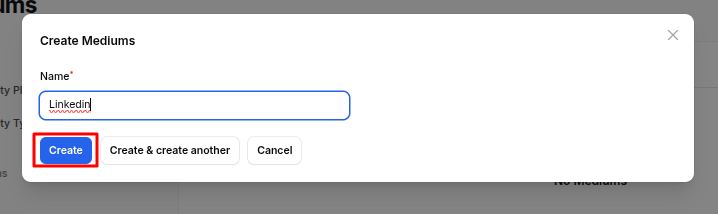
Action Buttons
- Create: Save and create the medium.
- Create & Create Another: Save and open a new form to add another medium.
- Cancel: Exit without saving.
Sources
Why it's used: Identify sources from where applicants are coming.
Source Creation
Navigate to
Recruitments → Configuration → UTMs → Sourcesas shown in the below image.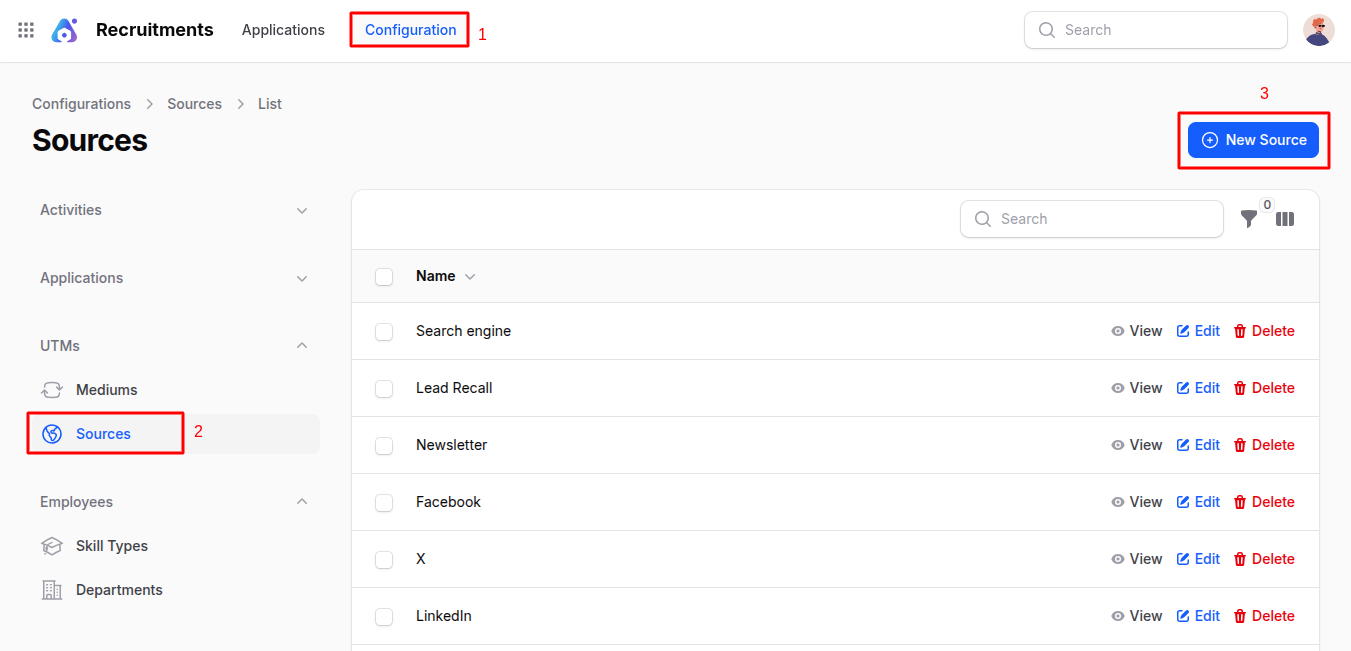
Enter Name: (e.g., Referral, College Drive)
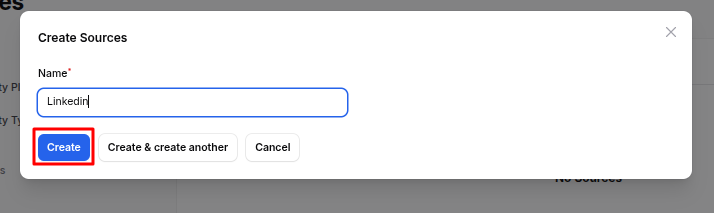
Action Buttons
- Create: Save and create the source.
- Create & Create Another: Save and open a new form to add another source.
- Cancel: Exit without saving.
Skill Types
Why it's used: Define skills required in employees (e.g., Programming, Communication).
Skill Type Creation
Navigate to
Recruitments → Configuration → Employees → Skill Typesas shown in the below image.
Fill in:
- Name:
- Color:
- Status: Enable/Disable toggle
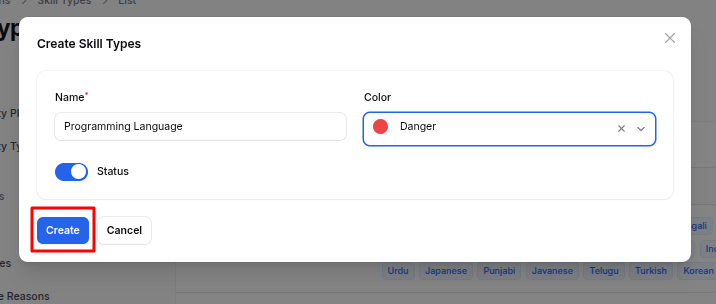
Action Buttons
- Create: Save and create the skill type.
- Create & Create Another: Save and open a new form to add another skill type.
- Cancel: Exit without saving.
Departments
Why it's used: Organize your company structure by departments (e.g., HR, Development).
Department Creation
Navigate to
Recruitments → Configuration → Employees → Departmentsas shown in the below image.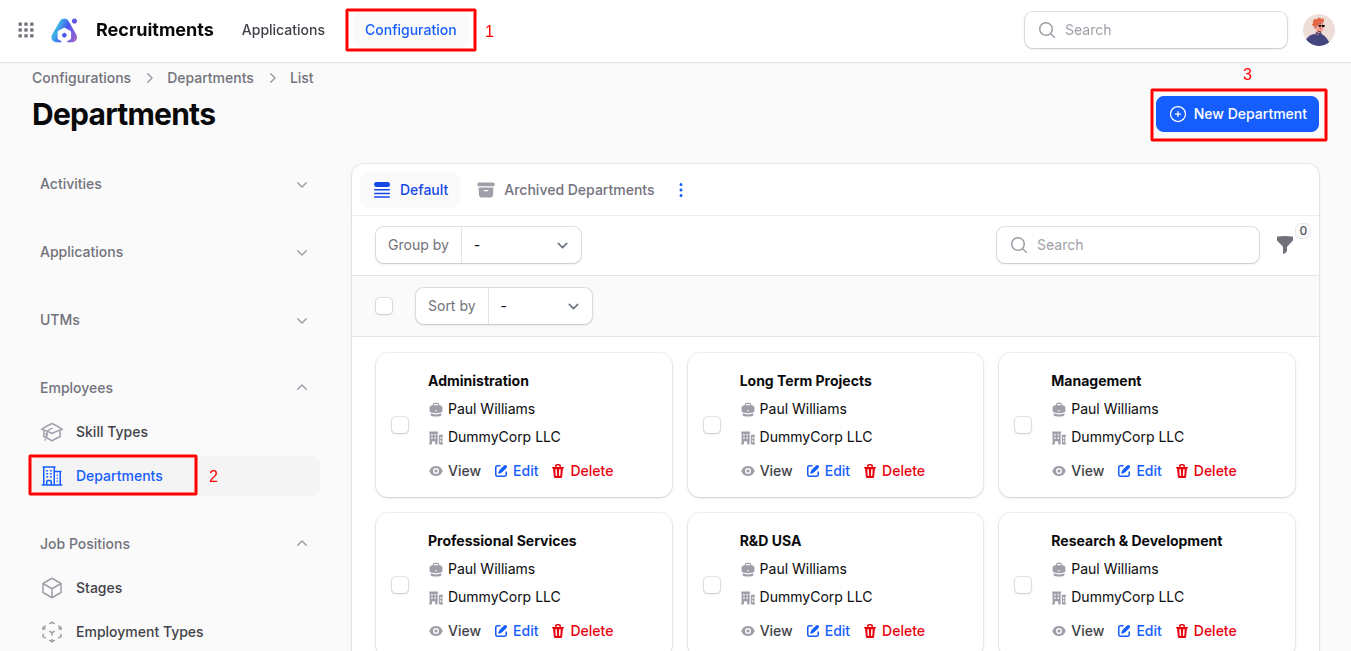
Fill in:
- Name:
- Parent Department: (Optional)
- Manager:
- Company:
- Color:: Tag color
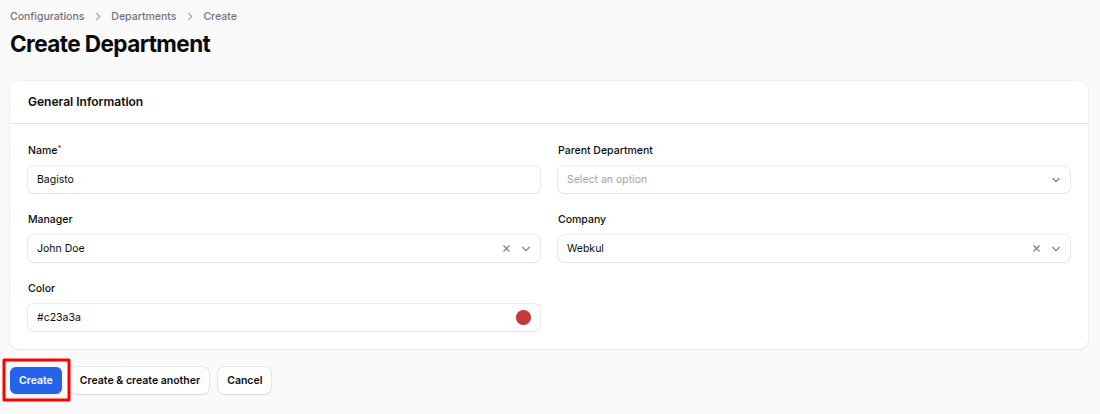
Action Buttons
- Create: Save and create the department.
- Create & Create Another: Save and open a new form to add another department.
- Cancel: Exit without saving.
Stages
Why it's used: Define steps in the recruitment pipeline (e.g., Applied, Interview, Hired).
Stage Creation
Navigate to
Recruitments → Configuration → Job Positions → Stagesas shown in the below image.
Fill in:
General Information:
- Stage Name: Name of the stage
- Requirements Department: Related department
Tooltips:
- Gray/Red/Green Label: Custom tooltips for visual cues
Additional Info:
- Folded: Collapse this stage on Kanban
- Hired Stage: Marks the stage as final
- Default Stage: Set as initial stage

Action Buttons
- Create: Save and create the stage.
- Create & Create Another: Save and open a new form to add another stage.
- Cancel: Exit without saving.
Employment Types
Why it's used: Define job types like Full-Time, Part-Time, Internship.
Employment Type Creation
Navigate to
Recruitments → Configuration → Job Positions → Employment Typesas shown in the below image.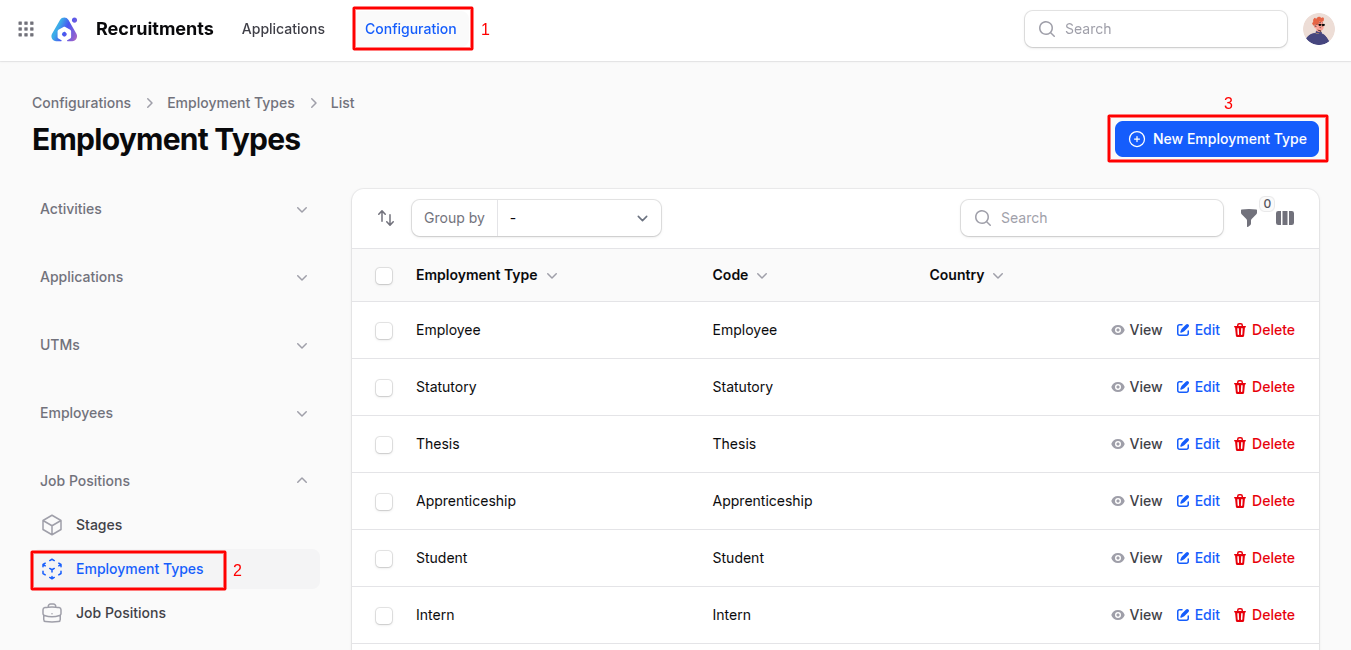
Fill in:
- Employment Type: (e.g., Internship)
- Country:
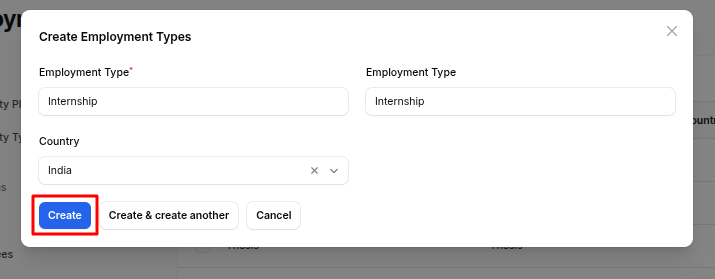
Action Buttons
- Create: Save and create the employment type.
- Create & Create Another: Save and open a new form to add another employment type.
- Cancel: Exit without saving.
Job Positions
Why it's used: Add and manage open positions in your organization.
Job Position Creation
Navigate to
Recruitments → Configuration → Job Positions → Job Positionsas shown in the below image.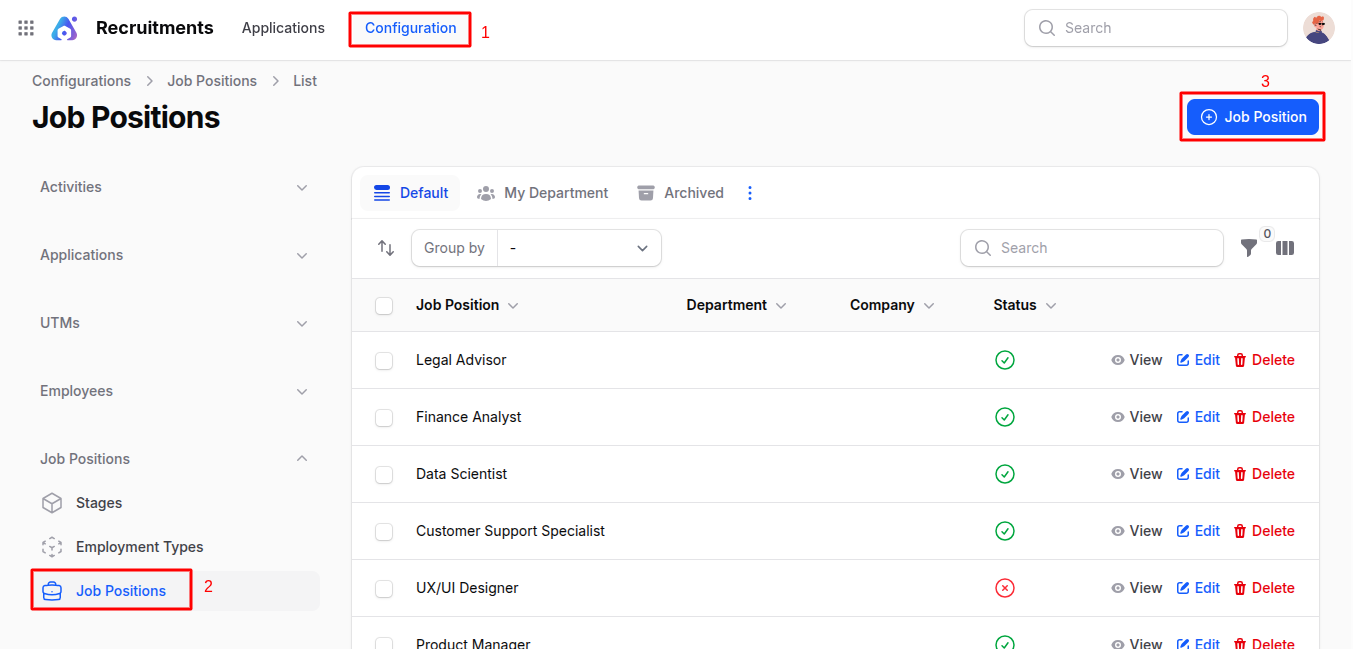
Fill in:
Employment Information:
- Job Position Title: Name of the job (e.g., Software Engineer)
- Department: Choose from the list or create
- Country: Job location country
- Manager: Person responsible for this position
- Company: Select the company
- Recruiter: Recruiter responsible
- Interviewers: Add interviewers
- Job Location: Office location
- Industry: Related industry
- Job Description: Detailed job overview
- Job Requirements: Required qualifications/skills
- Date From / To: Recruitment duration
- Recruitment Target: Number of people to recruit
- No. of Employees: Existing count
- Expected Employees: Planned employee count
- No. of Hired Employees: Final count hired
- Expected Skills: Skills needed (select from list)
- Employment Type: Select from previously created types
- Status: Toggle to enable/disable the position

Action Buttons
- Create: Save and create the job position.
- Create & Create Another: Save and open a new form to add another job position.
- Cancel: Exit without saving.
Summary
The Configuration section of the Recruitment Plugin in AureusERP is essential for setting up a structured and efficient hiring process. Each configurable item includes detailed steps for creation, ensuring that HR teams can easily manage and customize their recruitment processes to meet organizational needs.